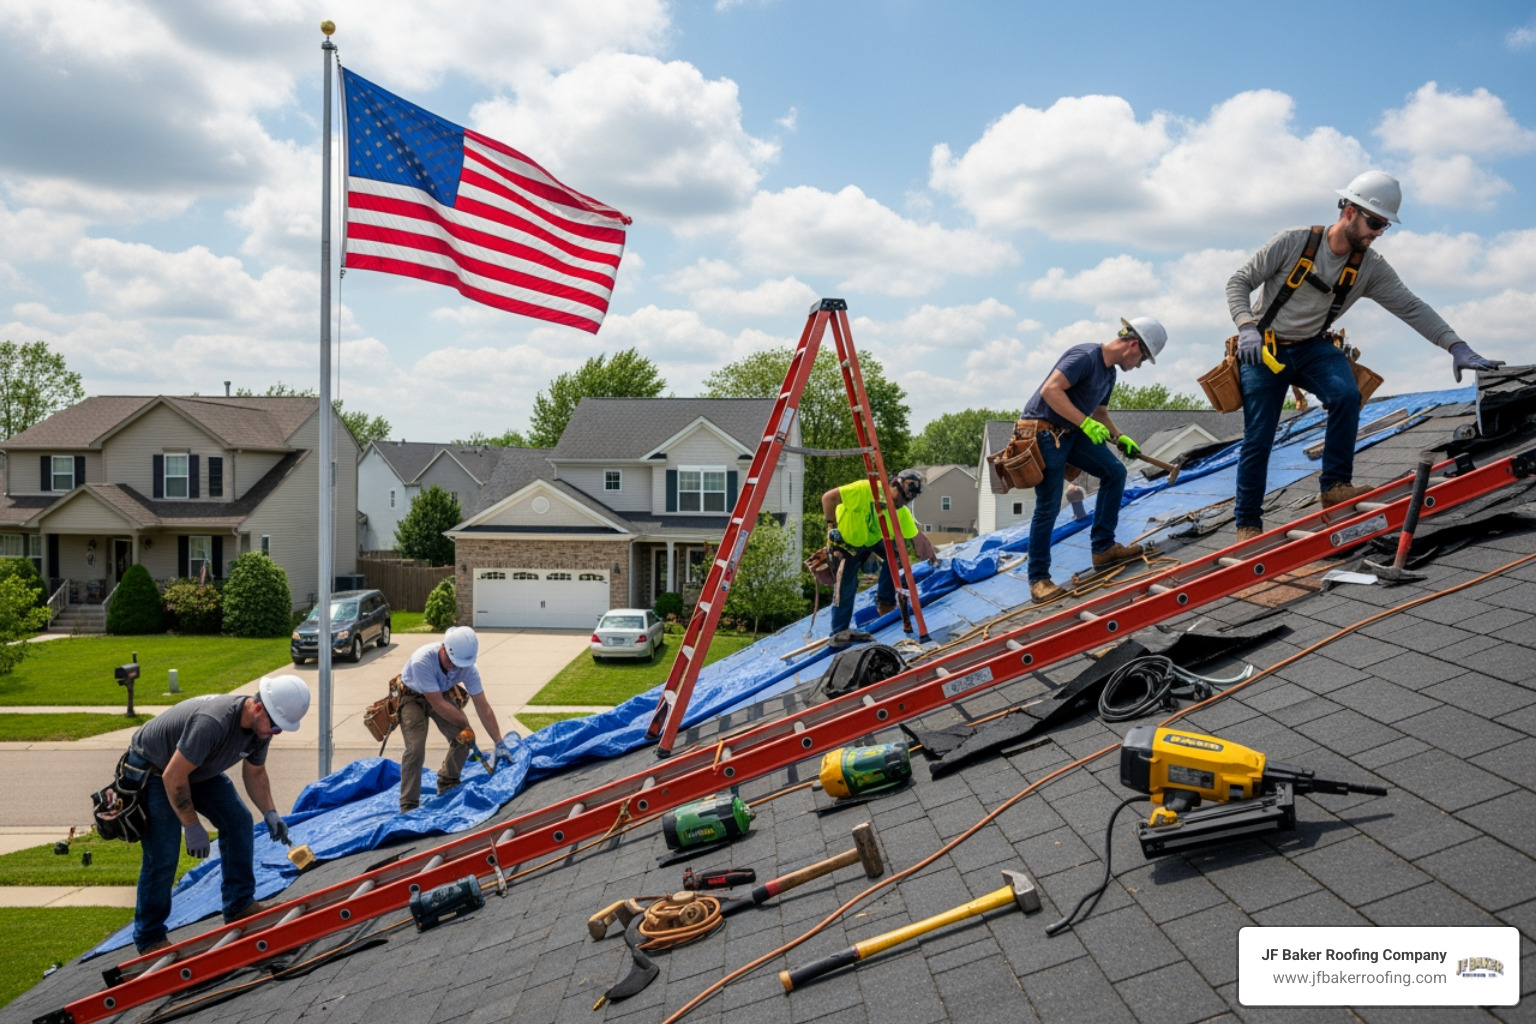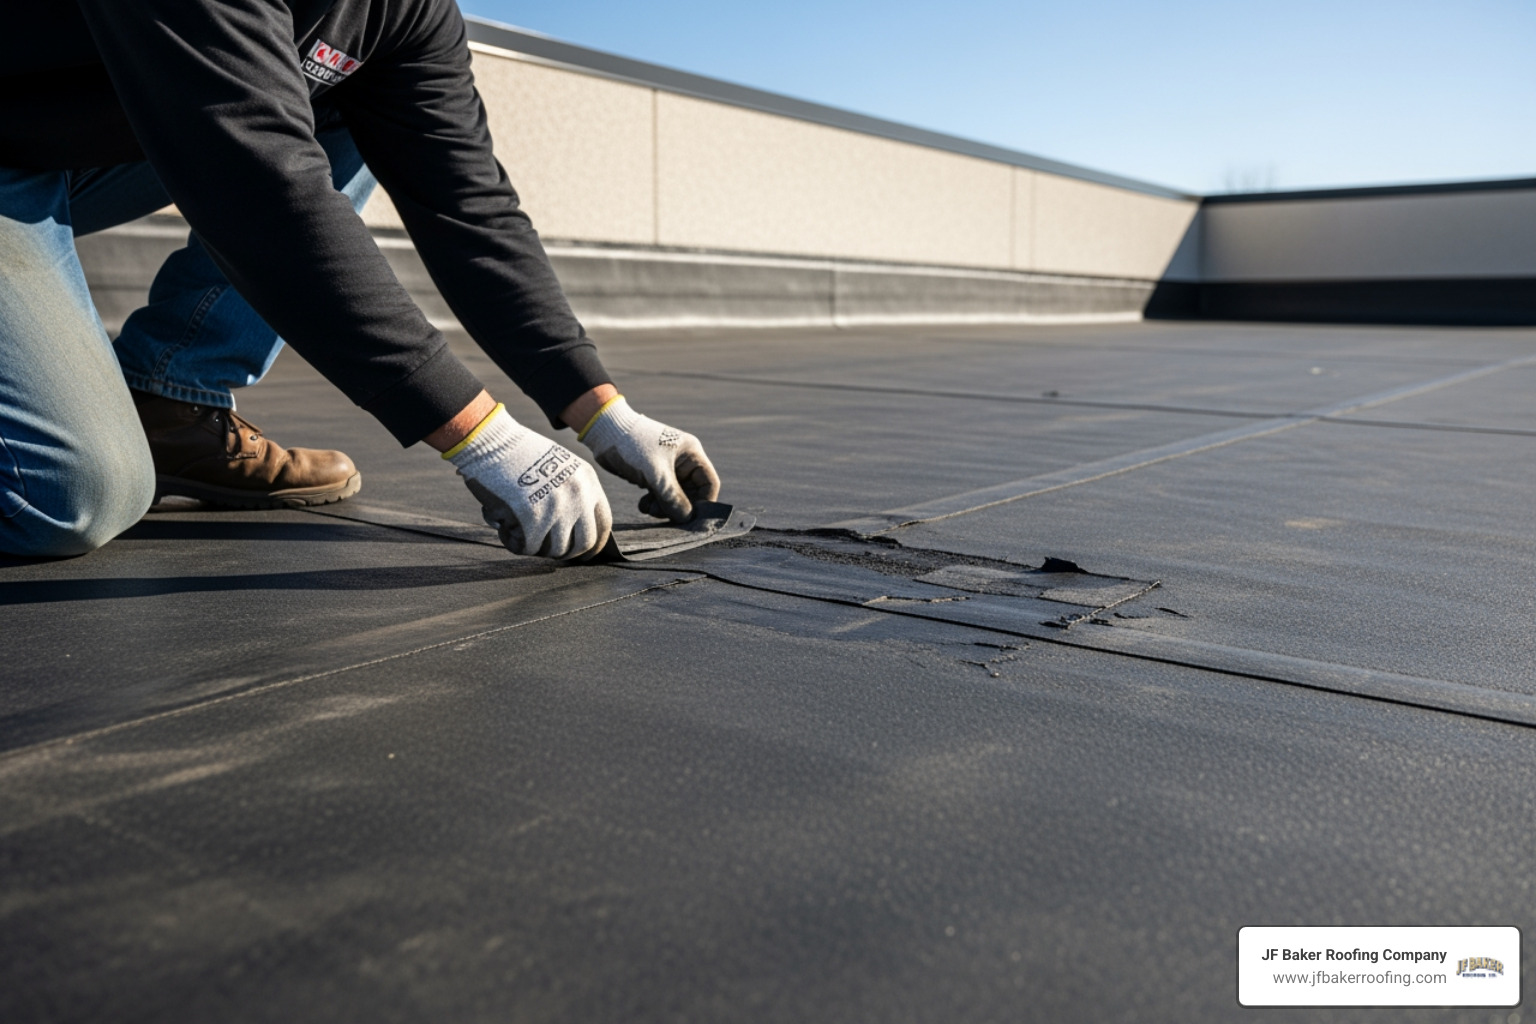
Why Rubber Flashing Tape and Polyurethane Beat Standard Caulk
Choosing the Right Seal for Roof Flashing
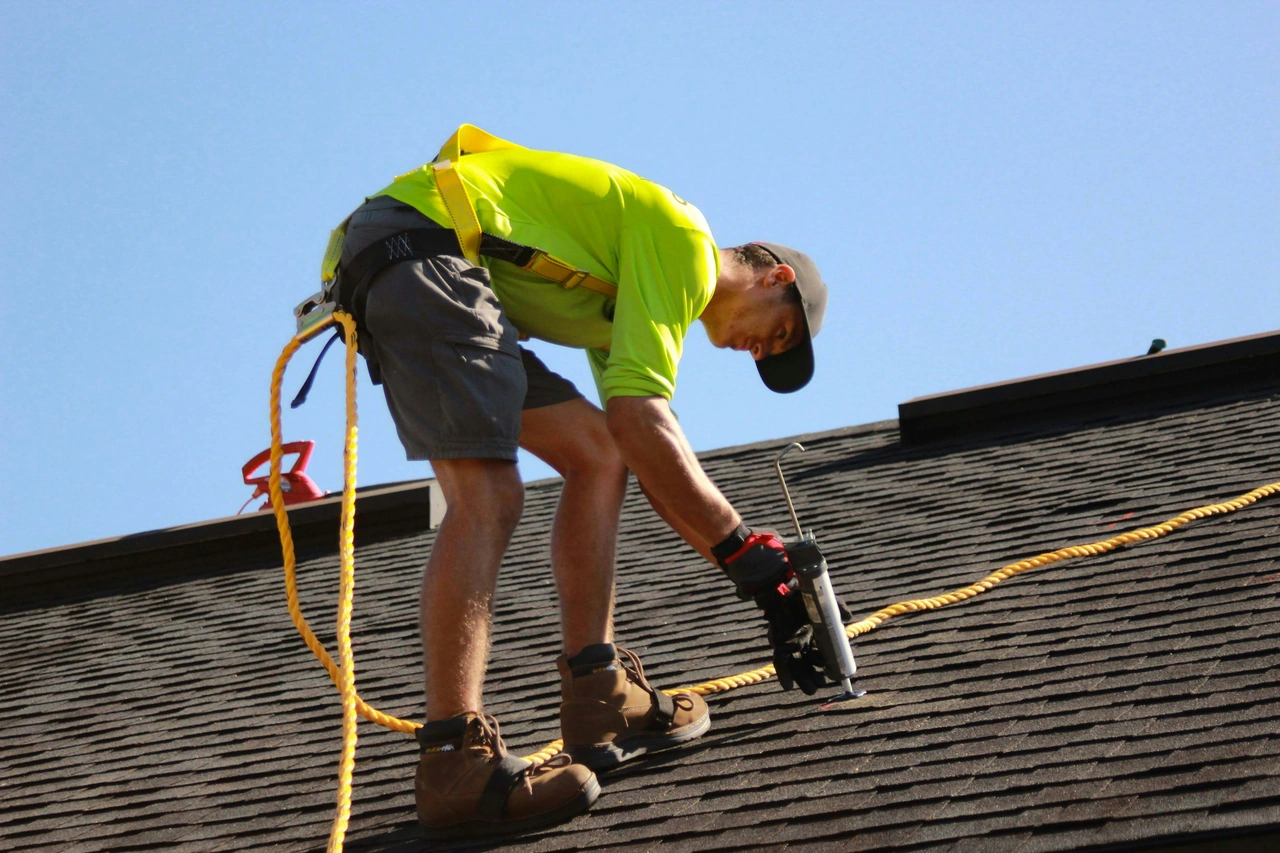
For caulking around roof flashing, don't rely on a bead of standard household caulk to stop a leak. First, make sure the flashing overlaps correctly and directs water away. Then clean and dry the joint, apply a roofing-compatible polyurethane sealant where the detail calls for one, and tool it into a continuous seal. On suitable flat transitions, rubber flashing tape can provide a wider barrier. Always check that the product works with the metal, shingles, and other materials it touches.
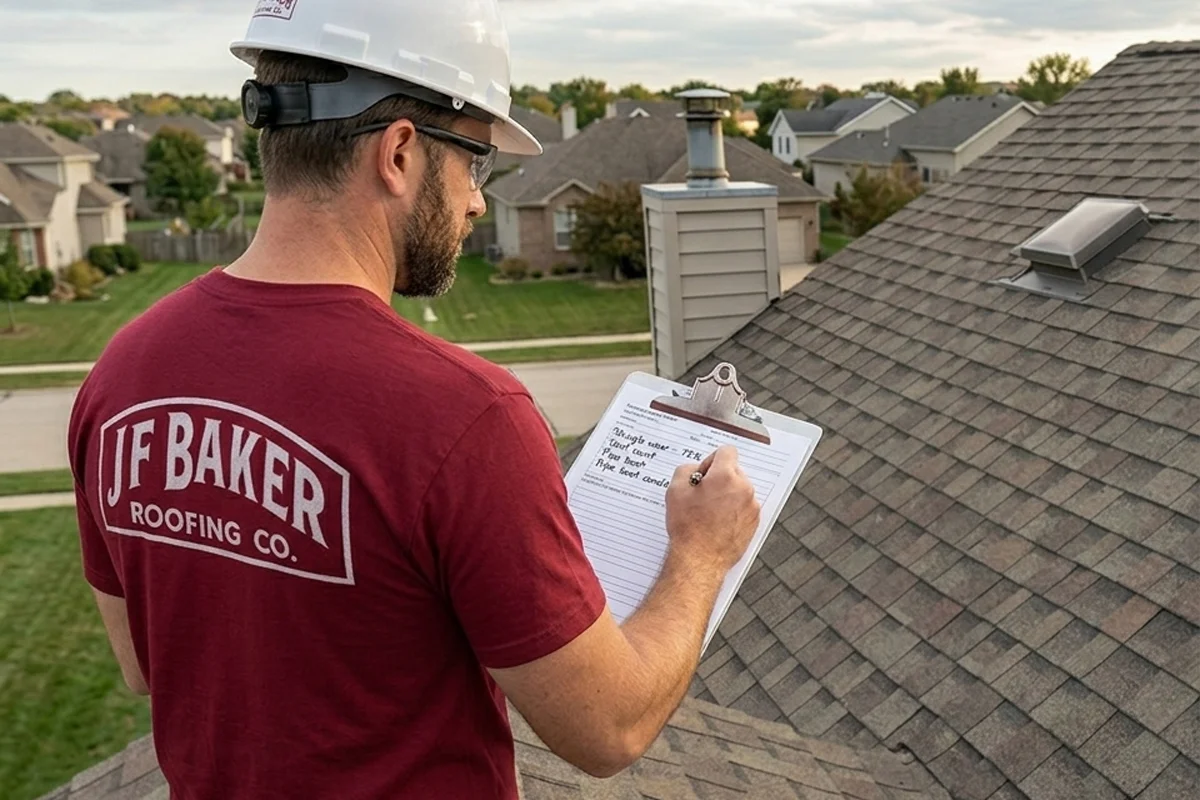
Columbus winters and summer heat make flashing joints move. A seal needs to handle that movement, but it cannot fix loose or poorly placed flashing. I'm Chad M. Baker, a third-generation owner of JF Baker Roofing Company, serving Central Ohio since 1929.
Caulking for flashing further reading:
Understanding the Role of Caulking for Flashing
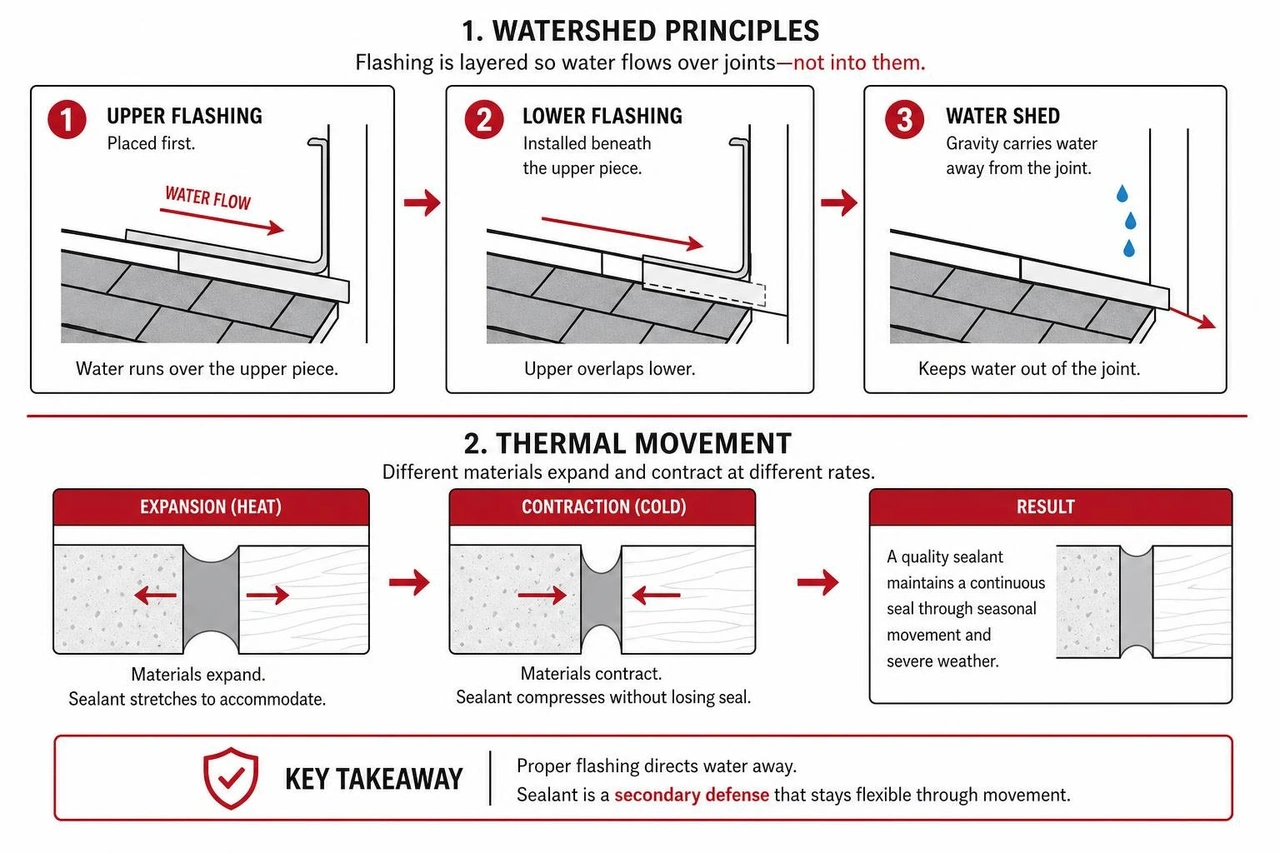
Flashing serves as the primary mechanical shield directing runoff away from vulnerable joints, valleys, and roof penetrations. Whether made of galvanized steel, aluminum, or copper, flashing pieces must always be layered in a watershed configuration. That means upper pieces overlap lower pieces so gravity carries water over the seam rather than into it.
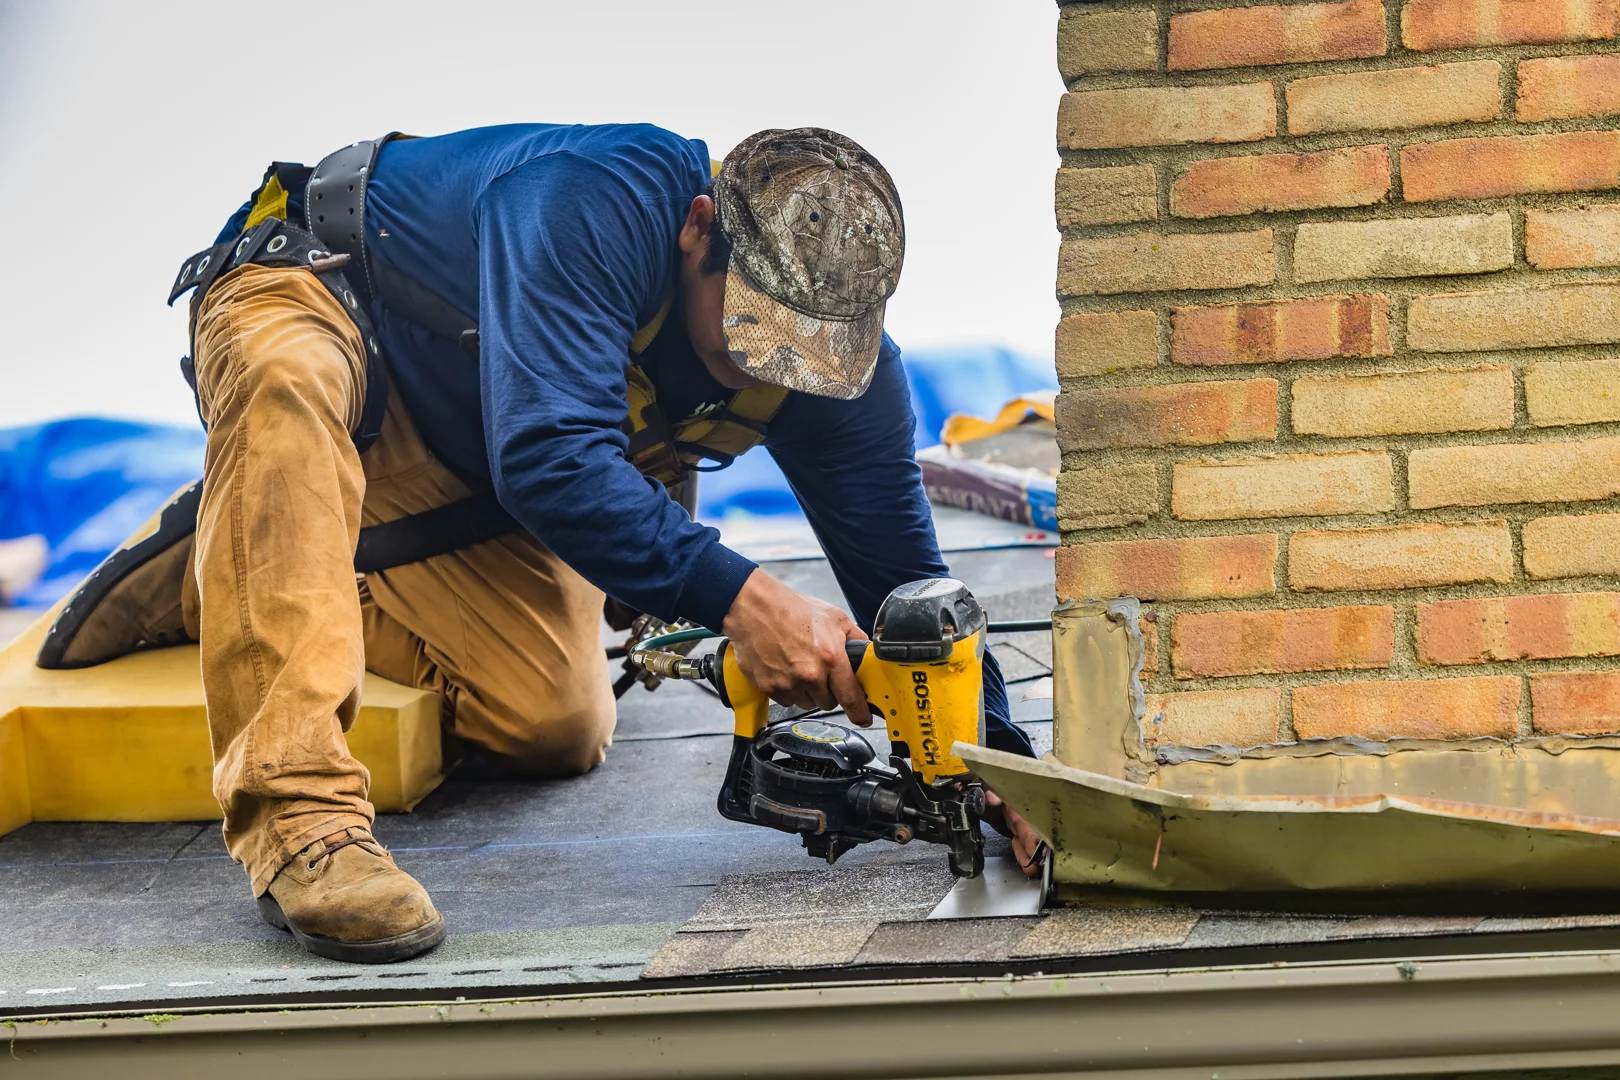
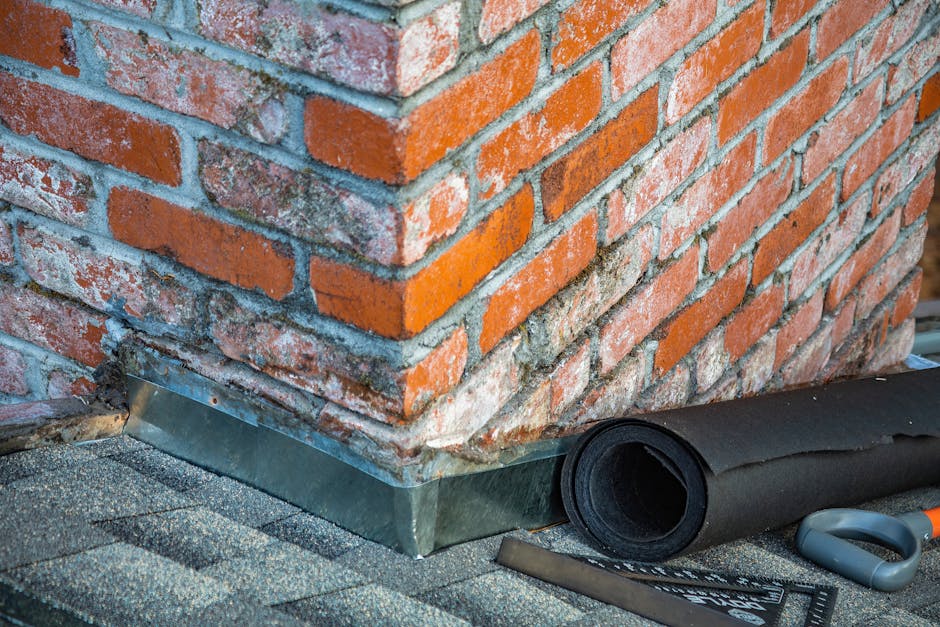
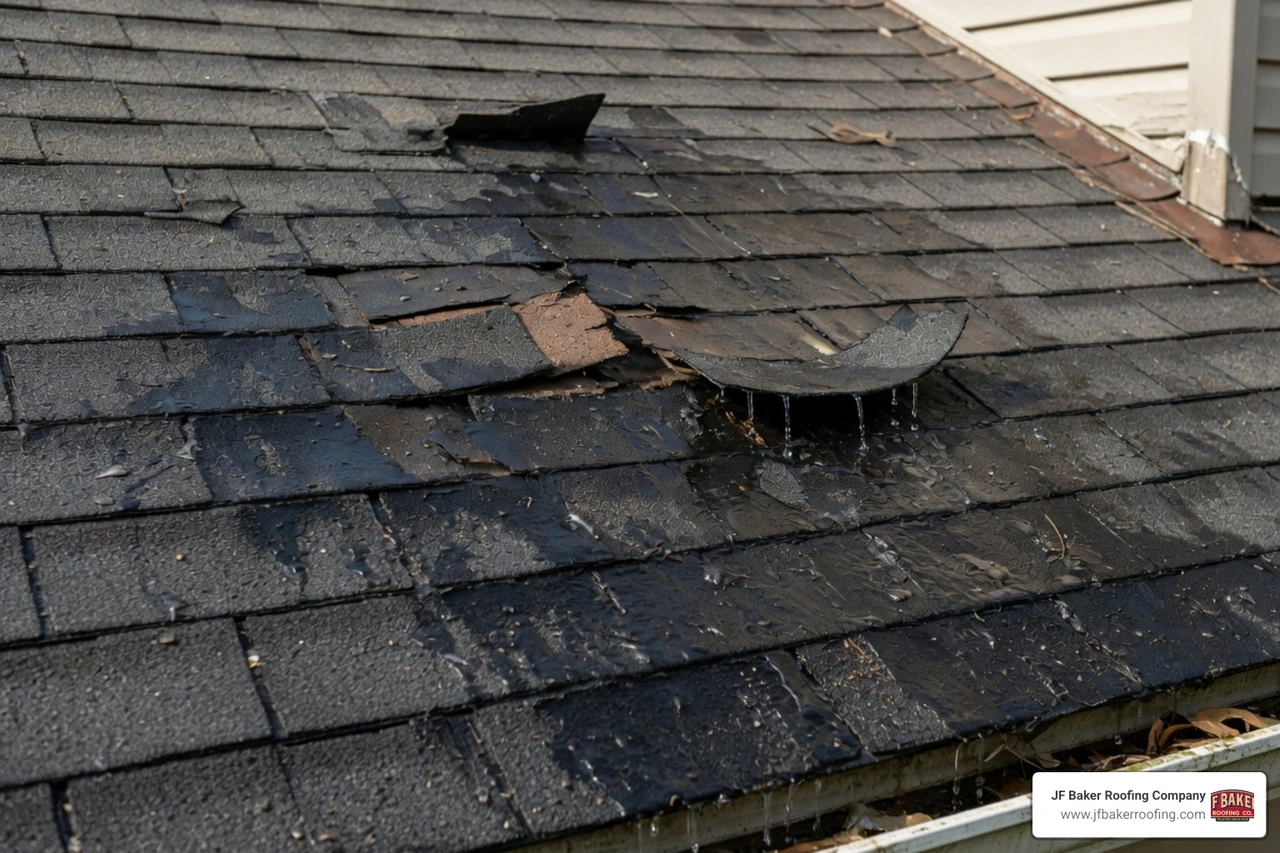
Sealants never replace proper sheet metal design. Instead, sealants act as secondary weather barriers at termination points, fastener penetrations, and counter-flashing reglets. When dissimilar building components meet, such as brick chimneys and roof decks, thermal expansion causes them to expand and contract at different rates. If water creeps behind a loose edge or wind drives rain upward, a high-performance sealant keeps moisture from rotting the roof deck beneath.
Improper detailing or using mismatched metals can also accelerate galvanic corrosion. When moisture lingers between metals like copper and aluminum, electrochemical reactions degrade the material prematurely. Quality flashing details, as outlined in our comprehensive roof flashing repair guide, depend on reliable mechanical fasteners, compatible metals, and flexible sealants that stay bonded through severe weather cycles.
Why Standard Hardware Store Caulk Fails at Flashing Joints
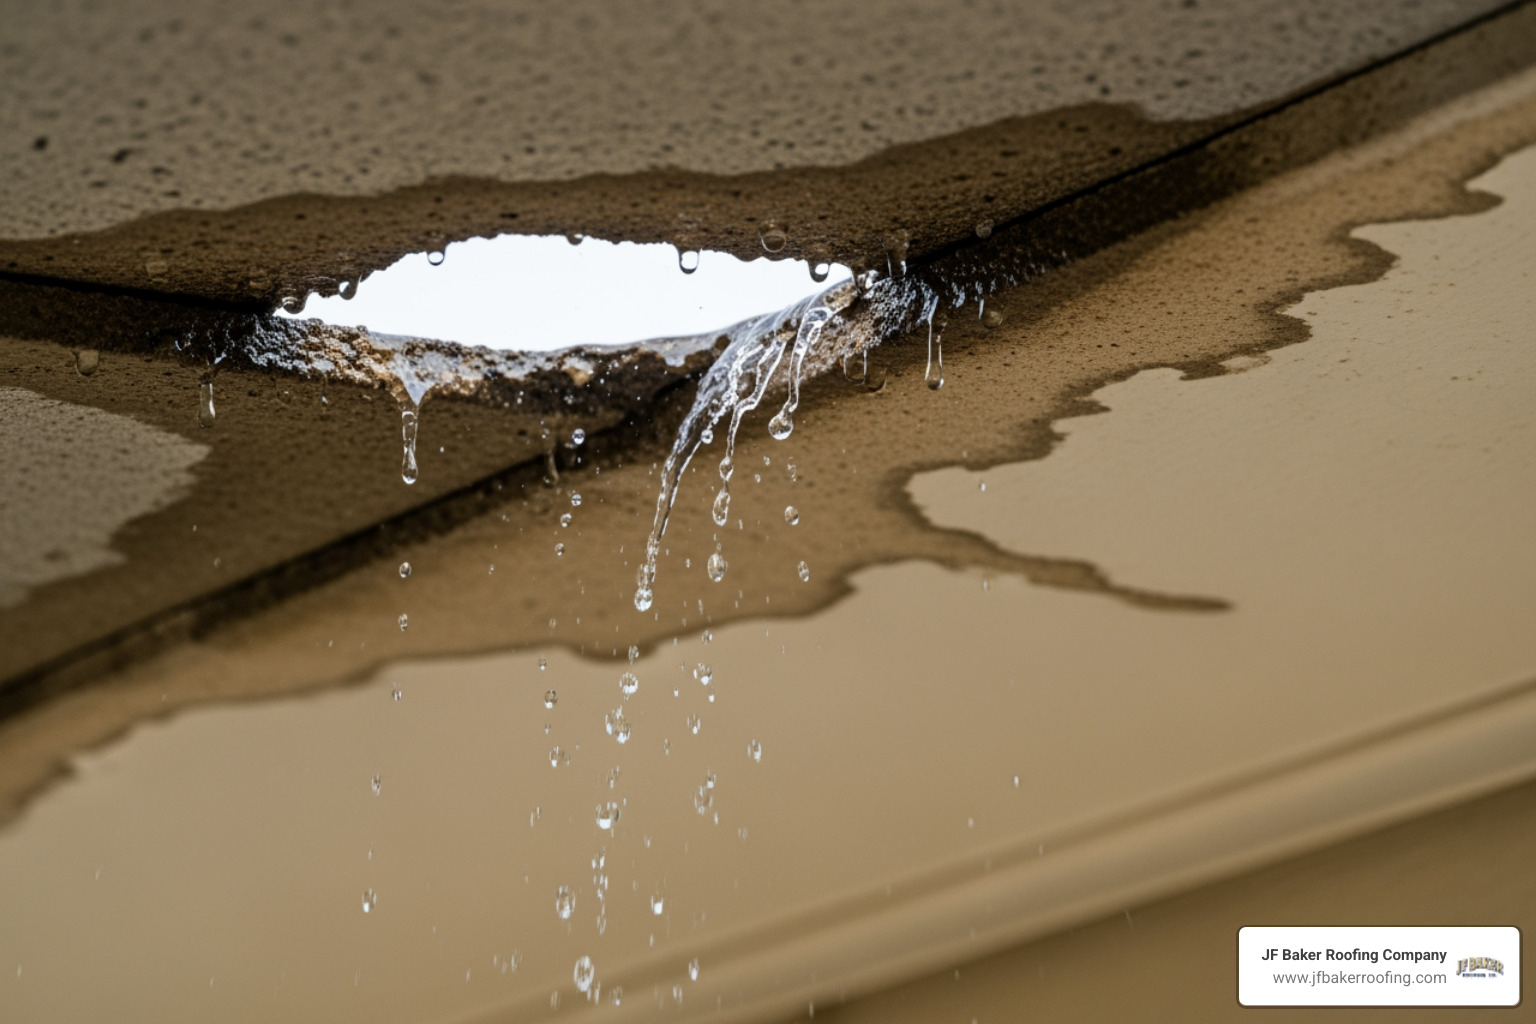
Grabbing a tube of all-purpose painter's caulk or cheap silicone from the local hardware store might seem convenient, but it is one of the quickest ways to cause a hidden leak. Standard interior and exterior acrylic latex caulks contain high water contents that evaporate during curing. This causes severe shrinkage, leaving the bead thin, brittle, and incapable of spanning joints under stress.
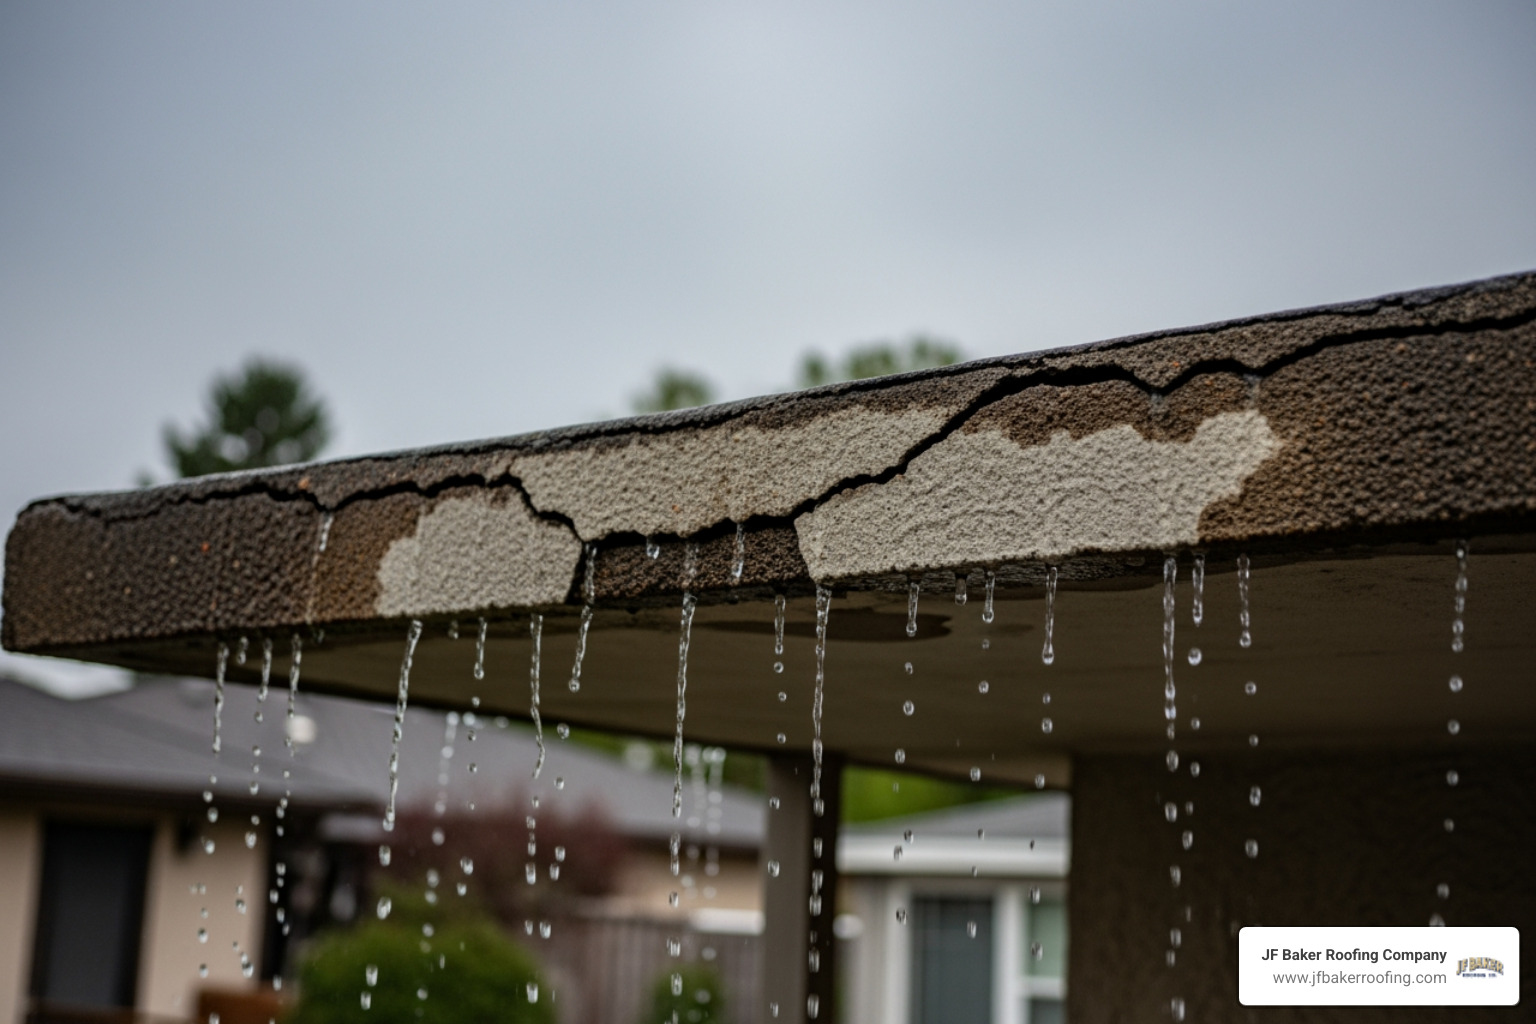
As summer surface temperatures on Central Ohio roofs climb past 140 degrees Fahrenheit and plunge below freezing in winter, metal flashing moves constantly. Acrylic caulk lacks the elongation properties needed to stretch with that movement, leading to cohesive tears right down the center of the bead within a season or two.
Silicone also presents serious drawbacks on a roof. While 100% silicone resists UV rays well, its chemical makeup has poor tear resistance and struggles to adhere to oily, oxidized, or asphalt-rich surfaces. Standard silicone cannot stick reliably to asphalt shingle oils or roofing underlayment, and once it peels away, nothing else will adhere to the silicone residue left behind without extensive grinding.
How Polyurethane Outperforms Standard Caulking for Flashing
Polyurethane sealants are engineered specifically for exterior building joints that undergo continuous dynamic movement. Unlike water-based sealants, polyurethane cures via a chemical reaction with ambient moisture. This moisture-cure process creates a dense, rubber-like polymer matrix with incredible tensile strength and permanent elasticity.
A commercial-grade polyurethane can stretch well over 300 percent of its original joint width without tearing or losing adhesion to metal, brick, or wood substrates. It provides exceptional shear resistance along moving metal seams and holds fast against intense UV exposure. When applied to chimney counter-flashing, sidewall terminations, and skylight curbs, using a dedicated high-grade flashing sealant ensures the joint stays watertight year after year.
The Superiority of Rubber Flashing Tape and Liquid Membranes
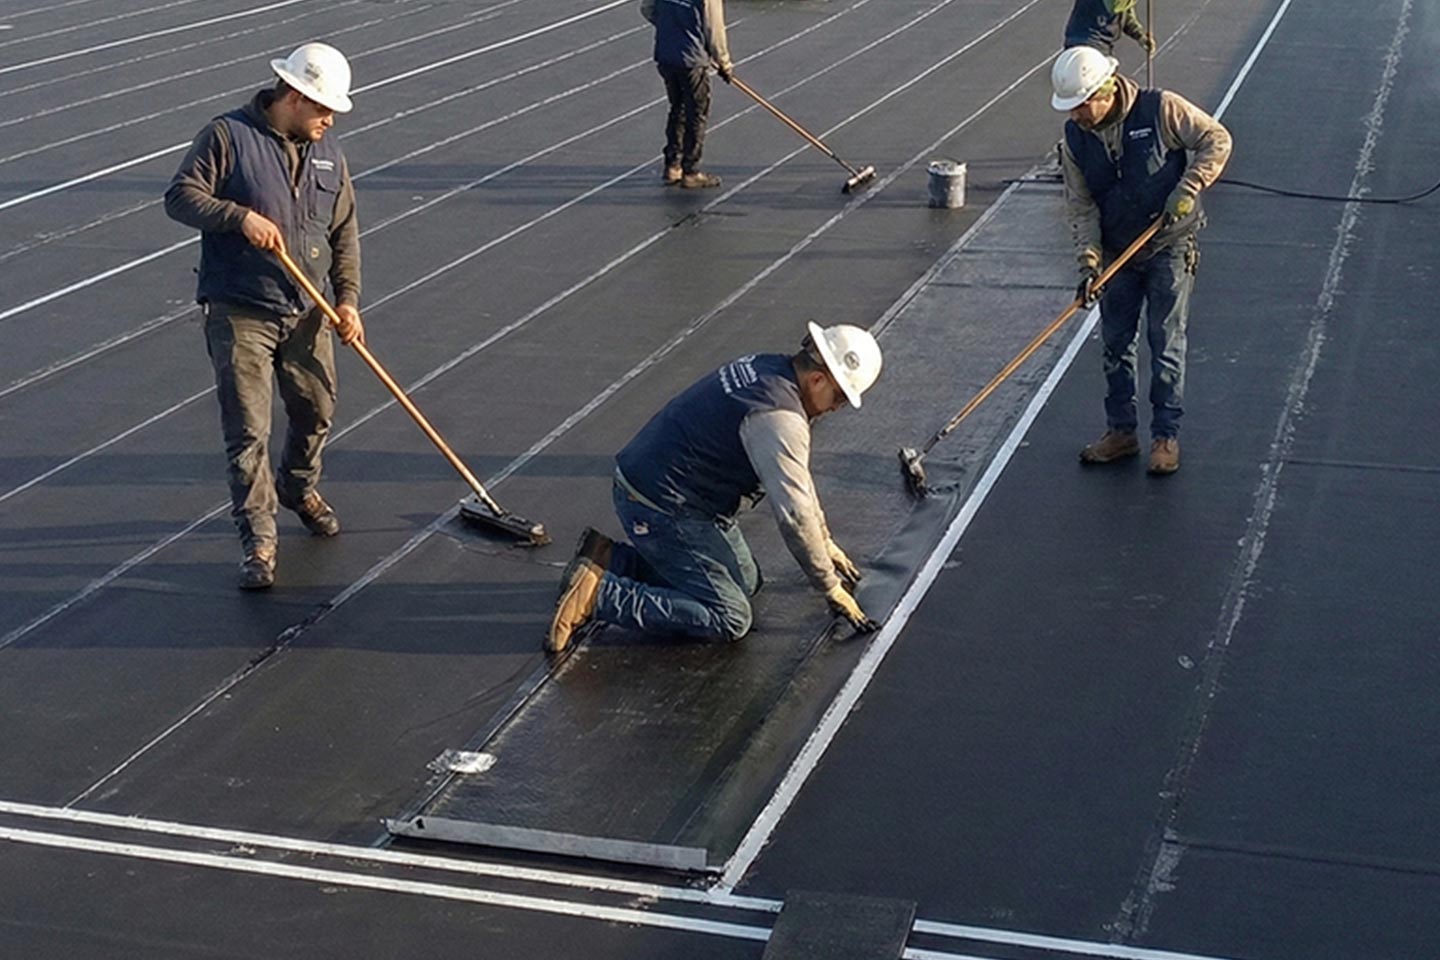
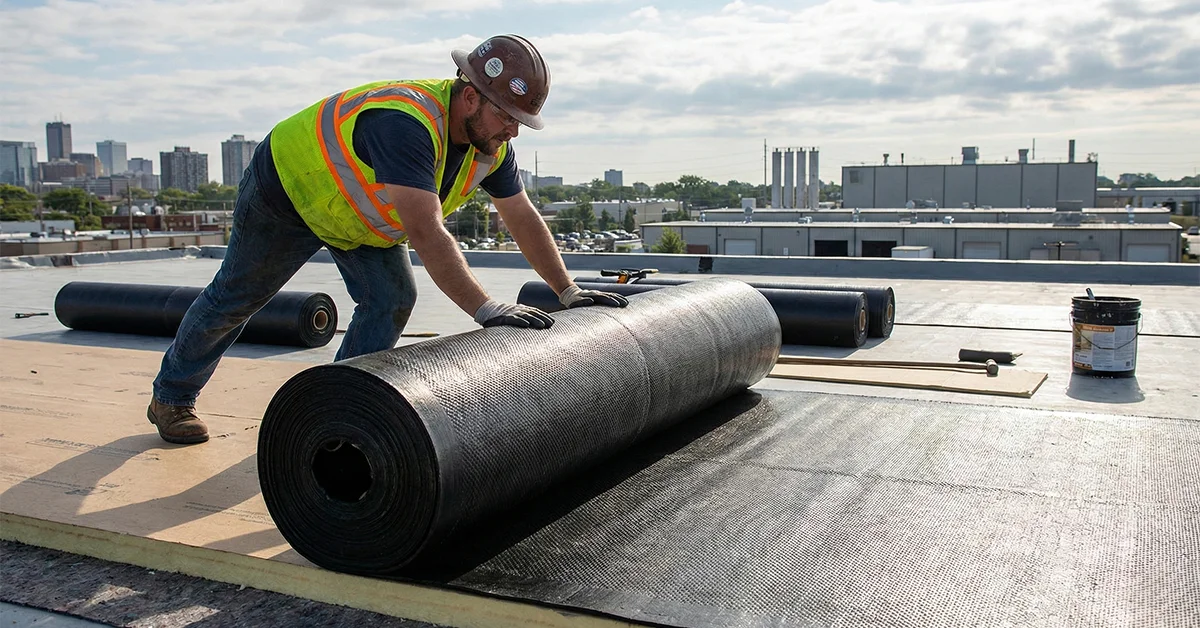
While gun-applied polyurethane beads excel at narrow joints and counter-flashing reglets, broad transitions and complex roof geometries often require wider, continuous protection. This is where self-adhered rubber flashing tapes and fluid-applied liquid membranes provide superior performance over standard caulk.
Traditional metal flashing requires precise cutting, folding, and overlapping. At complicated roof junctions, like multi-pipe clusters or curved dormers, sheet metal leaves tiny seams that invite wind-driven rain. Liquid membranes and rubber tapes bridge those gaps by creating a continuous, monolithic seal that bonds directly to the structural deck and adjacent building envelope materials.
Self-Sealing Benefits of Butyl and Rubberized Asphalt Tape
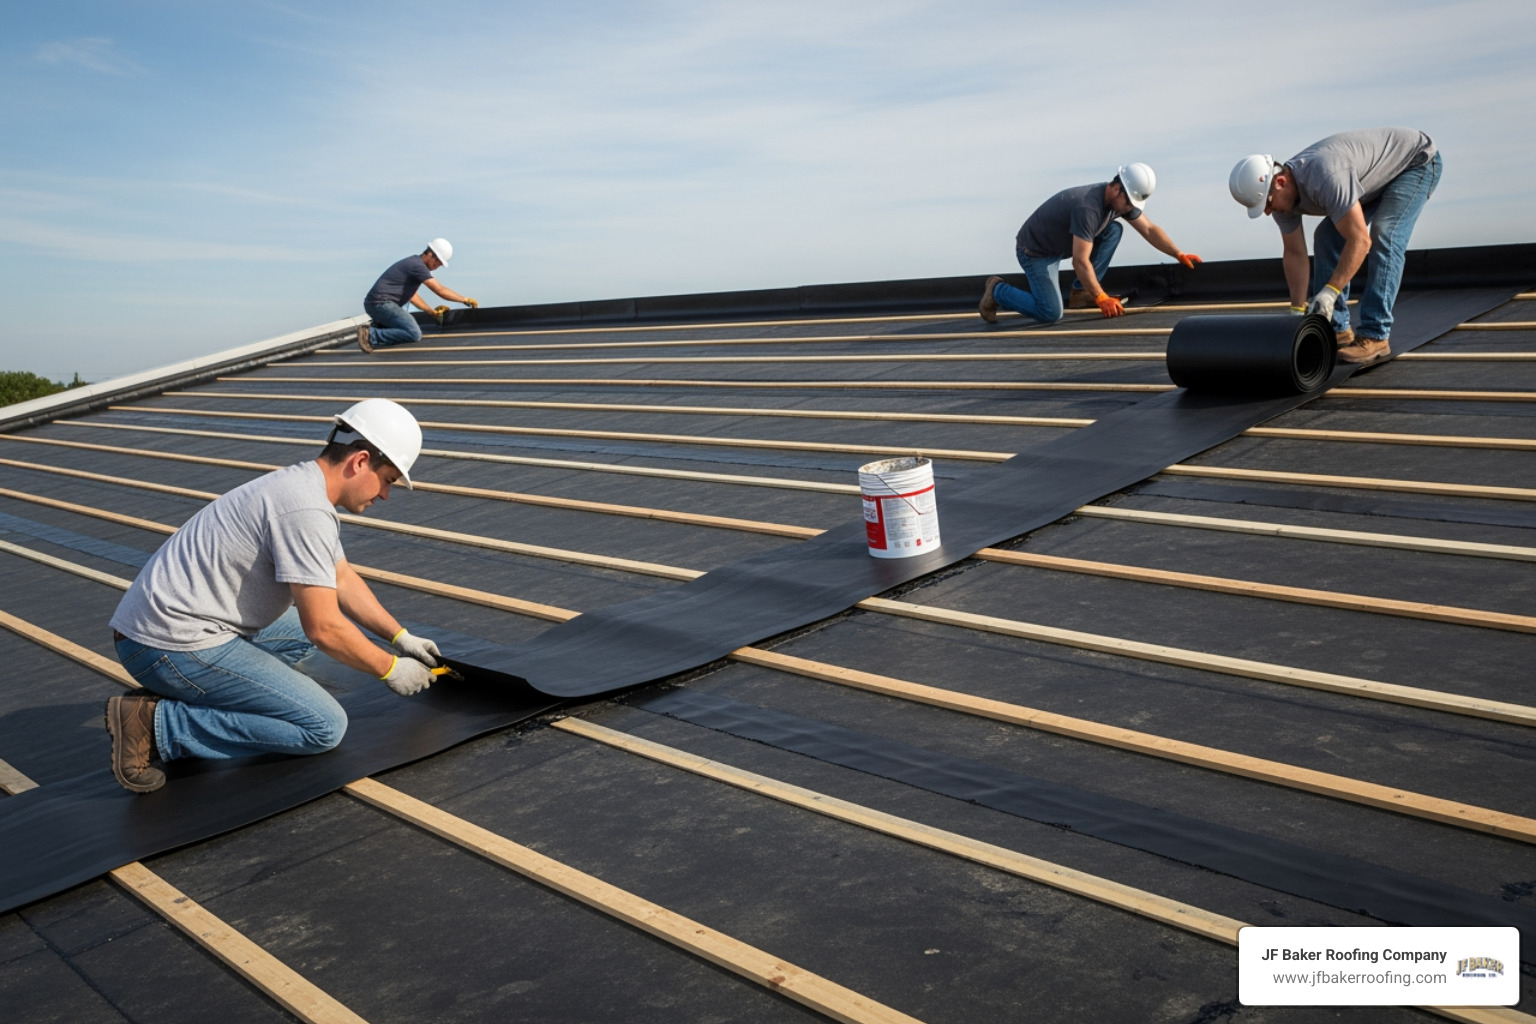
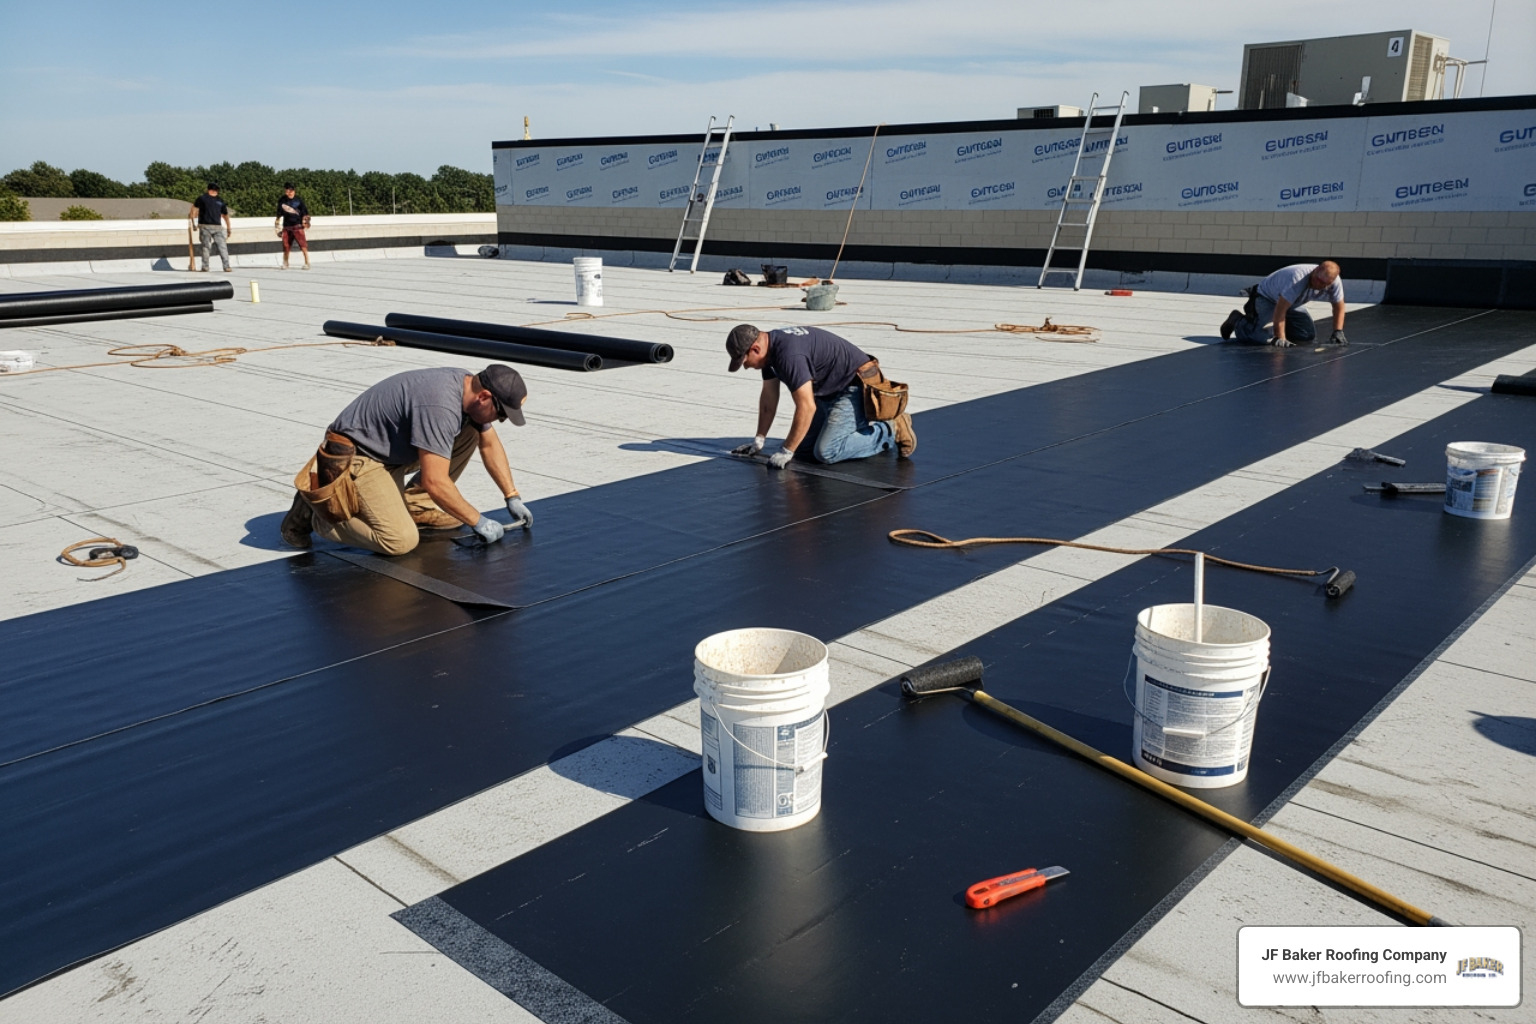
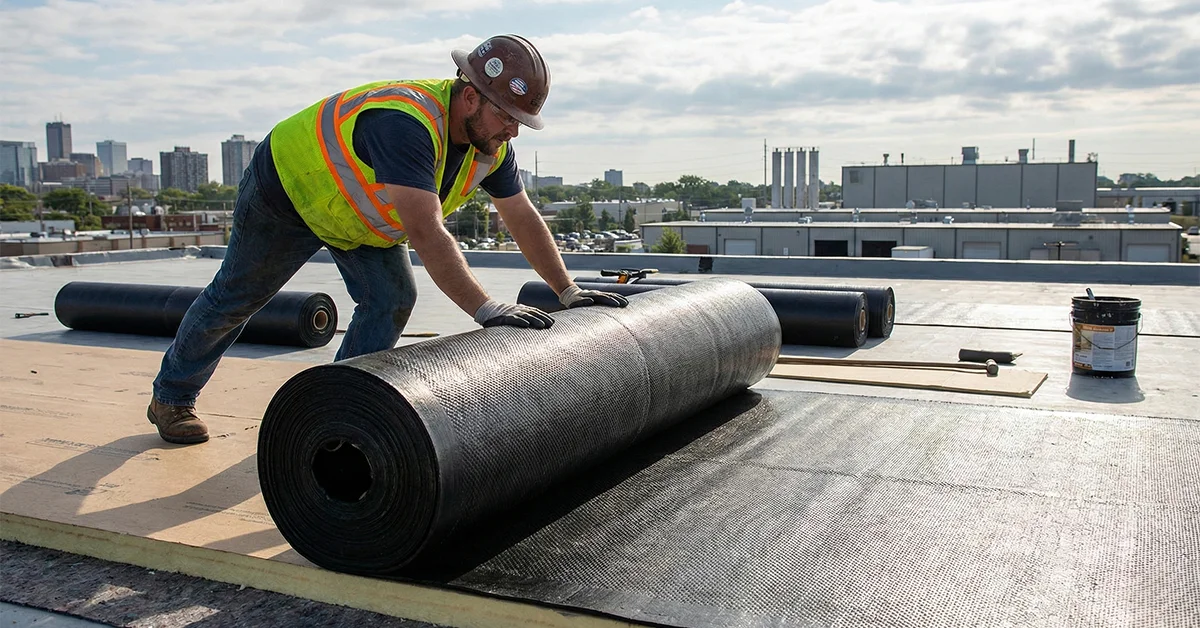
Rubber flashing tapes, particularly those made with advanced butyl compounds or modified rubberized asphalt, offer a unique advantage: they are self-sealing. Under industry standards like ASTM D1970, these high-tack membranes seal tightly around nail and screw shanks driven through them during roofing installation.
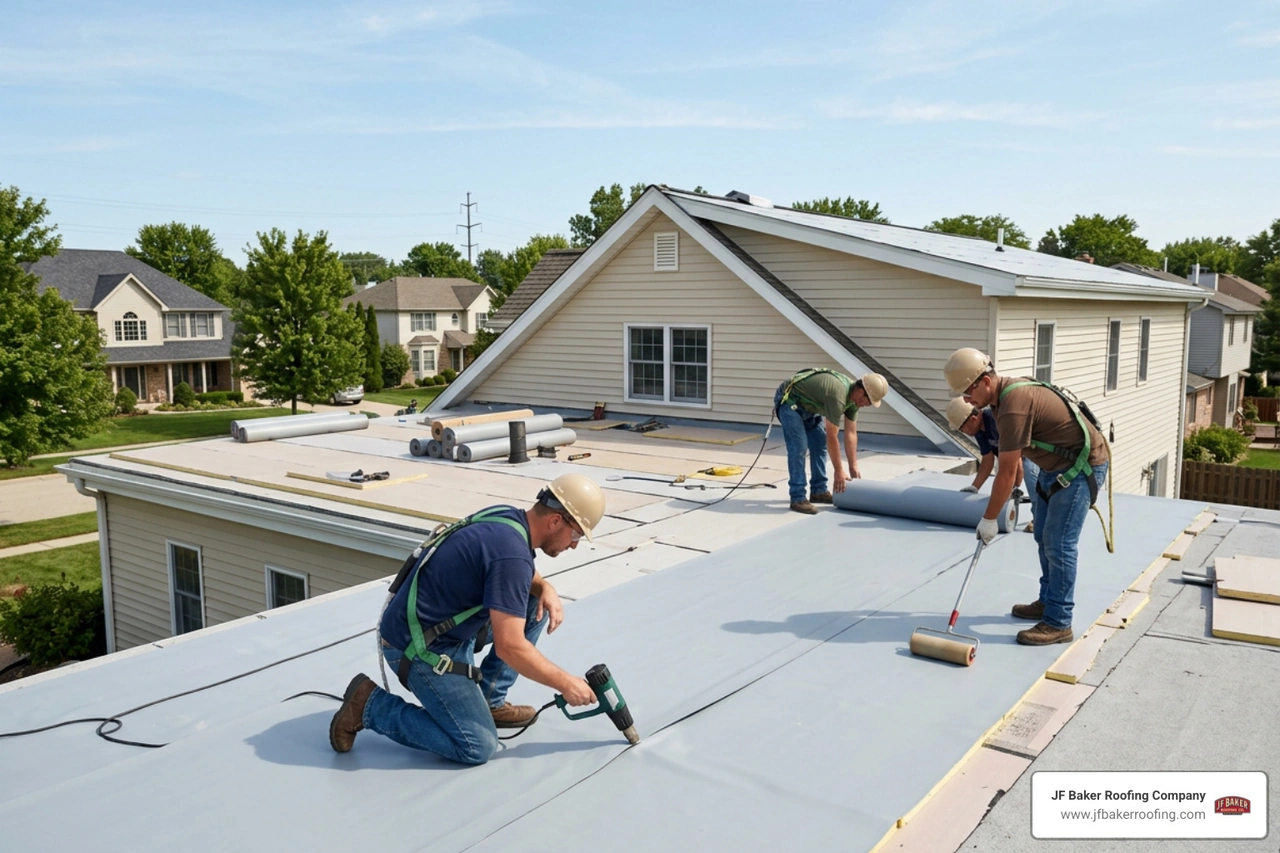
When installing roof eaves, rakes, and sidewall flashings, integrating rubber flashing tape prevents water backup caused by ice dams or severe wind. For example, when replacing damaged drip edge, applying a layer of butyl tape over the top metal flange creates an airtight, moisture-proof bridge directly to the roof deck. Butyl tapes remain flexible across extreme temperature swings, resist drying out, and do not degrade when contacting modern plastic or wood sheathing.
Liquid Flashing Membranes for Complex Roof Penetrations
Liquid-applied flashing membranes represent a major leap forward in building envelope protection. These single-component, silyl-terminated polyether (STPE) or polymethyl methacrylate (PMMA) formulations are applied with a sausage gun or brush and tooled into place over tricky transitions.
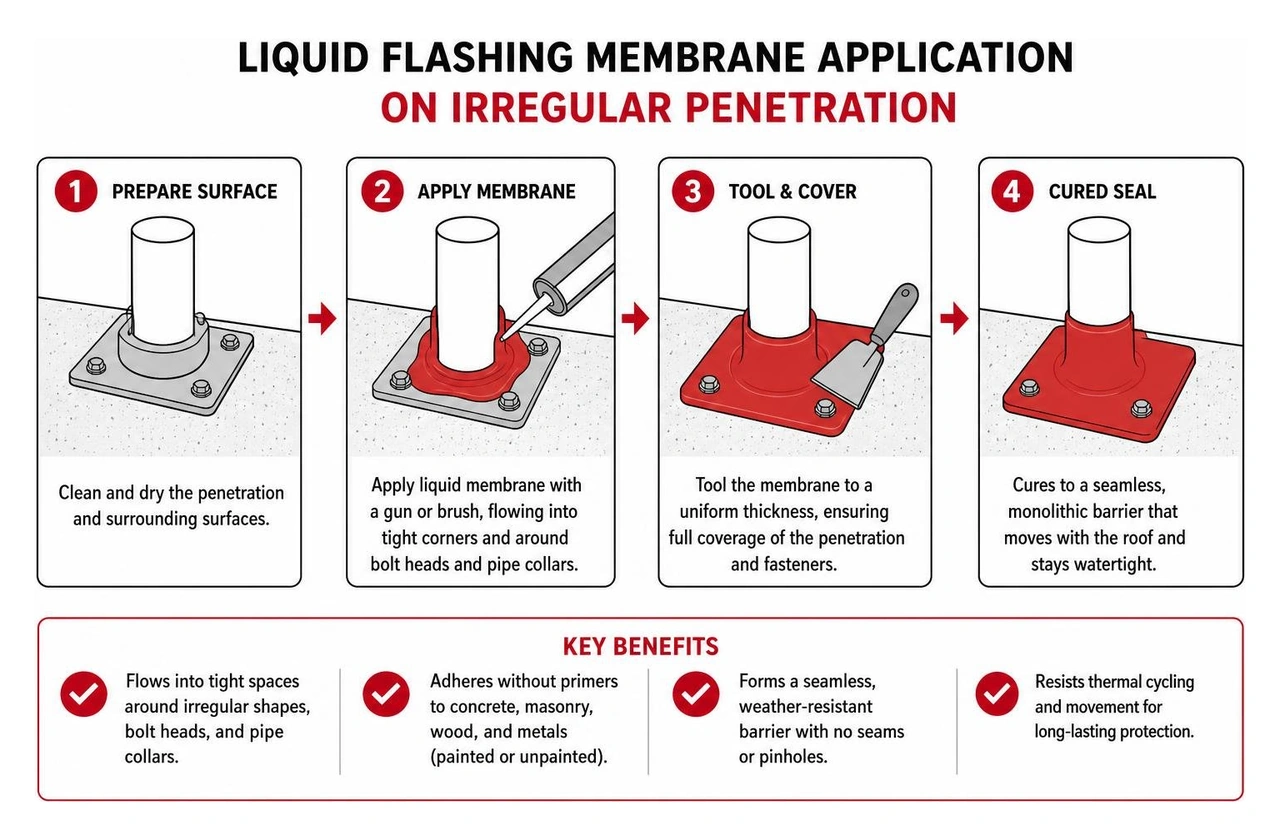
Liquid membranes flow into tight corners, around bolt heads, and over irregular pipe collars where rigid metal or pre-cut tape cannot lie flat. They adhere without primers to concrete, masonry, wood, and painted or unpainted metals. Products meeting AAMA liquid flashing specifications must prove strong adhesive bonding, nail sealability, crack bridging, and thermal cycling resistance.
Following established technical guidelines for fluid-applied flashing, these liquid barriers form a seamless weather-resistant envelope that eliminates the pinholes and overlapping seams common with older multi-piece metal kits.
Step-by-Step Guide: How to Apply Flashing Sealants and Membranes
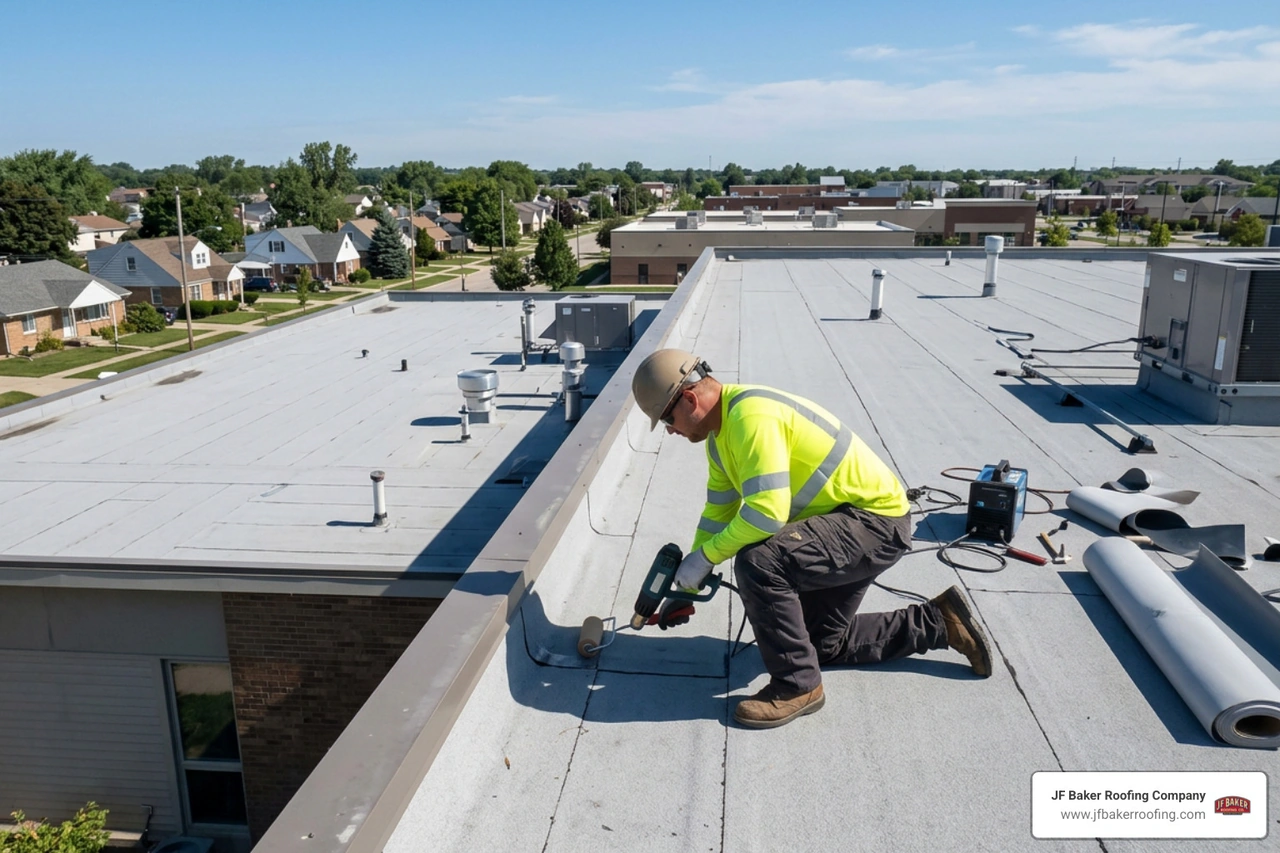
Applying roofing sealant correctly requires good technique, clean surfaces, and the right weather conditions. Even top-tier polyurethane or liquid flashing will fail if smeared over dirt, wet decking, or decaying asphalt cement.
Surface Preparation Steps Before Caulking for Flashing
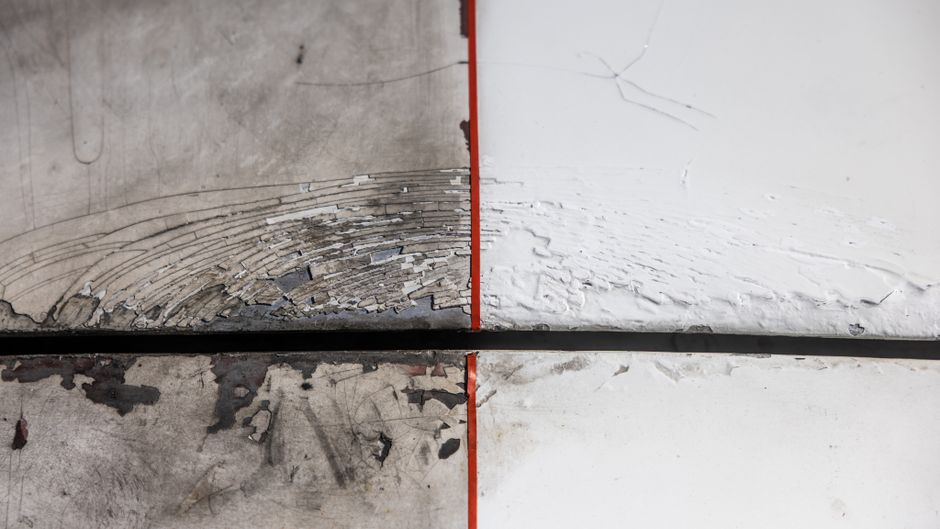
- Remove Old Sealants and Debris: Scrape away cracked plastic roof cement, old silicone, and peeling caulk using a stiff putty knife or wire brush. Sealants cannot bond to loose residue.
- Clean the Substrate: Wipe metal flashing with a residue-free solvent or cleaner to remove manufacturing oils, dirt, and oxidation. Grind or brush masonry surfaces to remove friable mortar and dust.
- Verify Dry Conditions: Substrates must be completely dry and free of frost. While moisture-cured polyethers can handle slight dampness, standing water prevents proper bonding.
- Check Temperature Limits: Ensure ambient and surface temperatures match product specifications, typically between 35 and 100 degrees Fahrenheit.
- Bridge Large Gaps: For masonry reglets or gaps wider than a quarter inch, insert a closed-cell foam backer rod before sealing to control sealant depth and prevent three-sided adhesion, as detailed in our guide on chimney flashing leak repair.
Proper Tooling and Detailing Techniques
To achieve a long-lasting seal, apply the sealant in a smooth, continuous bead along the joint. Avoid leaving voids, bubbles, or discontinuous spots where water could enter.
Tool the bead immediately using a curved spatula or jointing tool. Tooling forces the sealant firmly against both sides of the joint, eliminating trapped air pockets and creating an hourglass bead profile that distributes expansion stresses evenly. For liquid-applied membranes, use a wet-mil gauge to verify you reach the recommended 30 to 60 wet mils thickness, ensuring the coating is fully opaque and free of pinholes. Proper tooling is critical at roof peaks and edges to avoid preventing metal roof ridge cap leaks during heavy seasonal storms.
Frequently Asked Questions About Roof Flashing Sealants
Can I use regular 100% silicone caulk on roof flashing?
No, regular 100% silicone is generally not recommended for roof flashing details. Silicone does not bond reliably to asphalt-based shingles or oily metal surfaces, and it cannot be painted. Once thermal expansion causes the metal flashing to pull away from the roof, silicone loses its bond and leaves an oily film that prevents other sealants from sticking. Polyurethane or hybrid polyether sealants provide far better adhesion and durability on roofs.
How long does polyurethane flashing sealant last compared to standard caulk?
A properly applied, commercial-grade polyurethane flashing sealant typically lasts 15 to 20 years under normal weather conditions. In contrast, standard household acrylic or cheap utility caulks exposed to sun, rain, and snow often crack, shrink, and fail within 1 to 2 years.
When should I use rubber flashing tape instead of liquid sealant?
Rubber flashing tape works best on broad, flat transitions, such as roof-to-wall step flashing bases, valley underlayment seams, and roof deck joints around skylights. Liquid flashing membranes or gun-grade polyurethanes are better suited for vertical joints, irregular pipe penetrations, masonry reglets, and tight corners where tape would wrinkle or pull away from the substrate.
Conclusion
A leak-free roof relies on a complete building envelope system where flashing metals, self-sealing rubber tapes, and flexible polyurethanes work together. Skipping proper surface preparation or using cheap, short-lived caulks on roof joints almost always leads to premature water damage and costly deck repairs. Choosing commercial-grade sealants and correct installation methods protects your home against the harshest weather.
At JF Baker Roofing, we have been serving Central Ohio since 1929. Led by third-generation owners Chad and Pat Baker, our family-owned company brings nearly 100 years of hands-on experience to every residential and commercial project. As a CertainTeed ShingleMaster Preferred Contractor, NRCA member, and BBB Accredited Business with an A+ rating, we take pride in honest assessments, transparent pricing, and no high-pressure sales tactics. Whether you need residential roofing, commercial roofing, roof repair, roof replacement, storm damage repairs, gutter installation, or custom sheet metal work, we recommend repairs when repairs suffice and replacement only when genuinely needed.
We stand behind every roof we install across Columbus and surrounding communities, including Dublin, Upper Arlington, Hilliard, Grandview Heights, Worthington, and Westerville. If you suspect an issue with your roof flashing or want to explore our expert roof flashing sealant solutions, reach out to our team today for straightforward advice and dependable craftsmanship.









.jpeg)