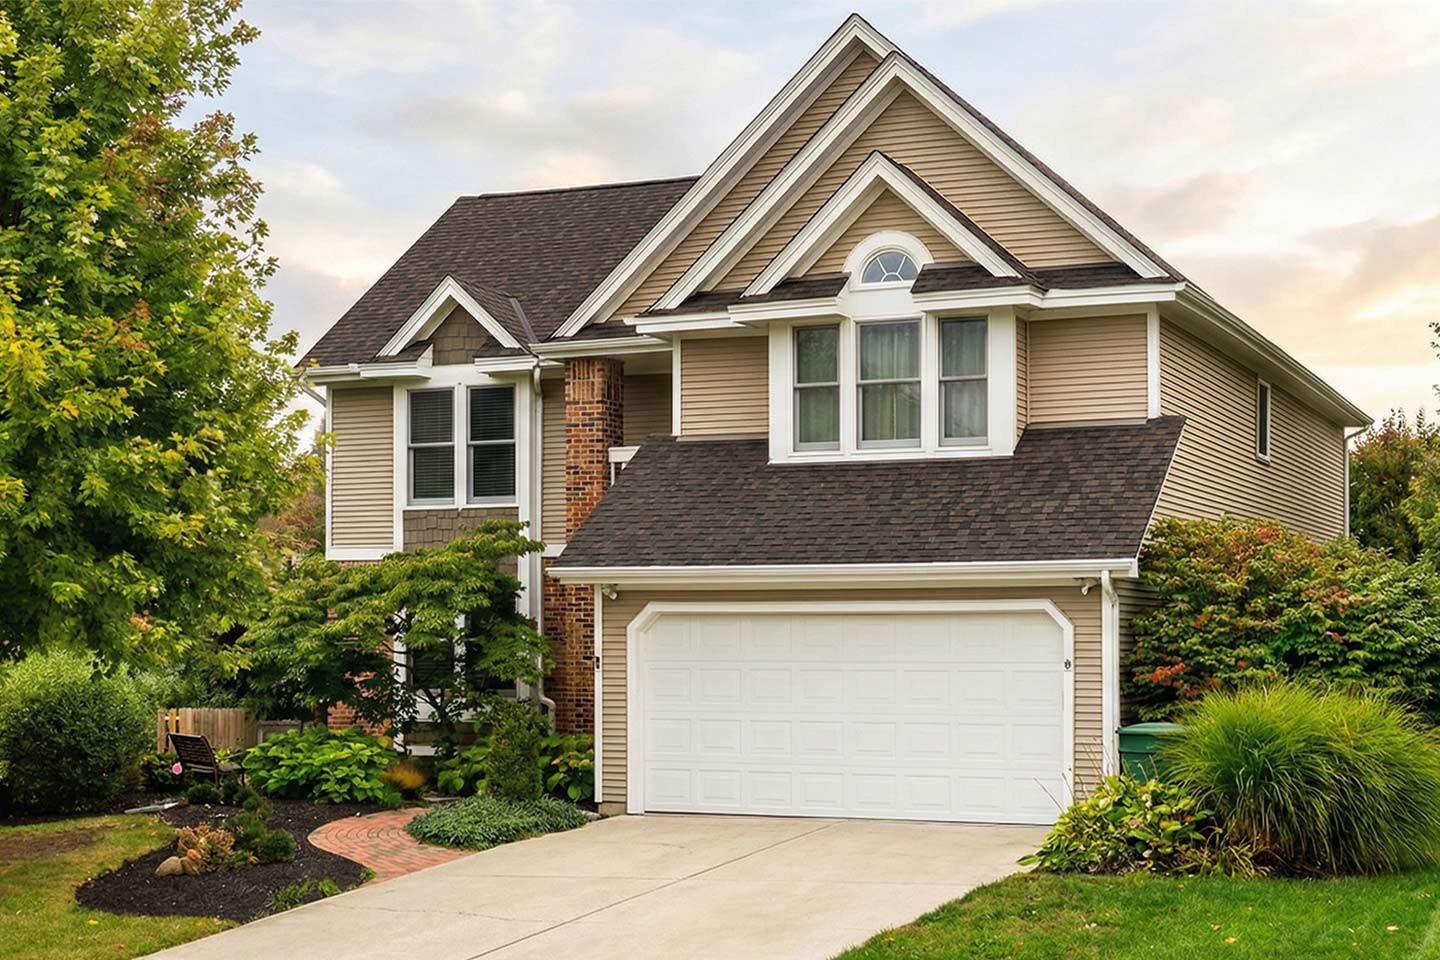
Can You Replace a Drip Edge Without a New Roof?
Understanding the Purpose of Roof Flashing
Replacing a drip edge is something most homeowners can do on an existing roof without tearing everything off and starting over. Here is a quick look at what the process involves:
How to replace drip edge on an existing roof:
- Work on a warm day (above 50°F) so shingles stay flexible
- Gently lift shingle tabs along the roof edge using a flat pry bar
- Remove the nails holding the old drip edge in place
- Slide out the old drip edge and discard it
- Tuck the new drip edge under the shingles and over the fascia
- Nail it every 12 inches and overlap sections by at least 2 inches
- Reseal lifted shingle tabs with roofing cement
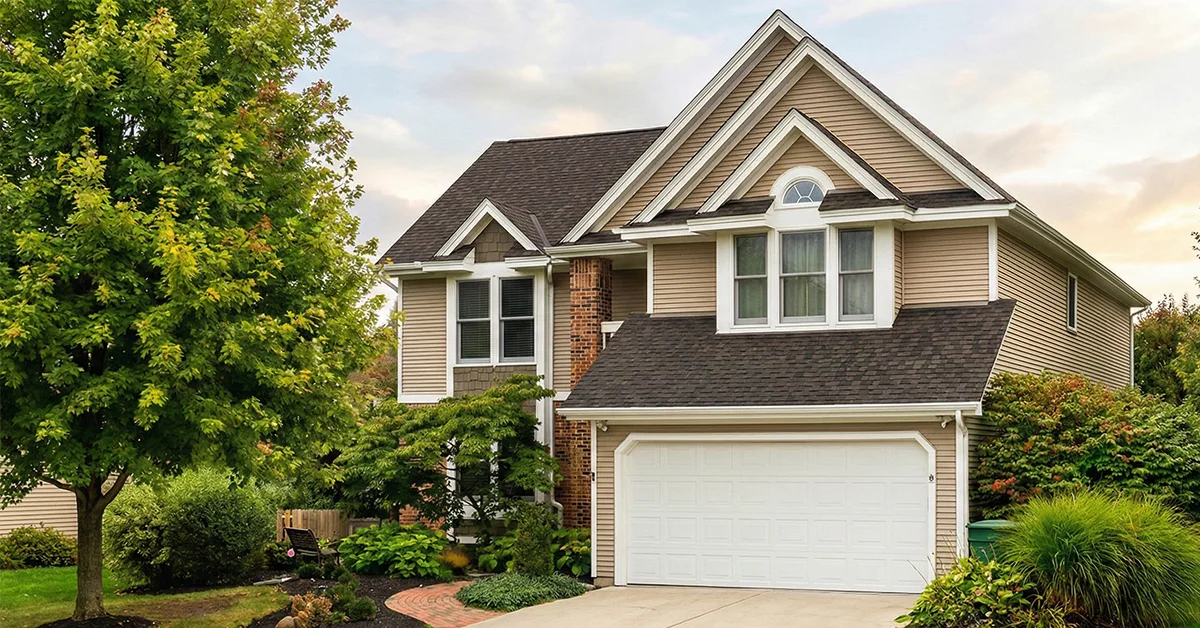
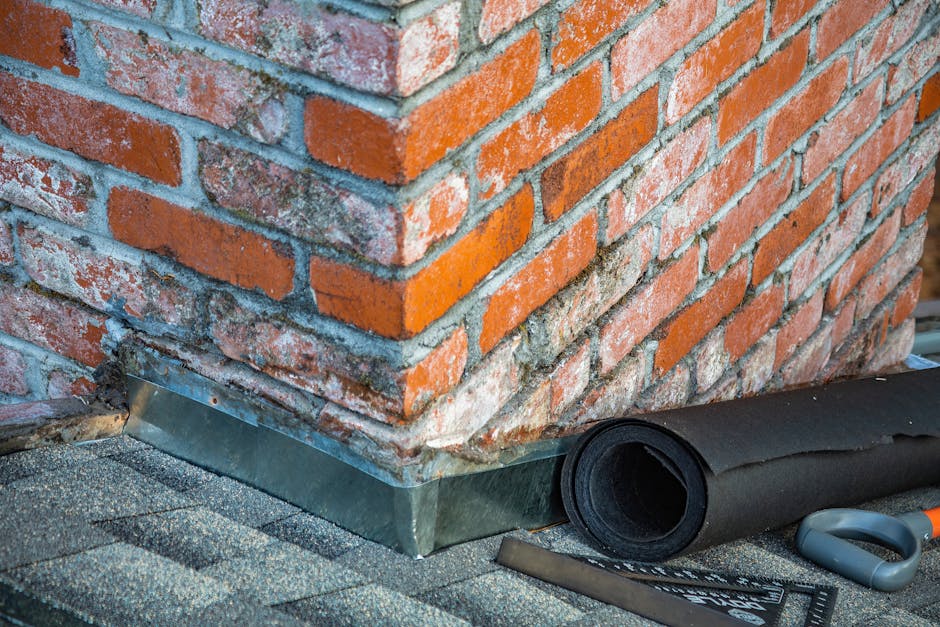
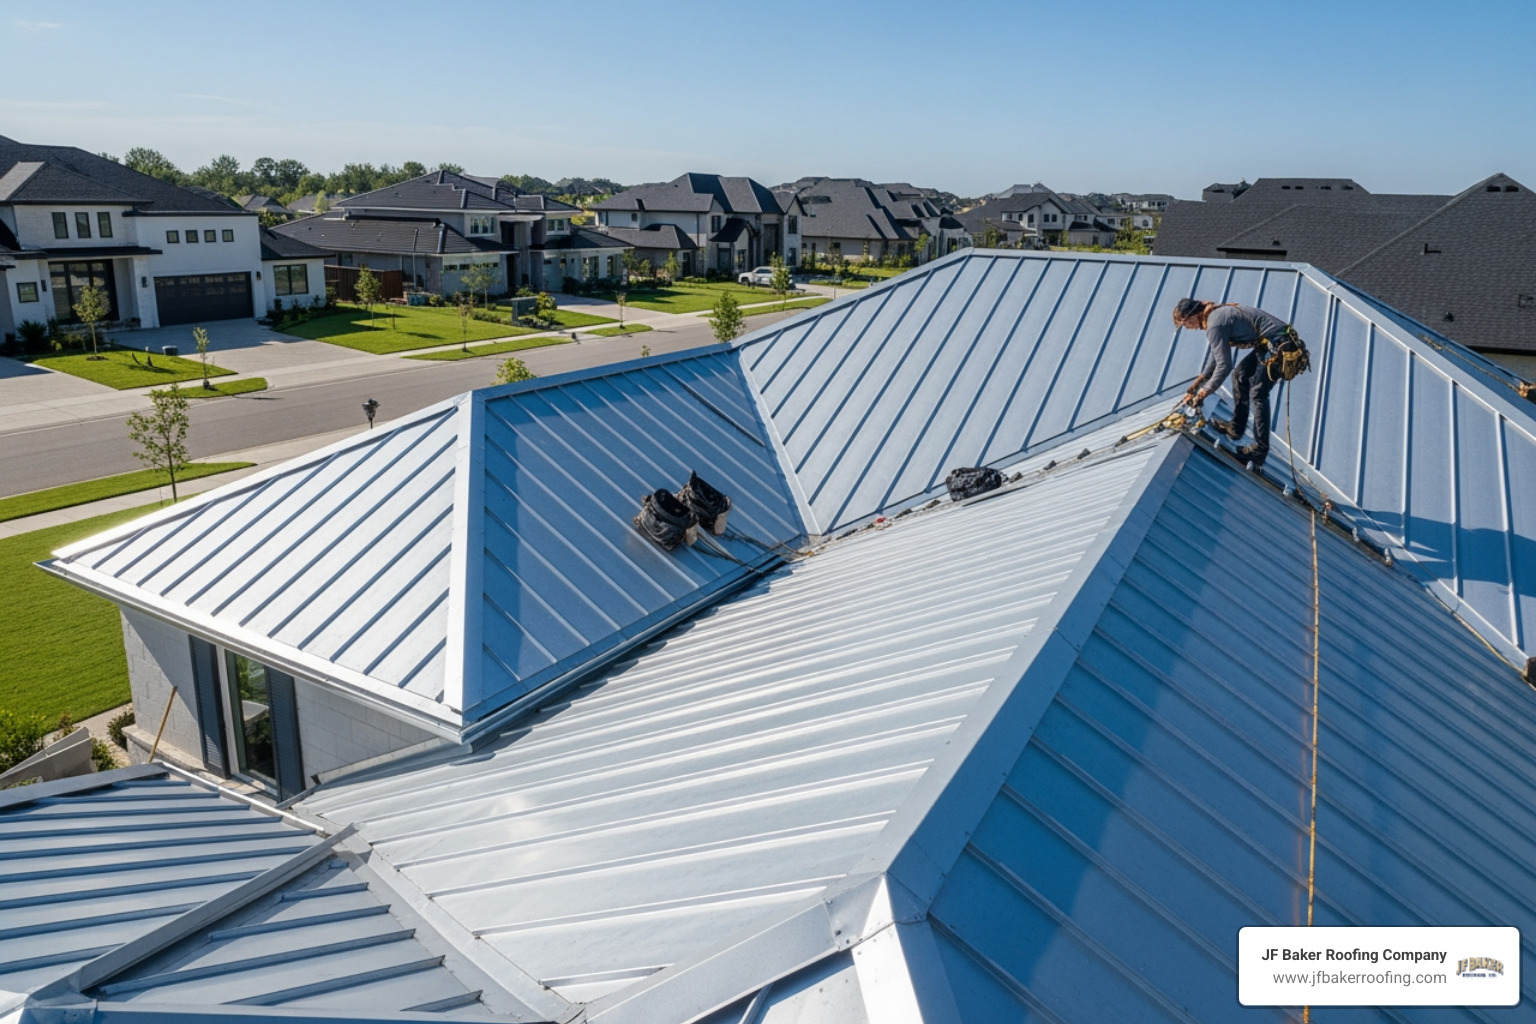
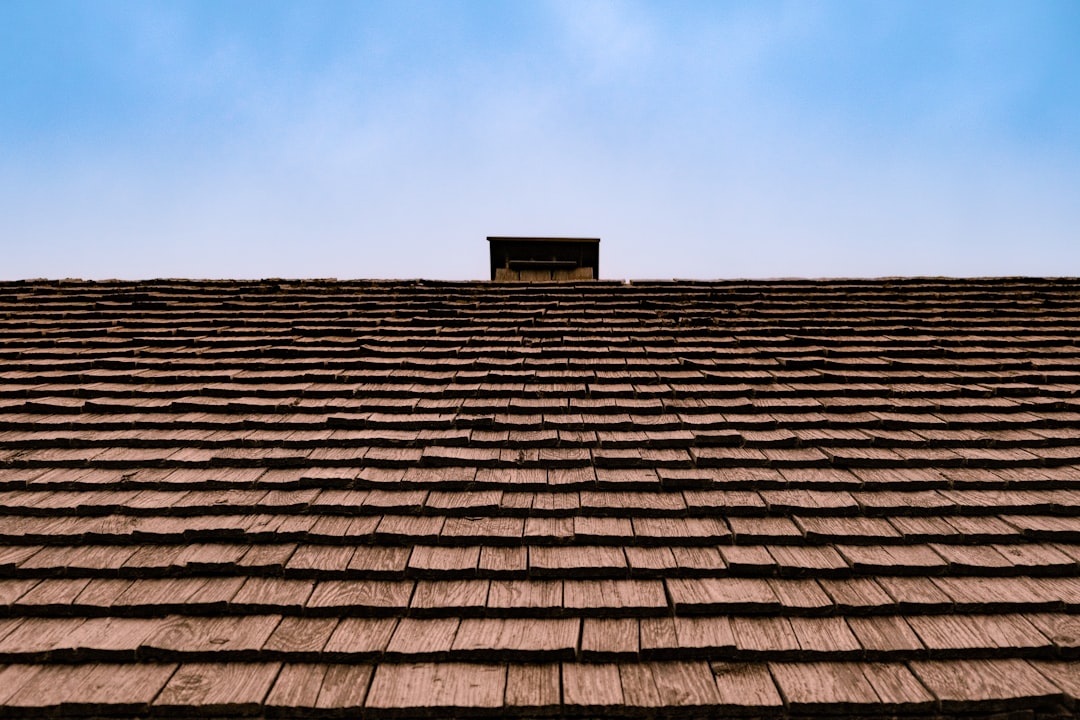
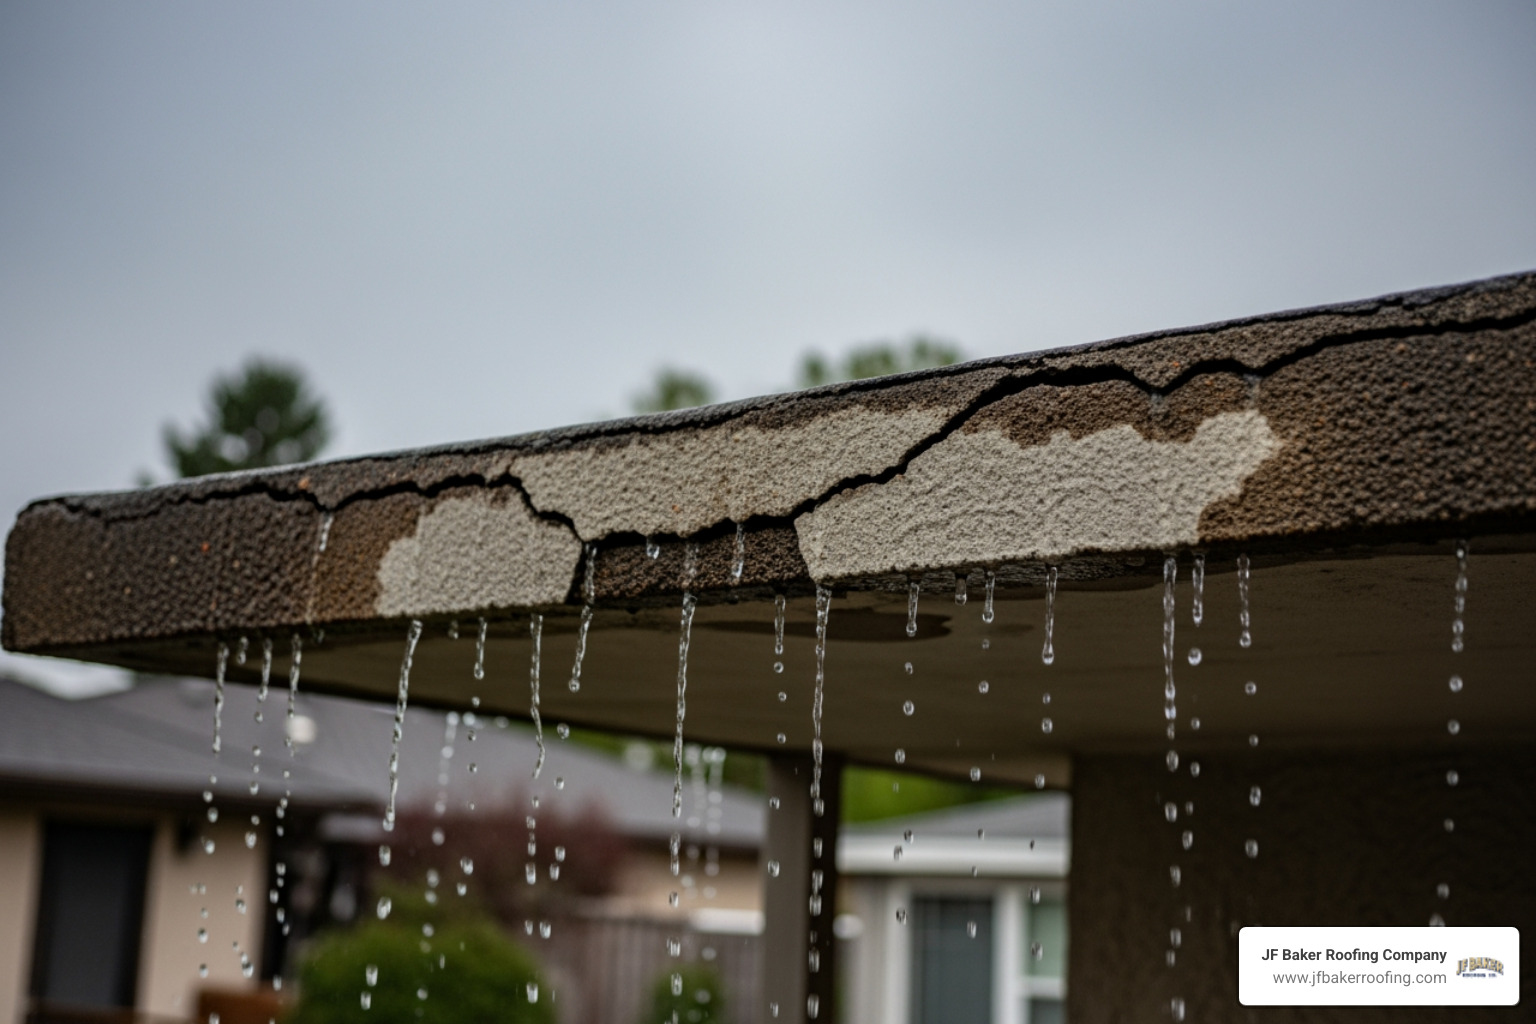
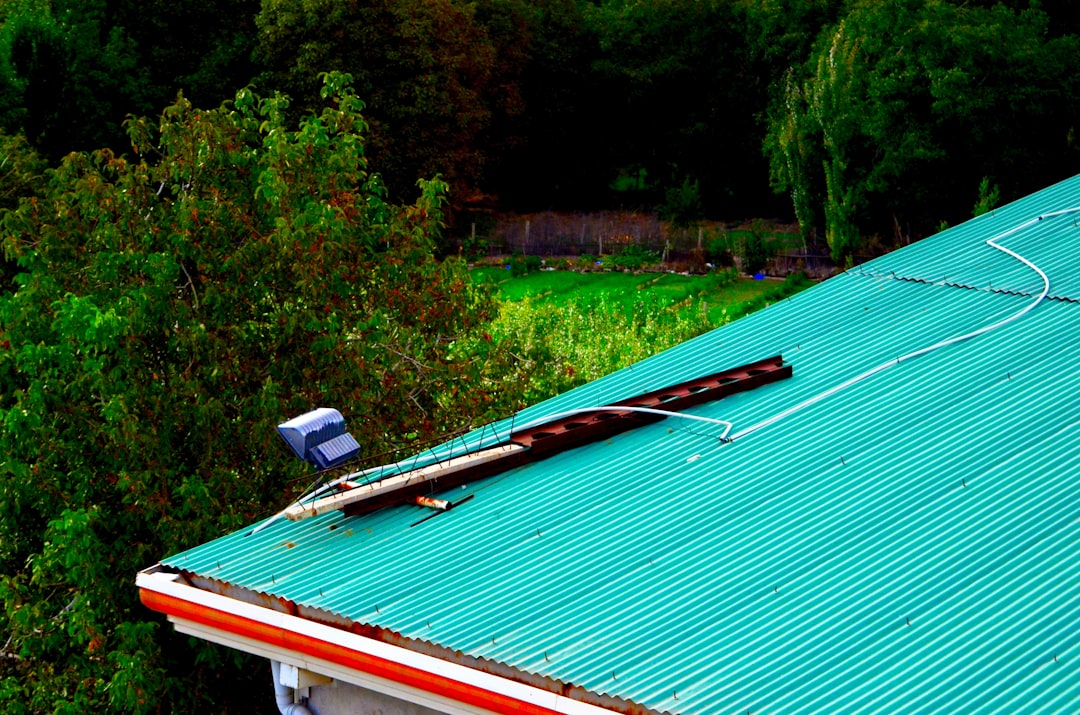
Here in Central Ohio, the freeze-thaw cycles of an Ohio winter are hard on every part of a roof, and the drip edge takes a lot of that punishment quietly. It is a small metal strip along the roof's edge, but it does a big job. It channels water away from your fascia, keeps moisture from wicking under your shingles, and helps prevent the kind of rot and ice dam damage that turns a minor repair into a major expense.
The good news is that a damaged or missing drip edge does not mean you need a full roof replacement. In most cases, it can be replaced on its own.
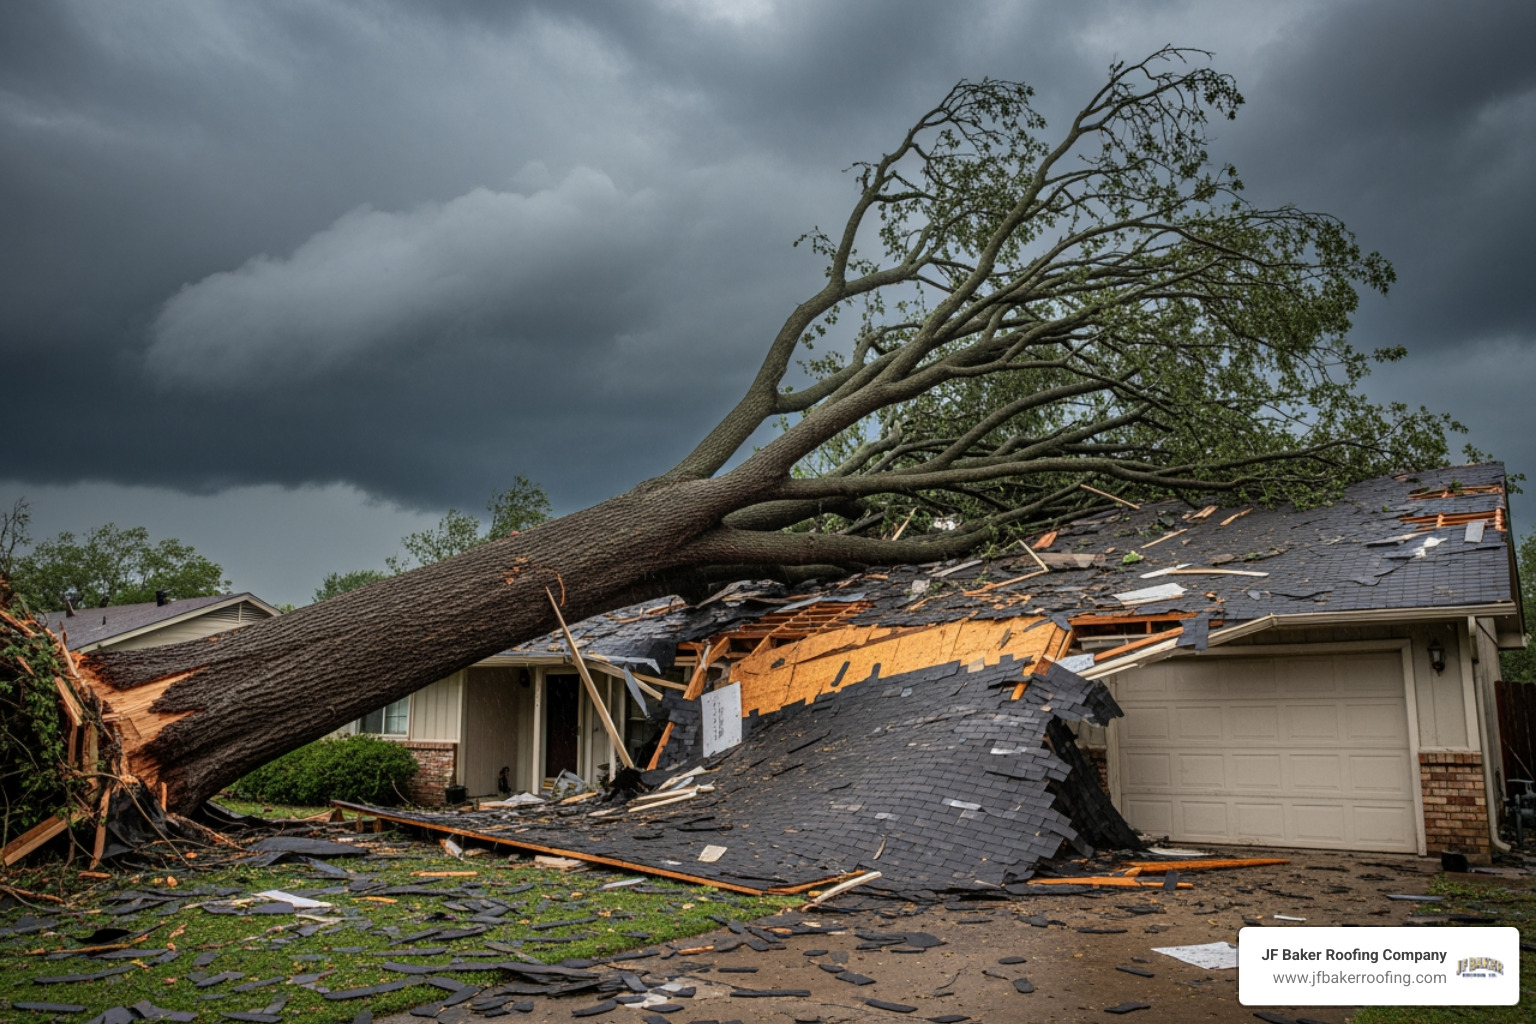
At JF Baker Roofing, we have been taking care of Columbus-area roofs since 1929, and this is one of the repairs we see often, especially after a rough winter or spring storm season. This guide will walk you through everything you need to know to make a smart decision about your drip edge, whether you plan to handle it yourself or want an honest assessment from a local crew you can trust.
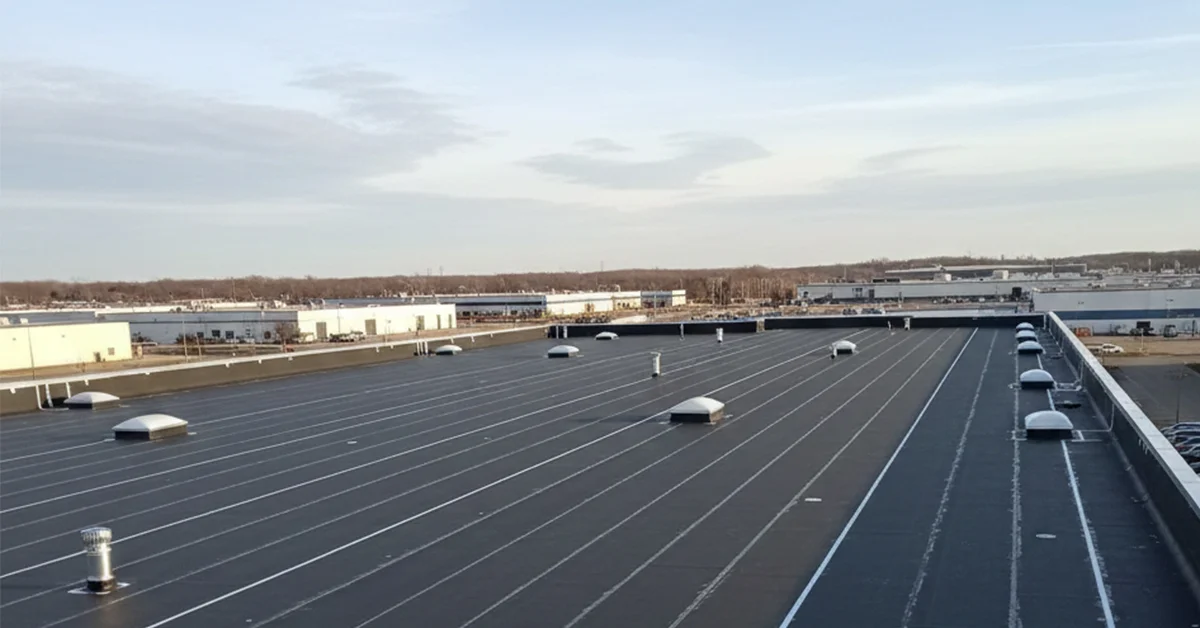
When we talk about Residential Roofing, we often focus on the shingles, but the metal flashing is what actually keeps the water moving in the right direction. The drip edge is a specific type of flashing installed along the perimeter of your roof. Its primary job is to direct water away from the fascia board and into your gutters. Without it, water tends to "cling" to the edge of the shingles and run down the face of your house, leading to wood rot, mold, and even foundation issues over time.

In Central Ohio, the drip edge plays a starring role in ice dam prevention. During our winters, snow melts on the upper parts of the roof and refreezes at the cold eaves. A properly installed drip edge provides a smooth path for that water to exit the roof rather than backing up under the shingles. It also acts as a physical pest barrier, sealing the small gap between the roof deck and the fascia board where squirrels, bats, or stinging insects might try to set up shop in your attic.
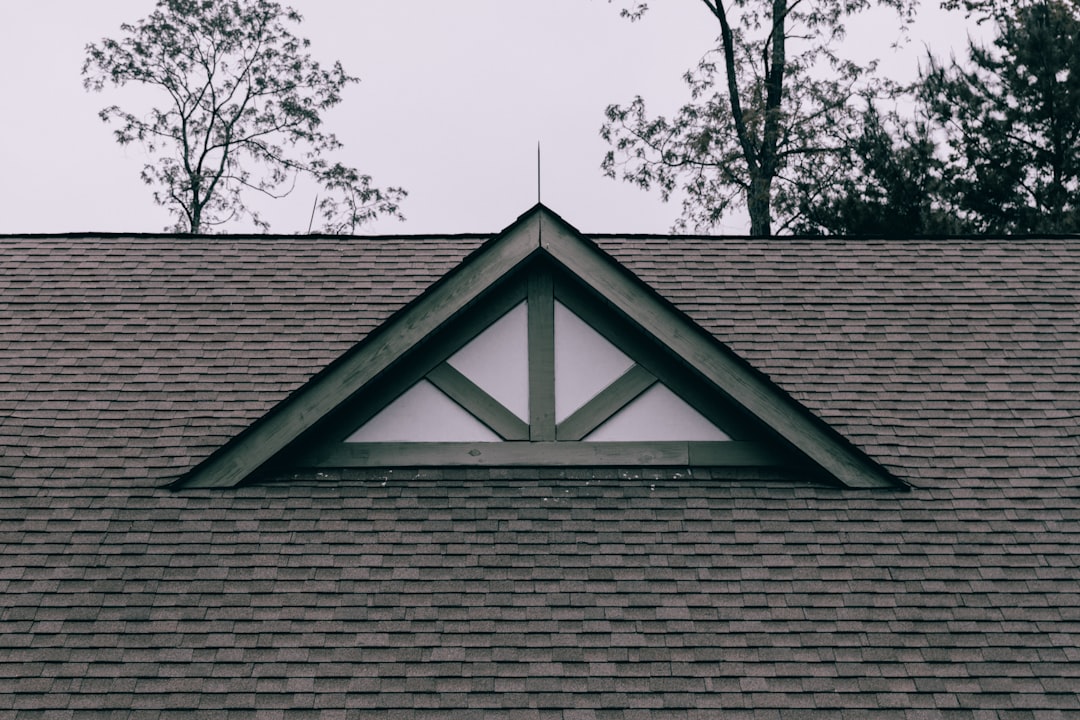
Difference Between C, D, and F Styles
Not all drip edges are shaped the same. Depending on your roof's age and the specific needs of your home in areas like Dublin or Upper Arlington, you might encounter three common styles:
- Type C (L-Style): This is the classic "L" shape. It is a simple 90-degree bend that sits on the roof deck and wraps over the fascia. While common on older homes, it doesn't always provide the best "kick" to get water into the gutter.
- Type D (T-Style): Often recommended by the Asphalt Roofing Manufacturers Association (ARMA), this style has a "D" or "T" shaped profile with a prominent flange at the bottom. This flange creates a drip point further away from the fascia, which is excellent for preventing capillary wicking (where water travels upward or backward against gravity).
- Type F (Gutter Apron): This style has a longer leading edge that reaches further down into the gutter. It is often used as a retrofit on existing roofs because it is very effective at bridging the gap between the roof and the gutter system.
You can learn more about drip edge types to see which might be the best fit for your specific gutter setup.
Signs You Need to Replace Drip Edge
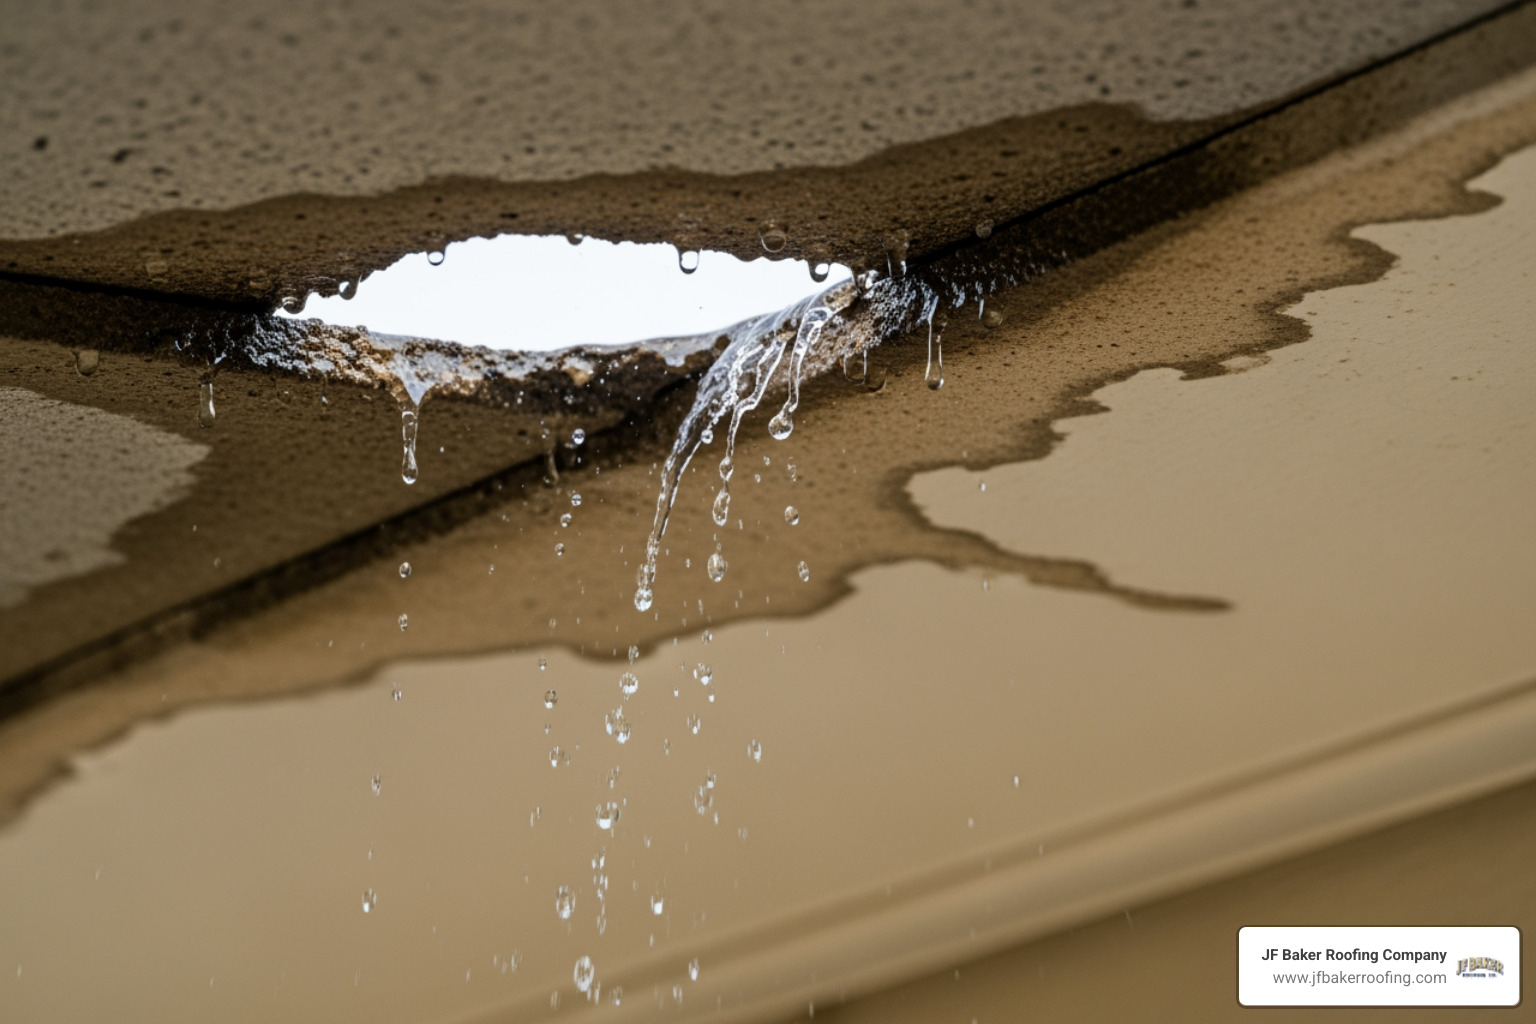
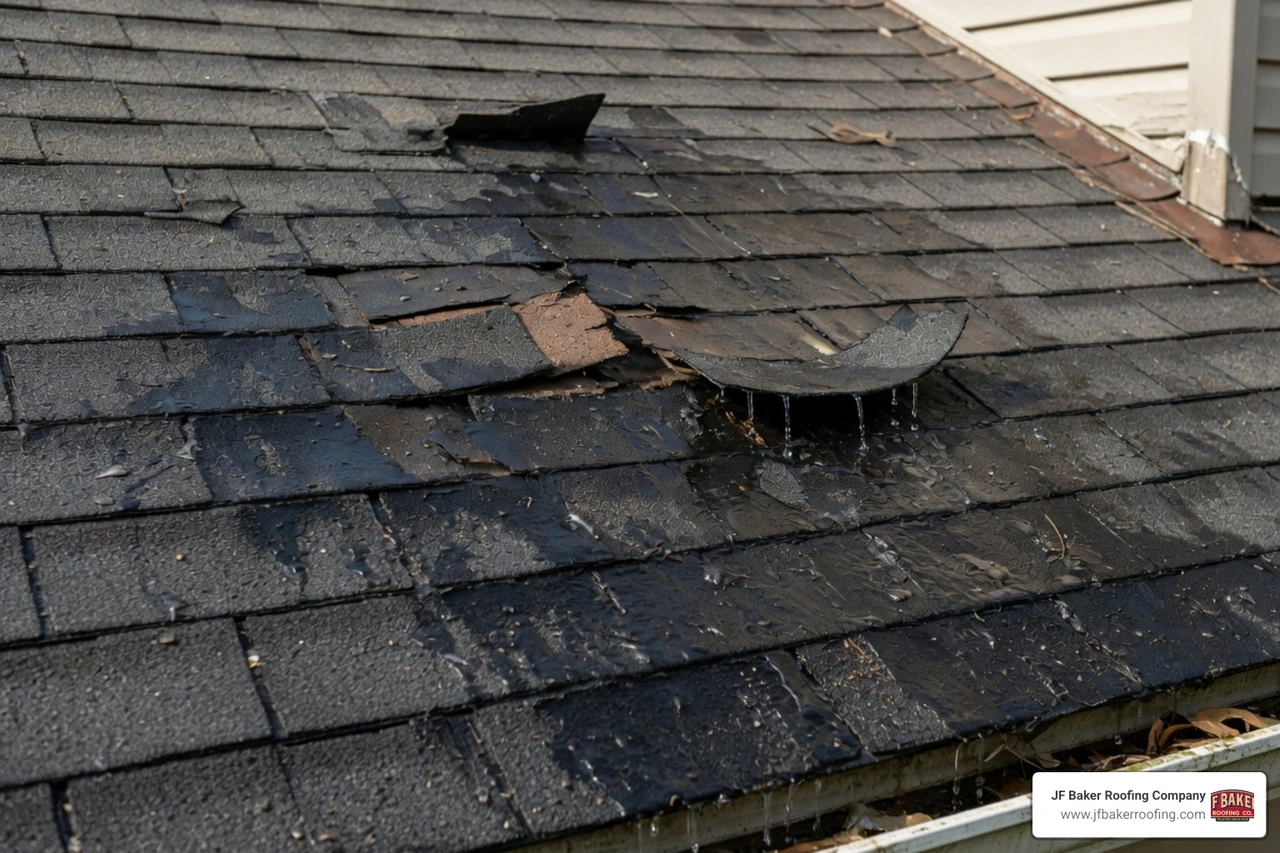
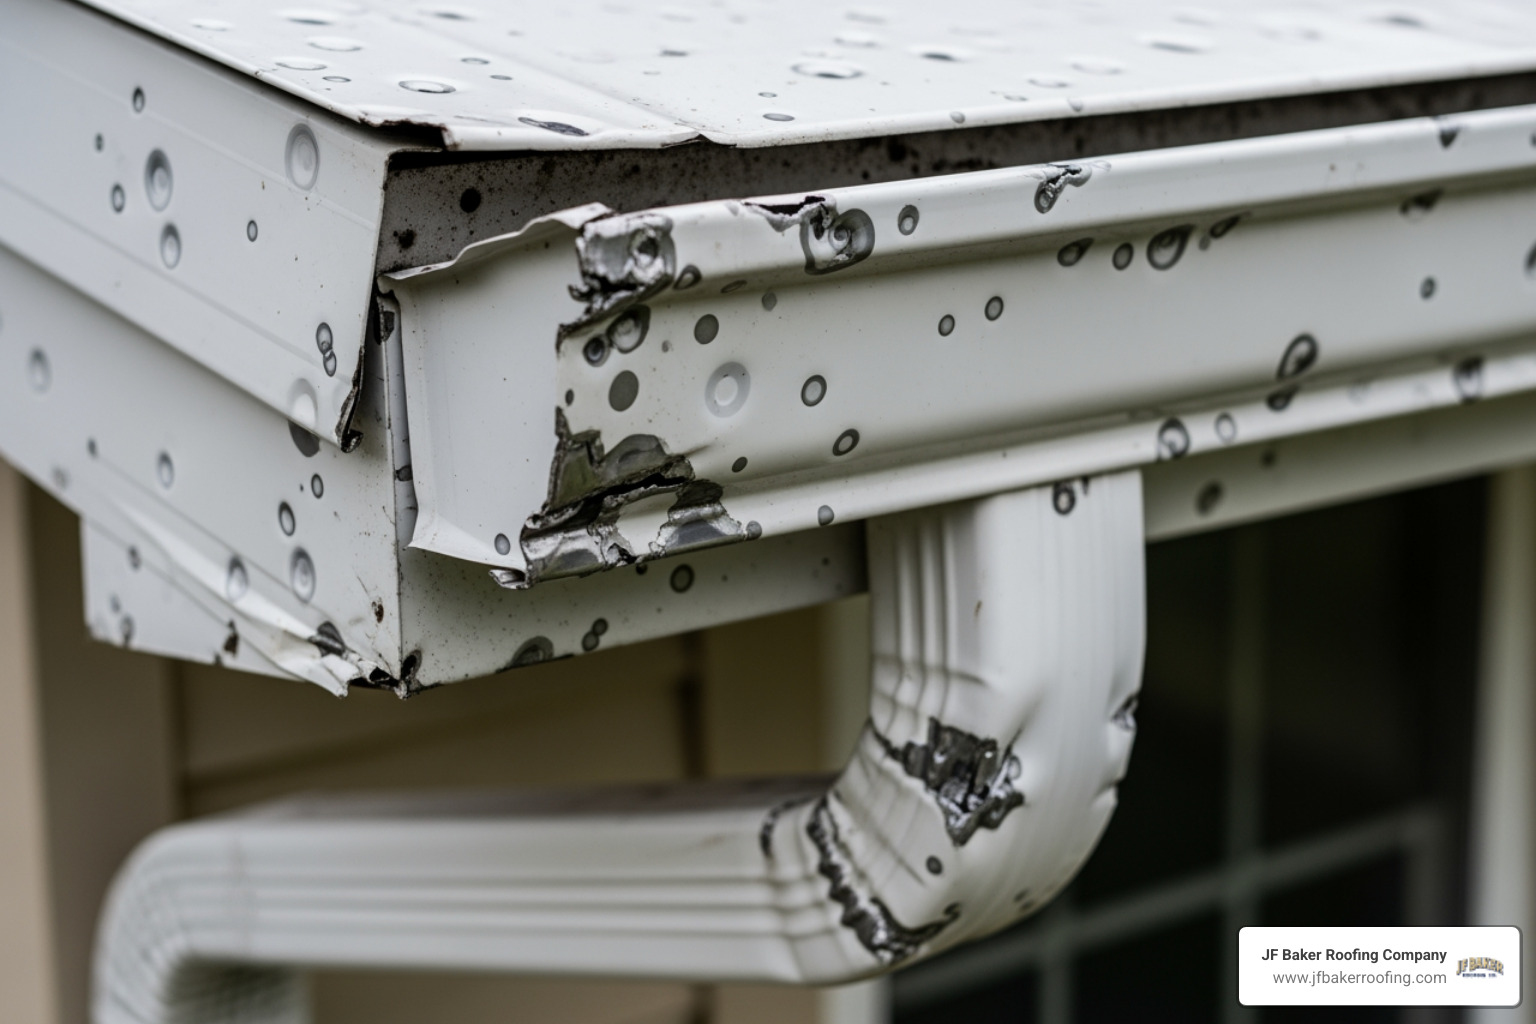
Because the drip edge is tucked under the shingles, it can be hard to see when it is failing. However, your home will usually tell you if there is a problem. If you notice the paint on your fascia boards is peeling or bubbling, that is a classic sign of moisture trapped behind the metal.
Another major red flag is water stains on your soffits or even daylight visible in the attic along the roofline. If your gutters are sagging or you see water dripping behind the gutter during a rainstorm, the drip edge likely isn't doing its job. In these cases, you should evaluate whether you need Gutter Replacement vs Repair alongside your flashing work.
Identifying Damage Before You Replace Drip Edge
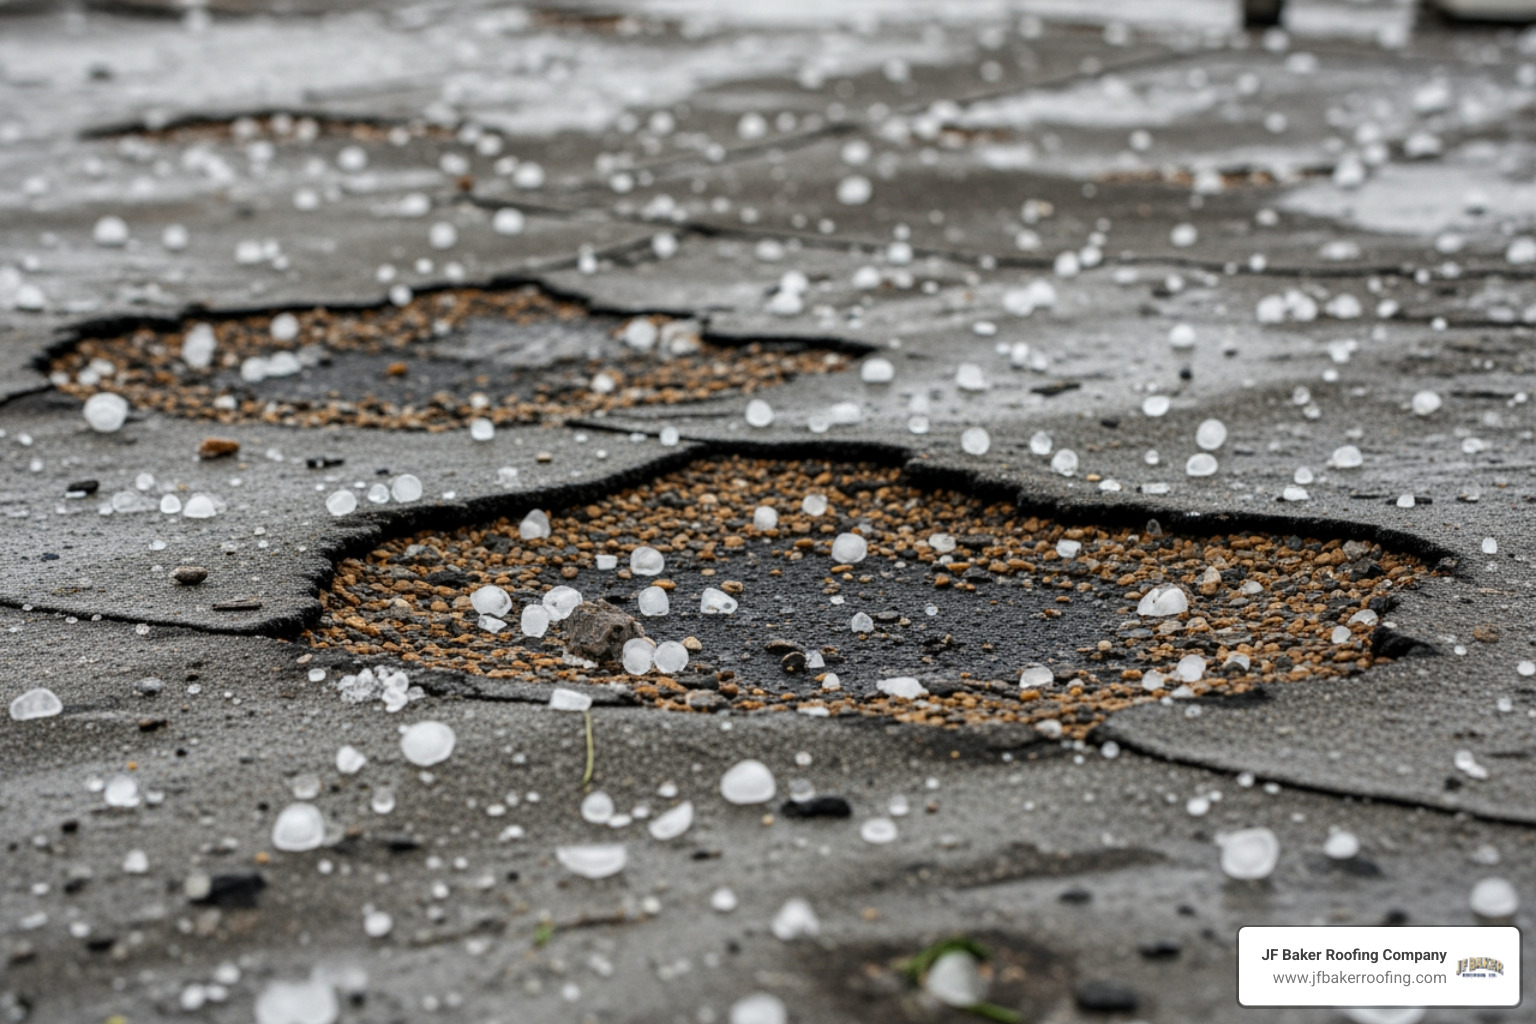
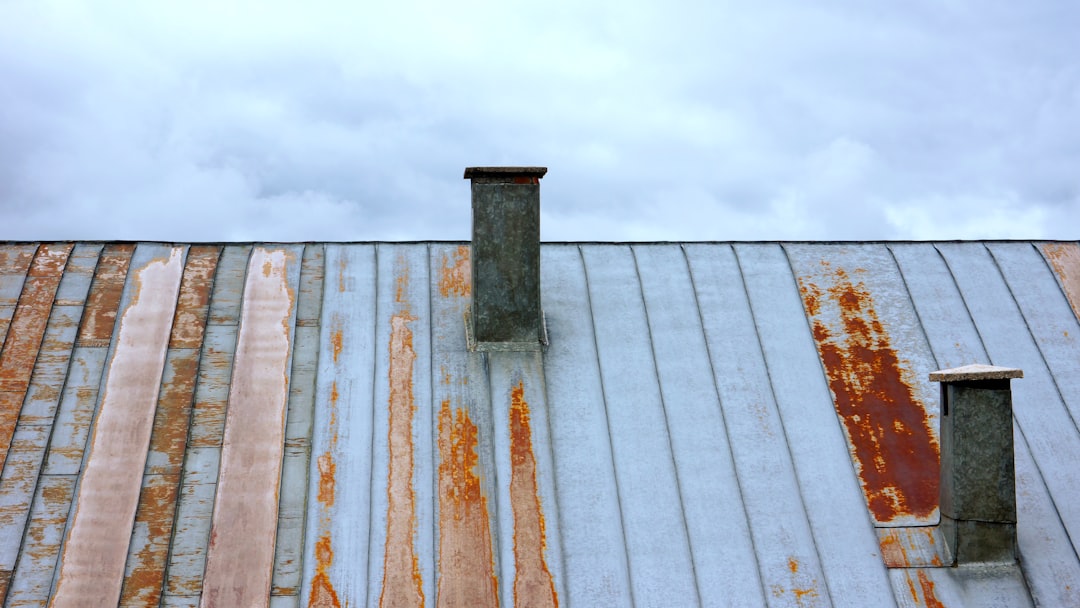
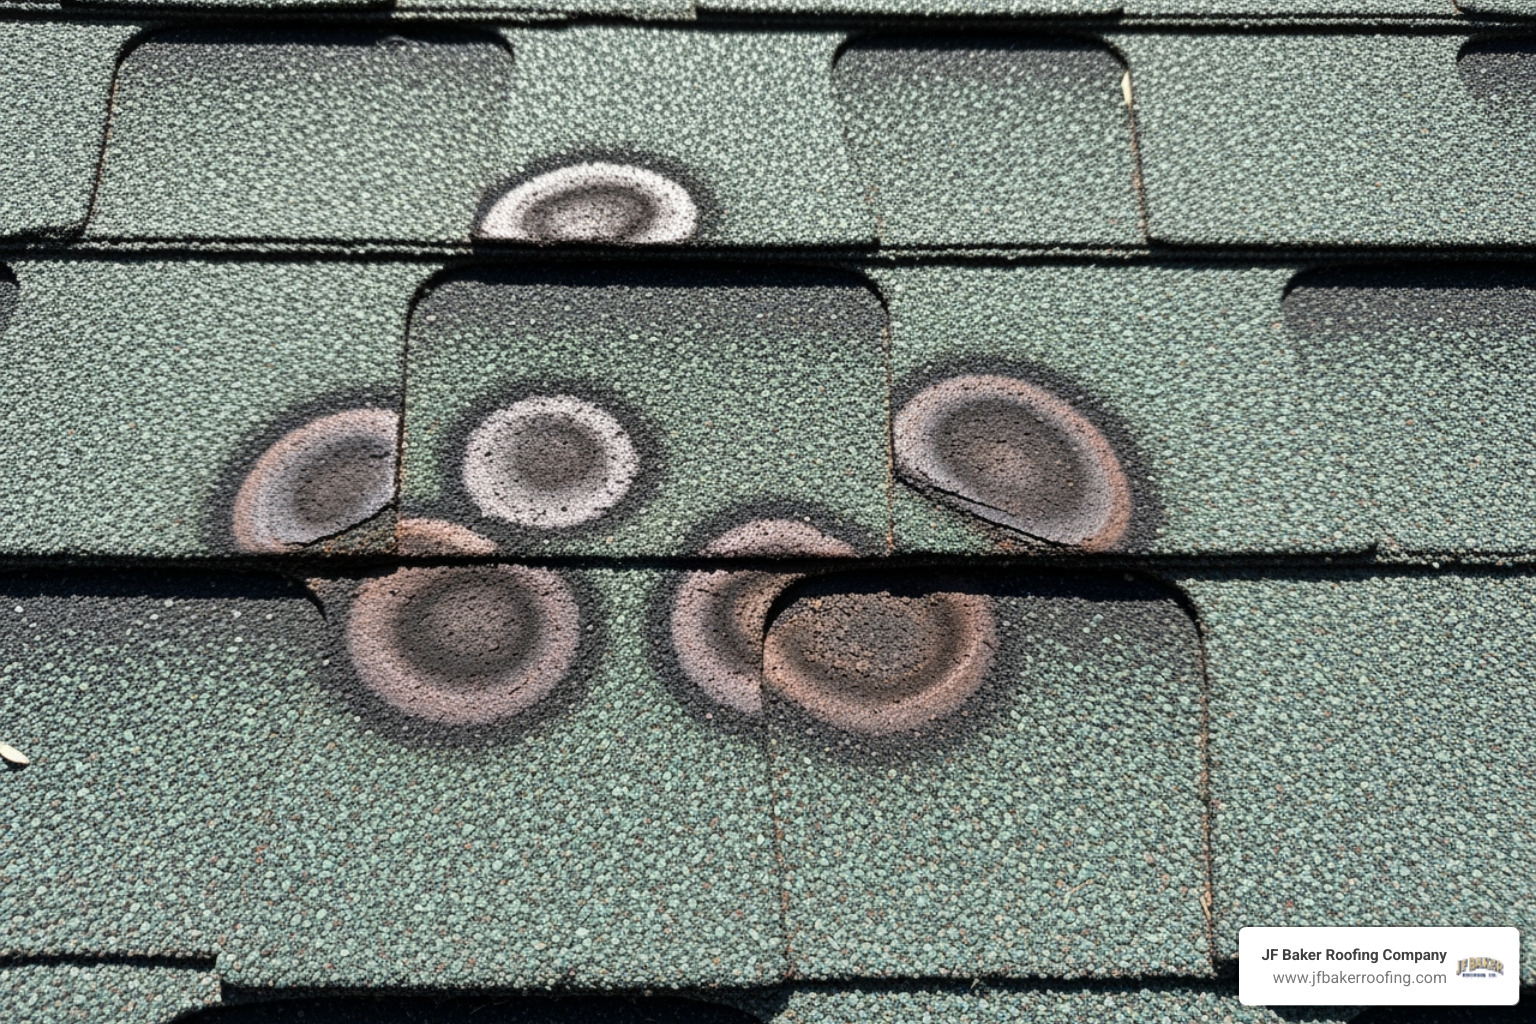
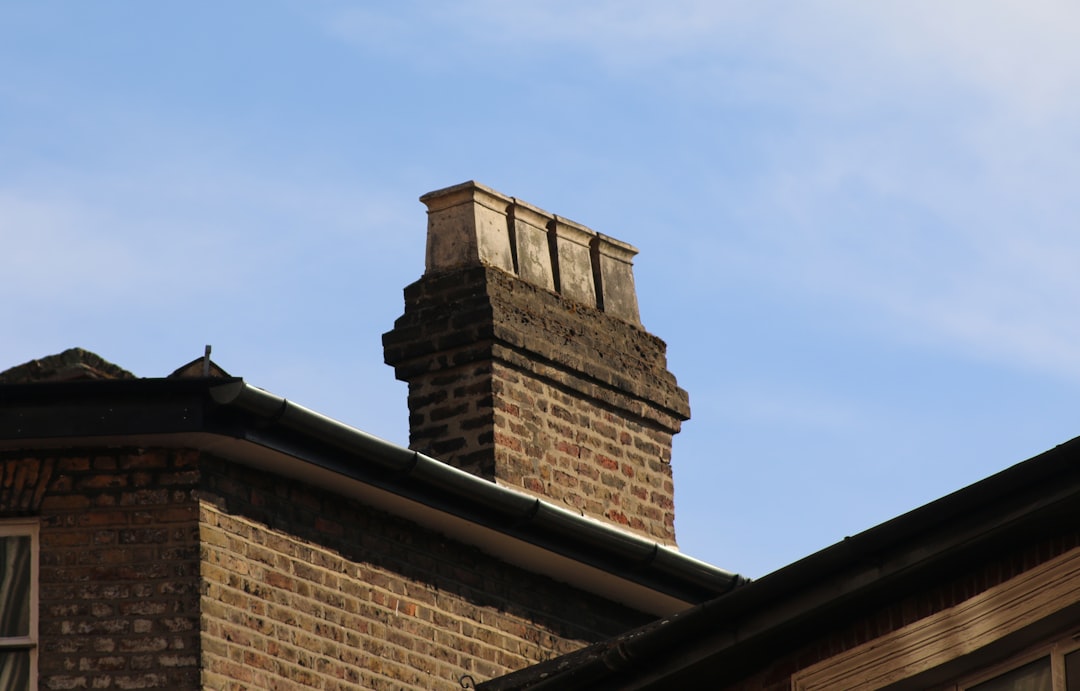
Before you start the work, you need to know the extent of the damage. Metal doesn't last forever, and in our humid Ohio summers, rust and corrosion can eat through galvanized steel over time.
Check for the following issues:
- Rusted Metal: If the flashing is orange, flaky, or has holes, it can no longer shed water.
- Loose Fasteners: Nails that have "backed out" can create gaps where water enters.
- Wood Rot: Use a screwdriver to gently poke the fascia board behind the drip edge. If the wood is soft, the drip edge has likely been failing for a while.
- Brittle Shingles: If your shingles are cracking or losing granules, you might want to read our guide on How to Know When It's Time to Replace Your Roof, as replacing only the drip edge might not be enough to save the system.
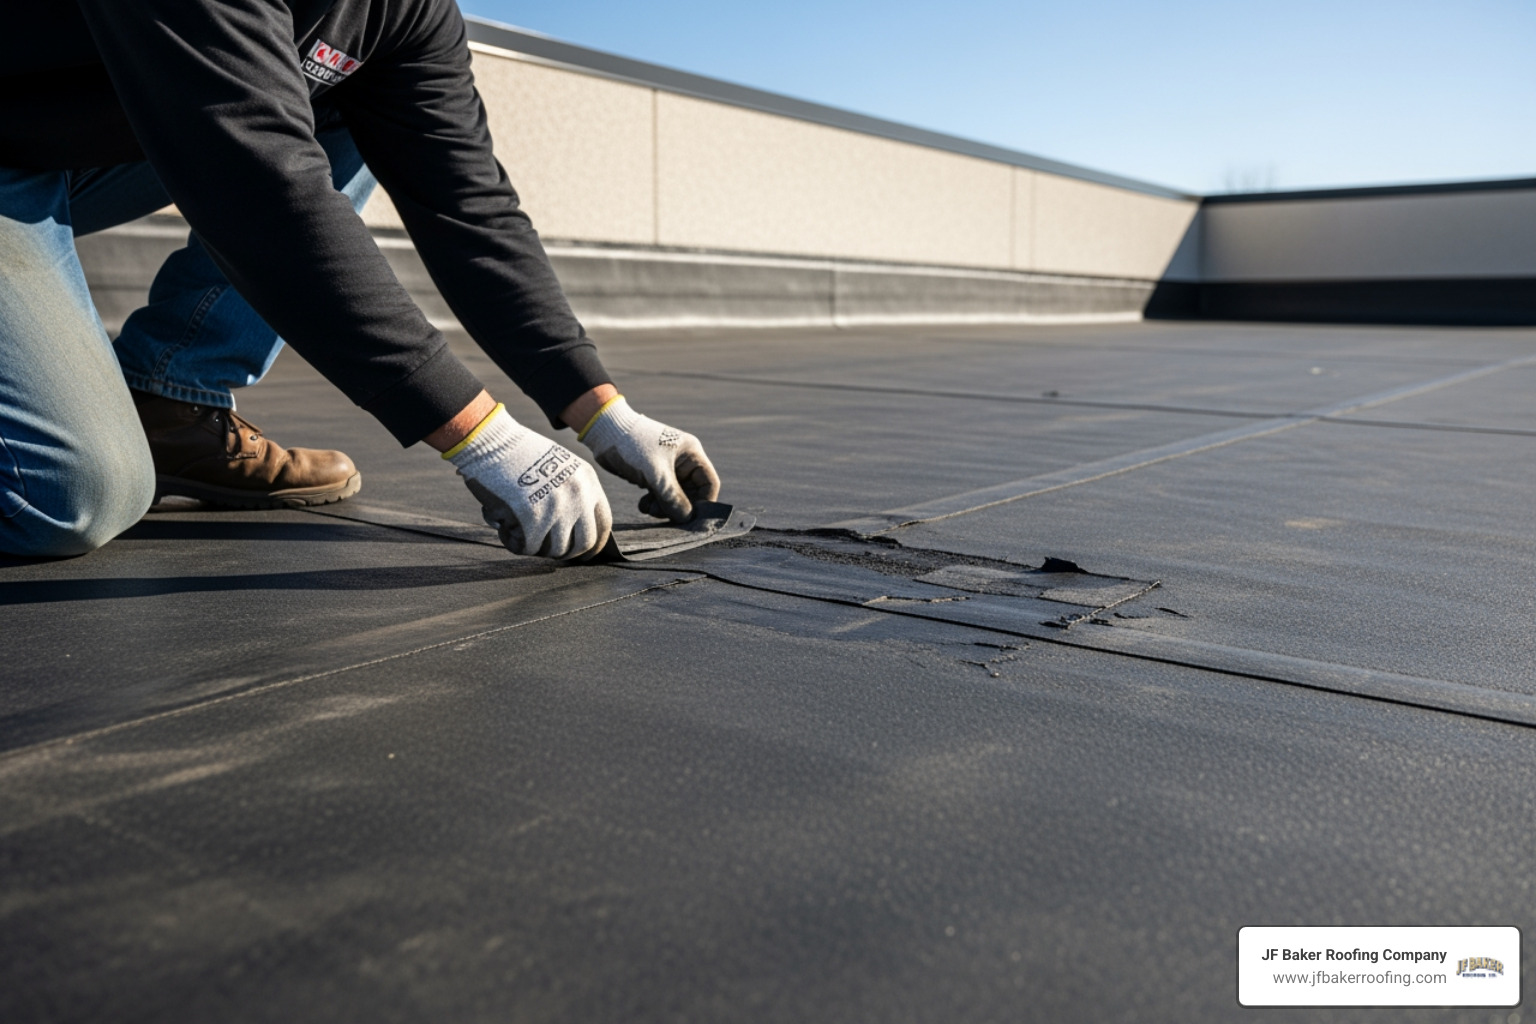
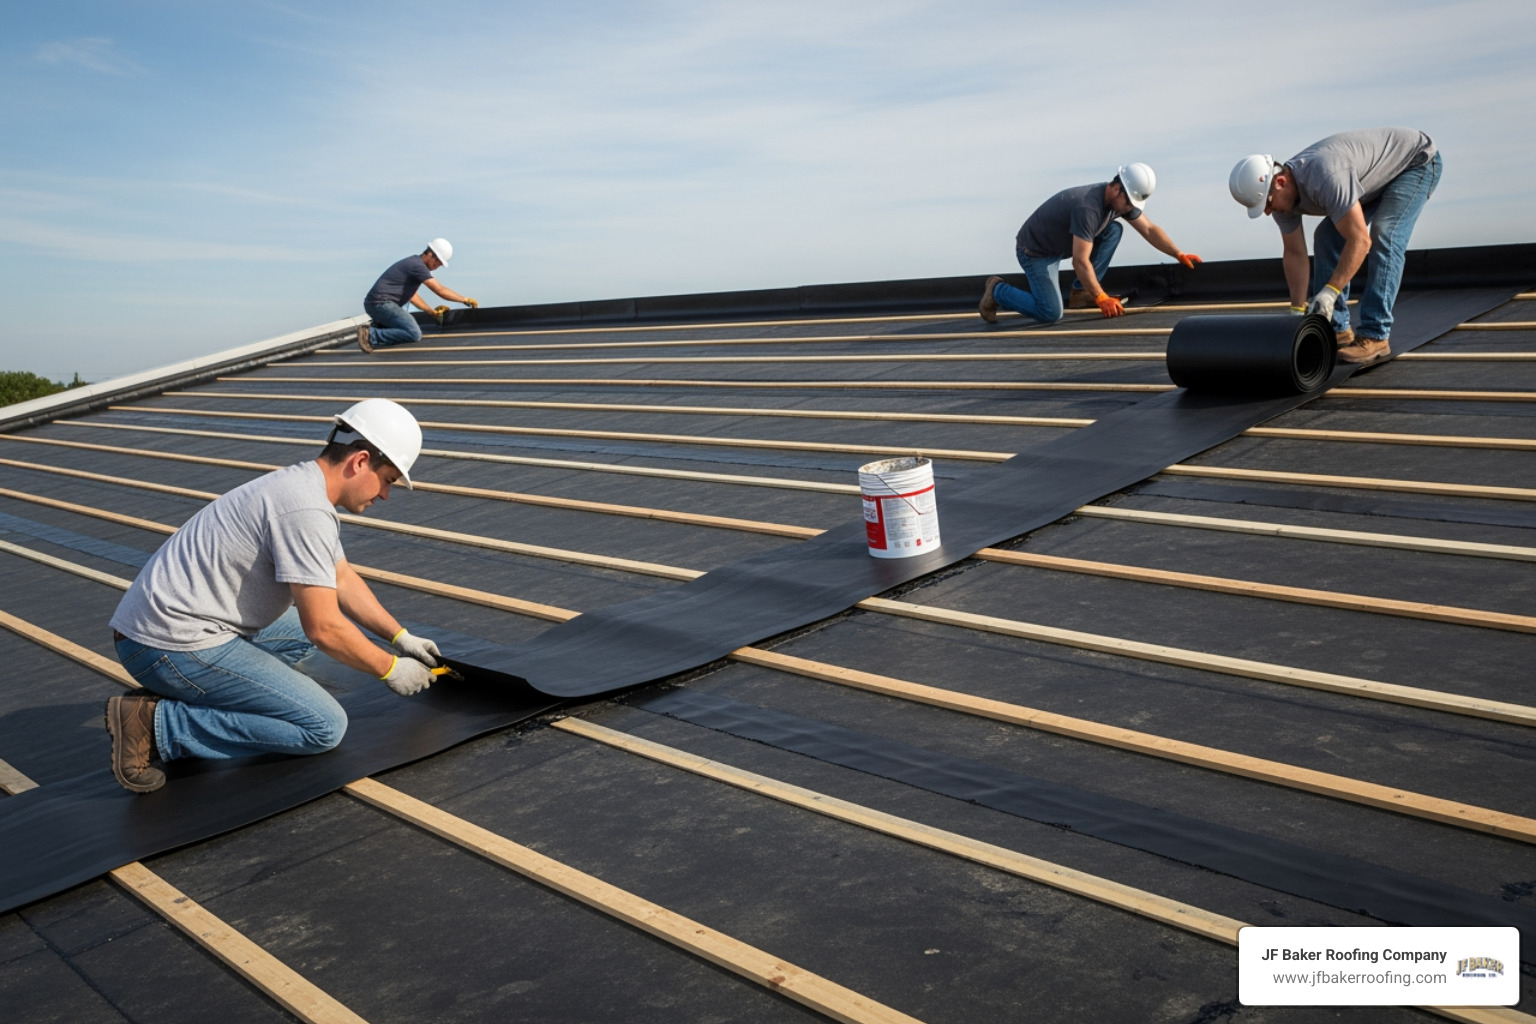
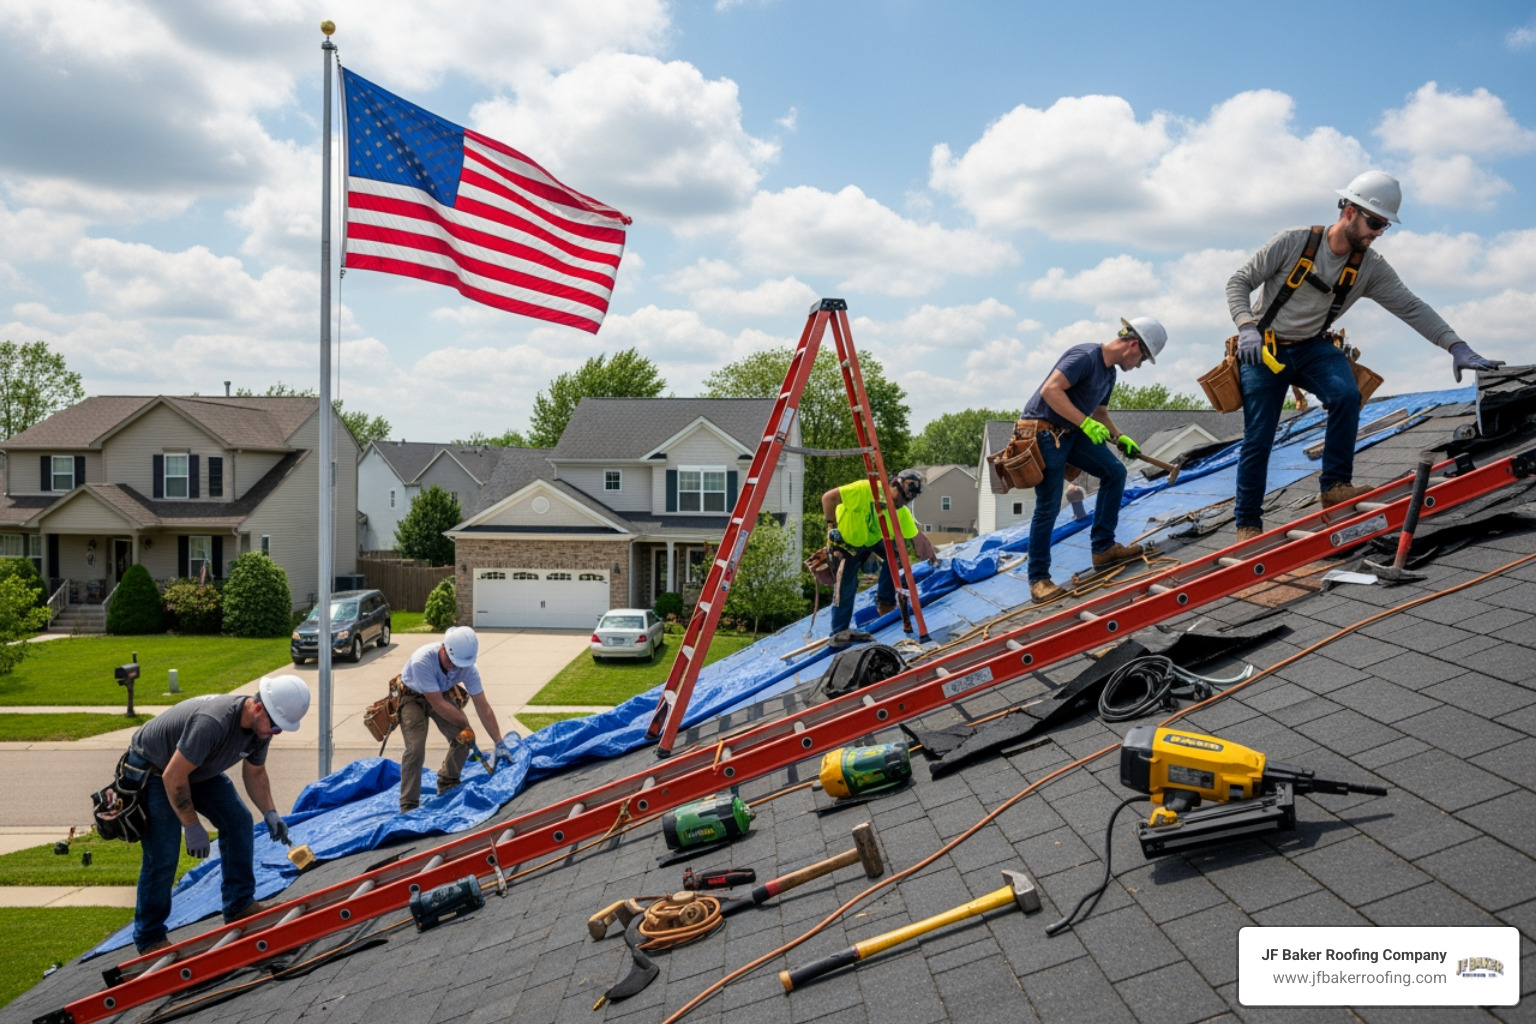
How to Replace Drip Edge on an Existing Roof
The biggest challenge with a retrofit is that the drip edge is already pinned down by the roof's starter strip and the first course of shingles. To replace drip edge without a new roof, you have to work carefully to avoid damaging the existing asphalt shingles.

Temperature is your best friend here. We recommend doing this on a warm day, ideally above 50°F. When asphalt shingles are cold, they become brittle and will snap if you try to lift them. On a warm day, they are pliable and "self-heal" better once you press them back down.
Step-by-Step Guide to Replace Drip Edge
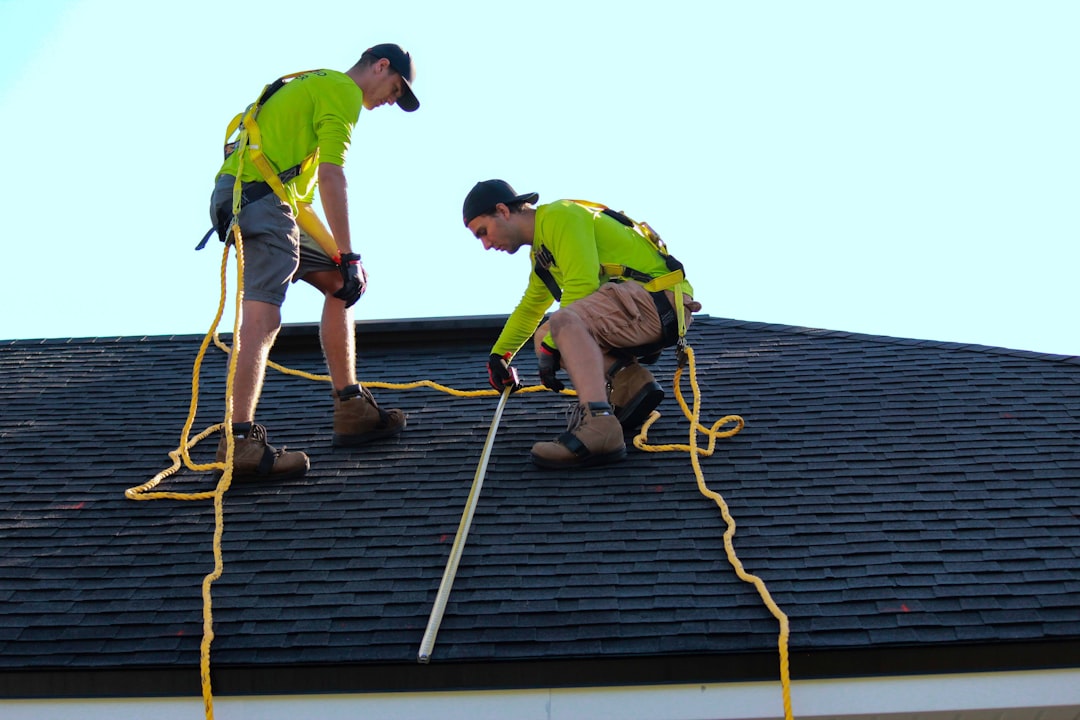
- Prep the Area: Clear your gutters of debris so you have a clean workspace.
- Lift the Tabs: Use a flat pry bar to gently break the sealant bond between the first and second rows of shingles. You only need to lift them enough to see the nails holding the old metal in place.
- Remove Old Nails: Carefully pry up the nails that secure the old drip edge to the roof deck. You may also need to remove a few nails from the starter shingle.
- Slide and Discard: Once the nails are out, the old section should slide out. If it feels stuck, check for hidden nails or "fused" metal where sections were overlapped.
- Measure and Cut: New drip edge usually comes in 10.5-foot lengths. Use aviation snips to cut it to size.
- Install the New Metal: Slide the wide flange of the new drip edge under the underlayment (on eaves) or over the underlayment (on rakes). Ensure it extends about 1/4 to 3/4 of an inch beyond the fascia.
- Fasten: Nail the new metal every 12 inches using galvanized roofing nails. Make sure the nails are high enough that the shingles will cover them completely.
- Overlap and Seal: When you start a new piece, overlap the previous one by at least 2 inches. Apply a small dab of roofing cement between the overlap.
- Finish the Shingles: Apply a small amount of roofing cement to the underside of the shingle tabs you lifted and press them firmly back into place.
For a deeper dive into the technicalities of this process, you can check out this article on Can You Replace Drip Edge Without Removing Shingles?.
Materials and Building Code Requirements
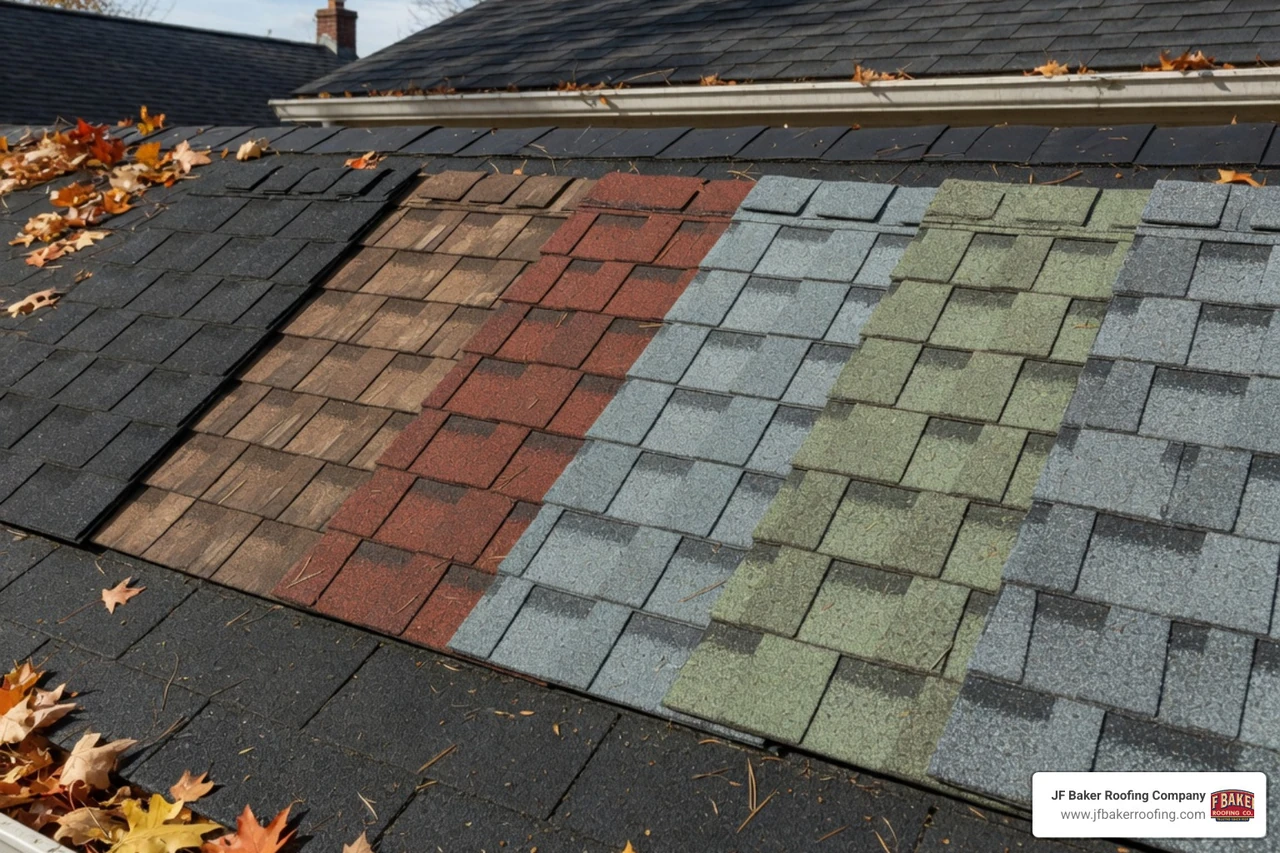
Choosing the right material is vital for longevity. In Central Ohio, aluminum is the most popular choice because it is affordable, lightweight, and won't rust. However, for higher-end homes in Bexley or Grandview, copper is a beautiful, albeit more expensive, option that lasts for decades and develops a classic patina.
MaterialDurabilityCostBest ForAluminumHigh (Corrosion resistant)LowMost residential homesGalvanized SteelModerate (Can rust over time)Low-MediumHigh-wind areas (24-gauge min)CopperVery High (Lifetime material)HighHistoric or luxury homesPlastic/VinylLow (Can crack in cold)Very LowSheds or temporary structures
IRC Standards for Installation
The International Residential Code (IRC) has specific rules for drip edge installation that we follow on every job. These aren't just suggestions; they are requirements to ensure your roof actually works.
- Deck Extension: The drip edge must extend at least 2 inches back onto the roof deck.
- Sheathing Overhang: It should extend at least 1/4 inch below the roof sheathing.
- Overlap: Adjacent pieces must overlap by at least 2 inches.
- Fastening: Nails must be spaced no more than 12 inches apart.
- Underlayment Integration: This is where most DIYers get confused. At the eaves (the horizontal bottom edge), the drip edge goes under the underlayment. At the rakes (the sloped side edges), the drip edge goes over the underlayment.
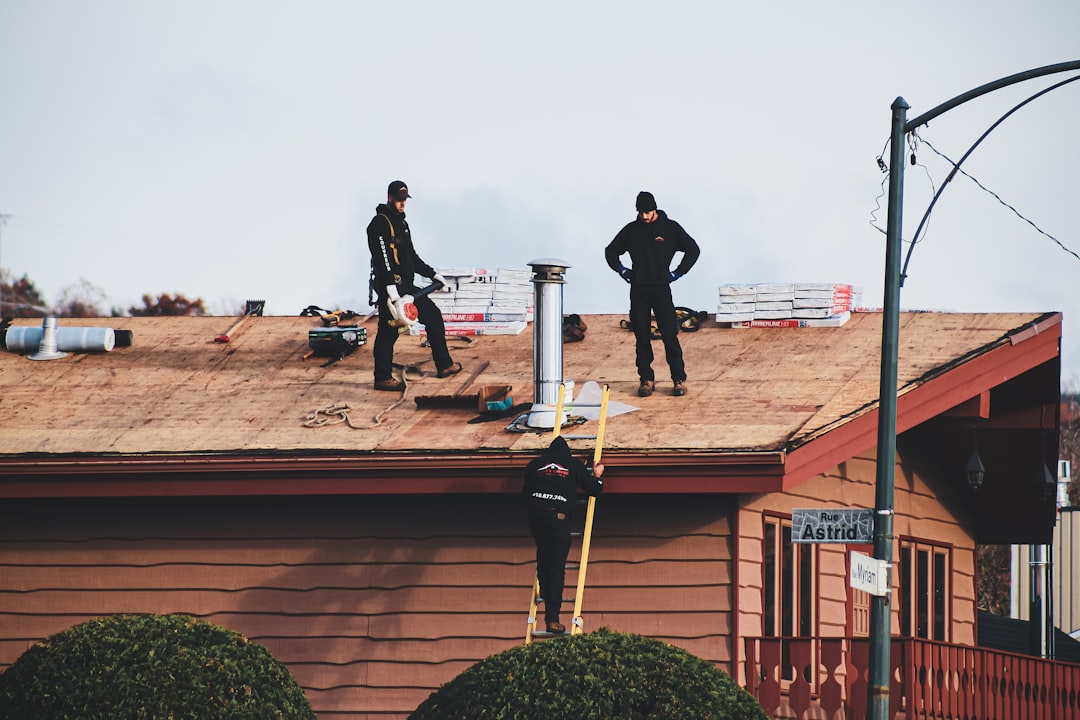
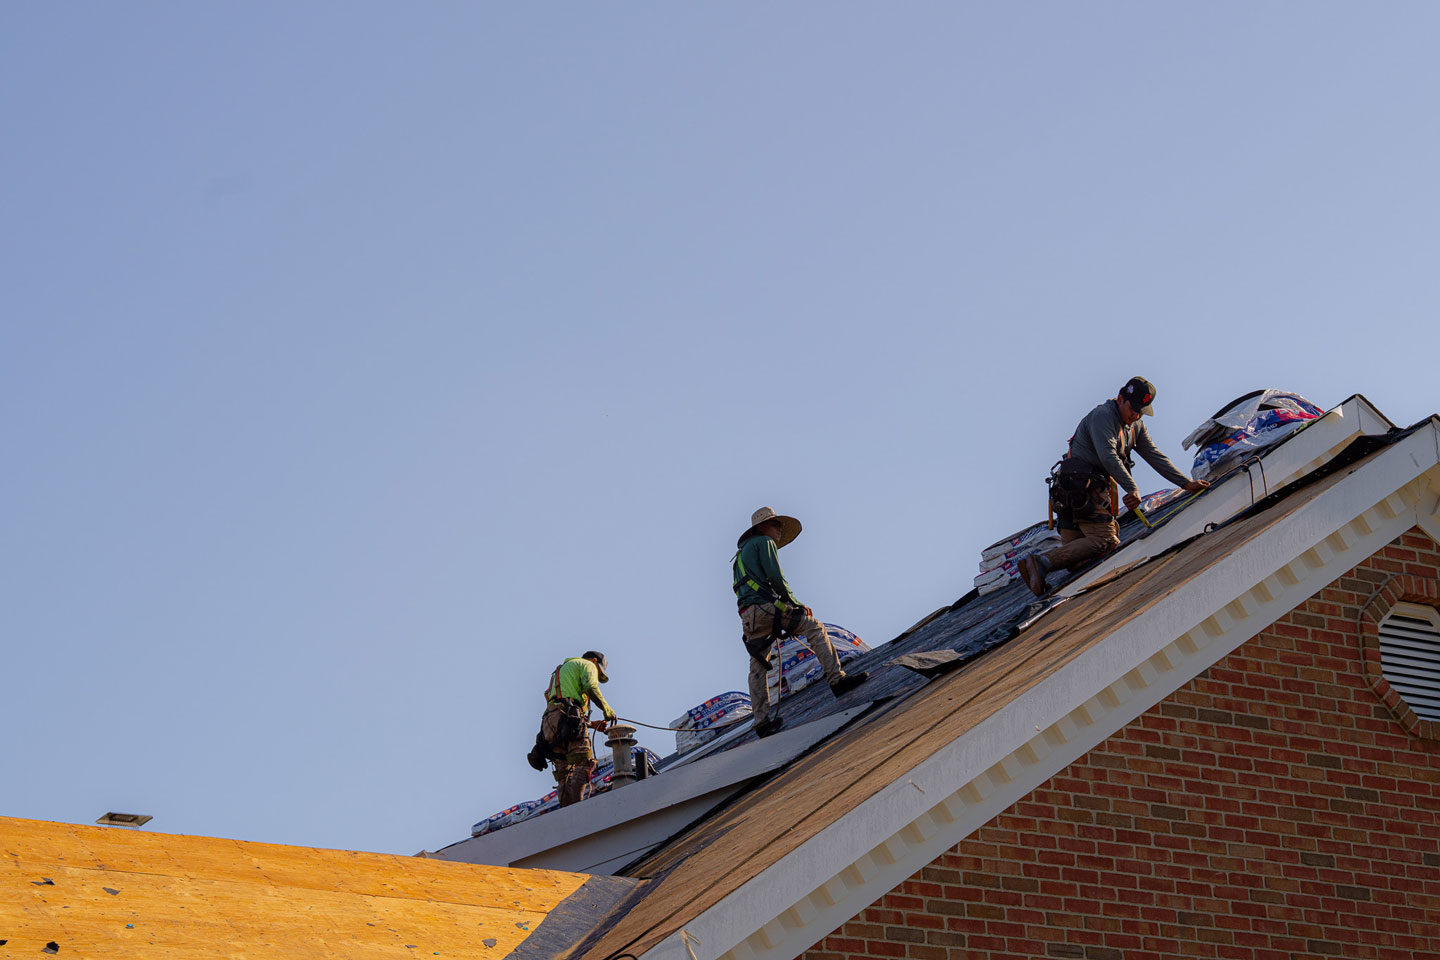
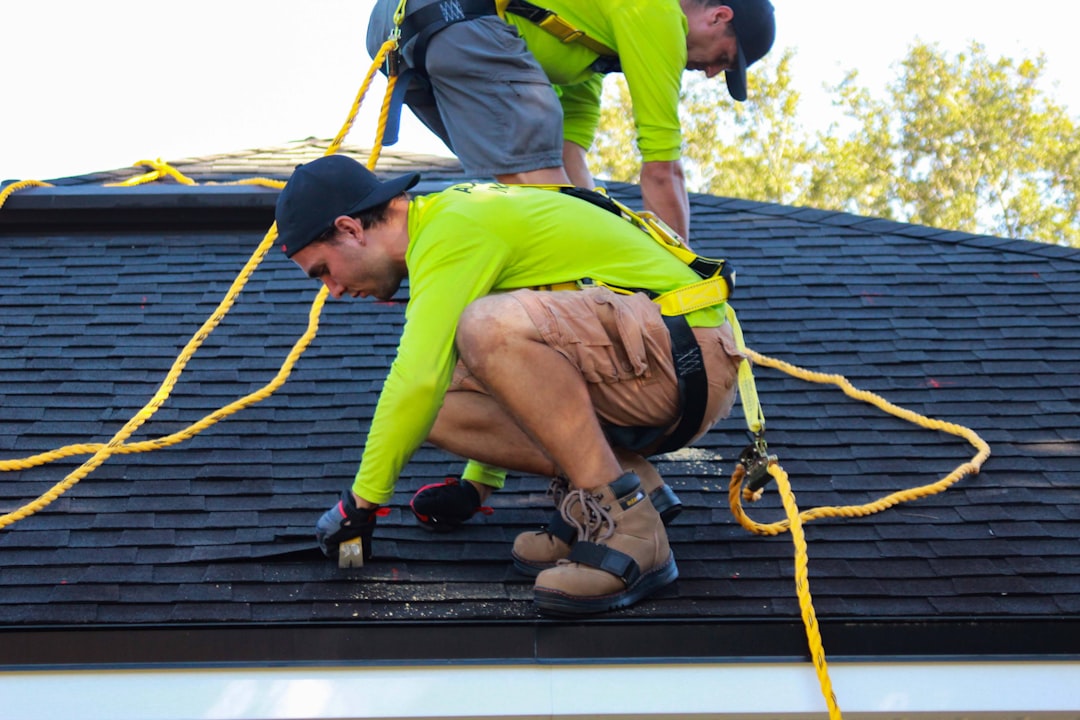
Professional Installation vs. DIY Challenges
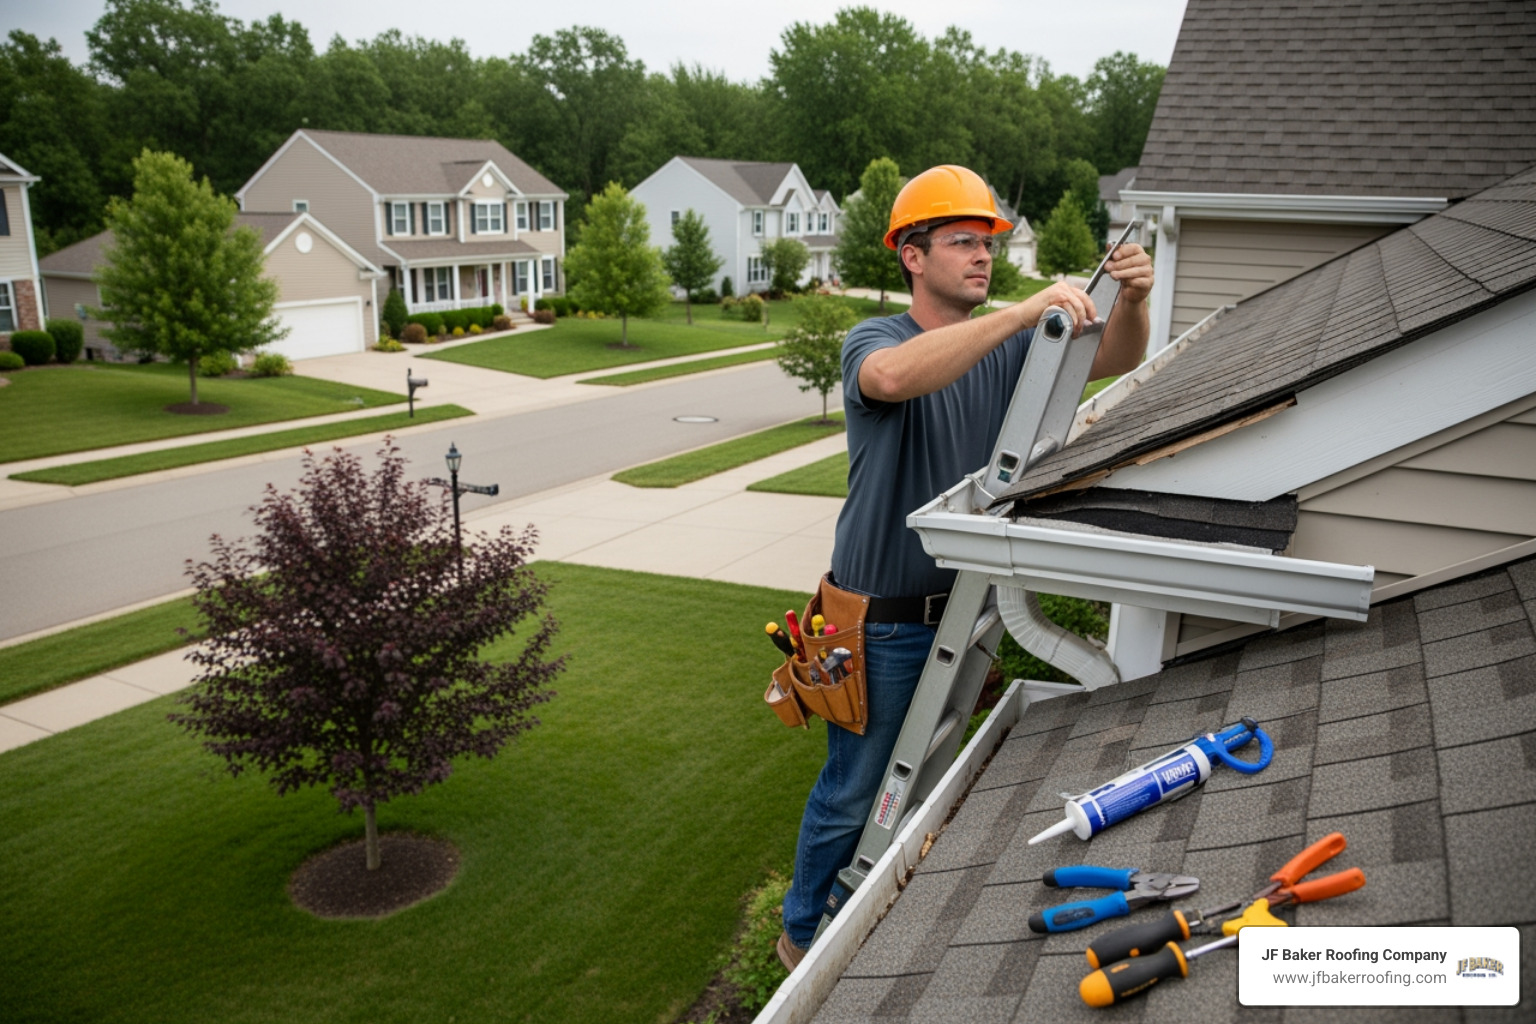
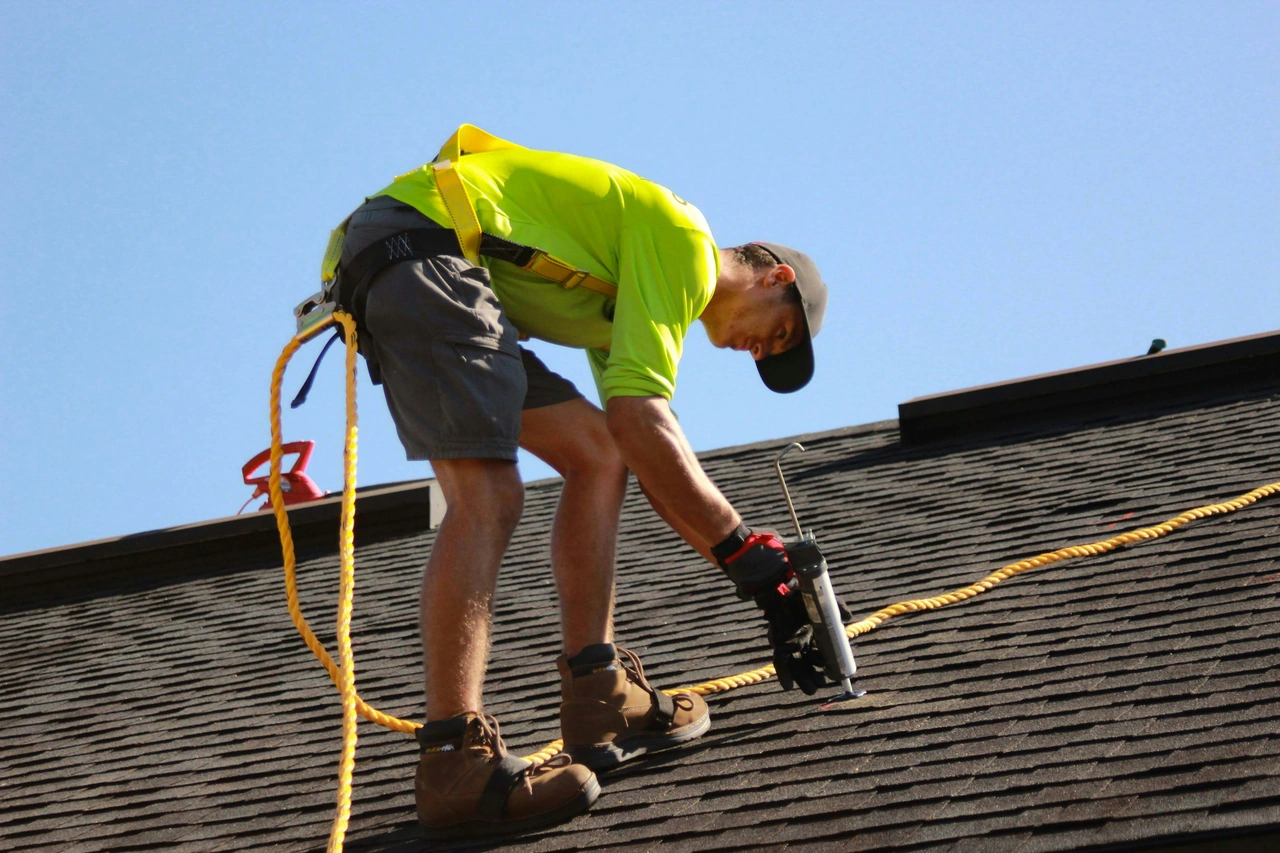
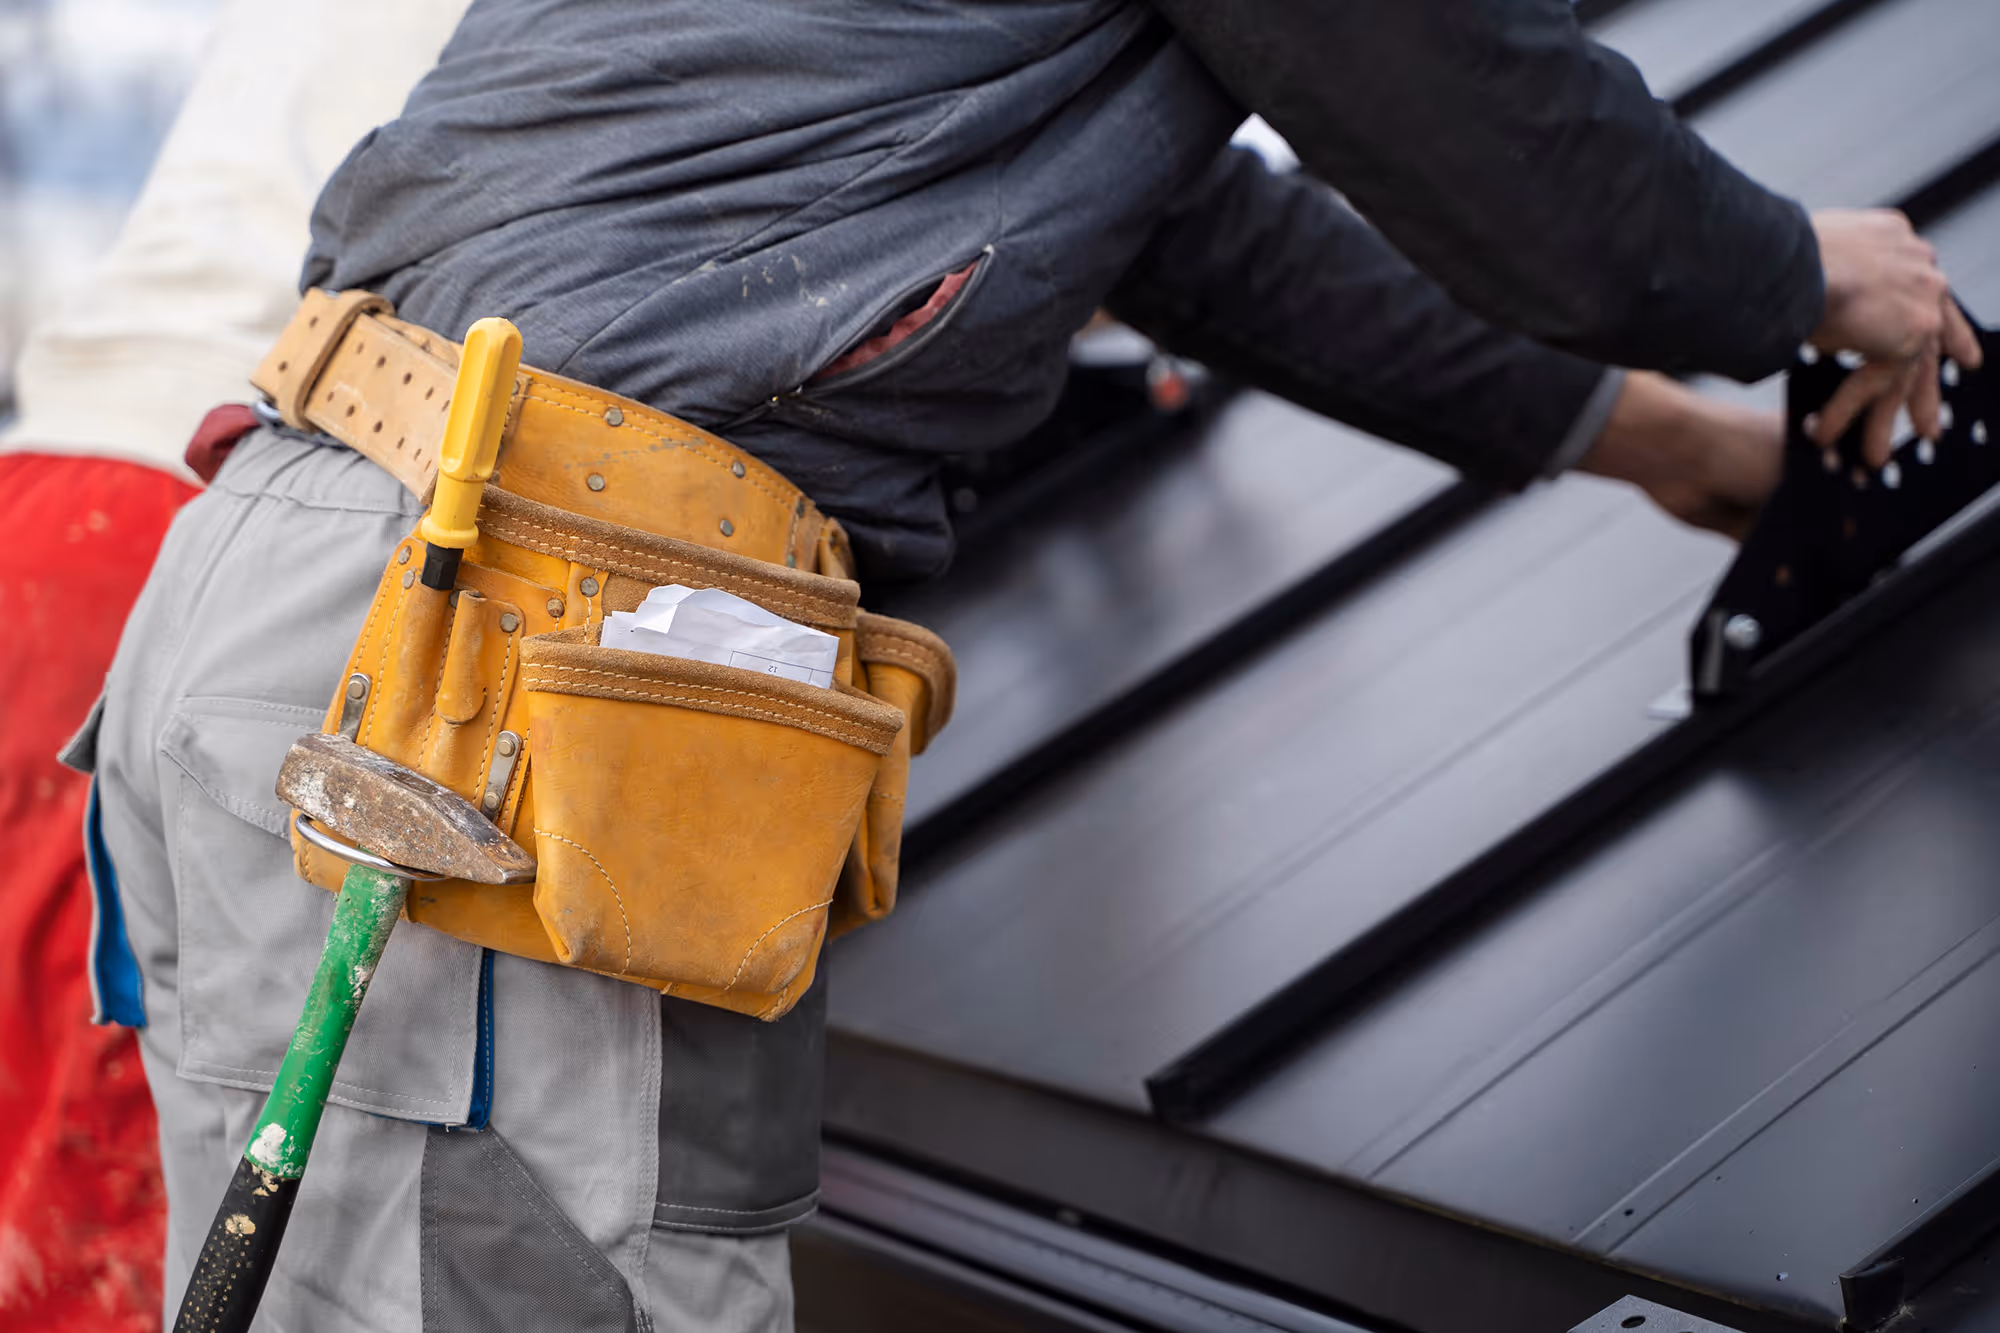
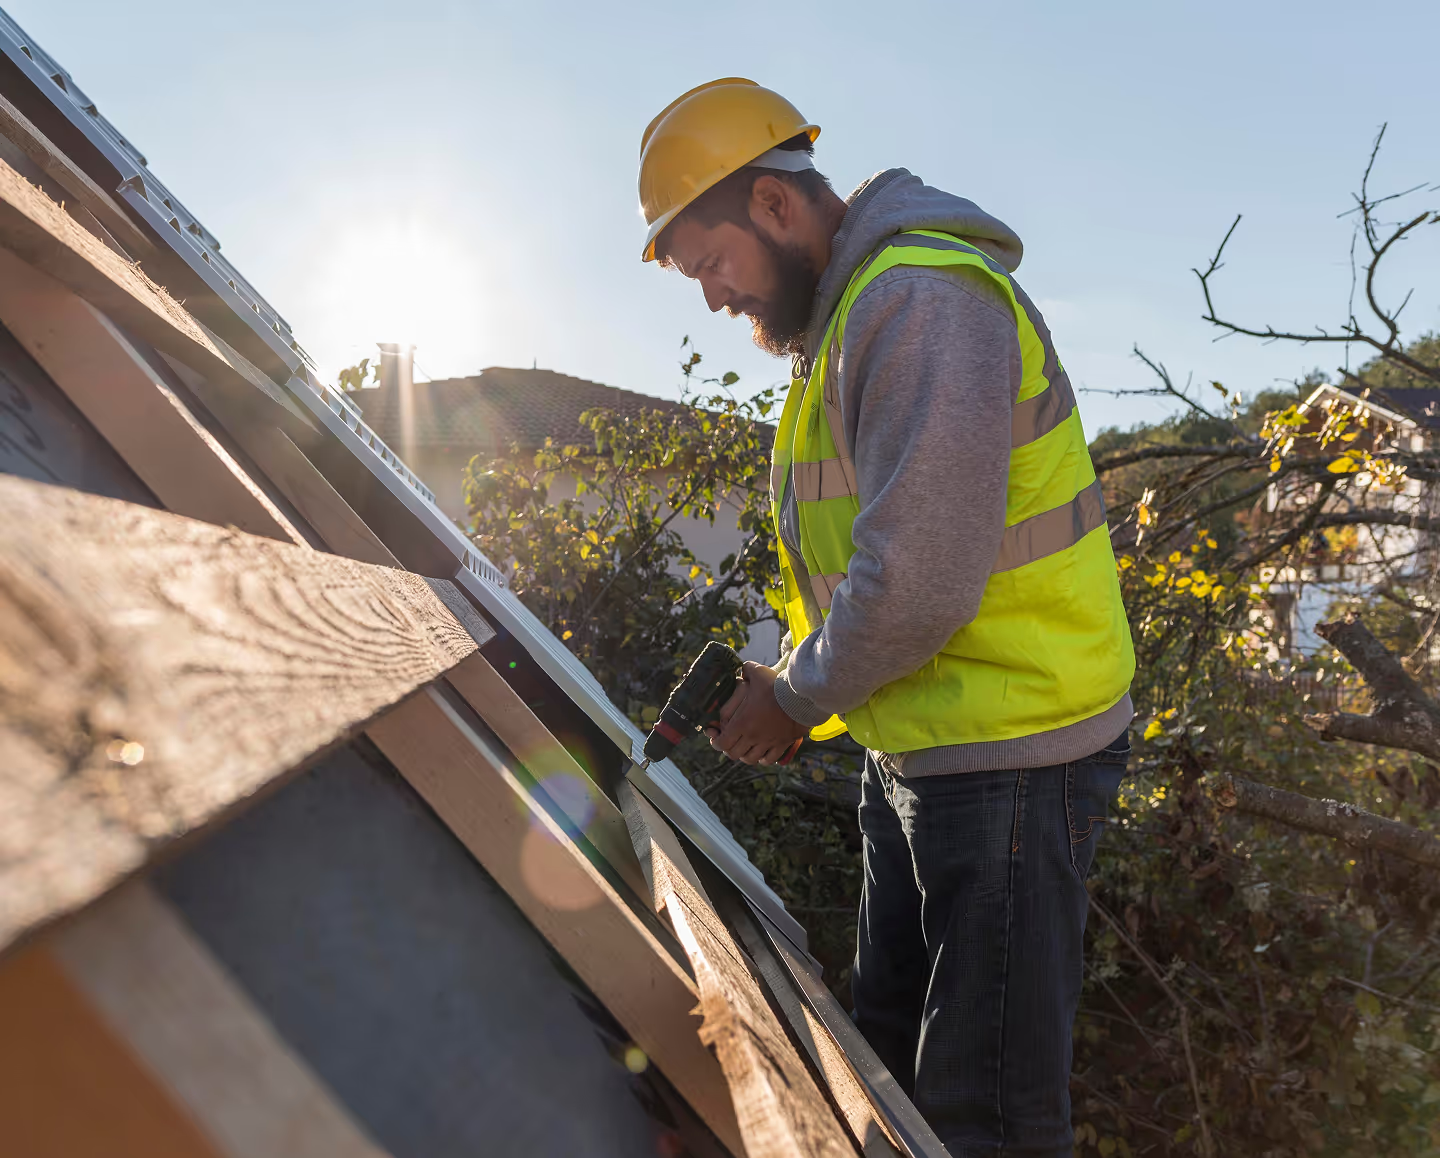
While a handy homeowner can replace drip edge, it is not without risks. Ladder safety is the number one concern. Working at the very edge of a roof means you are constantly leaning over the gutter, which can be dangerous without proper fall protection.
Beyond safety, there is the issue of "hidden" damage. When our crews from JF Baker Roofing perform an inspection, we aren't just looking at the metal. We are checking the Gutters and Drainage and the health of the rafter tails. If you install new metal over rotten wood, the nails won't hold, and the problem will return within a year.
Hiring a professional also ensures you get a warranty on the labor. If a DIY repair leaks, you're back on the ladder. If we do the work, we stand behind it.
Frequently Asked Questions about Drip Edge
Can I install drip edge without removing shingles?
Yes, you can. As long as the shingles are flexible and the roof isn't so old that the asphalt has become brittle, you can lift the tabs and slide the new metal underneath. It requires patience and a gentle touch with a flat pry bar to avoid tearing the shingles.
How much does it cost to replace drip edge?
While we don't provide exact quotes without seeing the home, the cost is usually calculated by the linear foot. Factors that influence the price include the height of the roof, the type of metal chosen (aluminum vs. copper), and whether the fascia board underneath needs to be repaired or replaced. Generally, it is a very cost-effective repair that can save you thousands in future rot remediation.
What is the difference between eaves and rakes?
Eaves are the horizontal edges of the roof where the gutters are attached. Rakes are the sloped edges that run from the eave up to the peak (ridge). The installation method changes between the two to ensure that water running down the roof always stays on top of the metal and never gets a chance to sneak underneath.
Conclusion
The drip edge might be one of the smallest components of your roofing system, but it is your first line of defense against the unpredictable Central Ohio weather. Whether you are dealing with the aftermath of a Hilliard hailstorm or preparing your Westerville home for another snowy winter, ensuring your roof perimeter is sealed is a smart investment.
At JF Baker Roofing, we’ve been a family-owned, community-rooted business since 1929. Now led by the third generation of the Baker family, we believe in honest assessments and quality craftsmanship. We won't try to sell you a new roof if all you need is a drip edge replacement.
If you've noticed signs of rot or water damage along your roofline, let our reputation be your security. We provide residential roofing services across Columbus, Worthington, Gahanna, and the surrounding areas with the integrity that comes from nearly a century of service. Contact us today for a no-pressure evaluation of your roof's health.


.jpeg)