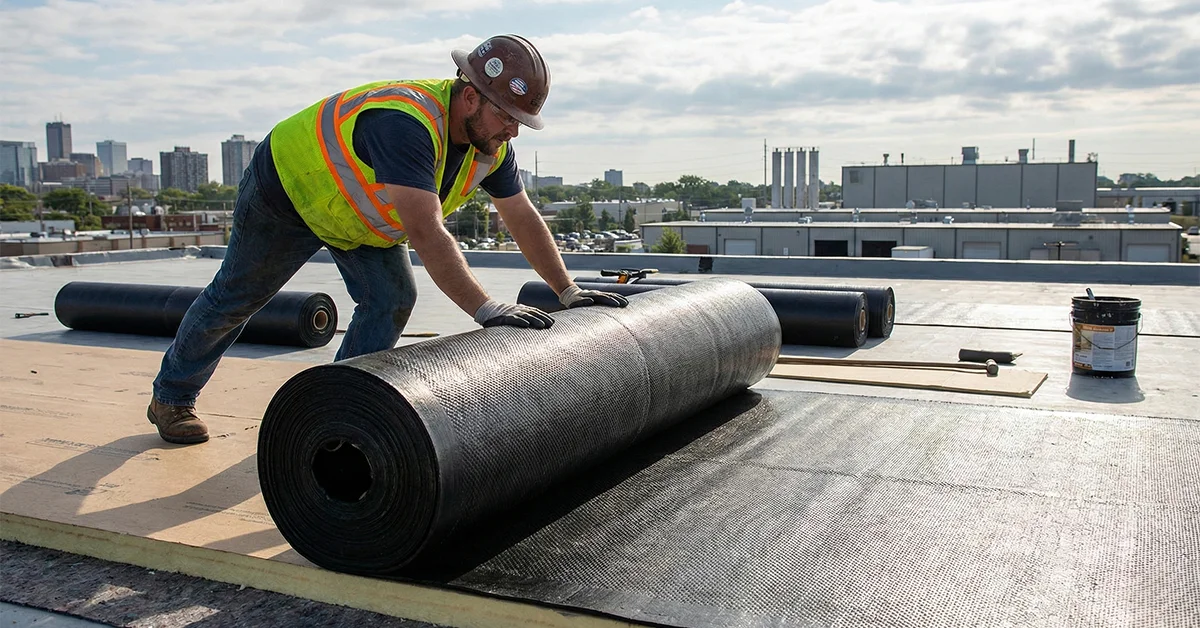
How to Repair Your Chimney Flashing
Why Chimney Flashing Leaks Are More Serious Than They Look
Chimney flashing leak repair is one of the most common and most misunderstood roofing problems homeowners face. Here is a quick answer if you need it now:
How to repair chimney flashing leaks (quick overview):
- Inspect the flashing for gaps, rust, lifted edges, or cracked sealant
- Clear debris from around the chimney base
- Remove damaged flashing sections and old sealant
- Install new base flashing, step flashing integrated with shingles, and counterflashing tucked into mortar joints
- Seal all joints with a flexible polyurethane sealant
- Test with water to confirm the repair held
For small cracks or minor sealant failure, a DIY patch may hold temporarily. For lifted or corroded flashing, missing step flashing, or recurring leaks, a professional re-flash is the right call.
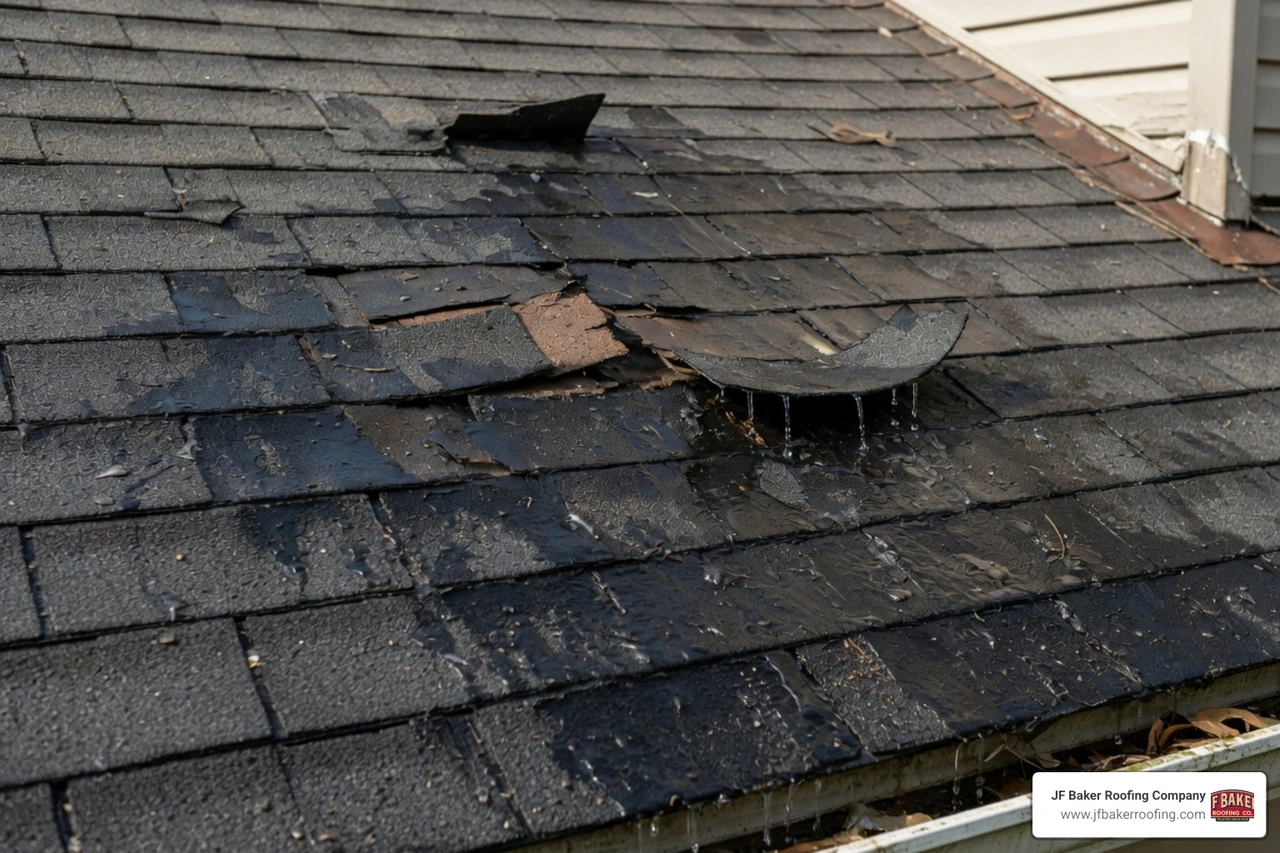
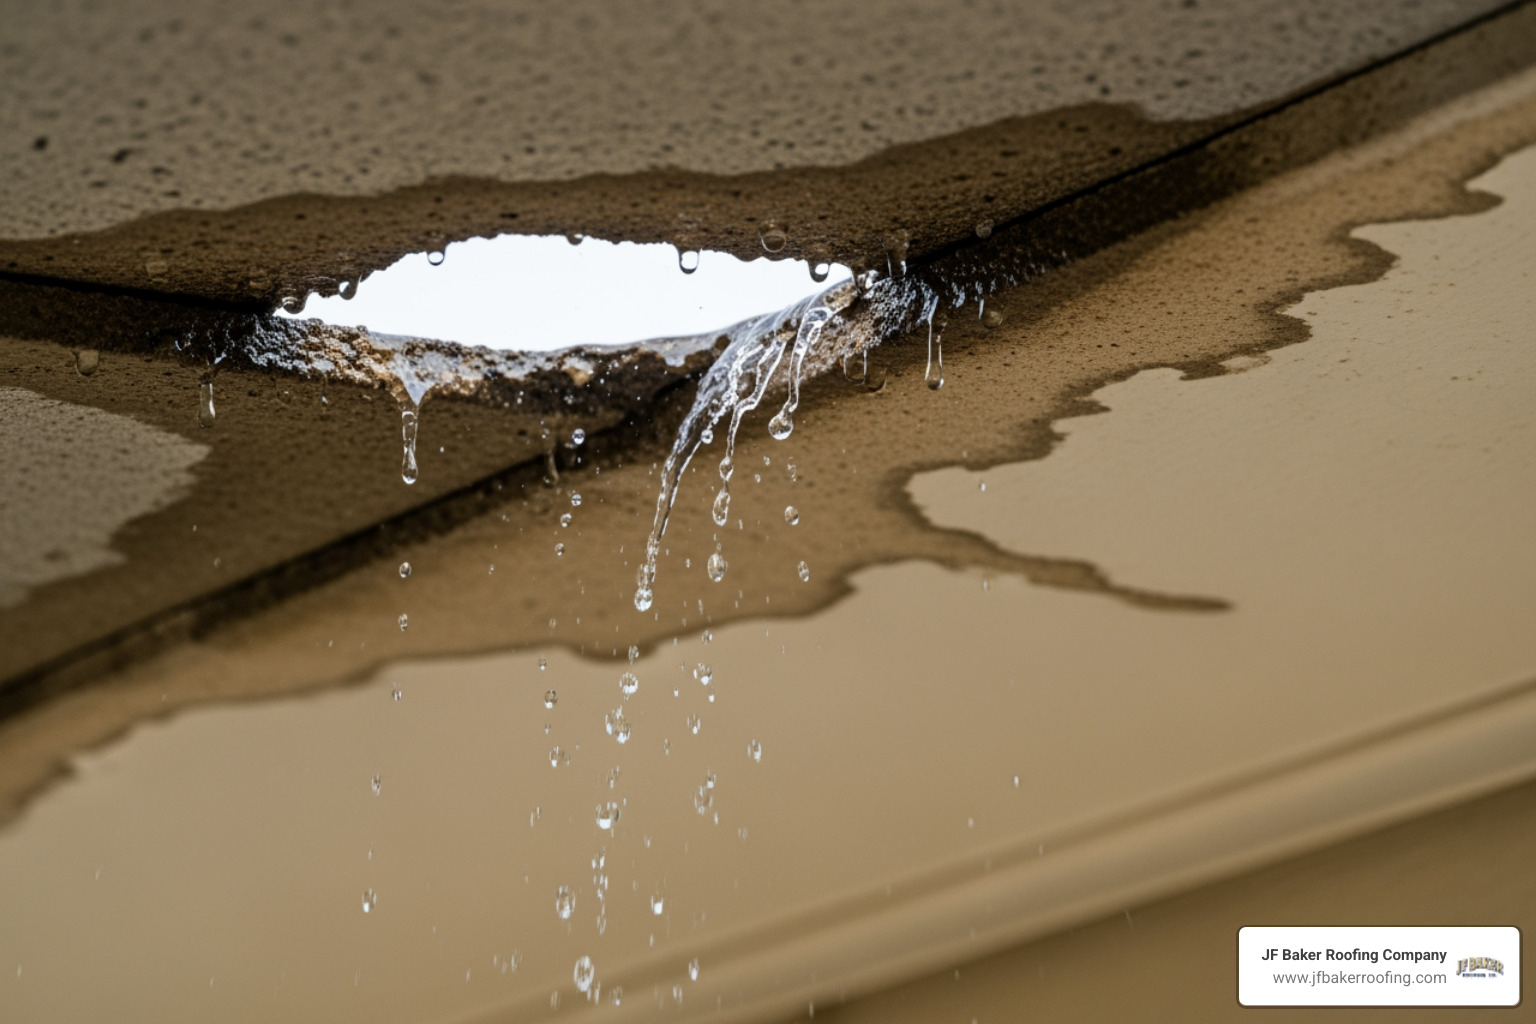
Here in Central Ohio, freeze-thaw cycles are tough on roofs. Water expands when it freezes, and flashing joints are exactly where that stress shows up first. What starts as a hairline gap can quietly let water in for months before you ever see a stain on your ceiling.
The tricky part? Water rarely shows up where it enters. A leak at the chimney can travel along rafters or sheathing and appear as a stain on a wall or ceiling several feet away. That makes chimney flashing leaks easy to misdiagnose and easy to ignore until real damage has already been done.
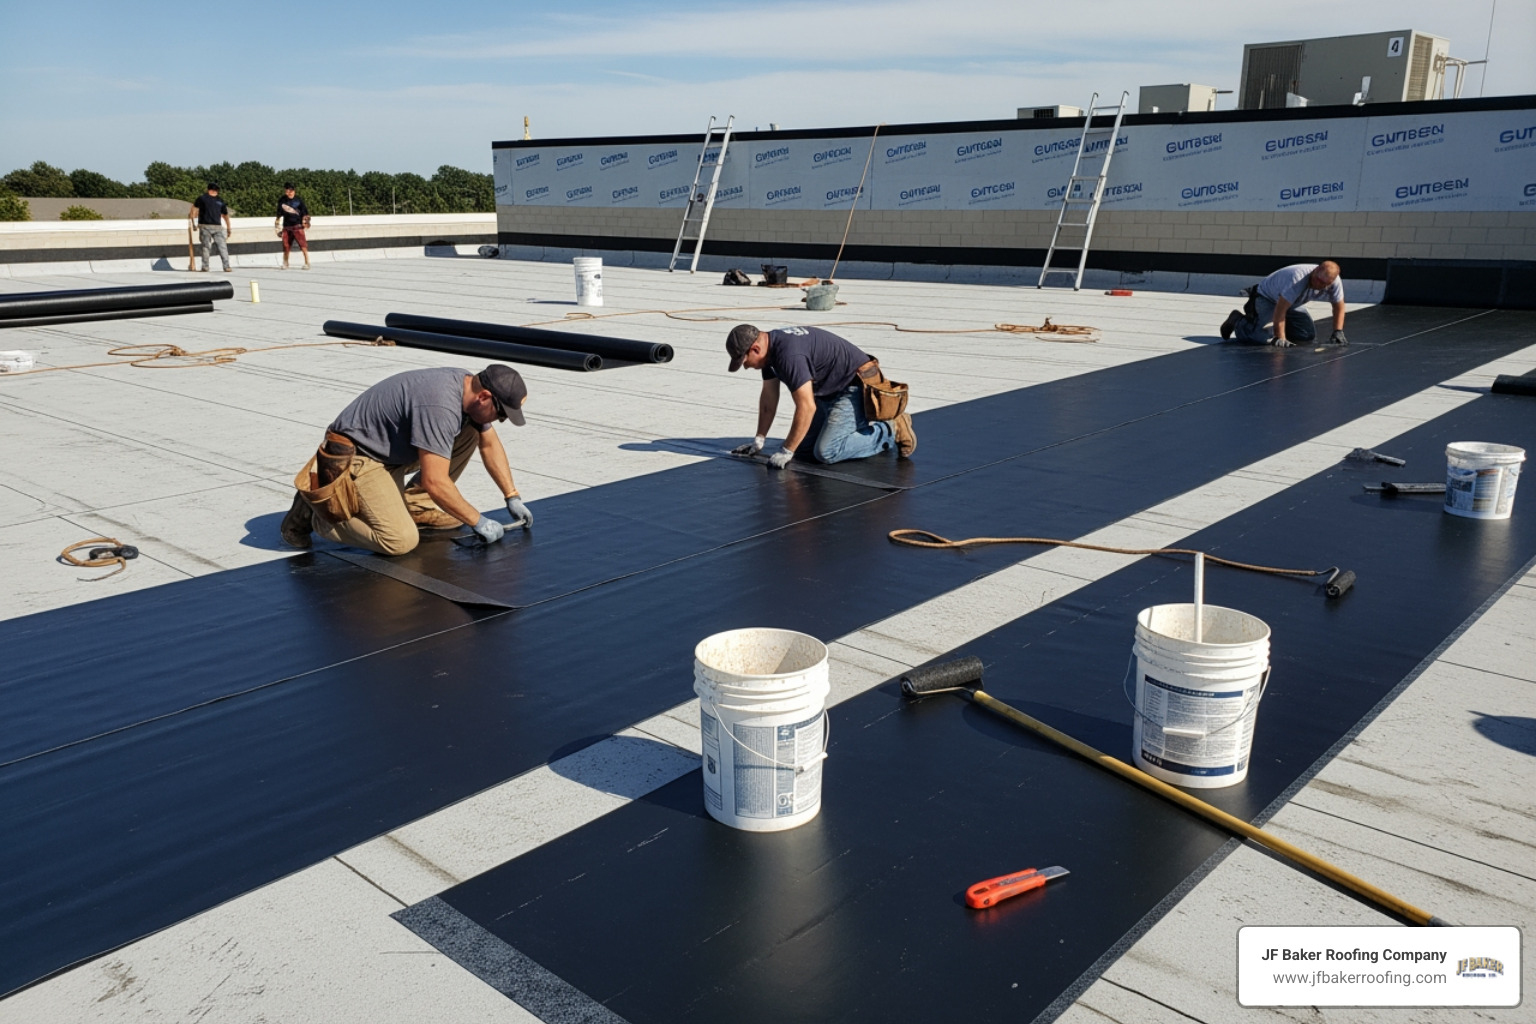
At JF Baker Roofing, we have been seeing this exact problem in Columbus homes since 1929. It is one of the most fixable issues on a roof, but only when it gets the right repair, not just a bead of caulk over the problem.
This guide walks you through everything: what causes flashing to fail, how to spot the signs, what a proper repair looks like, and when it makes sense to call someone in.
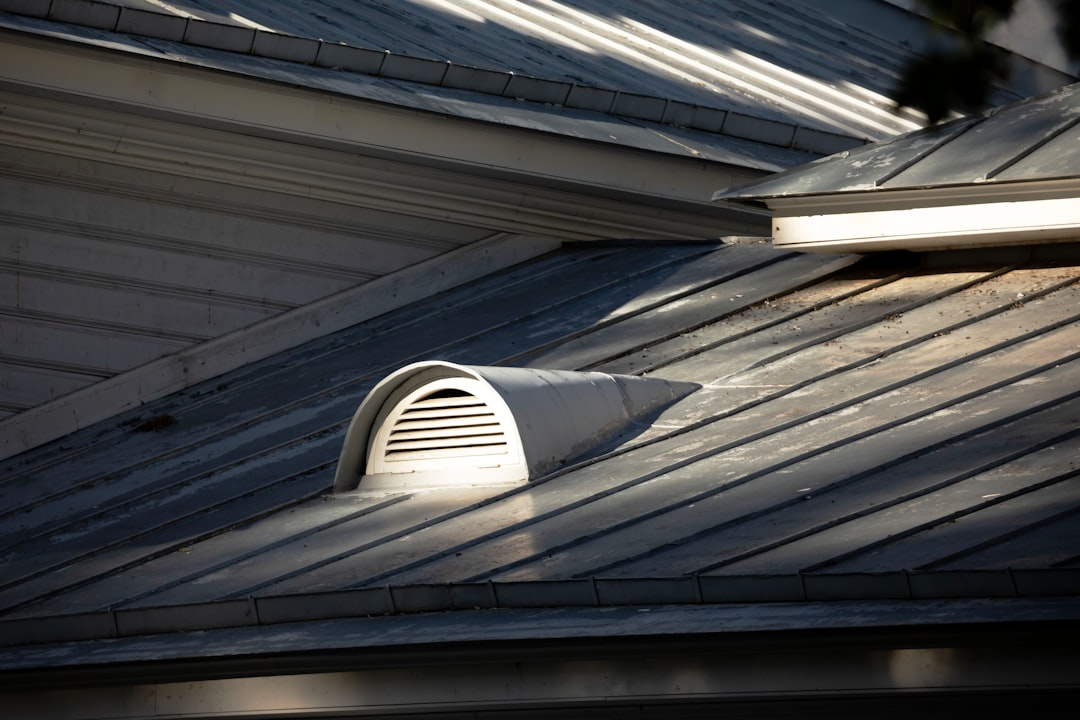
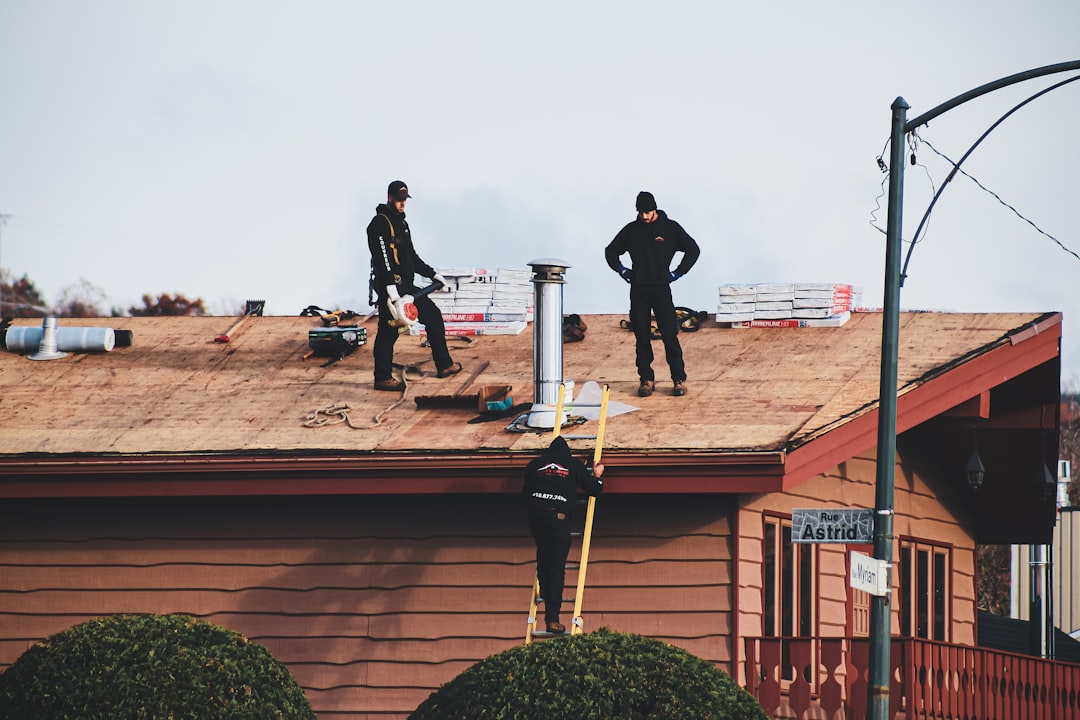
Anatomy and Common Causes of Flashing Failure
To understand why your chimney is leaking, you first have to understand that flashing isn't just one piece of metal. It is a system of layered components designed to work with gravity. When one part of that system fails, the whole thing stops working.
The Components of a Flashing System
- Base Flashing (Apron Flashing): This sits at the bottom of the chimney. It is the first line of defense that directs water coming down the roof around the front of the brickwork.
- Step Flashing: These are L-shaped pieces of metal that are woven into the shingles along the sides of the chimney. Each piece overlaps the one below it. If a contractor uses one long piece of metal instead of individual steps, it will almost certainly leak as the house settles.
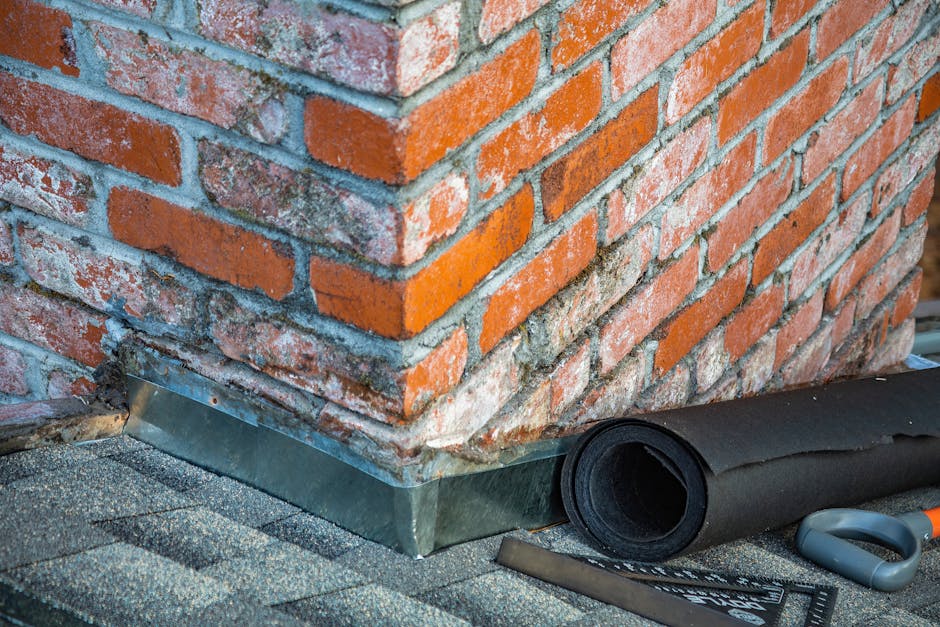
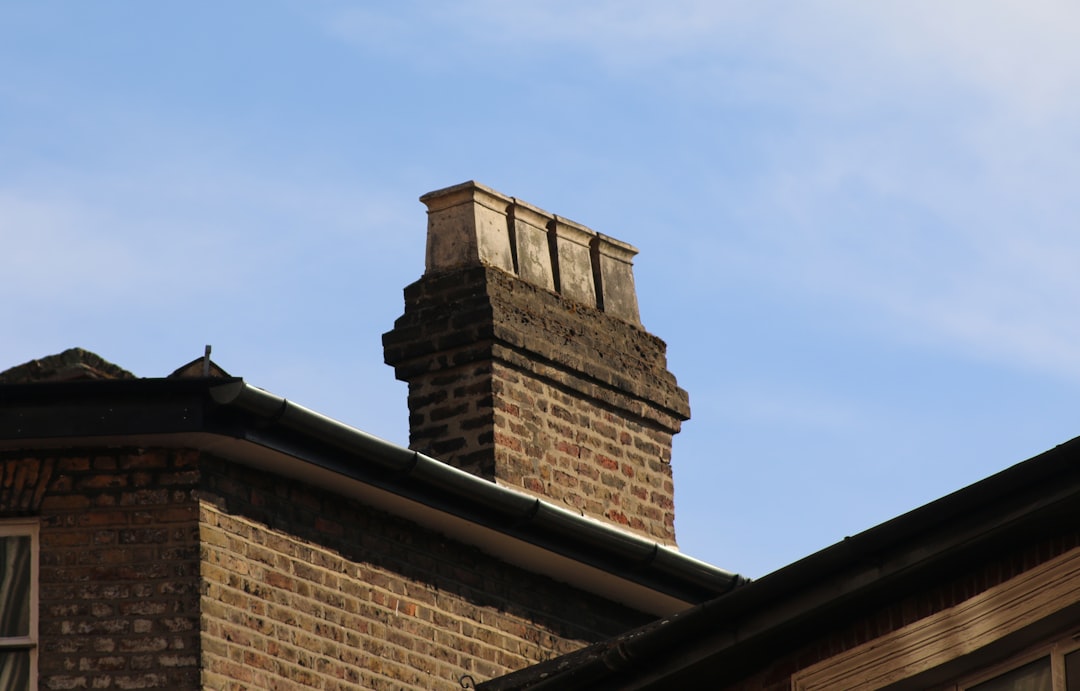
- Counterflashing (Cap Flashing): This is the "lid" for the step flashing. It is embedded into the mortar joints of the chimney and hangs down over the step flashing to keep water from getting behind the metal.
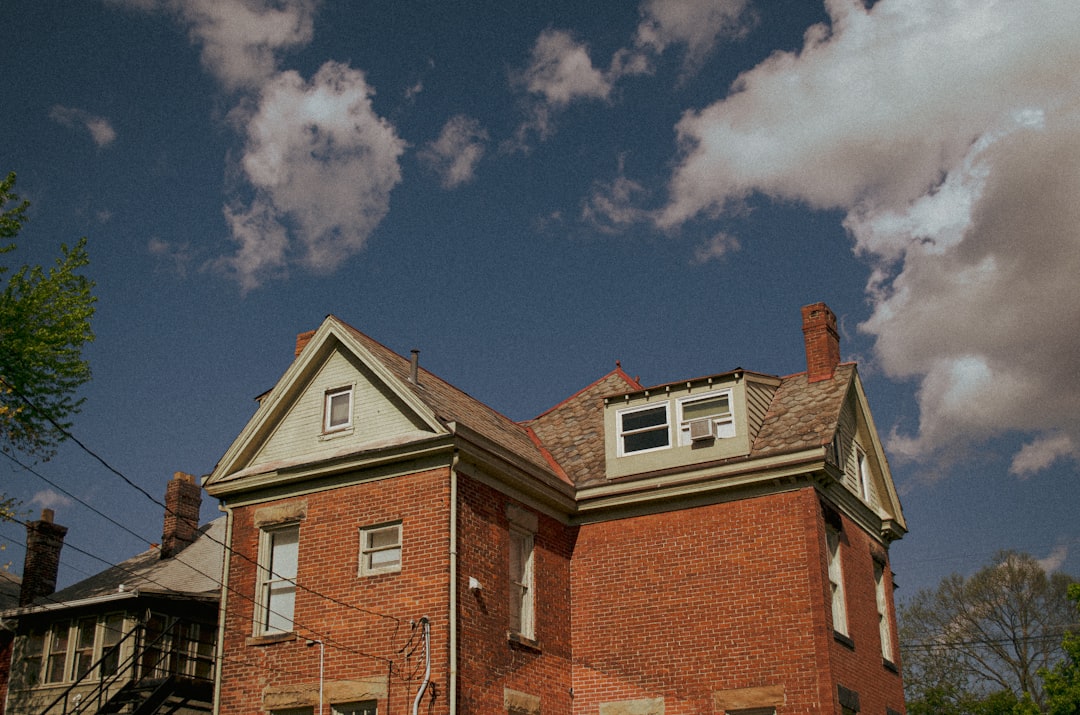
- Chimney Cricket: For chimneys wider than 30 inches on the upslope side, a cricket is a small peaked structure built behind the chimney. It acts like the bow of a ship, splitting the water flow so it doesn't pool behind the brickwork.
Understanding these parts is essential because The Main Components of a Residential Roof in Columbus Ohio all have to work together to keep your attic dry.
Why Flashing Fails
In our experience serving Dublin, Westerville, and Upper Arlington, we see a few recurring themes when it comes to flashing failure.
First, sealant deterioration is a major factor. Most flashing systems rely on a bead of sealant where the metal meets the brick. Under the intense UV exposure we get in the summer, these sealants can dry out and crack every 3 to 7 years. Once the seal is gone, wind-driven rain finds its way in easily.
Second, improper installation is more common than you might think. A huge percentage of leaks come from missing step flashing or failing to tuck the counterflashing deep enough into the mortar joints. Some installers rely entirely on caulk to bridge the gap between the metal and the brick, which is a temporary fix at best.
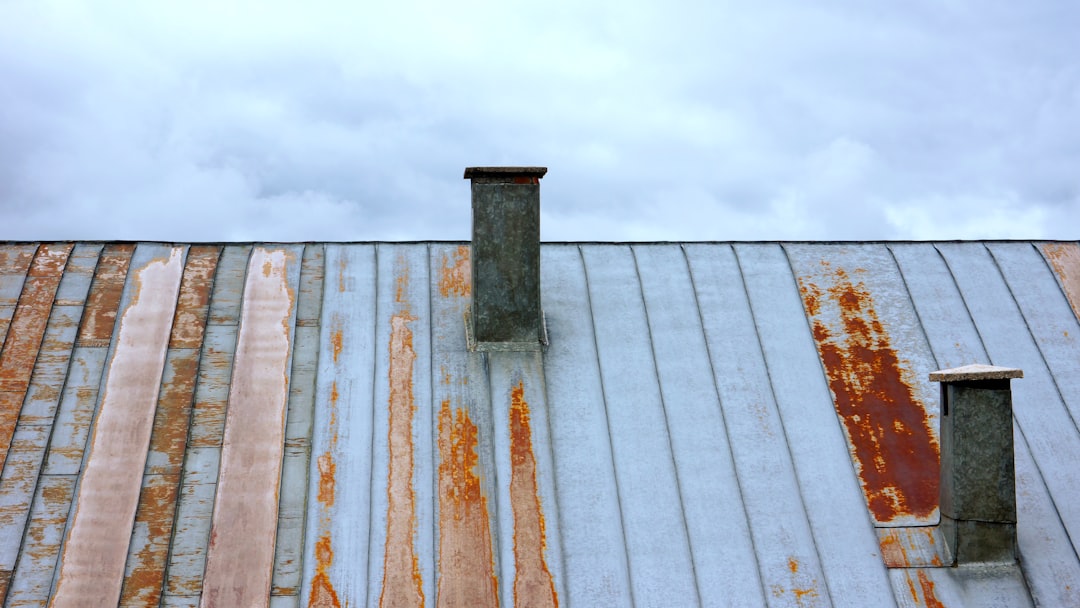
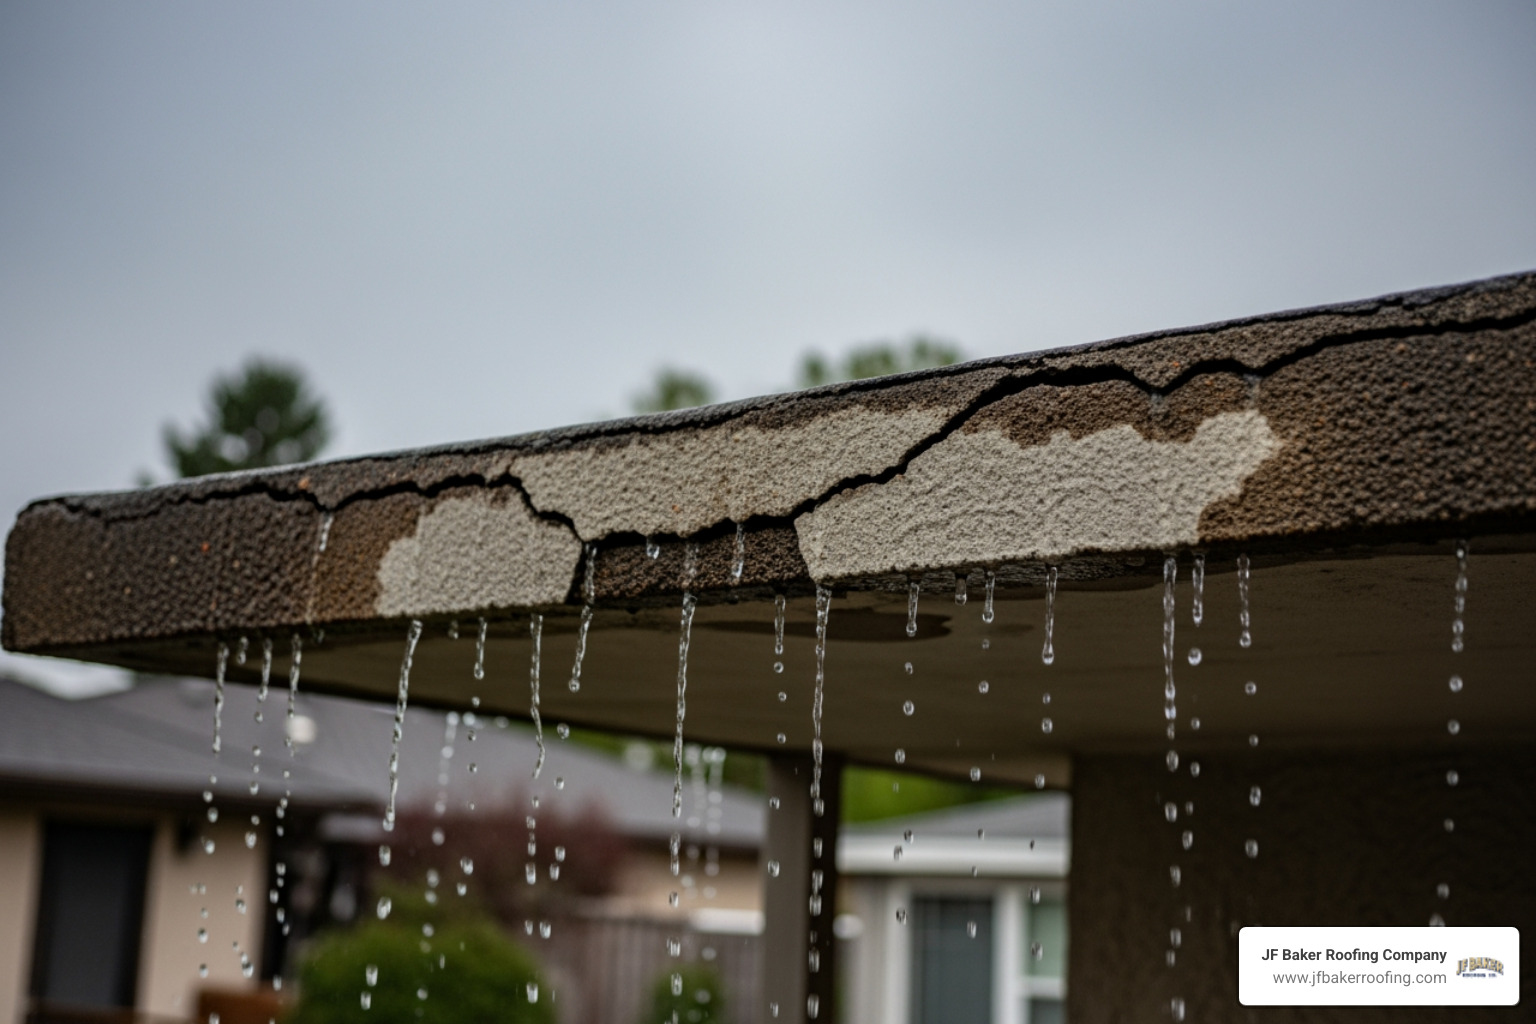
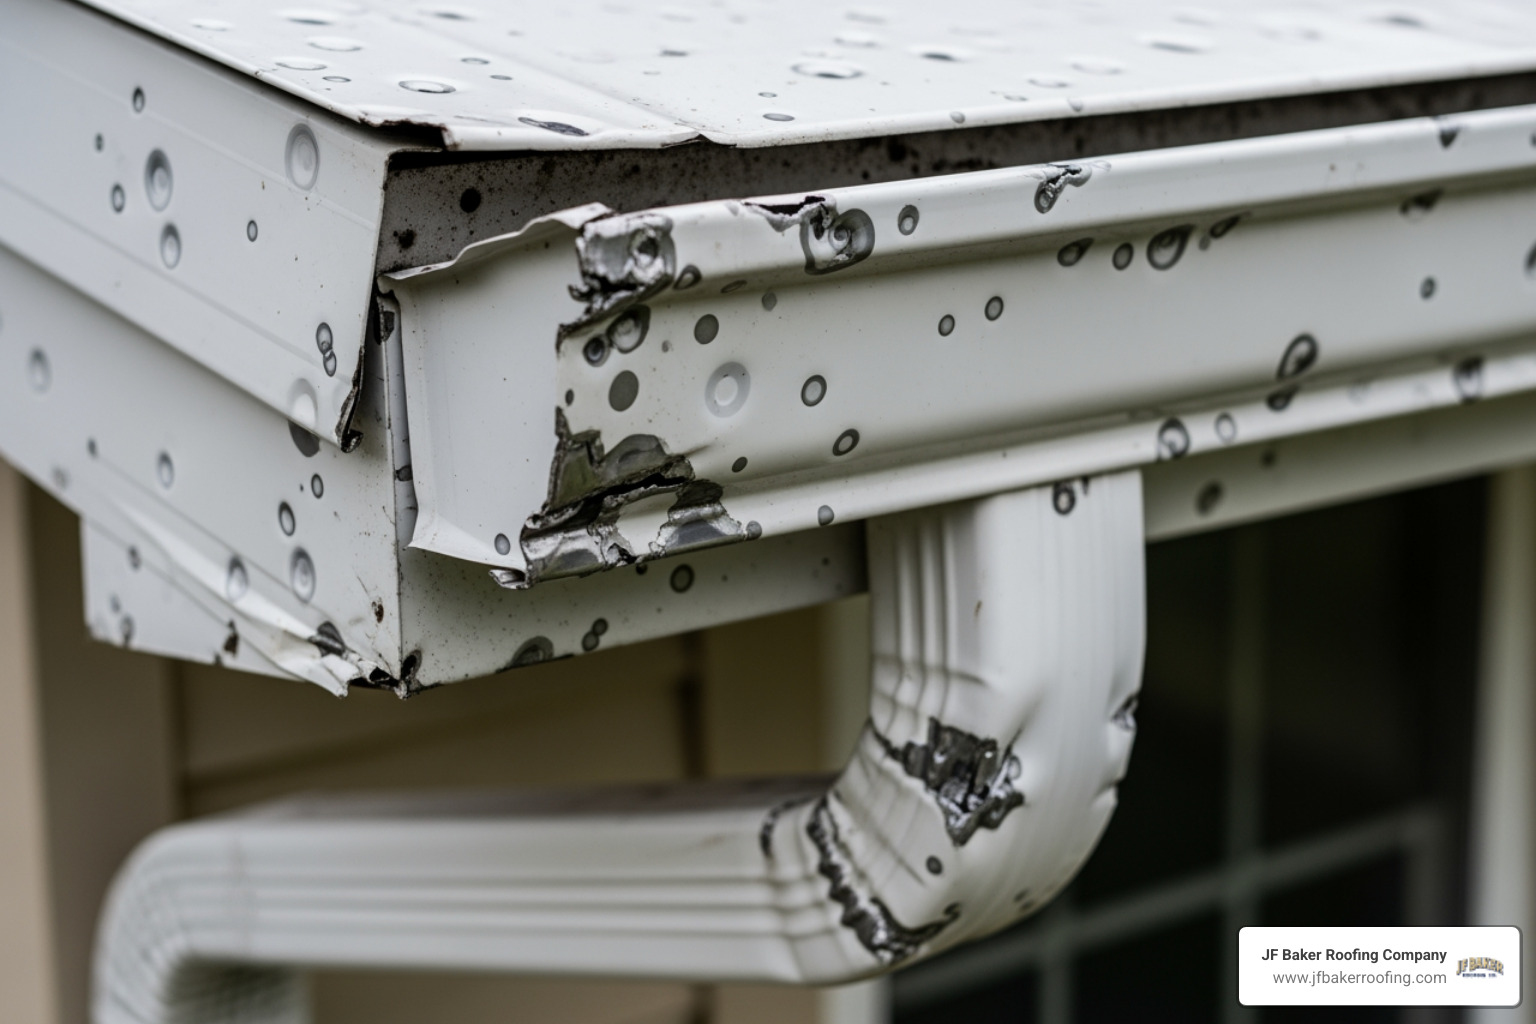
Finally, metal corrosion happens over time. While galvanized steel is common, it can rust if the protective coating is scratched or worn away. In older Columbus neighborhoods, we often see rust stains running down the chimney, which is a clear sign that pinholes have formed in the metal.
For a deeper dive into the mechanics of these systems, you can check out this guide on Leak-Proof Flashing: Fixing Leaks Around Chimneys (2026) | Today's Homeowner.
Identifying Exterior and Interior Leak Signs
You don't always have to climb a ladder to know you have a problem. Often, your home will tell you something is wrong through subtle signs.
Exterior Signs:
- Visible Gaps: If you can see light between the metal and the brick, water can get in.
- Rust Stains: Orange or brown streaks on the chimney or shingles indicate the metal is failing.
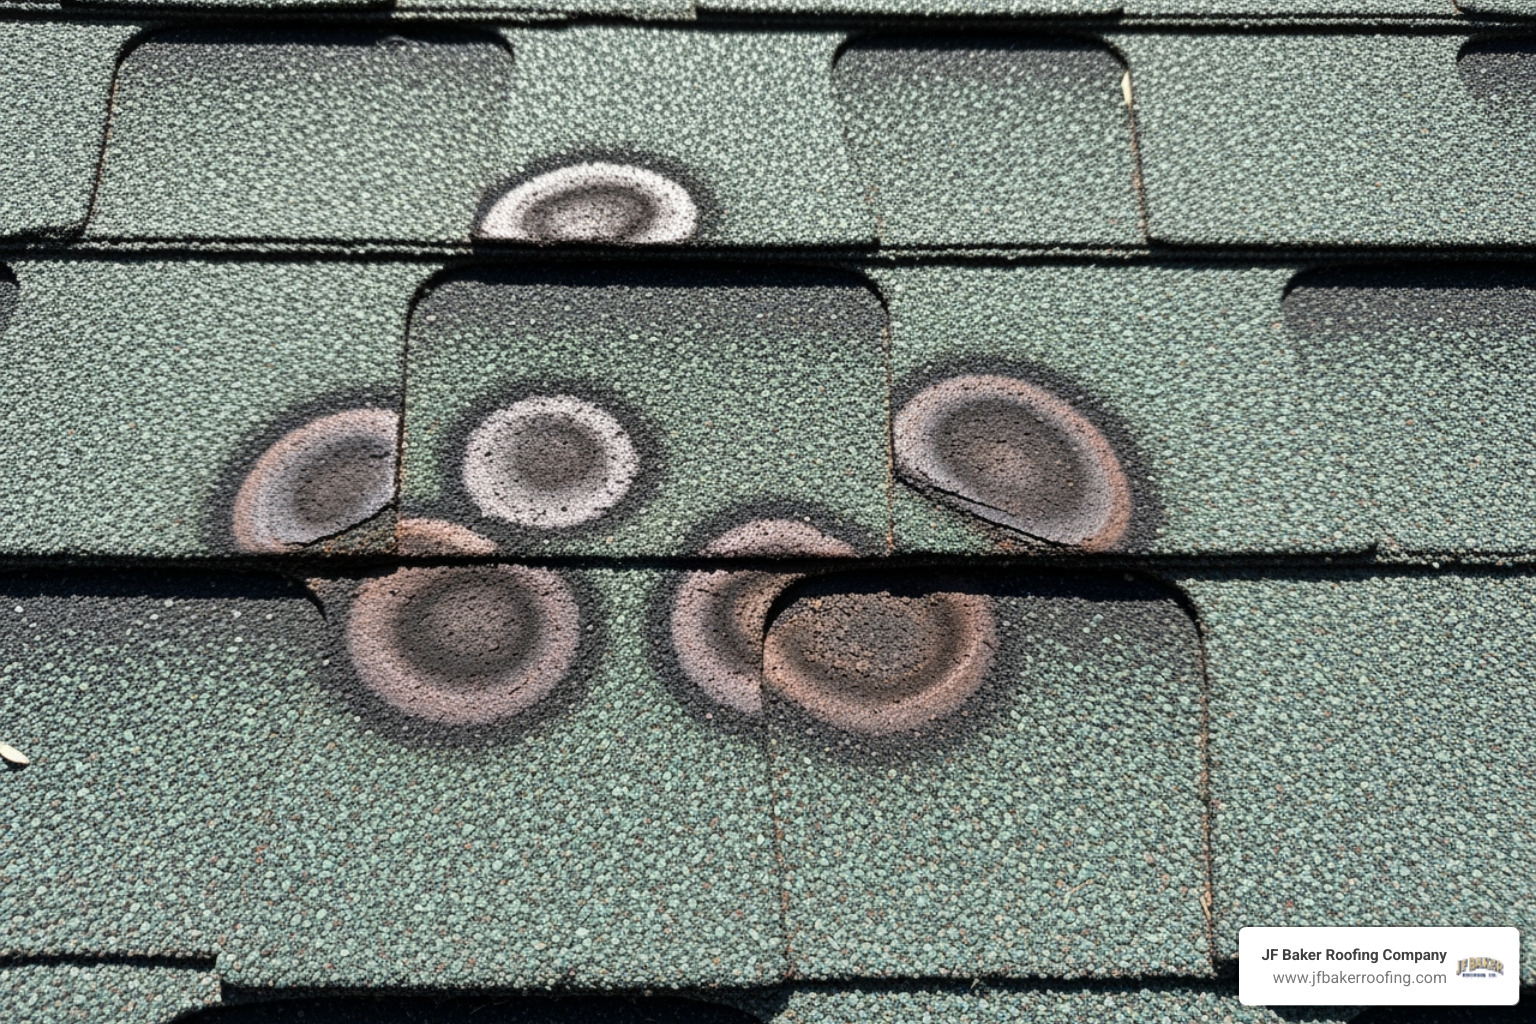
- Damaged Shingles: Look for shingles that are curled, torn, or lifting right where they meet the chimney.
- Cracked Mortar: If the brickwork itself is crumbling, it can allow water to bypass the flashing entirely.
Interior and Attic Signs:
- Ceiling Spots: Water stains on the ceiling or walls near the fireplace are the most obvious sign.
- Musty Odors: A damp or moldy smell in the attic or near the fireplace often points to a slow, persistent leak.
- Peeling Paint: Moisture behind the drywall can cause paint to bubble or wallpaper to peel away from the wall.
- Attic Inspection: If you can safely access your attic, look at the wood sheathing around the chimney. Dark stains, wet insulation, or even seeing daylight through gaps are urgent warnings.
If you are noticing these signs, it is time to look closer at your residential roofing system to prevent structural rot.
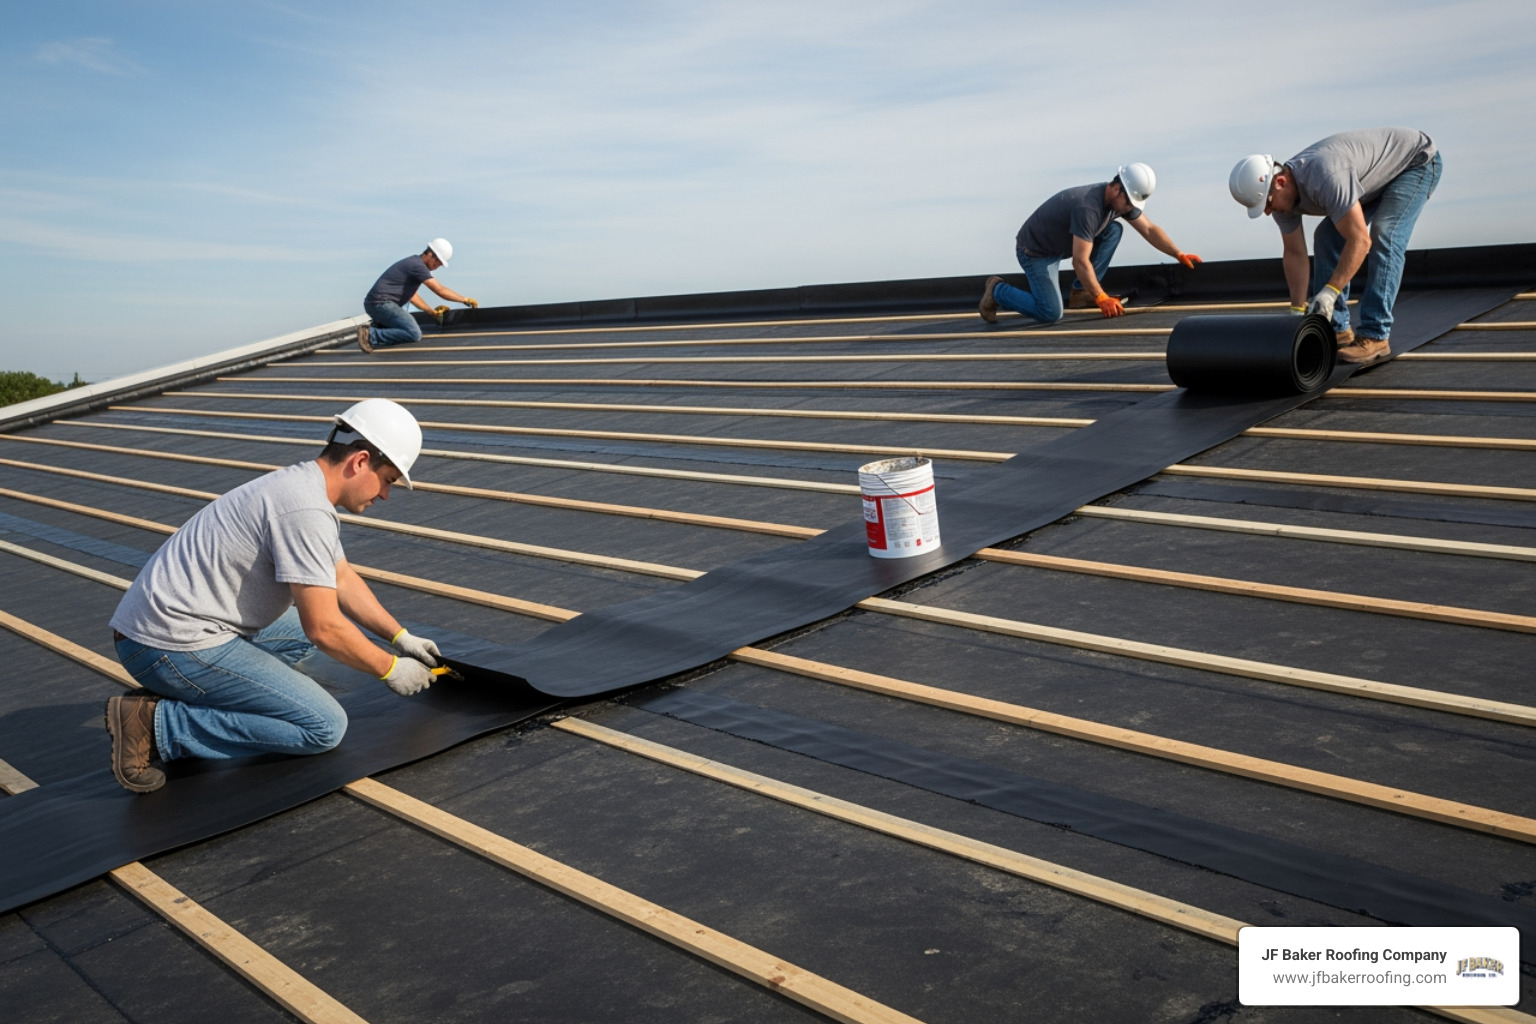
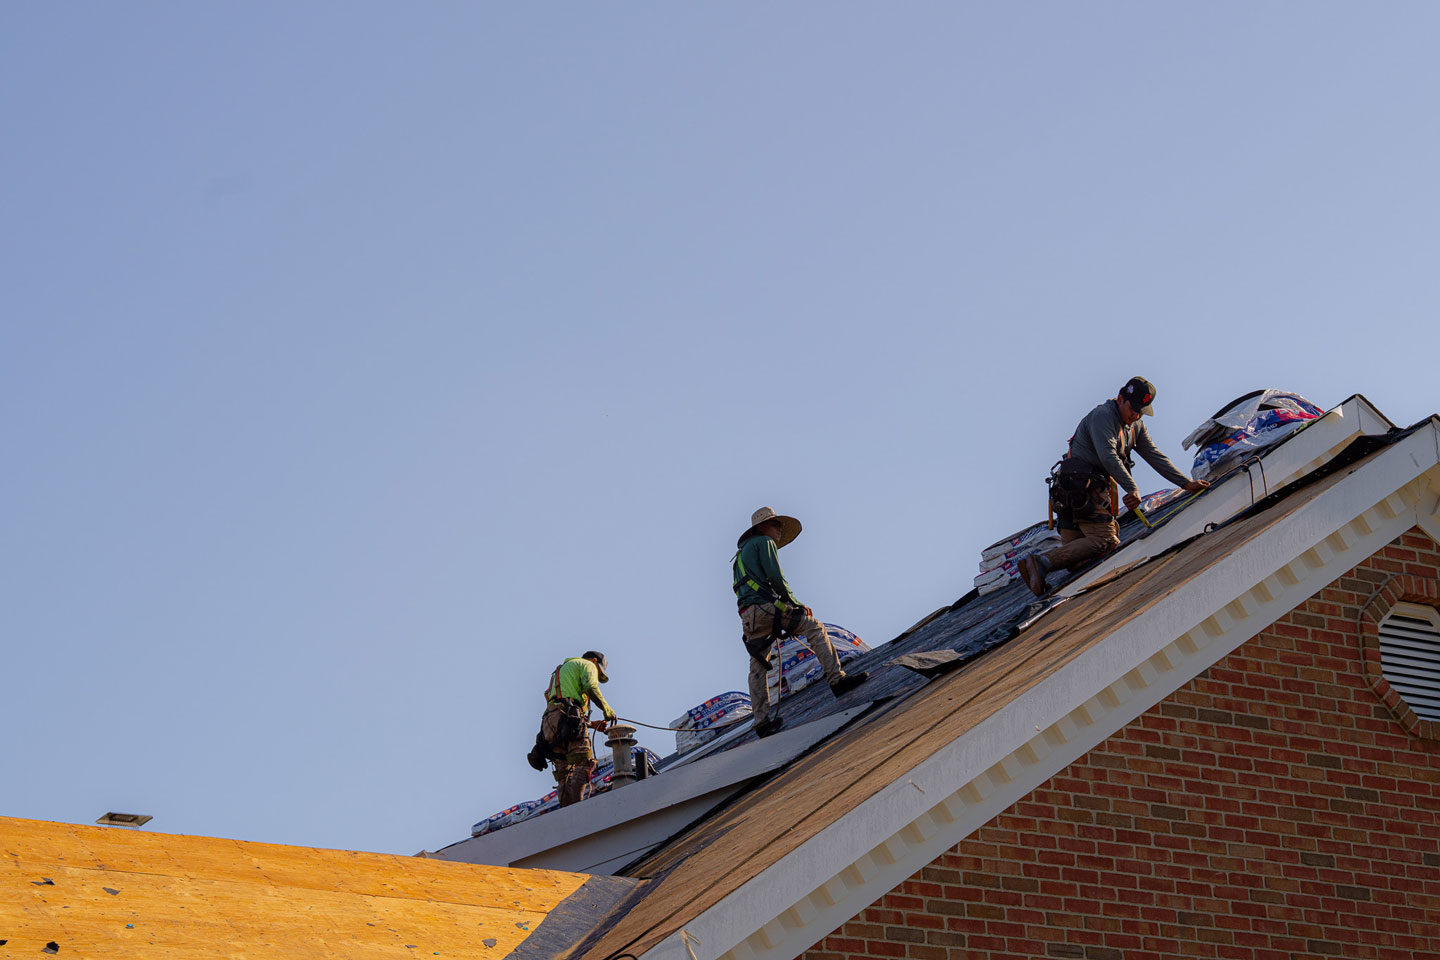
The Step-by-Step Process for Chimney Flashing Leak Repair
If you have determined that the flashing is the culprit, the repair needs to be methodical. A "quick fix" with a bucket of tar usually just hides the problem and makes the eventual professional repair more difficult and expensive.

1. Preparation and Debris Removal
Start by clearing away any leaves, twigs, or moss that have accumulated around the base of the chimney. Debris traps moisture against the metal and accelerates corrosion. Use a stiff wire brush to clean the brickwork where the flashing meets the mortar.
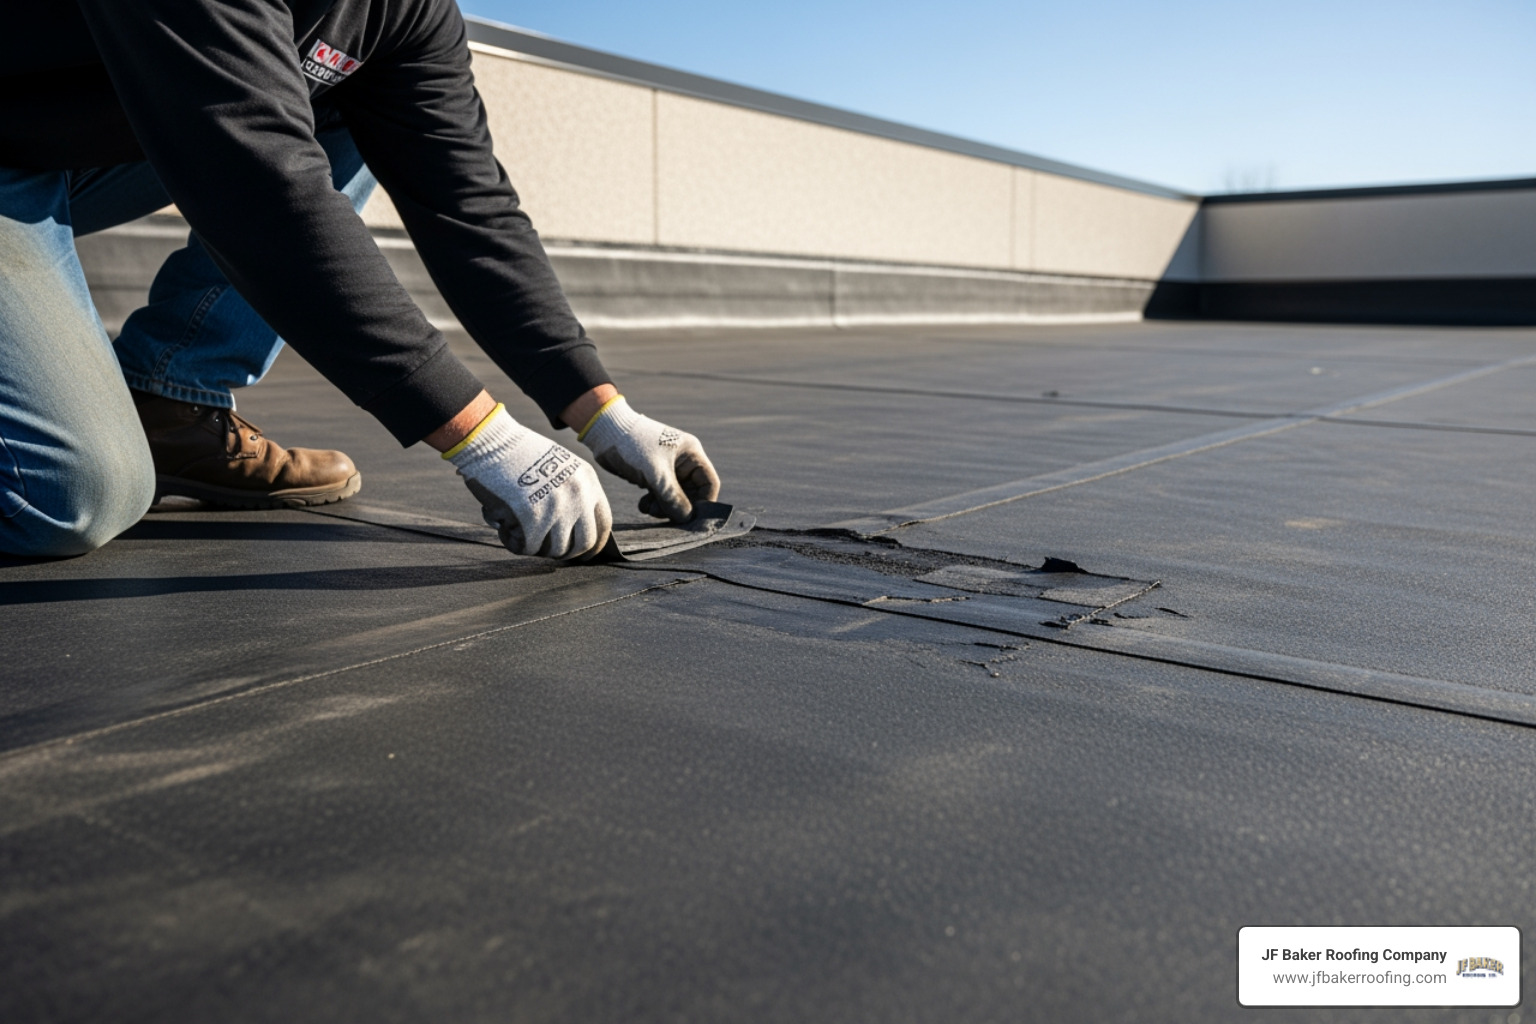
2. Removing Old Sealant and Damaged Metal
If the flashing is severely rusted or bent, it needs to come out. Use a pry bar to carefully lift the shingles around the chimney. If the counterflashing is loose, you may need a hammer and chisel (or a small grinder) to remove the old, hardened roofing cement or mortar from the joints.
3. Installing the Base Flashing
The base flashing goes on the downslope side of the chimney first. It should wrap around the corners and sit flat against the roof deck. Secure it with roofing nails, making sure the nail heads will be covered by the next layer of shingles or flashing.
4. Integrating Step Flashing
This is where most mistakes happen. You must install one piece of step flashing for every course of shingles. The metal should overlap the piece below it by at least 2 inches. This creates a "shingle effect" that naturally sheds water down the roof. Never use a single long piece of metal along the side of a chimney.
5. Tucking the Counterflashing
The counterflashing is the most technical part. Ideally, you should use a grinder to cut a shallow groove (a kerf) into the mortar joint. The top edge of the metal is tucked into this groove and secured with lead wedges or masonry nails. This ensures that even if the sealant fails, water running down the brick will hit the metal and be directed outward rather than slipping behind the flashing.
6. Sealing the Joints
Once the metal is secure, apply a high-quality polyurethane sealant to the joints. Unlike standard caulk, polyurethane stays flexible and can handle the expansion and contraction of the brick and roof. Smooth the sealant with a putty knife to ensure there are no air pockets.
7. The Final Water Test
After the sealant has had time to cure, we always recommend a water test. Have someone stand inside the attic with a flashlight while you gently run a garden hose around the base of the chimney. Start at the bottom and work your way up. If you see even a single drop inside, the seal isn't complete.
Essential Tools and Materials for Success
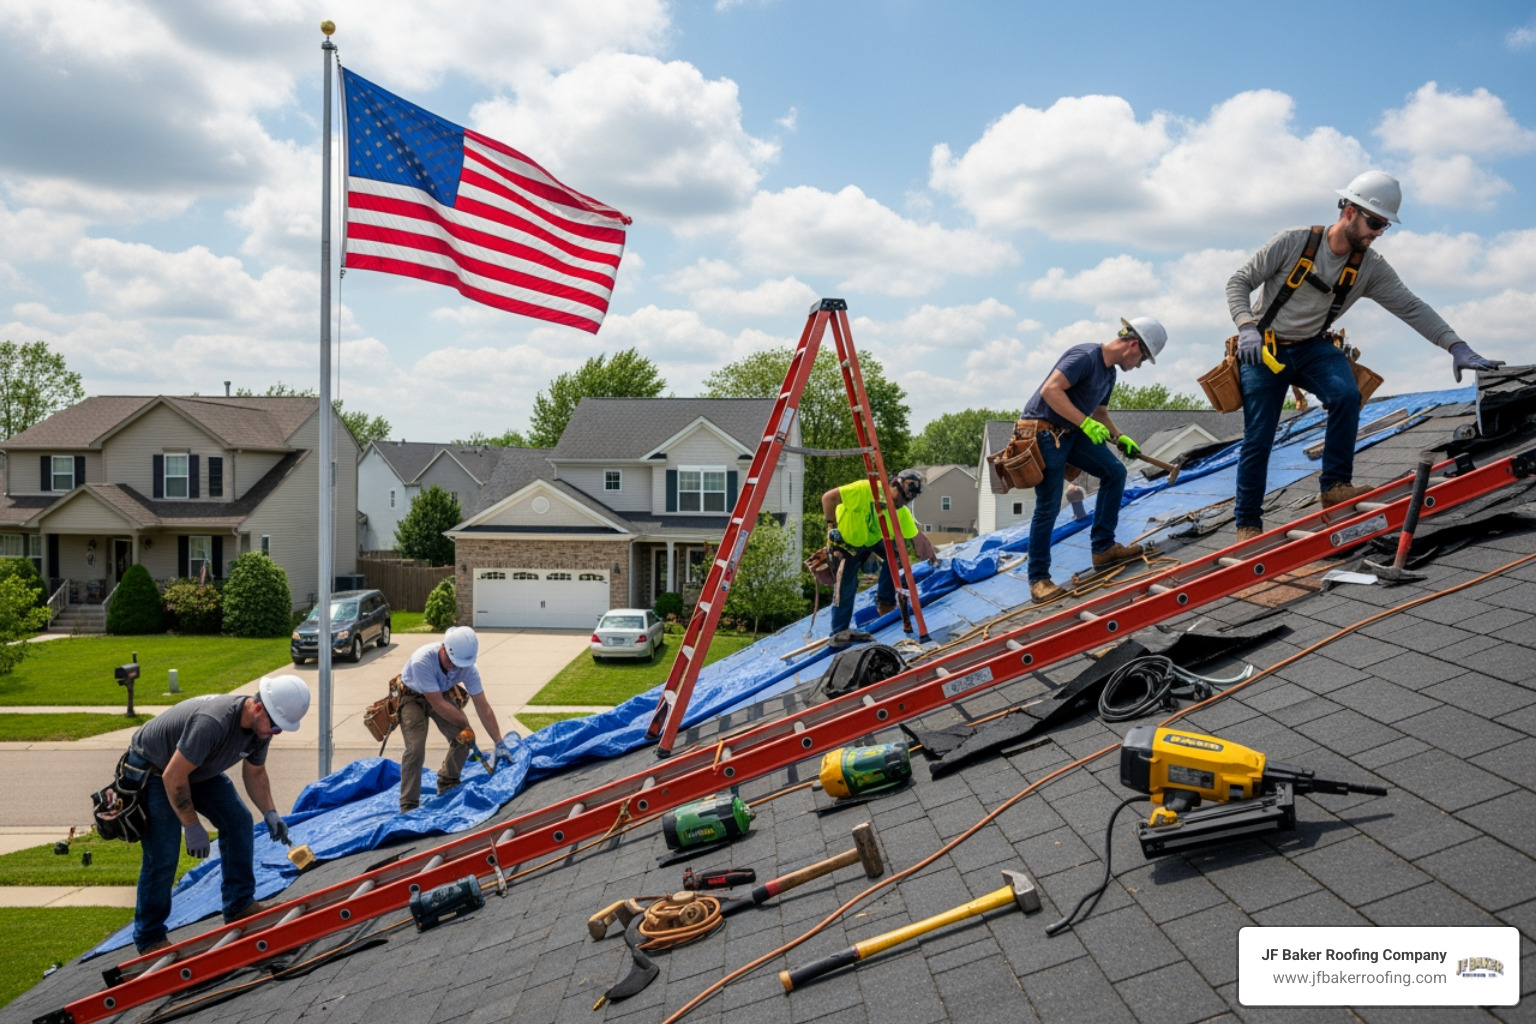
To do this job right, you need the proper gear. At JF Baker Roofing, our crews use professional-grade materials that are designed to last decades, not years.
- Flashing Material: Galvanized steel is the standard, but copper is the gold standard for longevity. Copper is naturally weather-resistant and its corners can be soldered for a truly watertight seal.
- Tin Snips: For precision cutting of the metal pieces.
- Pry Bar: For carefully lifting shingles without tearing them.
- Roofing and Masonry Nails: Use galvanized nails to prevent rust.
- Polyurethane Sealant: Avoid cheap silicone or tar-based products.
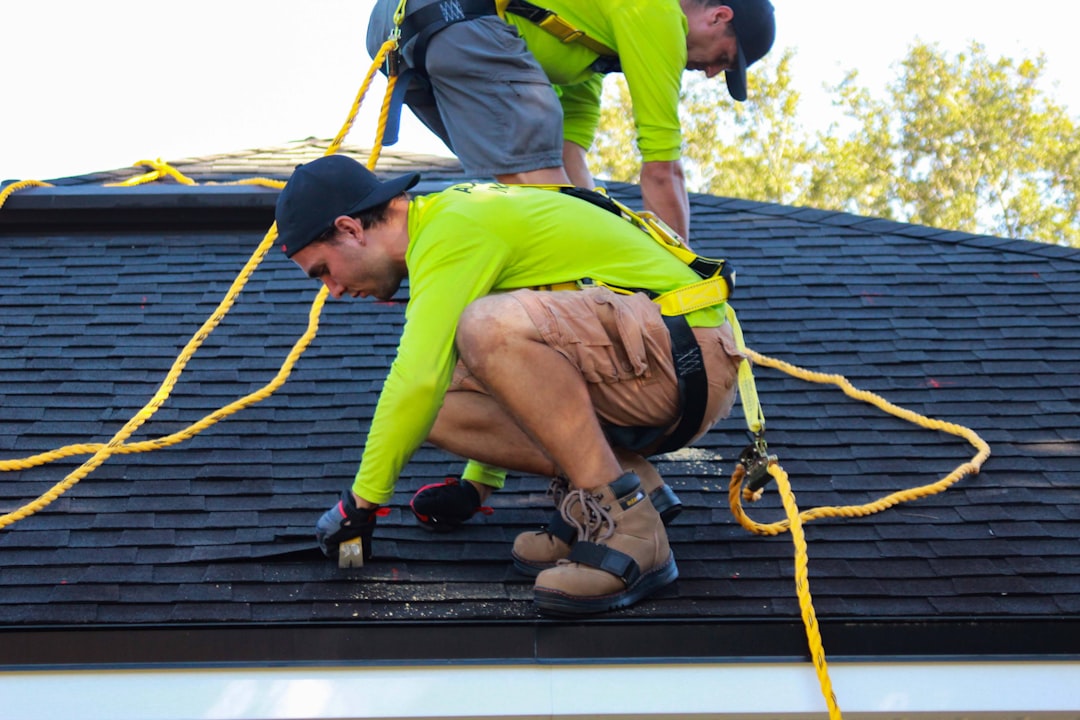
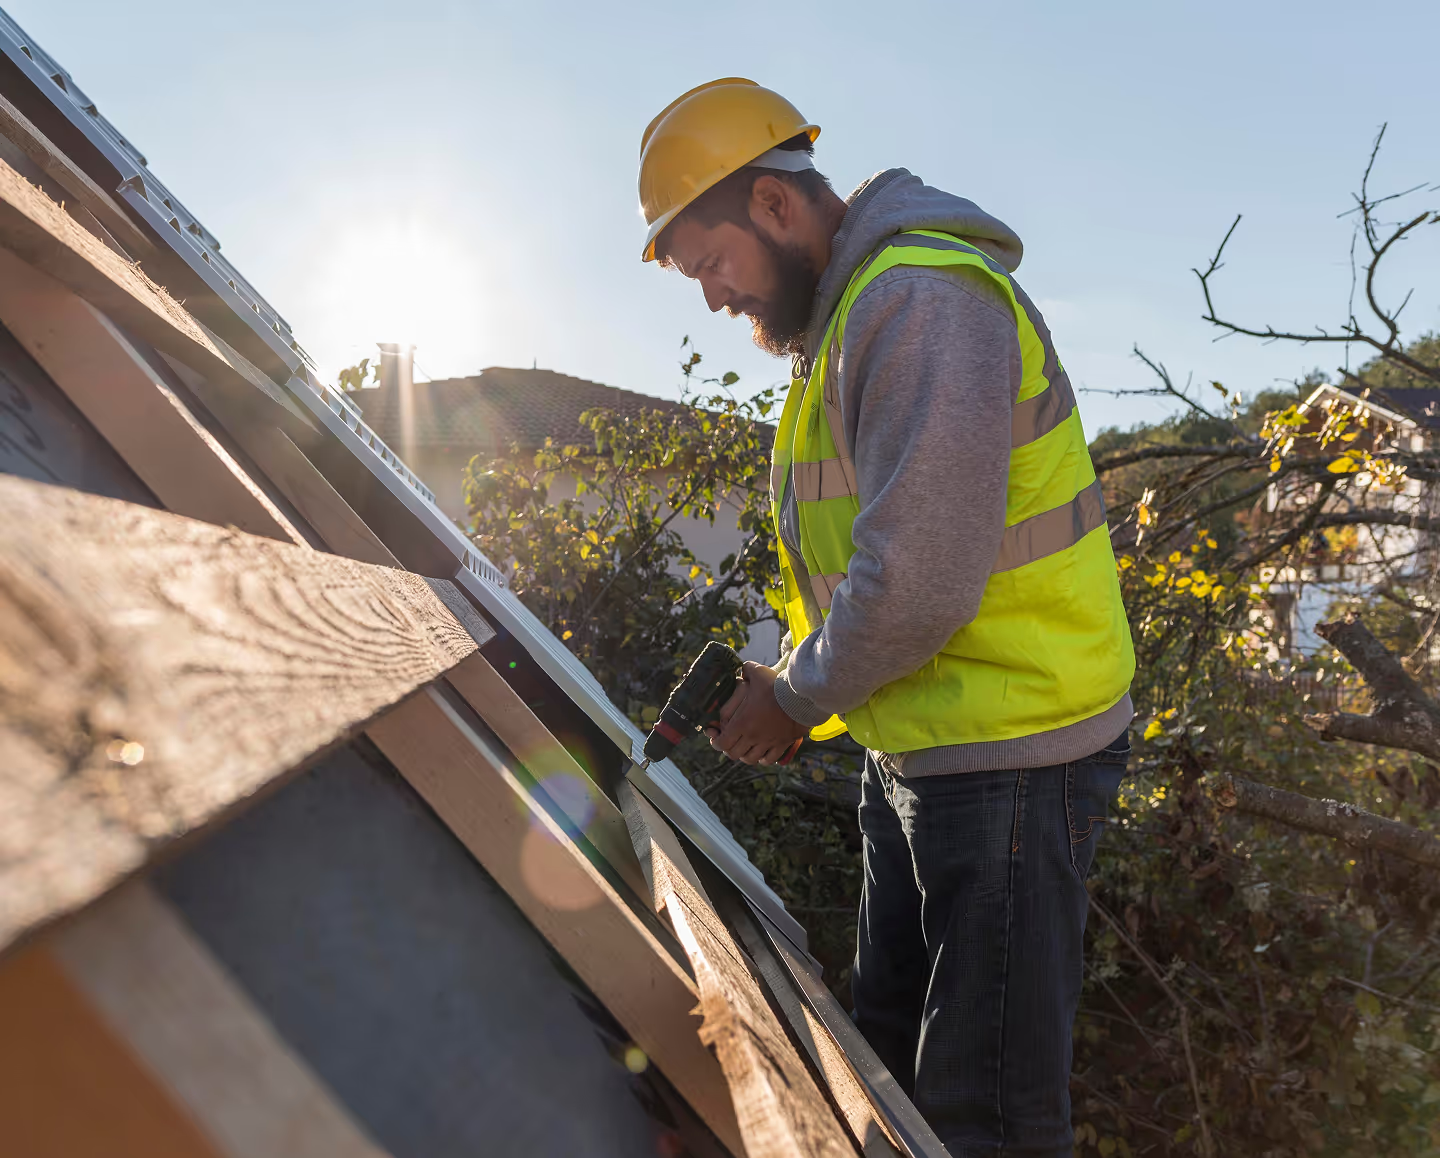
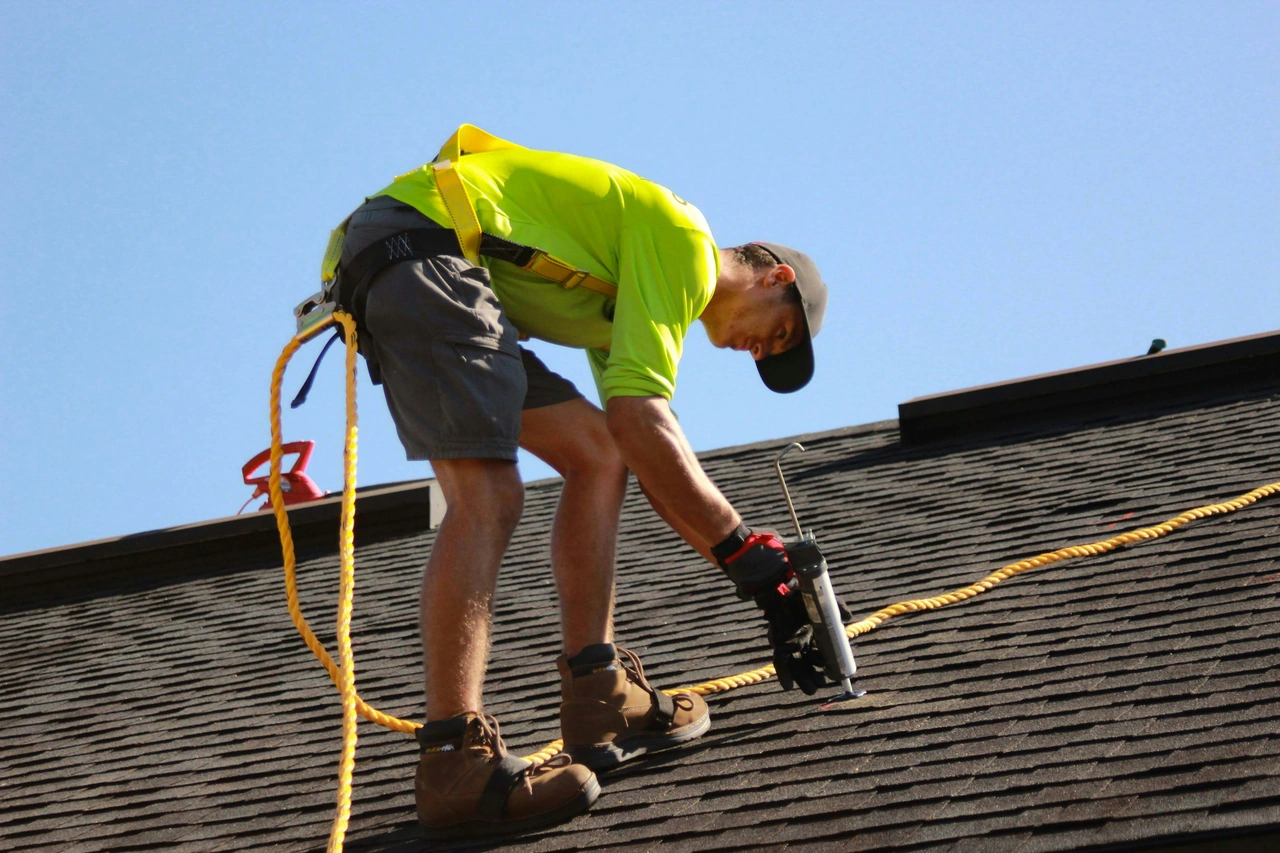
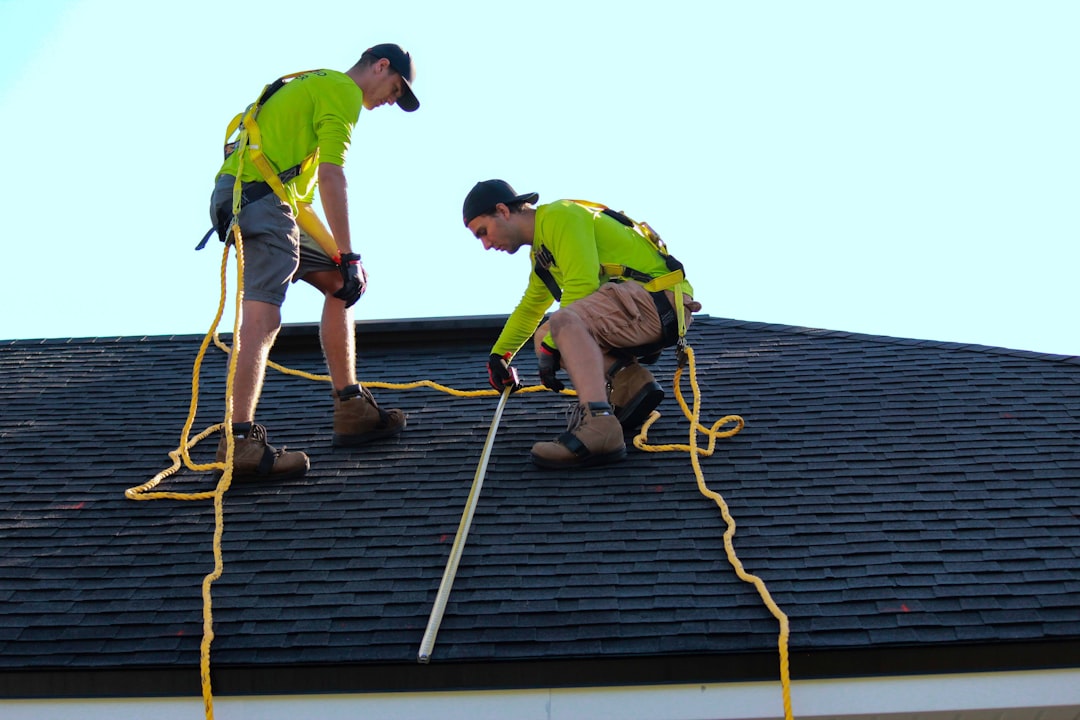
- Safety Harness: Working around a chimney often means working at the highest point of the roof. Fall protection is non-negotiable.
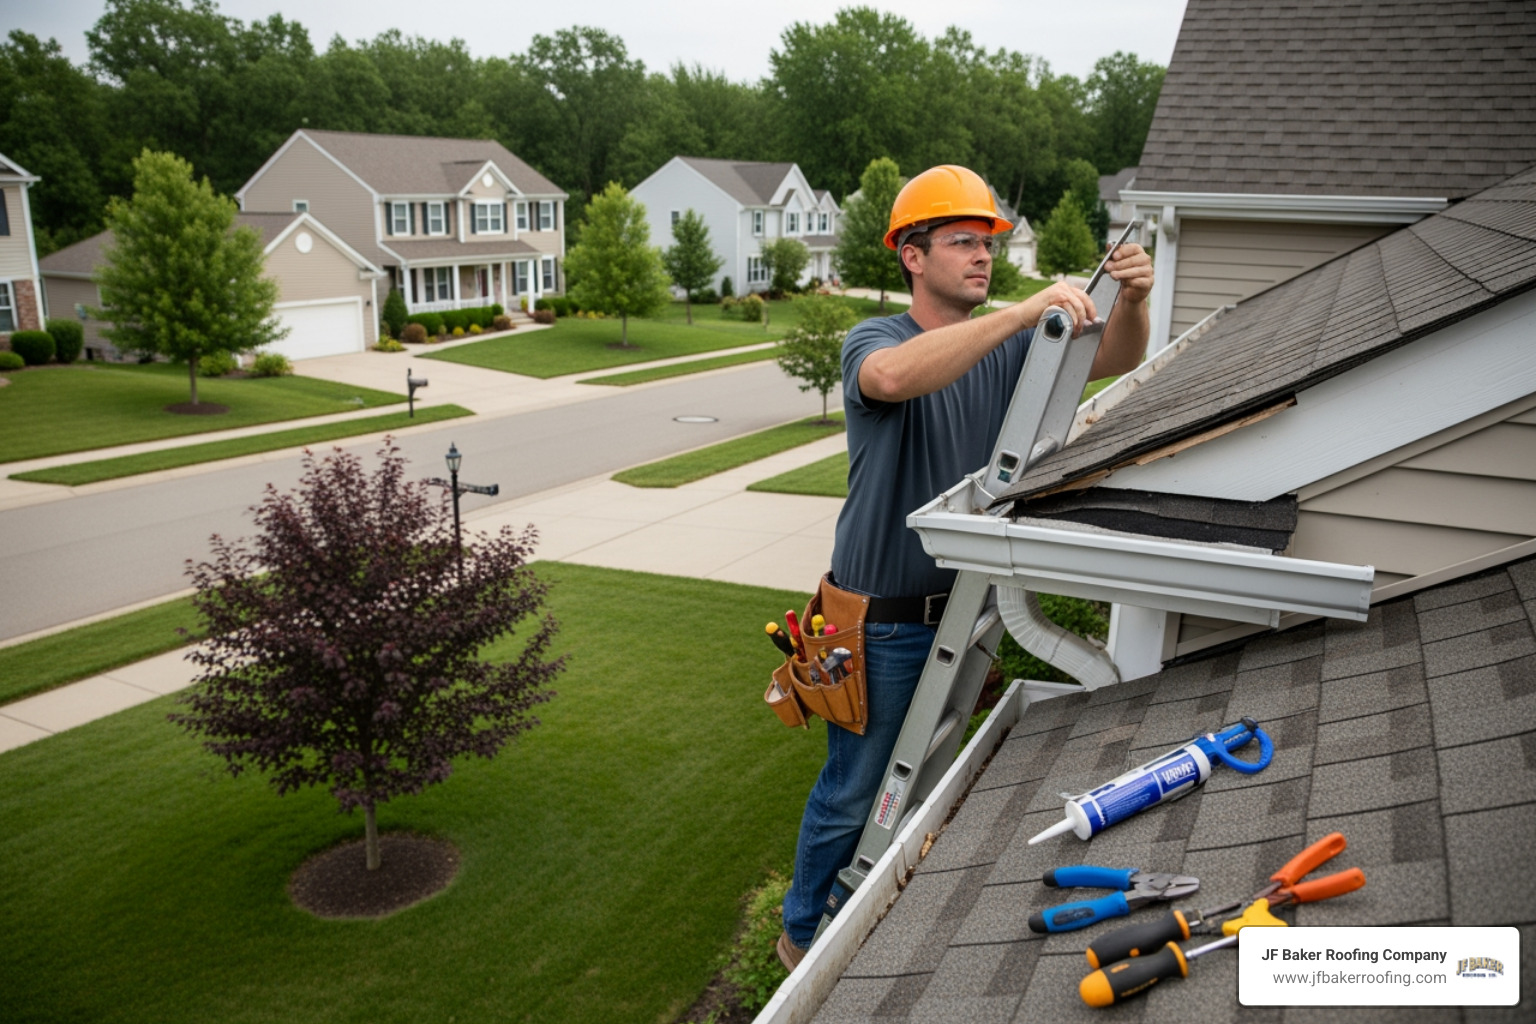
When to Call a Professional vs. DIY
We are big fans of homeowners who take care of their own properties, but chimney flashing leak repair carries risks that go beyond just a leaky ceiling.
| Feature | DIY Sealant Patch | Professional Re-Flashing |
|---|---|---|
| Scope | Filling small cracks or gaps in caulk. | Replacing metal, grinding mortar, structural repair. |
| Difficulty | Low to Moderate. | High (requires masonry and roofing skills). |
| Safety Risk | High (ladder and roof work). | Low for homeowner (pros use safety gear). |
| Durability | 1 to 3 years. | 20 to 50 years. |
| Cost | Low (materials only). | Moderate (labor and premium materials). |
| Warranty | None. | Workmanship and material guarantees. |
Why Professional Help Matters
There are three main reasons why Columbus homeowners often choose to call us instead of doing it themselves.
1. Safety: Most chimneys are located on the ridge of the roof, which is the most dangerous place to stand. Professional crews have the harnesses, roof jacks, and experience to work safely at heights of 30 or 40 feet.
2. Expert Diagnosis: Water is sneaky. A leak that looks like a flashing issue might actually be a cracked chimney crown or porous bricks that are saturated with water. A professional can distinguish between these problems, saving you from spending money on a repair that doesn't stop the leak.
3. Insurance and Warranty: If a DIY repair fails and causes $10,000 in interior damage, your insurance company might question the quality of the work. When you hire a contractor like JF Baker Roofing, you get the peace of mind that comes with professional insurance and a workmanship warranty.
If your roof has been hit by a recent Central Ohio storm, you may also be dealing with Storm Damage Repairs that require a professional inspection to satisfy insurance requirements.
Frequently Asked Questions
How much does chimney flashing leak repair cost in 2025?
The cost of a repair depends heavily on the extent of the damage and the materials used. A simple resealing of the counterflashing is the most affordable option. However, if the metal is corroded and needs a full re-flash, the price increases because it involves removing shingles and grinding into the masonry.
Factors that influence the price include:
- Roof Pitch: Steeper roofs require more safety equipment and take longer to navigate.
- Materials: Copper flashing is significantly more expensive than galvanized steel but lasts twice as long.
- Chimney Size: Larger chimneys require more metal and more labor.
- Hidden Damage: If the wood sheathing under the flashing has rotted, it must be replaced before the new metal can be installed.
Is DIY chimney flashing leak repair safe for homeowners?
Generally, we advise against DIY flashing replacement unless you have extensive experience on roofs. While applying a bead of sealant to a visible crack is manageable for many, replacing the metal components involves technical skills like "weaving" flashing into shingles and working with masonry tools. The risk of a fall or of making the leak worse by improper layering is high.
What role do chimney crickets play in preventing leaks?
A chimney cricket is a lifesaver for your roof. In Central Ohio, we get heavy rain and snow. If your chimney is wide, water can "dam" up behind it. That standing water eventually finds a way through the shingles. A cricket diverts that water around the chimney, ensuring it keeps moving toward the gutters. If your chimney is wider than 30 inches and doesn't have a cricket, installing one during your next repair is one of the best investments you can make for your home's structural integrity.
Conclusion
A leaking chimney is a problem that only gets more expensive the longer you wait. Whether it is a small drip during a summer thunderstorm in Dublin or ice damming in a Westerville winter, moisture is the enemy of your home's structure.
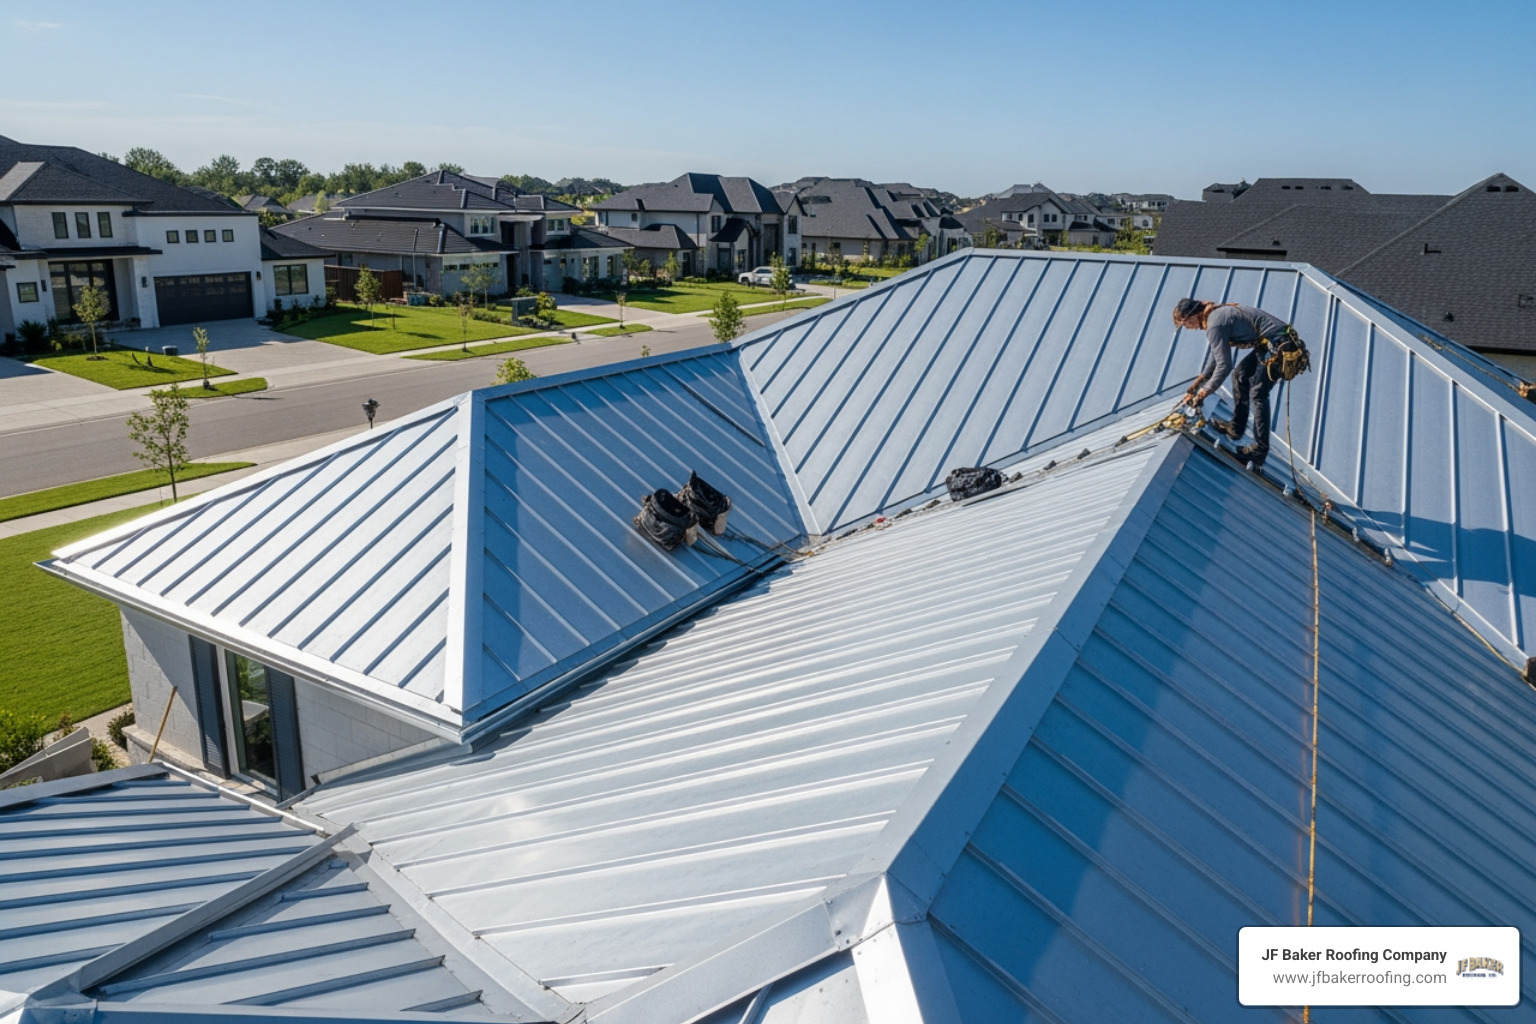
At JF Baker Roofing, we have been built on integrity and proven by performance since 1929. As a third-generation family-owned business led by Chad and Pat Baker, we don't believe in high-pressure sales. We believe in honest assessments. If a simple repair will fix your flashing, that is what we will recommend. If your roof is at the end of its life and needs a full replacement, we will tell you that too, and explain why.
We serve the entire Central Ohio area, including Columbus, Upper Arlington, Hilliard, and beyond. We stand behind every roof we install and every repair we make.
If you are worried about a leak or just want a professional eye on your chimney, reach out to us for an honest assessment. Let our reputation be your security.


.jpeg)