The Real Cost of EPDM Rubber Roof Replacement
What an EPDM Rubber Roof Kit Actually Costs (And What You Get)
An epdm rubber roof kit is an all-in-one package that includes a synthetic rubber membrane, bonding adhesive, butyl tape, and sealant — everything you need to waterproof a flat or low-slope roof yourself.
Here's a quick overview of what to expect:
FactorDetailsKit contentsEPDM membrane, bonding adhesive, butyl tape, lap sealant, cover tapeMembrane thickness1.2mm (residential) or 60 mil (RV/commercial)Typical kit price range~$590–$990+ (RV kits); £141–£300+ (UK shed/garage kits)Coverage per adhesive gallon160–200 sq ftExpected lifespanUp to 50 yearsBest forGarages, sheds, extensions, carports, RVs, porch roofs
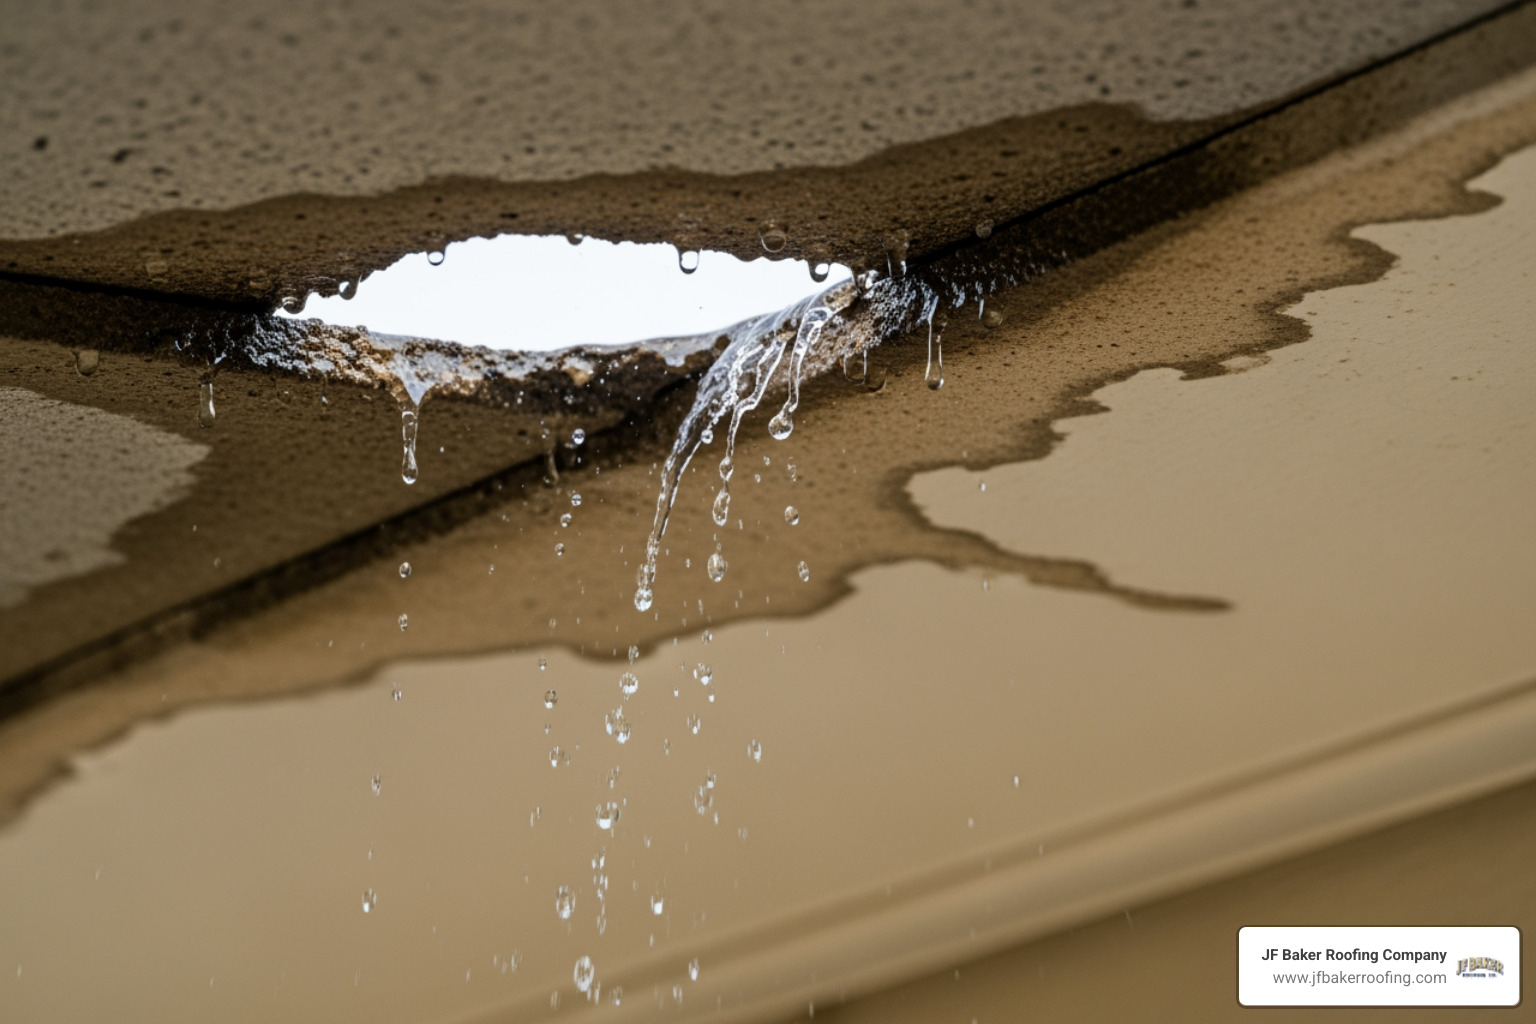
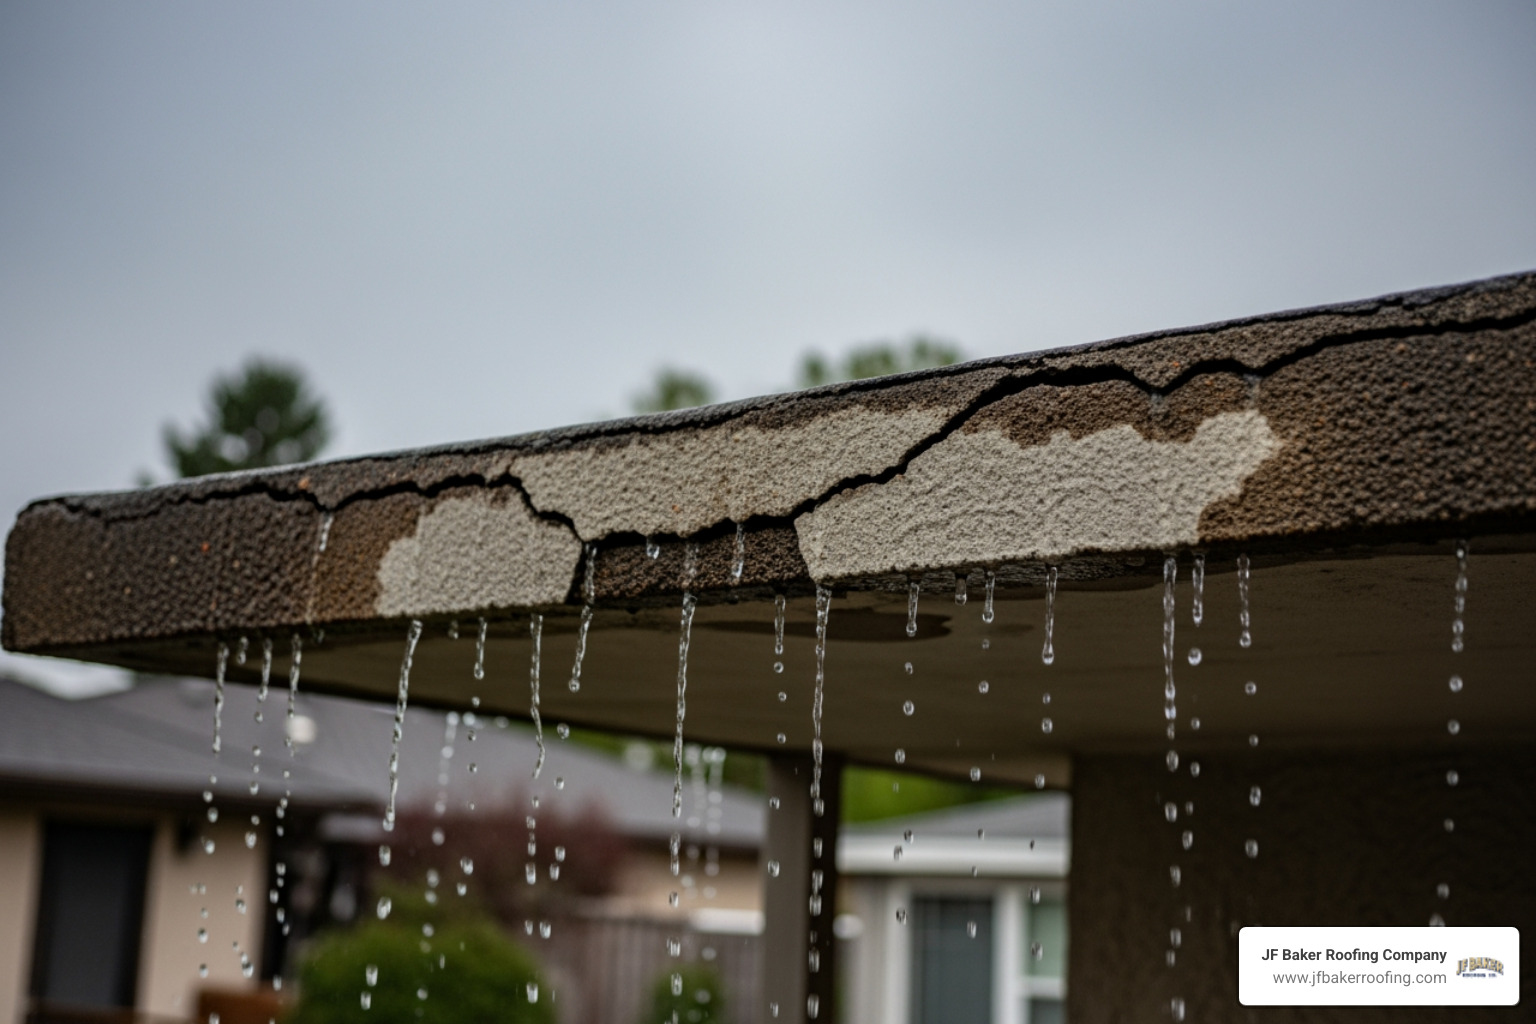
Whether you're dealing with a leaking flat roof on your garage or replacing a worn-out RV roof, EPDM kits are one of the most popular DIY solutions available. They've been trusted by homeowners and contractors for over 30 years — and for good reason.
But the upfront kit price is only part of the story.
The real cost includes materials, shipping (some kits weigh 34 lbs or more and require freight delivery), prep work, and the risk of mistakes that can cut a 50-year roof's life in half. This guide breaks it all down so you can make a smart decision — whether you go DIY or call a professional.

What is an EPDM Rubber Roof Kit?
When we talk about an epdm rubber roof kit, we are referring to a bundled solution designed to take the guesswork out of flat roofing. EPDM stands for Ethylene Propylene Diene Monomer. While that sounds like a mouthful from a high school chemistry textbook, it’s essentially a high-performance synthetic rubber.
This material is a single-ply membrane, meaning one layer does all the heavy lifting to keep the rain out. These kits are designed to provide a "roof in a box" experience, which is why they are so popular for DIY enthusiasts and small-scale contractors alike. For more specialized needs, you can explore our EPDM Rubber Roof Kits and Components to see the variety of options available.
Components of a Standard EPDM Rubber Roof Kit
A comprehensive kit isn't just a giant roll of rubber. To ensure a watertight seal that lasts decades, several critical chemicals and accessories are included:
- The Membrane: Usually 1.2mm thick for standard residential use or 60 mil (approximately 1.5mm) for premium or RV applications.
- Bonding Adhesive: Most kits include a water-based acrylic adhesive. You can typically expect a coverage rate of 160–200 square feet per gallon.
- Lap Sealant: This is a thick, caulk-like substance used to seal the edges of the membrane or around roof penetrations like vents.
- Butyl Tape: A double-sided, sticky tape used for creating primary seals under moldings or trims.
- Seam Tape and Primer: If your roof is wide enough to require a joint, these components "weld" two sheets together chemically.
- Pipe Boots and Corners: Pre-molded rubber pieces designed to fit around pipes or into tricky corners where a flat sheet might struggle to fold.
If you are looking for a more robust solution for a larger building, you might want to check out our More info about commercial roofing services to see how professional-grade materials differ from standard kits.
Choosing the Right EPDM Rubber Roof Kit for Your Project
Not all kits are created equal. The kit you buy for a backyard shed in Westerville won't be the same one you'd use for a camper.
- RV-Specific Kits: These often feature "White on Black" membranes. The white top reflects heat (crucial for summer camping in Central Ohio), while the black bottom provides strength. They also include specialized A/C gaskets and self-leveling sealants.
- Residential Kits: These are perfect for home extensions, garages, and porches. They often come in thicker 1.2mm or 1.5mm options to meet building regulations.
- Shed and Garden Kits: These are usually the most affordable, often using a slightly thinner membrane (around 1.0mm to 1.14mm) since the structural stakes are lower.
When choosing, always look for factory vulcanized seams. This means if the manufacturer had to join two pieces to make your specific width, they did it using heat and pressure at the factory, making the seam as strong as the rubber itself. You can learn more about how these fit into the broader world of roofing by reading about the Types of Commercial Roofing Systems.
Benefits and Applications for Residential and RV Use
At JF Baker Roofing, we’ve seen a lot of roofing materials come and go over our 96+ years in Central Ohio. EPDM has stayed a favorite because it is incredibly resilient.
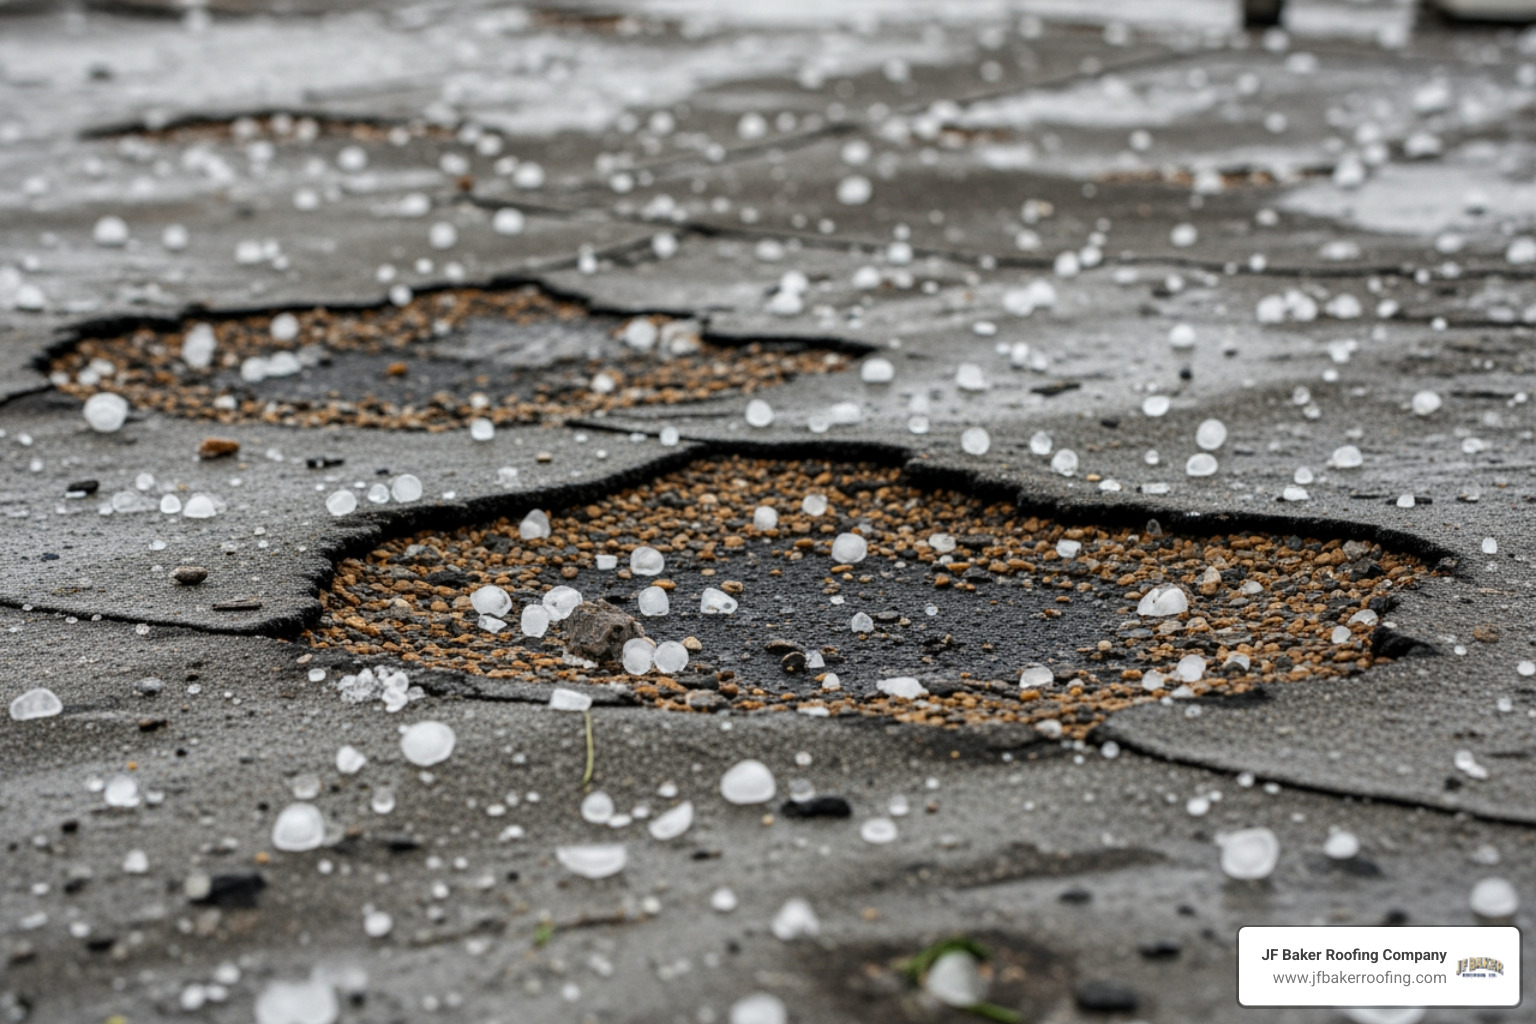
The primary benefit is UV and Ozone stability. Unlike asphalt shingles that can become brittle and "bald" under the sun, EPDM doesn't crack, blister, or peel when exposed to the elements. It’s also "Infrared stable," meaning it handles the heat well. Because it’s rubber, it has amazing thermal expansion properties—it can stretch and contract as the temperature swings from a humid 90°F July day in Columbus to a freezing January night in Delaware, OH.
With a life expectancy of up to 50 years and a 35-year BBA certificate (a standard for high-quality building materials), it’s a "set it and forget it" solution for many. For more on how we handle these materials in a professional setting, visit our Commercial Roofing Category.
Performance Comparison of Low-Slope Materials
How does an epdm rubber roof kit stack up against other popular flat roof options like TPO or PVC? Here is a quick breakdown based on Scientific data on EPDM weathering:
FeatureEPDMTPOPVCPrimary MaterialSynthetic RubberThermoplastic PolyolefinPolyvinyl ChlorideInstallationAdhesive/Tape (Cold)Heat-Welded (Hot)Heat-Welded (Hot)FlexibilityExtremely HighModerateHighHeat AbsorptionHigh (Black) / Low (White)Very LowVery LowPuncture ResistanceHighVery HighHighDIY FriendlinessVery HighLow (Requires Welder)Low (Requires Welder)
While TPO and PVC are fantastic for large commercial buildings because their heat-welded seams are incredibly strong, they require expensive specialized equipment. For a homeowner in Hilliard or Powell, the EPDM kit is almost always the better DIY choice because it only requires basic tools and adhesives.
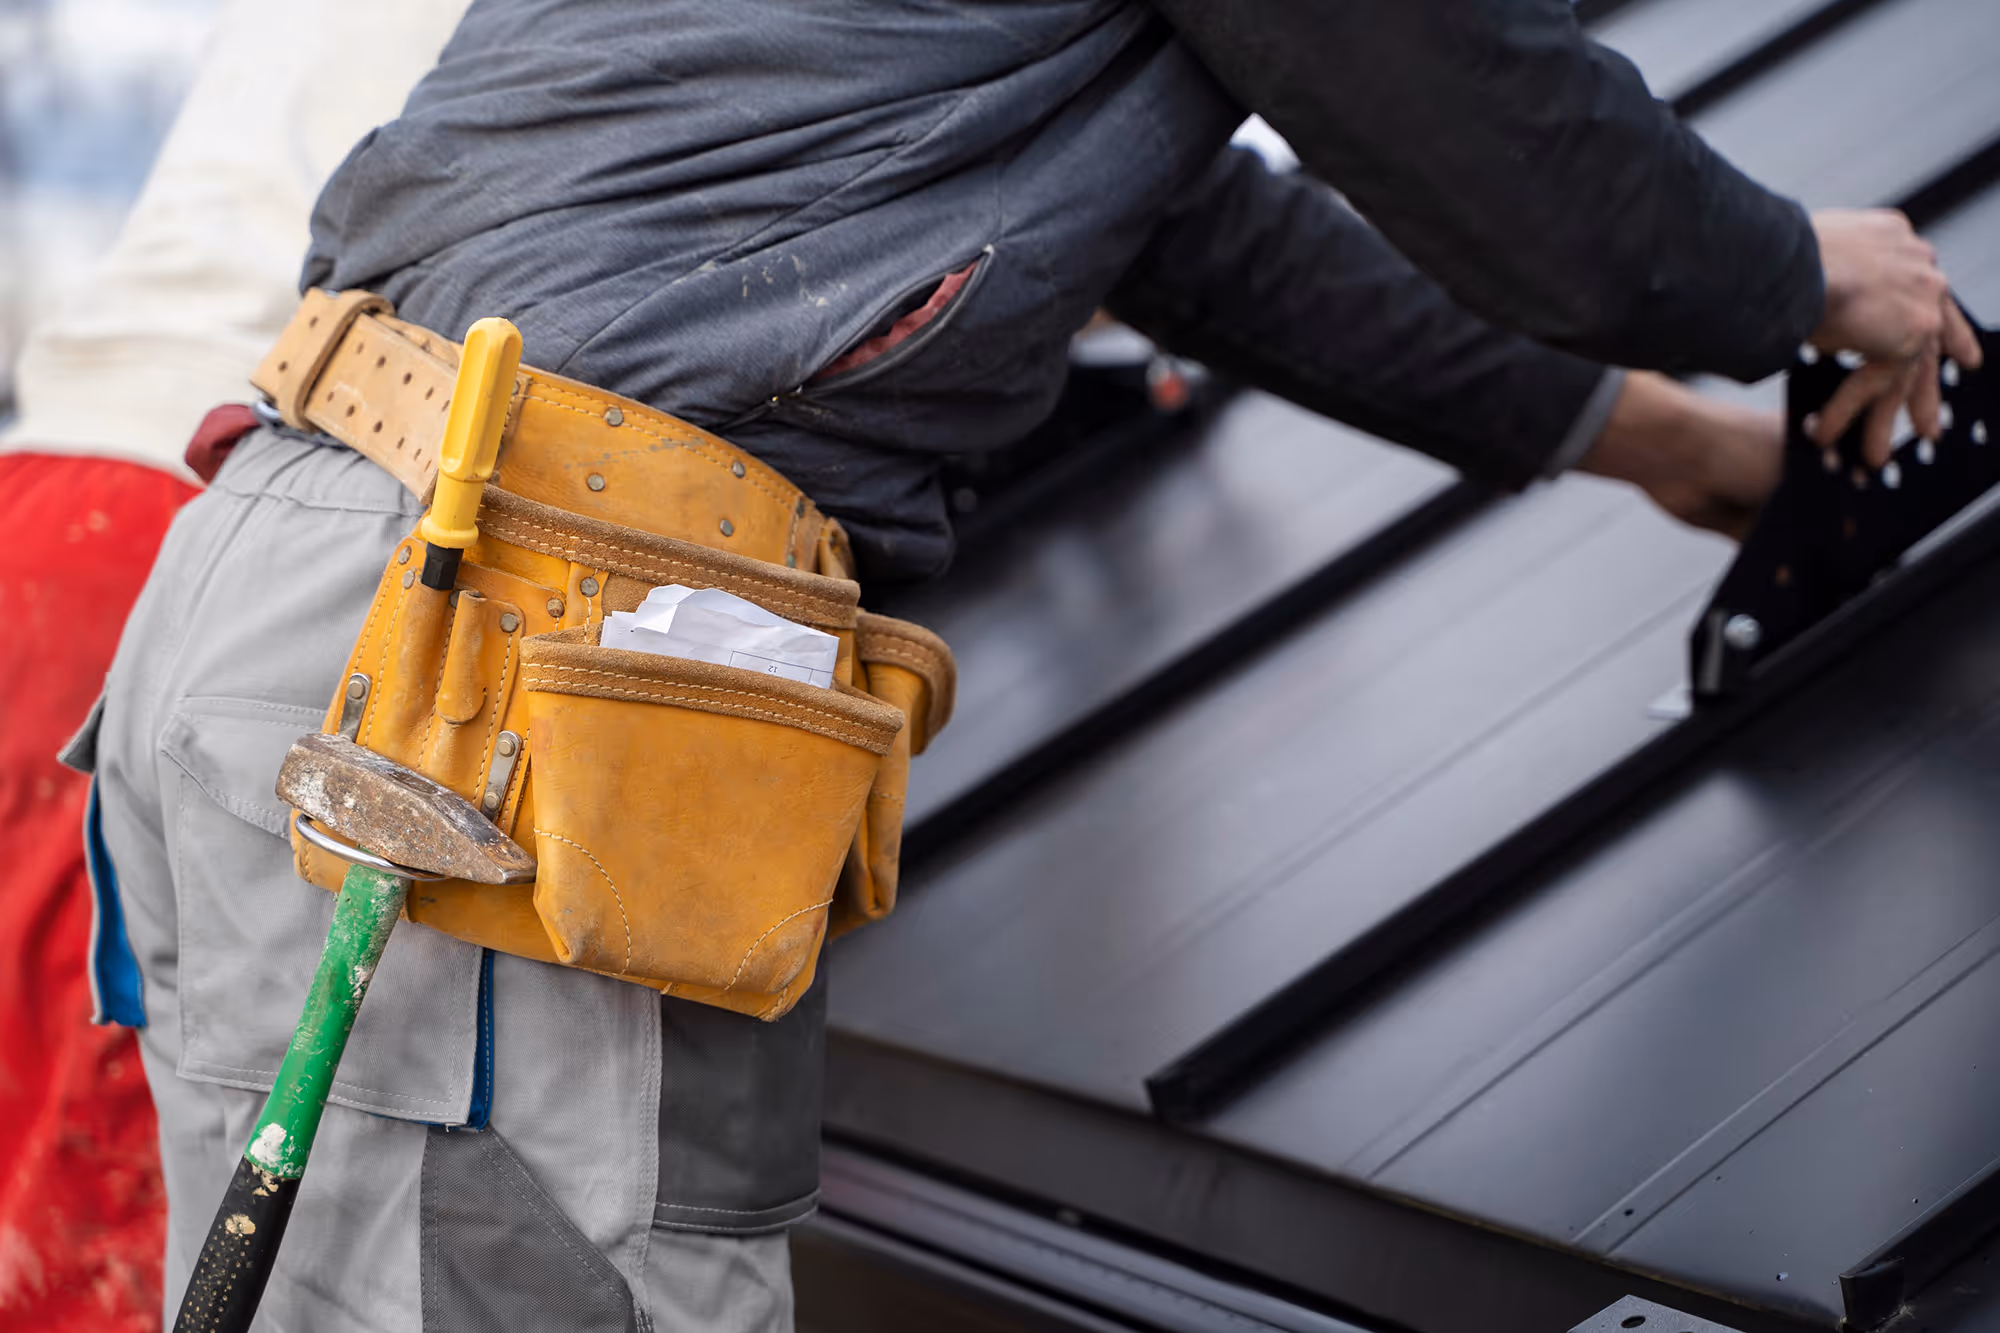
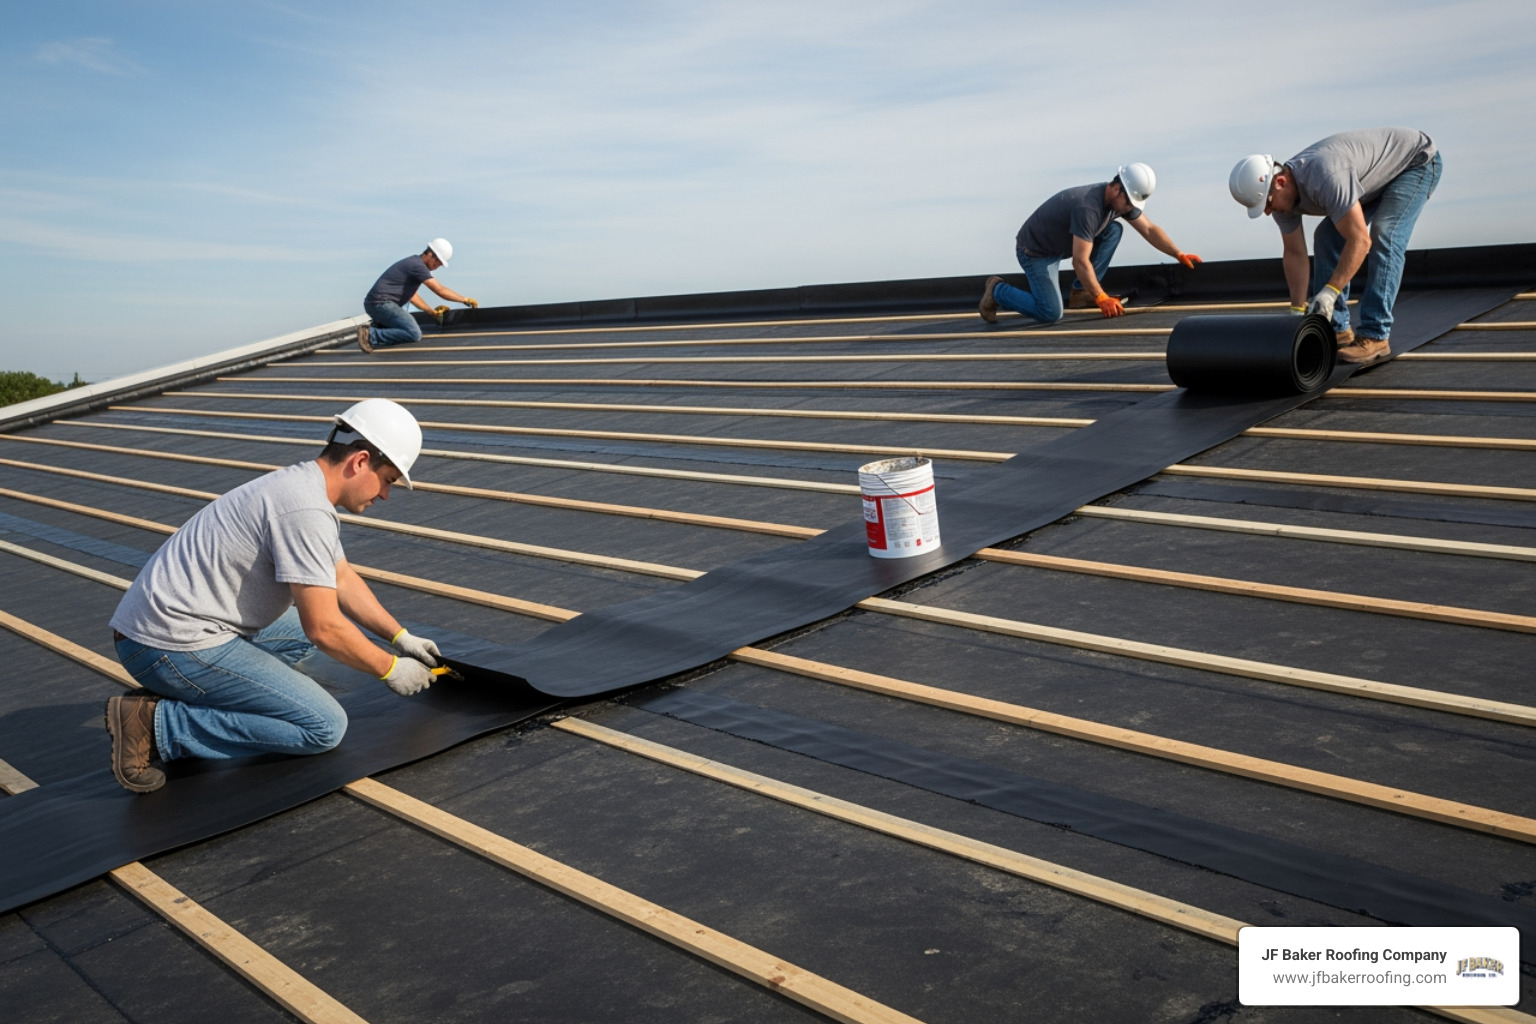
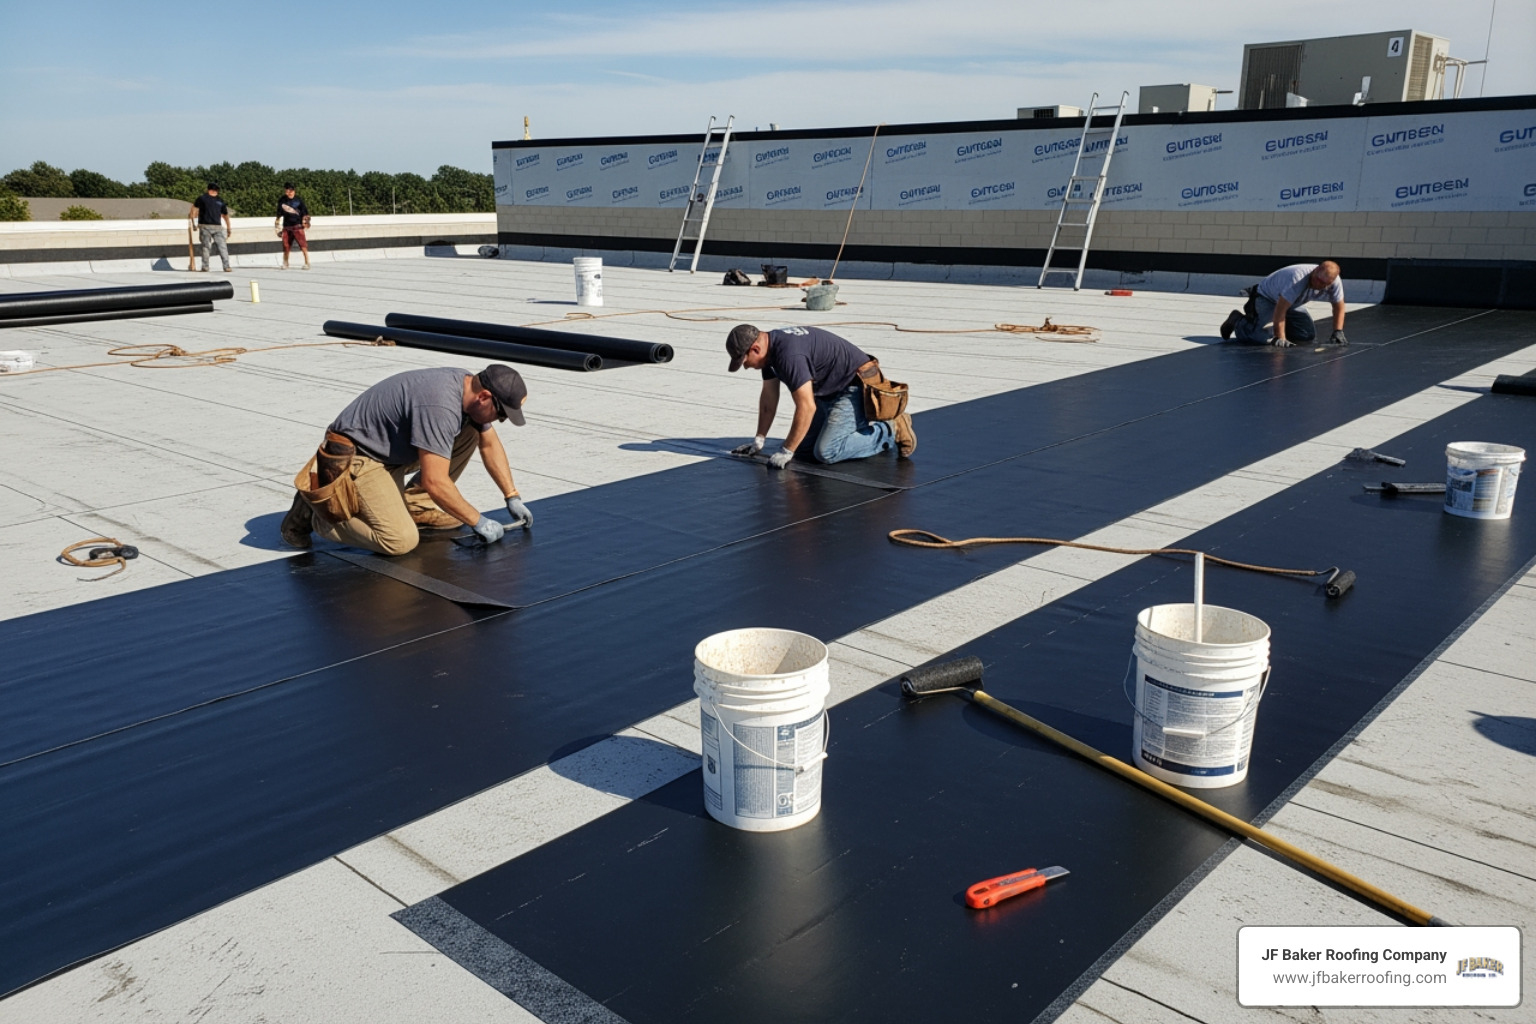
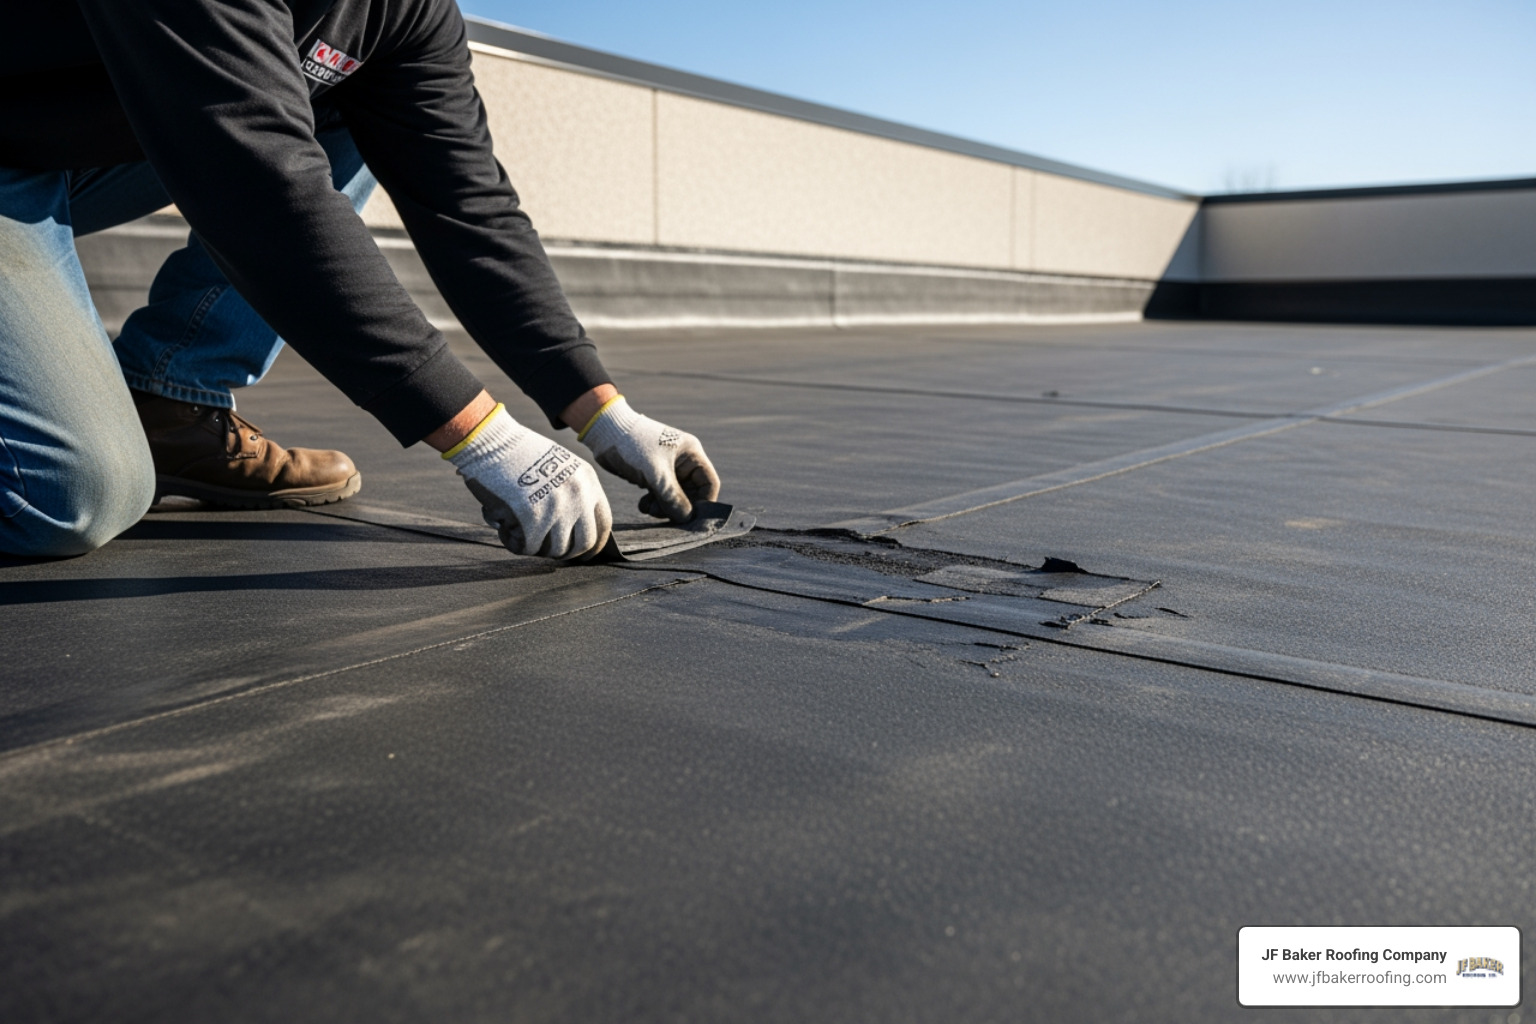
Step-by-Step Installation and Common Mistakes
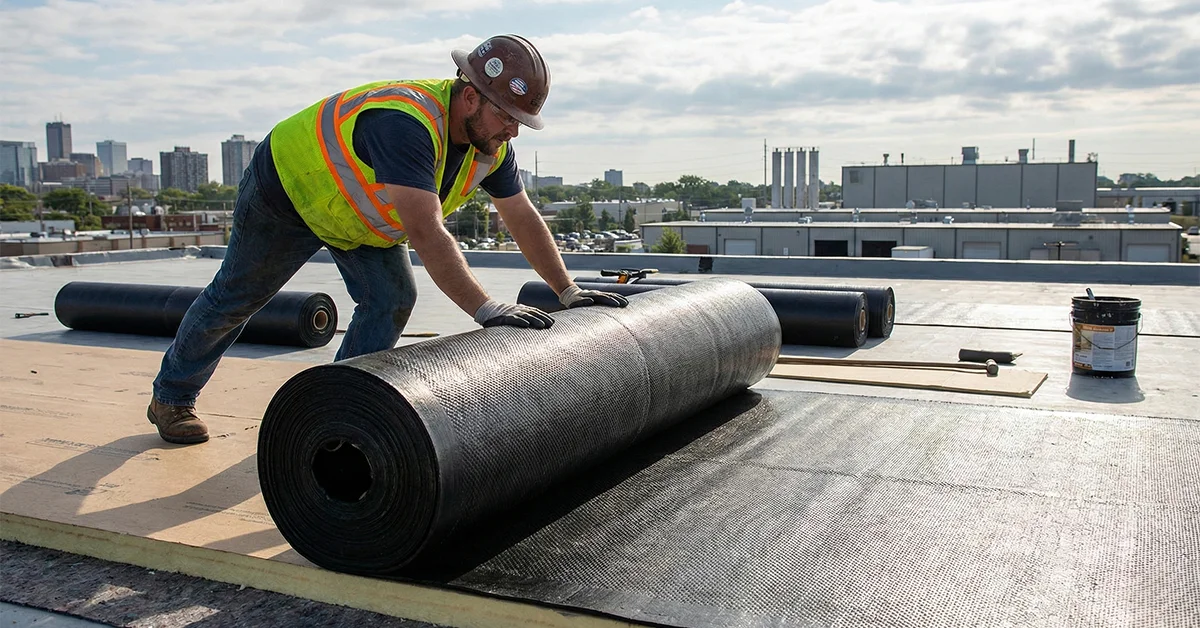
Installing an epdm rubber roof kit is a bit like hanging very heavy, very sticky wallpaper on your roof. Preparation is 90% of the job.
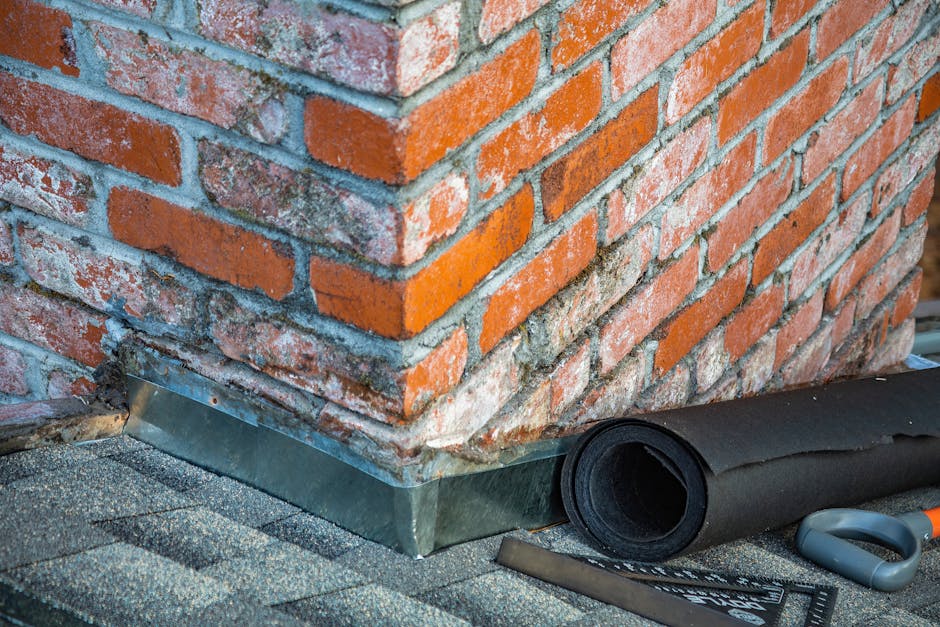
- Prepare the Substrate: The roof deck must be clean, dry, and free of sharp edges. In Central Ohio, we typically recommend OSB3 or Plywood. If you're working on a project like the Anna Compton Project Case Study, you’ll see that a clean surface is non-negotiable.
- The "Bed Sheet" Method: Lay the membrane out over the roof and let it "relax" for about 30 minutes to an hour. This lets the packing wrinkles fall out. Then, fold half the membrane back over itself.
- Apply Adhesive: Use a roller to apply the water-based adhesive to the exposed deck. You’re looking for a "wet thickness" of about 10-12 mils.
- Roll and Squeegee: Carefully roll the rubber back into the wet adhesive. Use a soft broom or a squeegee to push out air pockets, working from the center toward the edges.
- Detailing: This is where the butyl tape and lap sealants come in. Secure your edges, install your trims, and seal around any pipes or vents.
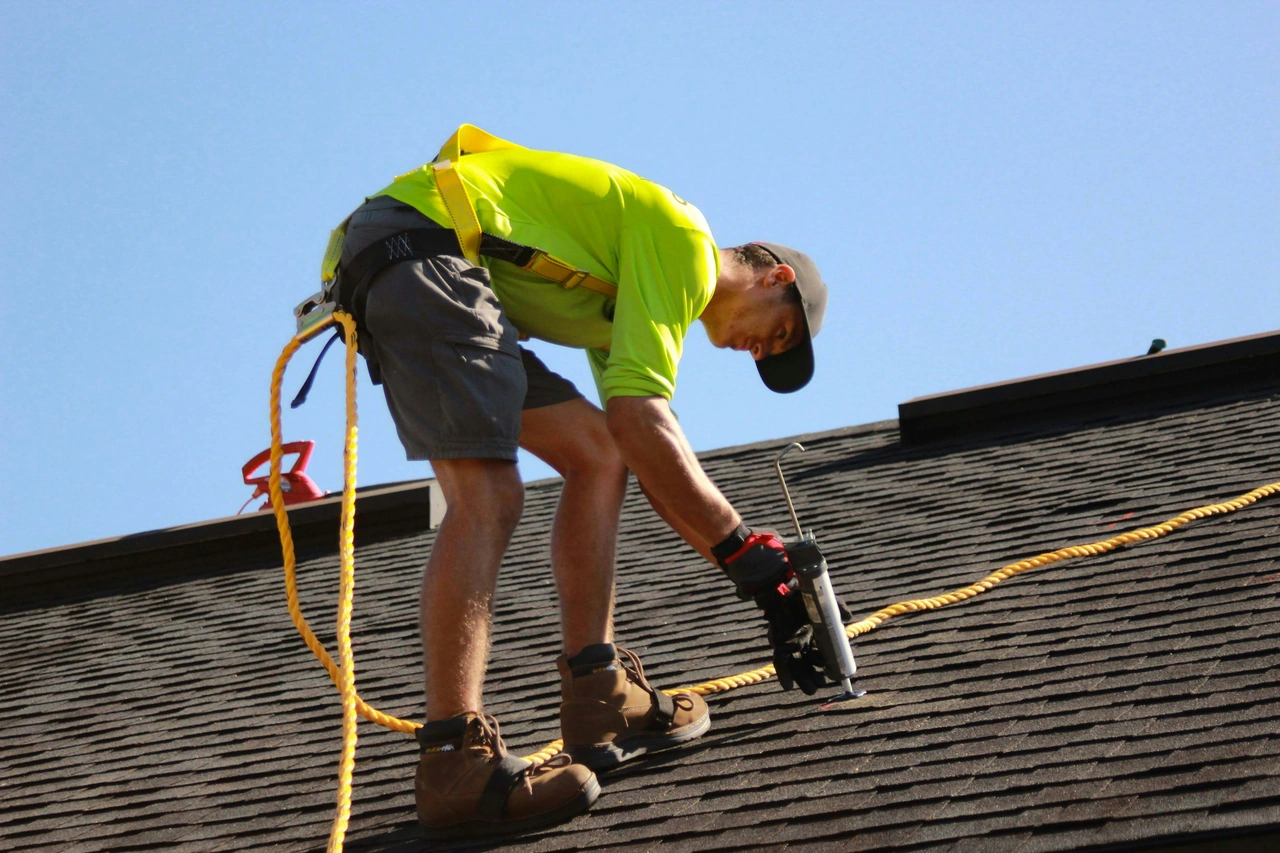
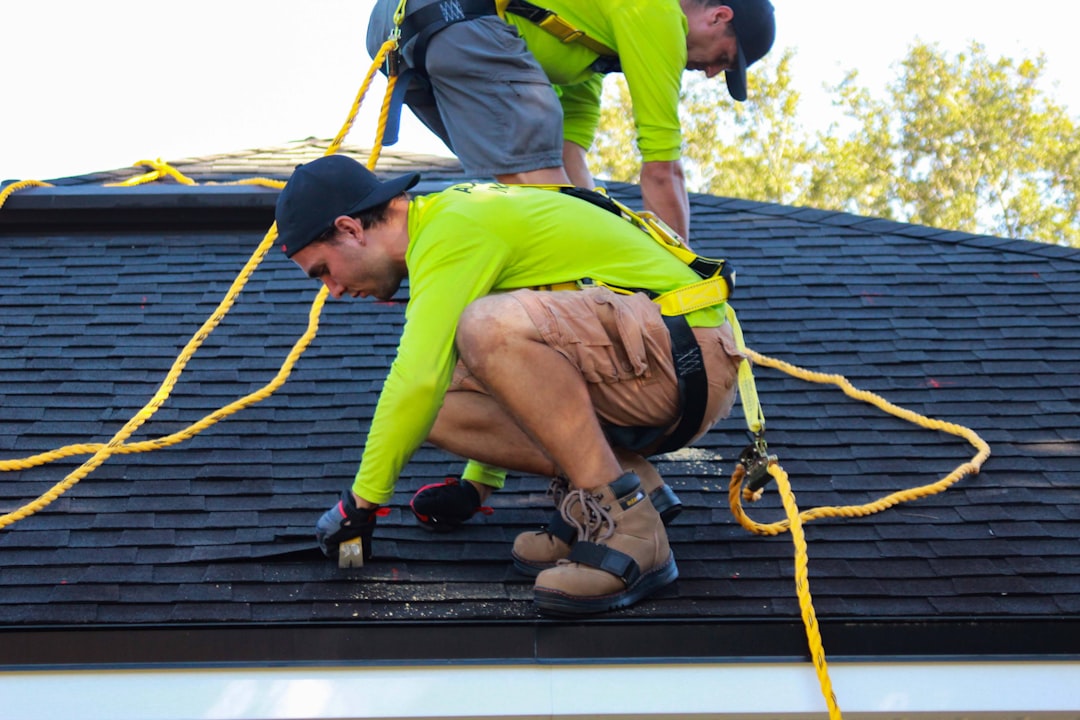
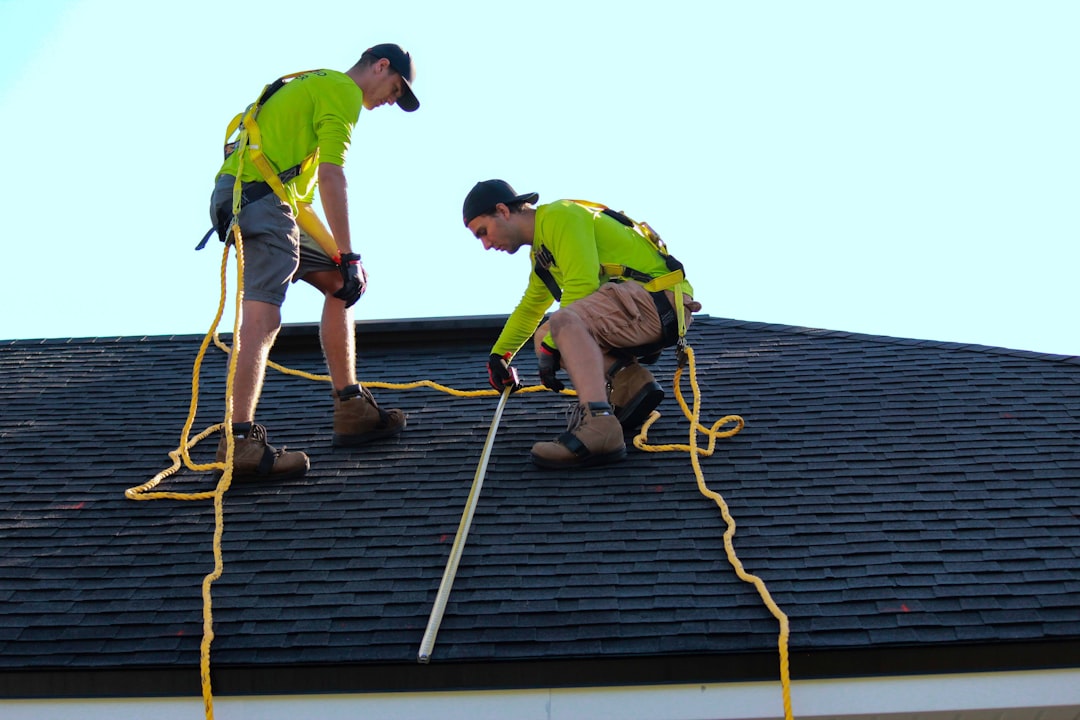
Critical Safety and Temperature Requirements
Temperature is your biggest enemy during installation. Most water-based adhesives in an epdm rubber roof kit have a 50-degree threshold. If it's colder than 50°F in Dublin or Gahanna, the adhesive won't cure properly, and if the liquid adhesive freezes in the tub, it’s ruined.
Safety is also paramount. Flat roofs can be deceptively dangerous. Always use fall protection, and be aware that EPDM can be very slippery when wet or when covered in a fine factory dust. If you're unsure about the safety or technical requirements, our Commercial Roofing Service Category offers professional insights into how we manage these risks.
Understanding the Financial Investment and Longevity
When you buy an epdm rubber roof kit, you aren't just buying rubber; you're buying time. A standard RV kit might cost between $600 and $1,000, while a larger residential kit for a garage could run higher.
Factors that affect your price include:
- Shipping: Because these kits are heavy (a Dicor kit weighs about 34 lbs, and large membrane rolls can weigh hundreds), shipping costs can be significant. Sizes over 30–35 feet often require truck freight rather than standard ground shipping.
- Thickness: Moving from a 45 mil (1.14mm) to a 60 mil (1.5mm) membrane usually adds about 20-30% to the cost but significantly increases puncture resistance.
- Warranties: Many kits come with a 20-year material guarantee, but some professional-grade systems like ClassicBond offer a 35-year BBA certificate. You can find more ClassicBond EPDM Lifespan Data to compare longevity.
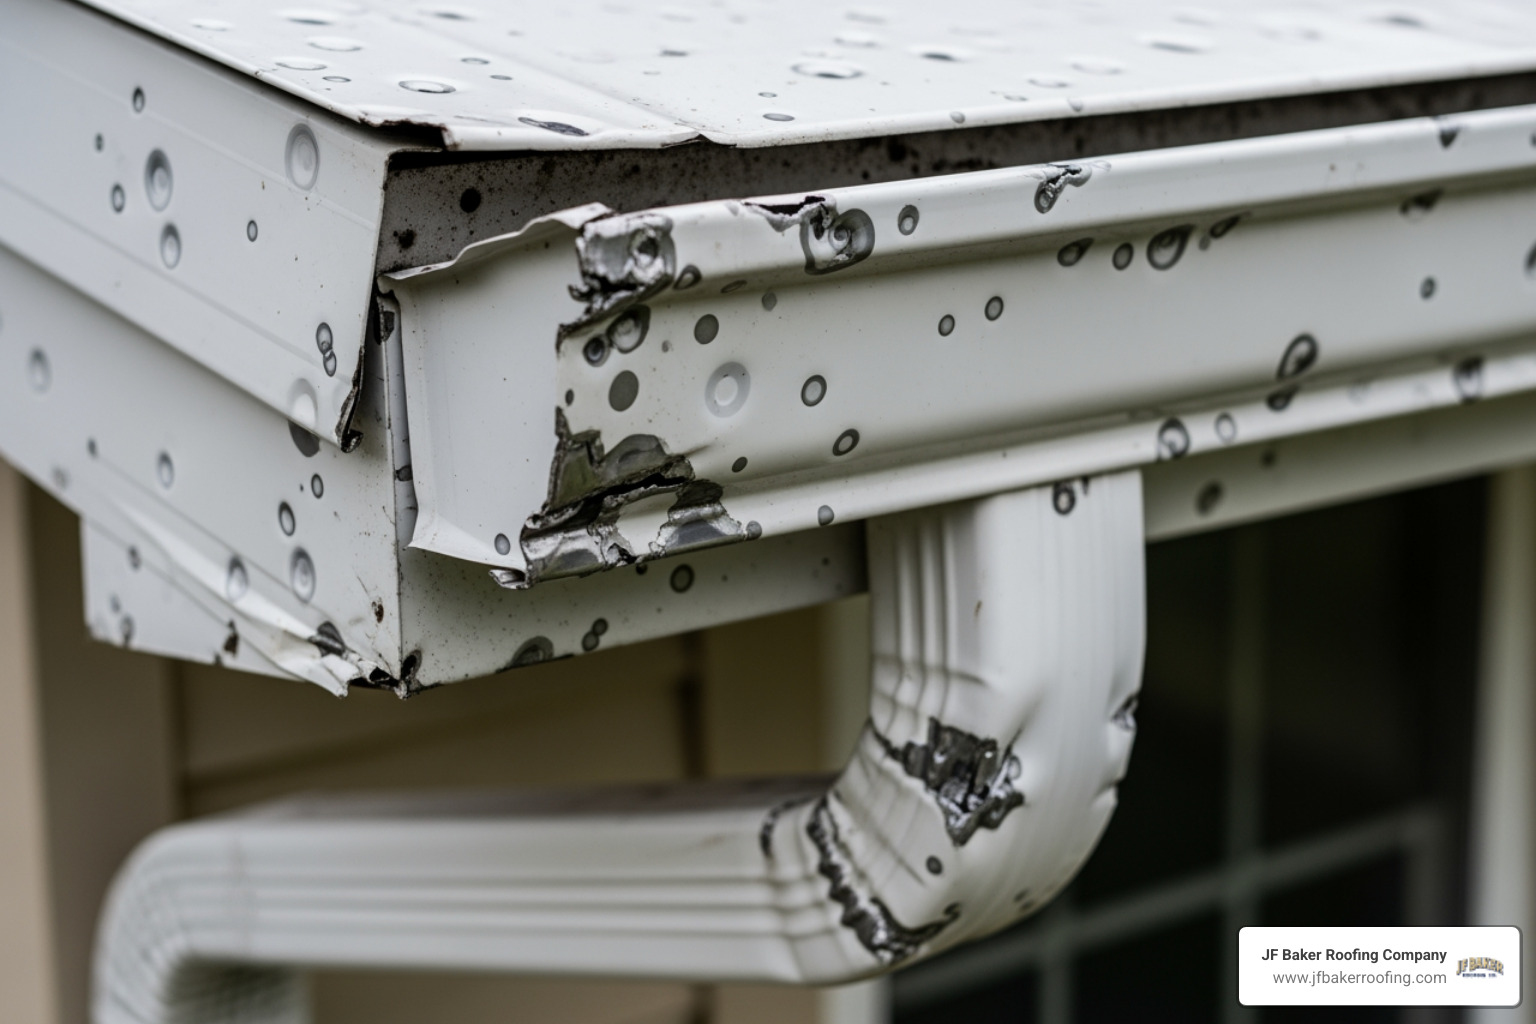
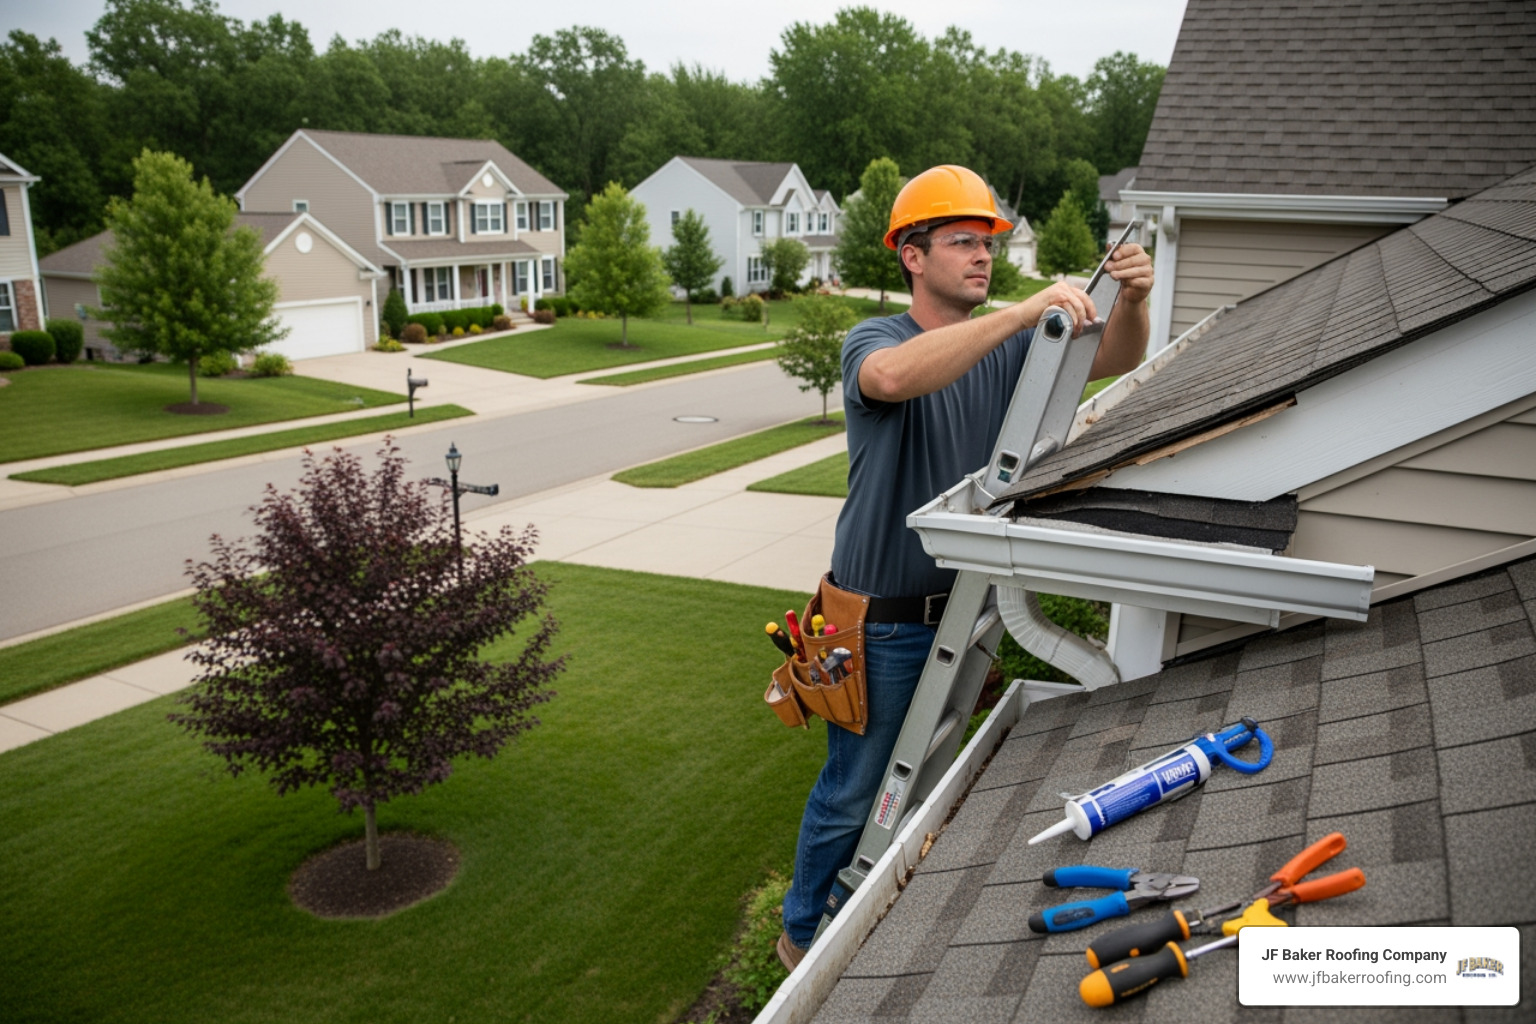
In the long run, EPDM is one of the most cost-effective materials because maintenance is minimal. A quick inspection once a year to clear debris and check the sealants is usually all it takes to reach that 50-year milestone.
Frequently Asked Questions about EPDM Kits
Which side of the EPDM membrane should face up?
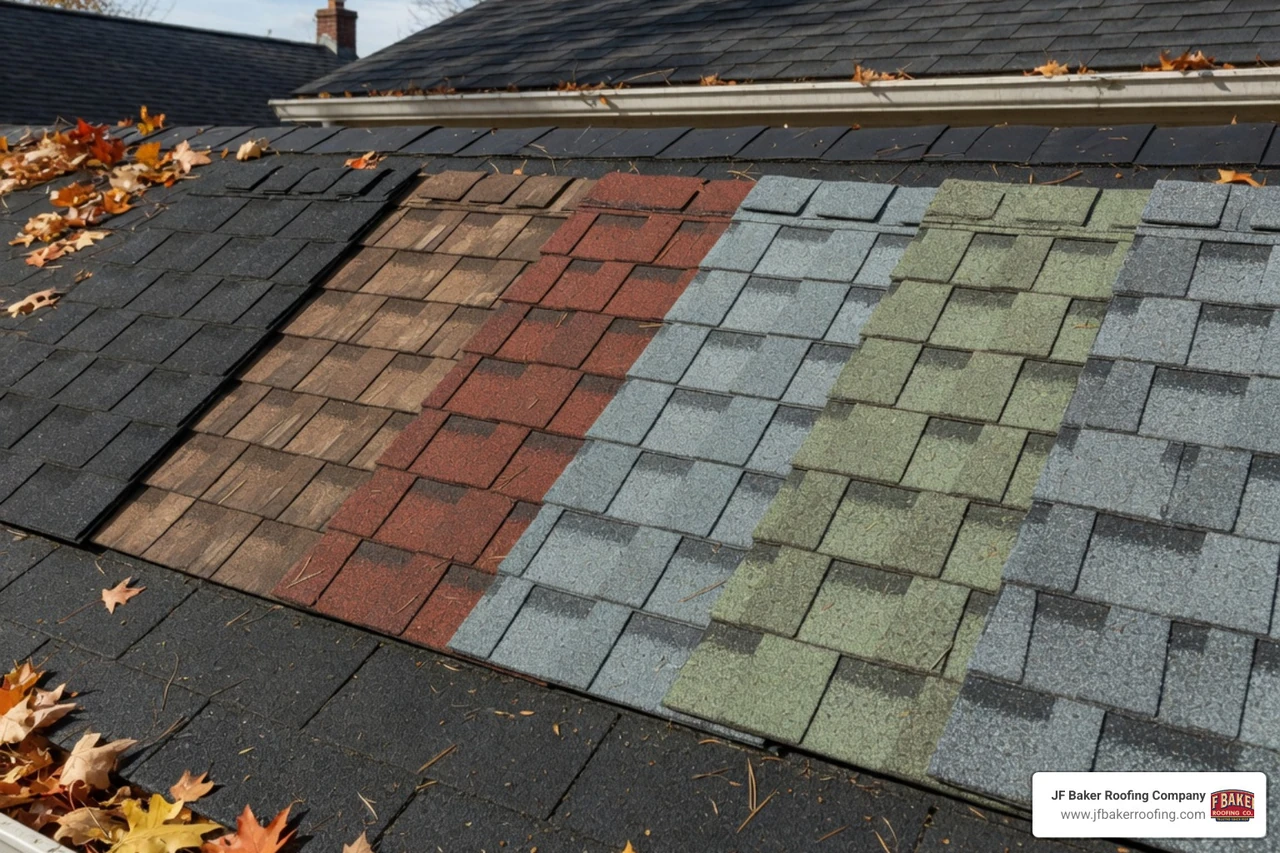
This is the most common question we get! For most residential EPDM, both sides are the same. However, some membranes have a textured side and a smooth side.
- Smooth side up: This is generally recommended for easier cleaning and better aesthetics.
- Textured side up: This provides better traction if you need to walk on the roof (like on an RV). Interestingly, the adhesive often bonds better to the textured side. If your membrane is "White on Black," the white side must face the sky to reflect UV rays.
Can I install EPDM over existing roofing materials?
We strongly advise against this. EPDM needs a clean wooden surface (like OSB3 or Plywood) to bond correctly. Installing it over old shingles or an old EPDM membrane can trap moisture, lead to rot, and will almost certainly void your warranty. Always tear off the old roof down to the deck.
What are the most common installation mistakes to avoid?
- Wrinkling: This usually happens because the installer didn't let the membrane "relax" after taking it out of the box.
- Solvent Swelling: If you use too much lap sealant, the solvents can cause the rubber to temporarily ripple or swell. Don't panic—this usually settles down in a week or two.
- Trapped Debris: Even a small pebble under the membrane can eventually wear a hole through the rubber as the roof expands and contracts. Sweep, then sweep again!
Conclusion
An epdm rubber roof kit is a fantastic way to protect your property, whether it's a backyard shed in Bexley or a commercial extension in Grandview. It offers a rare combination of DIY accessibility and professional-grade durability.
However, while kits make the process easier, they don't eliminate the hard work or the need for precision. If the idea of lugging a 100-pound roll of rubber onto a roof or racing against drying adhesive feels a bit daunting, we’re here to help.
At JF Baker Roofing, we’ve been serving Central Ohio for nearly a century. We bring family-owned integrity and expert craftsmanship to every job, ensuring your "50-year roof" actually lasts 50 years. Whether you need a professional installation or just some expert advice on your next project, explore our More info about commercial roofing services.


.jpeg)