How to Master Rubber Flat Roof Repair
What You Need to Know About Rubber Flat Roof Repair
Rubber flat roof repair involves cleaning the damaged area, applying EPDM primer, and bonding a compatible patch over the puncture, tear, or failing seam to restore a watertight seal.
Quick answer — how to repair a rubber (EPDM) flat roof:
- Find the damage — inspect seams, edges, and low spots for cracks, tears, or lifting
- Clean the area — remove dirt, debris, and any old sealant at least 12 inches around the damage
- Apply EPDM primer — brush it on and wait until it is tacky but not wet (about 2-5 minutes)
- Cut and apply an EPDM patch — extend at least 2-3 inches past the damage in all directions; round the corners
- Press and roll firmly — use a seam roller to bond the patch and push out air bubbles
- Seal the edges — apply lap sealant around the patch perimeter for extra protection
Most small repairs cost $50 to $100 in materials and take 2 to 4 hours.
EPDM (ethylene propylene diene monomer) is one of the most popular flat roofing materials. It is tough, flexible, and built to last — 20 to 30 years with proper care.
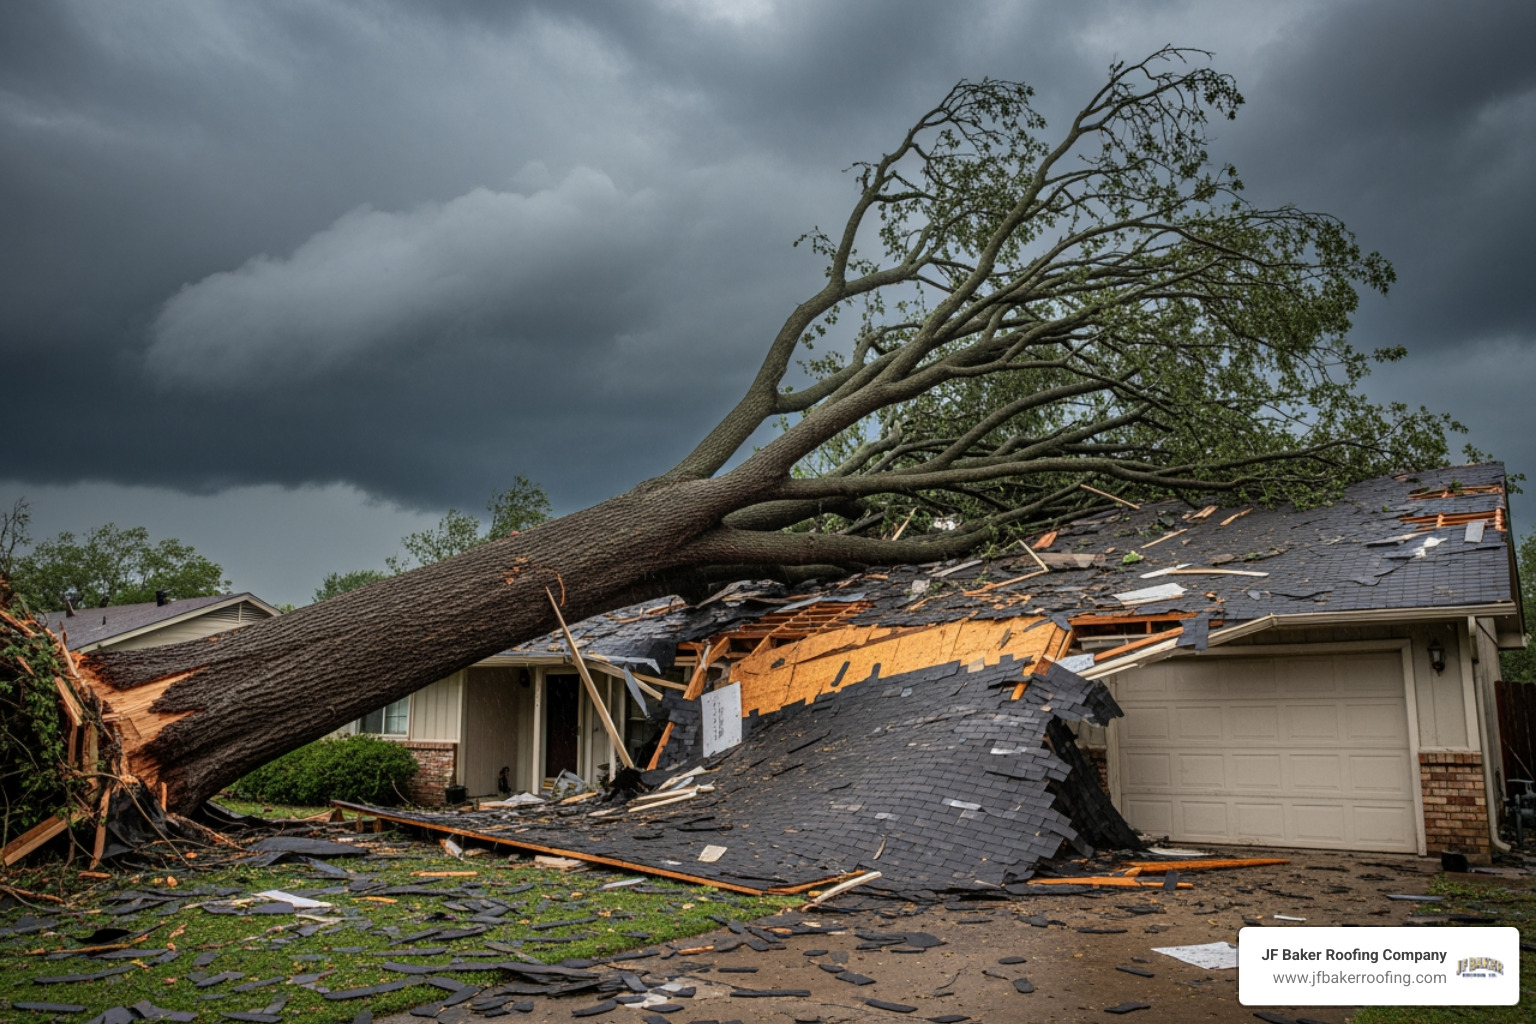
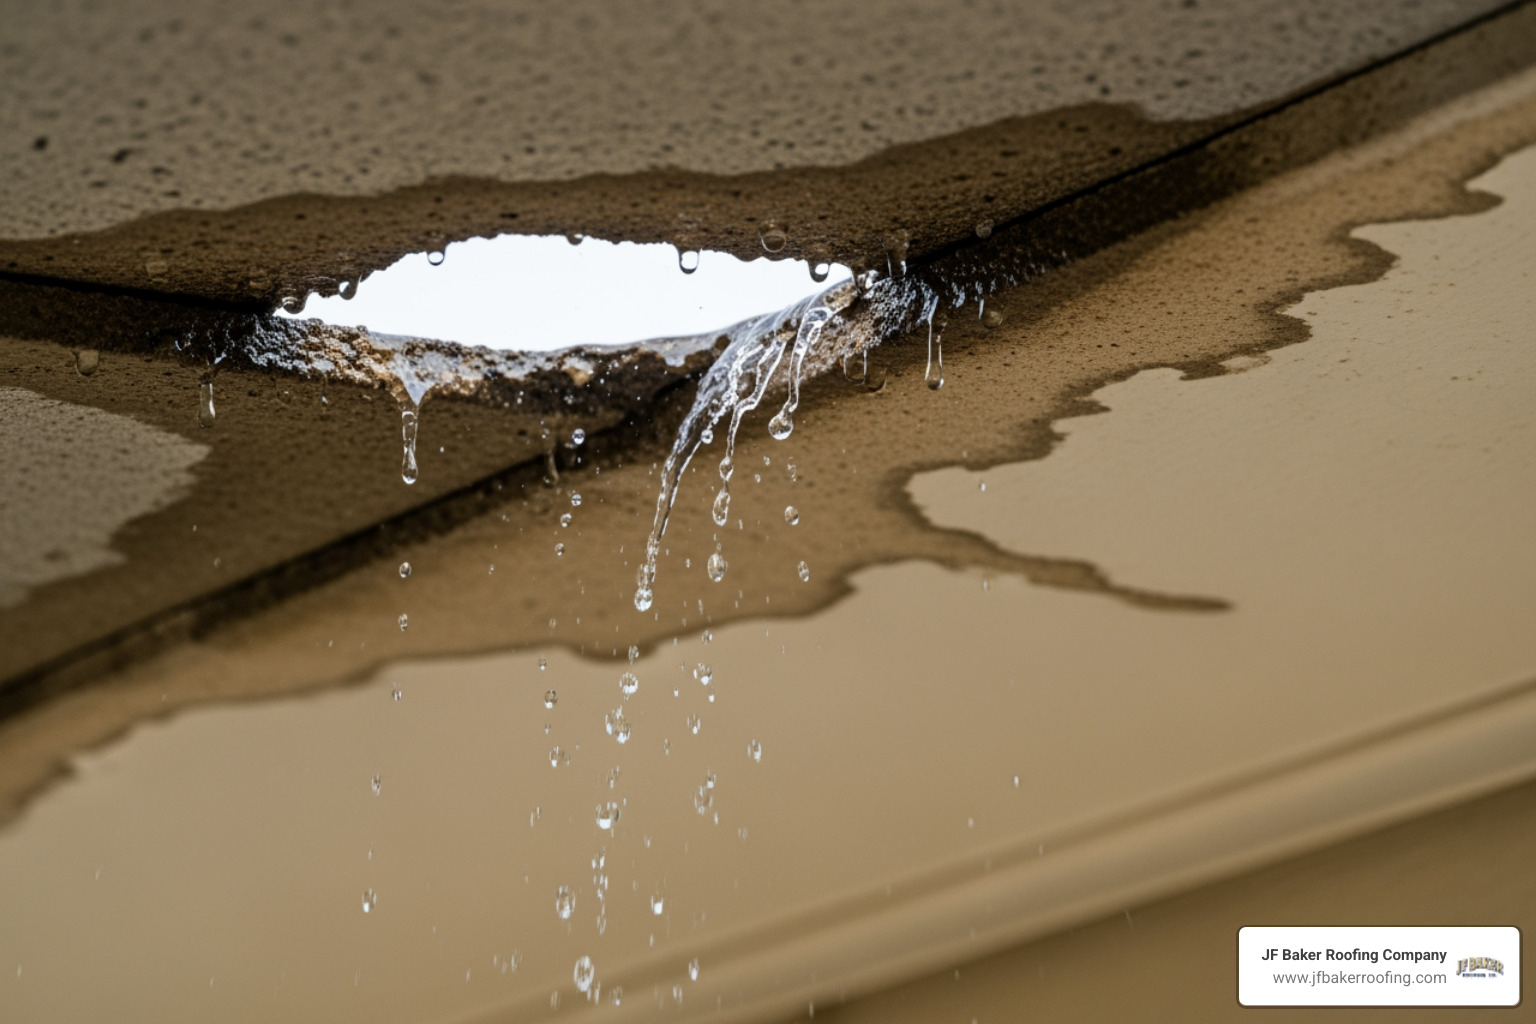
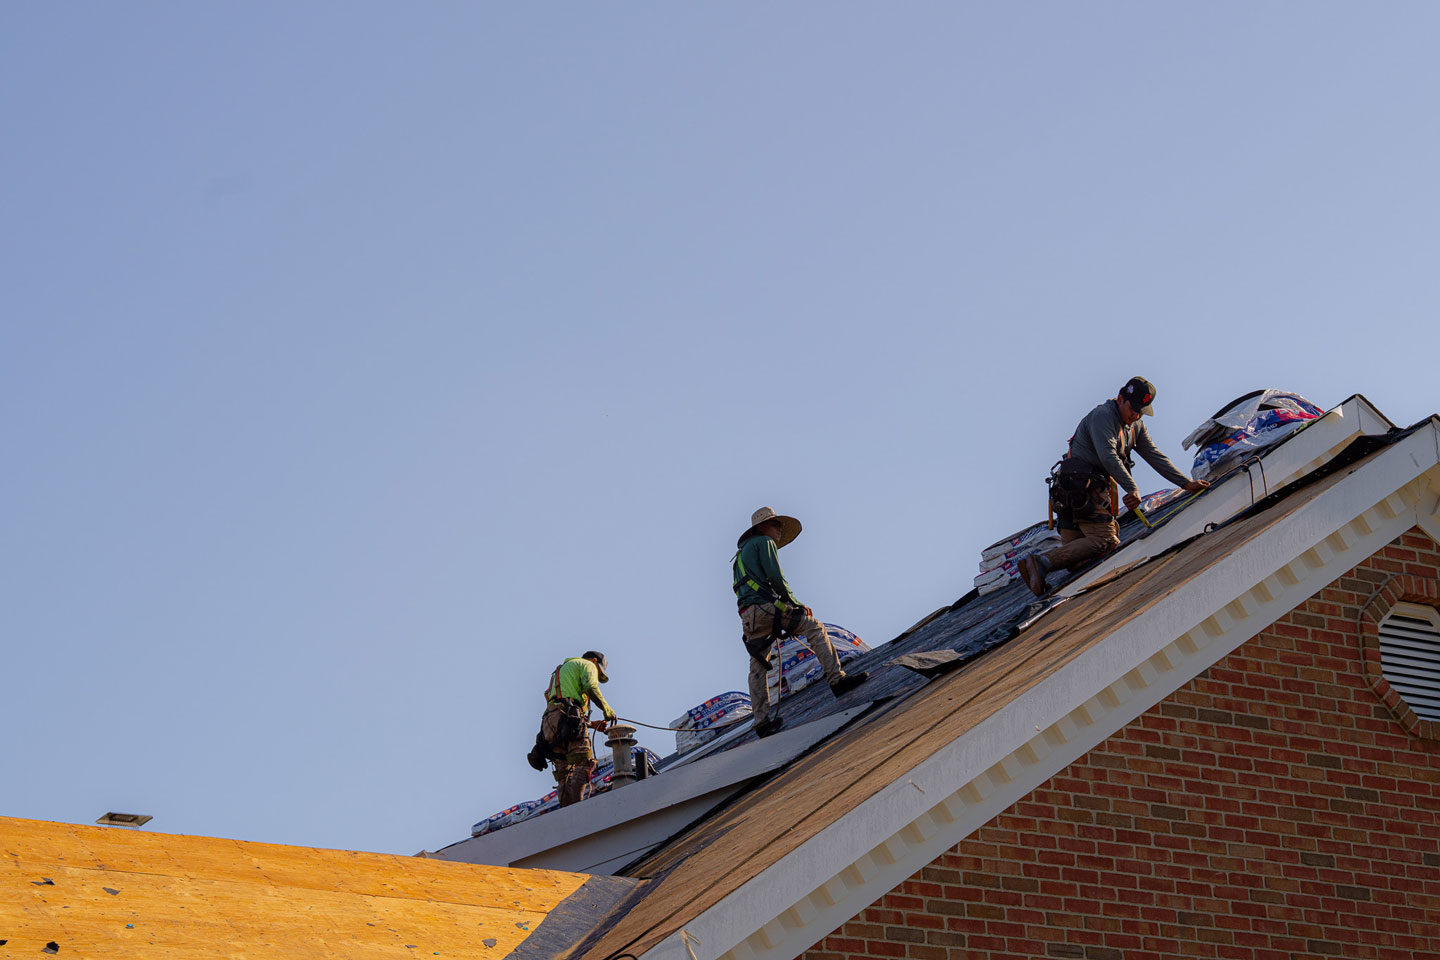
But even a durable rubber membrane is not immune to damage. A dropped tool, a fallen branch, foot traffic, or years of UV exposure can all create small punctures, seam separations, or surface cracks. Left alone, even a tiny hole can let water in and cause serious damage to insulation, decking, and interior finishes.
The good news? EPDM is one of the easiest roofing materials to repair. Small problems can often be fixed quickly before they become expensive headaches — and in many cases, you do not need to call a professional right away.
This guide walks you through the full process: spotting damage early, choosing the right materials, and completing a repair that actually holds.

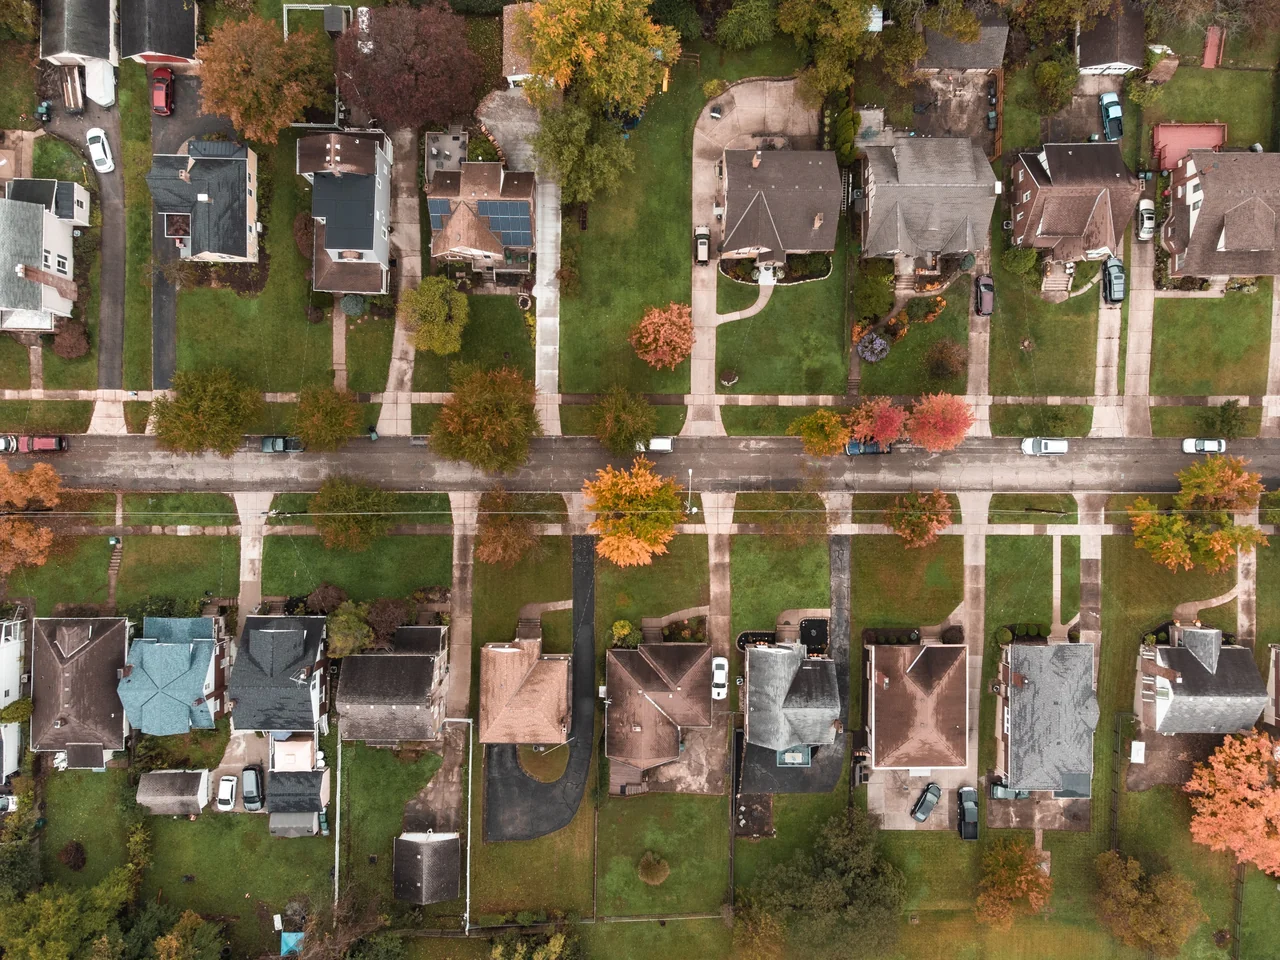
Why EPDM Rubber Roofs Are Popular in Central Ohio
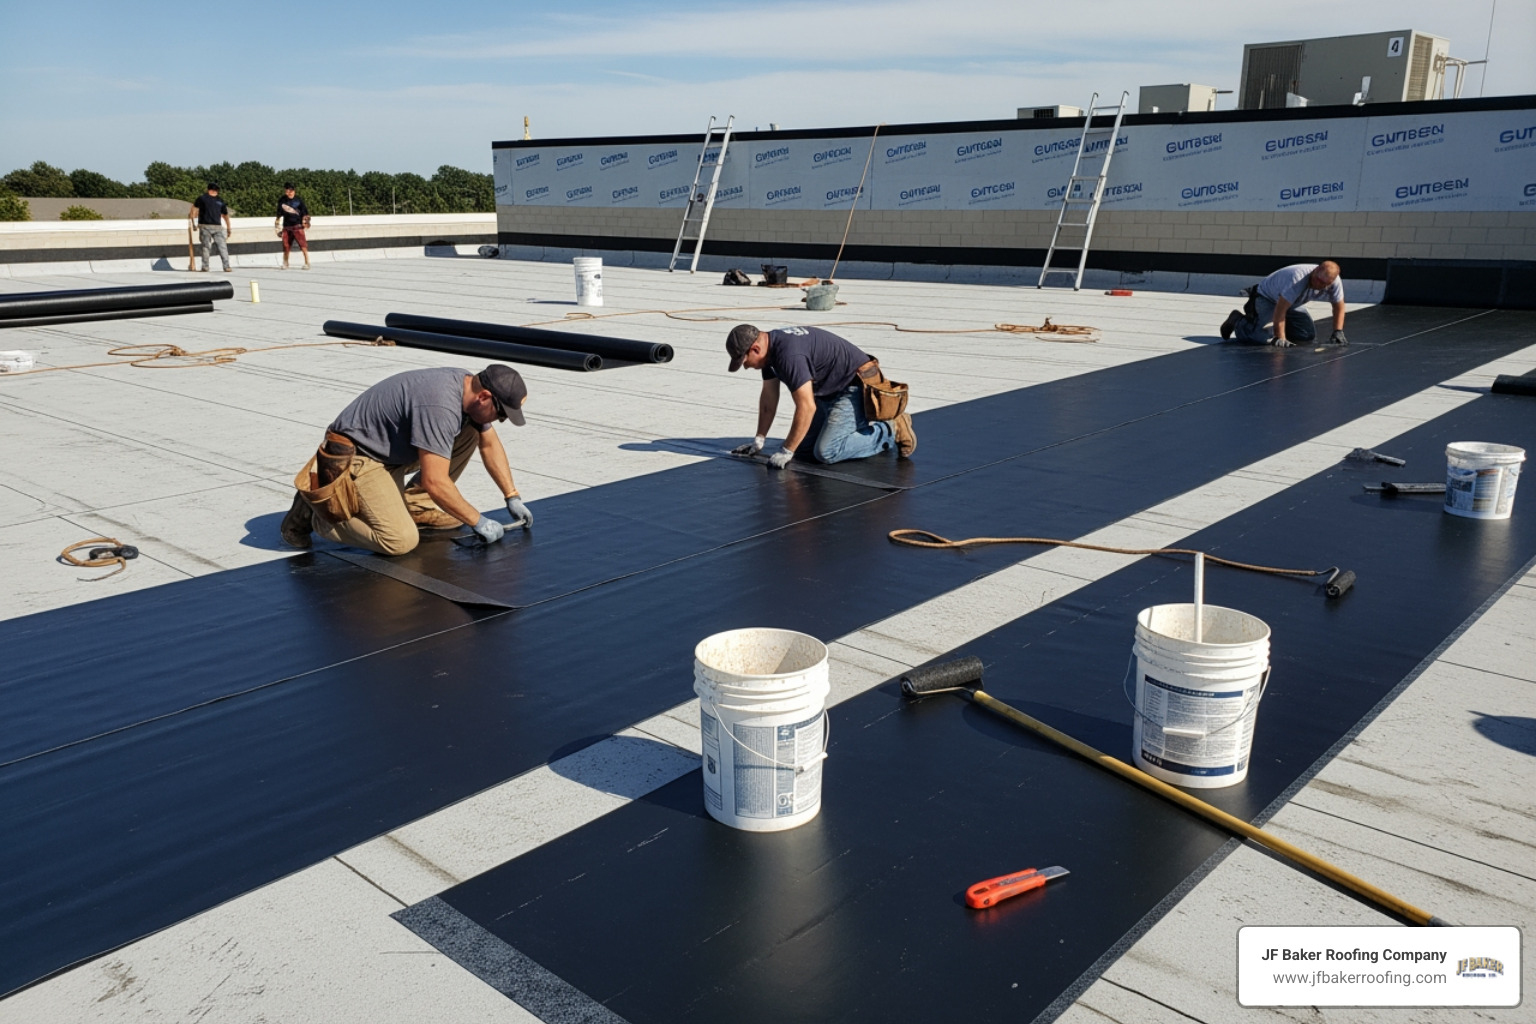
In areas like Columbus, Dublin, and Westerville, we see a lot of EPDM. Why? Because it handles our "bipolar" weather remarkably well. EPDM is a synthetic rubber membrane that remains flexible even when the temperature drops to sub-zero in January or climbs to 90 degrees in July.
EPDM rubber roofing is highly resistant to UV rays and ozone, meaning it won't get brittle and crack under the sun as quickly as older asphalt-based systems. It is also eco-friendly and relatively inexpensive to install compared to other Commercial Roofing options.
However, while the membrane itself is incredibly durable, the "weak points" are usually the seams and the places where the roof meets a wall or a pipe. Understanding how to maintain these areas is the secret to getting a 30-year or even 50-year lifespan out of your roof.
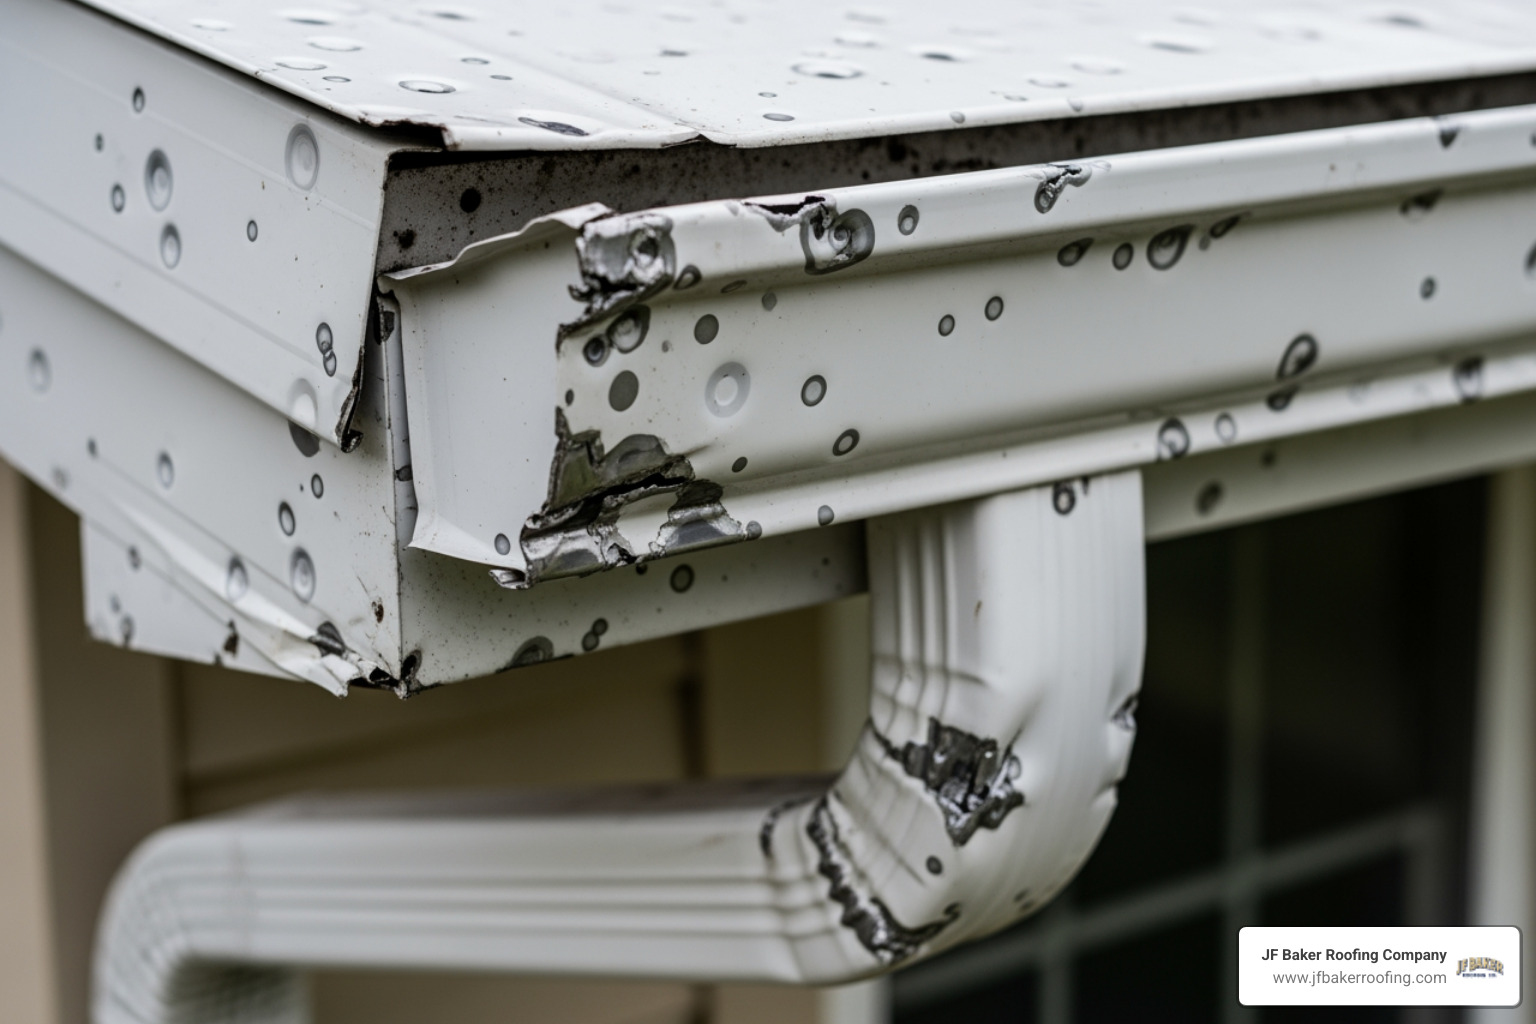
Common Signs Your Rubber Flat Roof Needs Repair
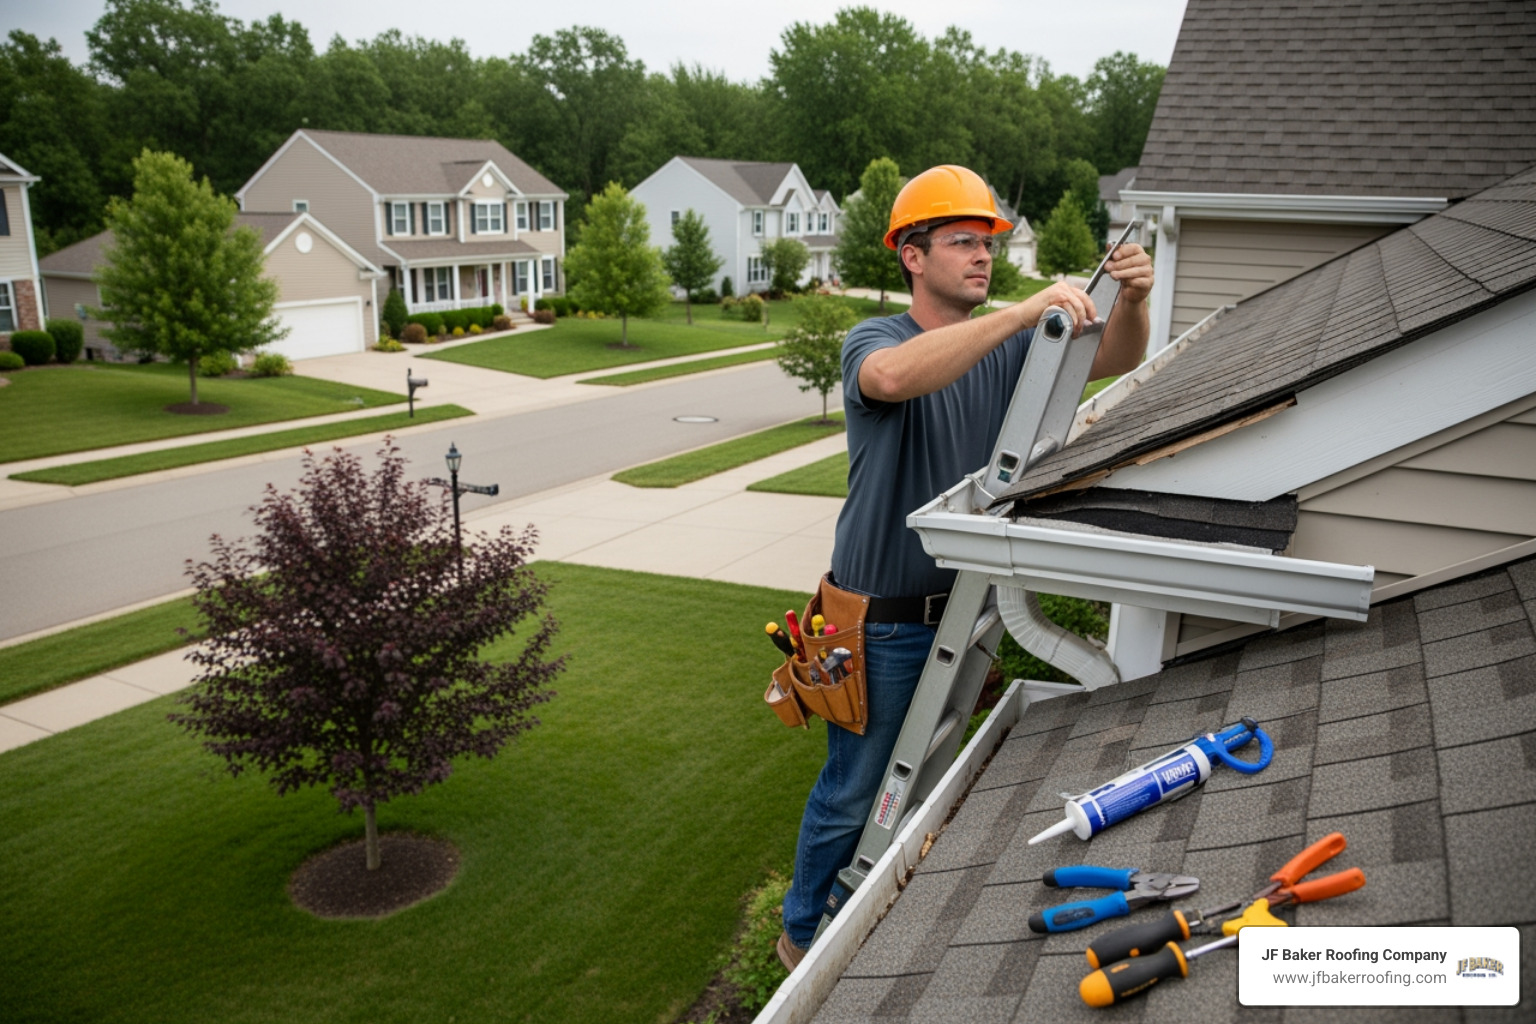
You don't always need to wait for a puddle on your floor to know there’s a problem. Regular inspections in the spring and fall are the best way to catch issues early. Here is what we look for during our professional inspections:
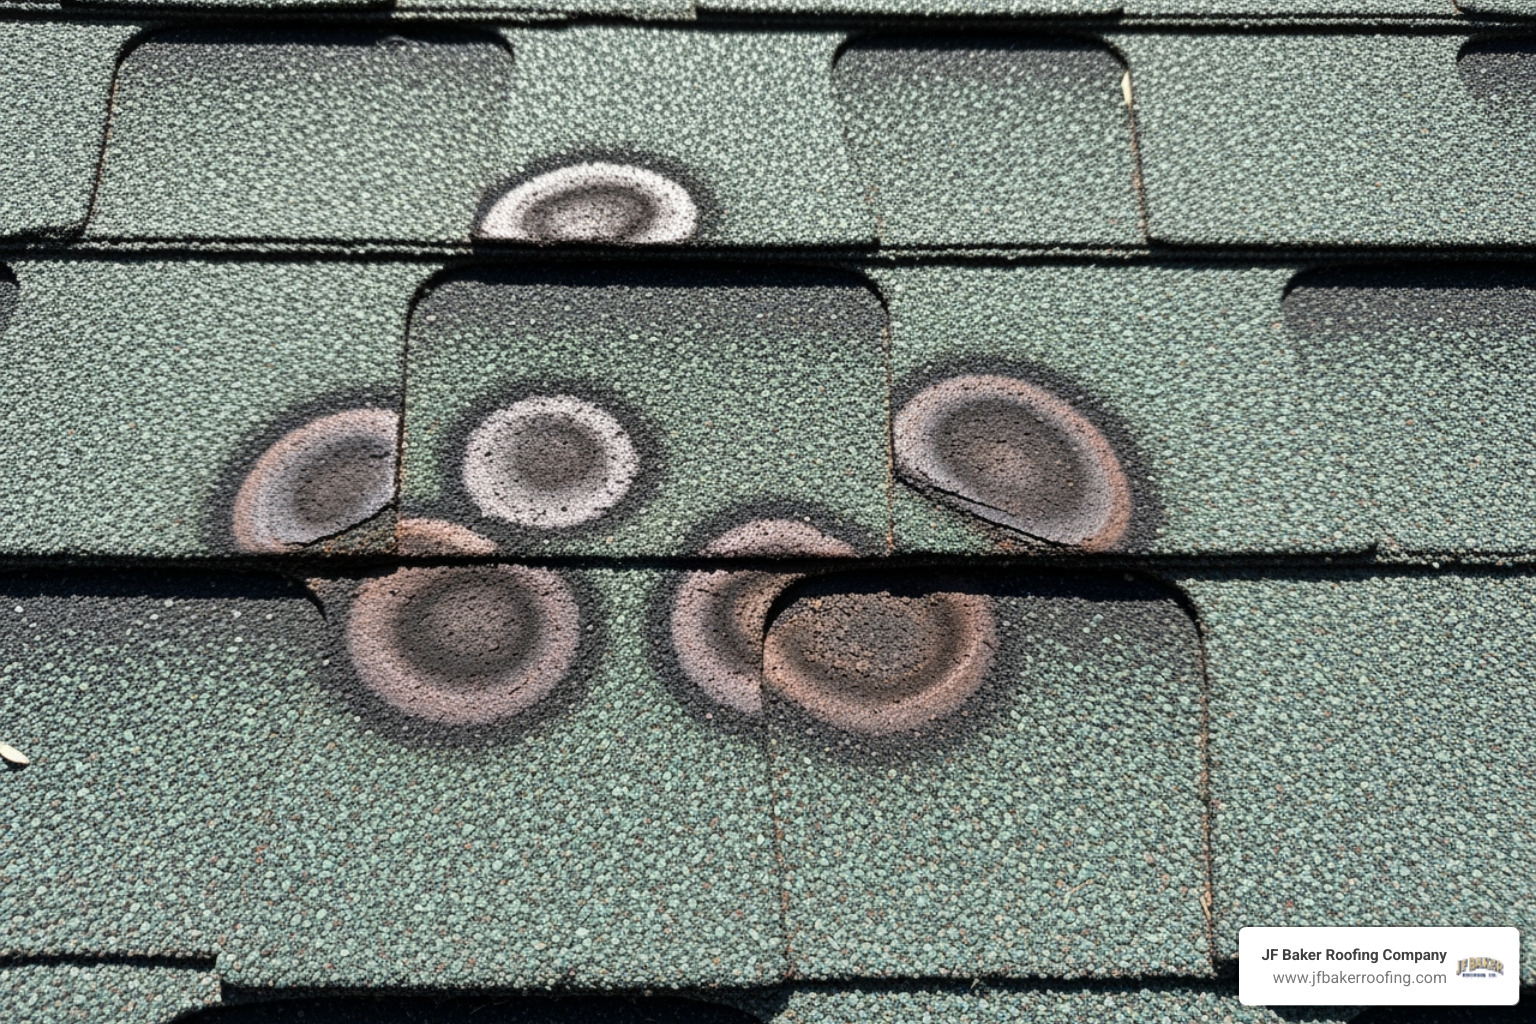
Identifying Visible Damage (Punctures and Tears)
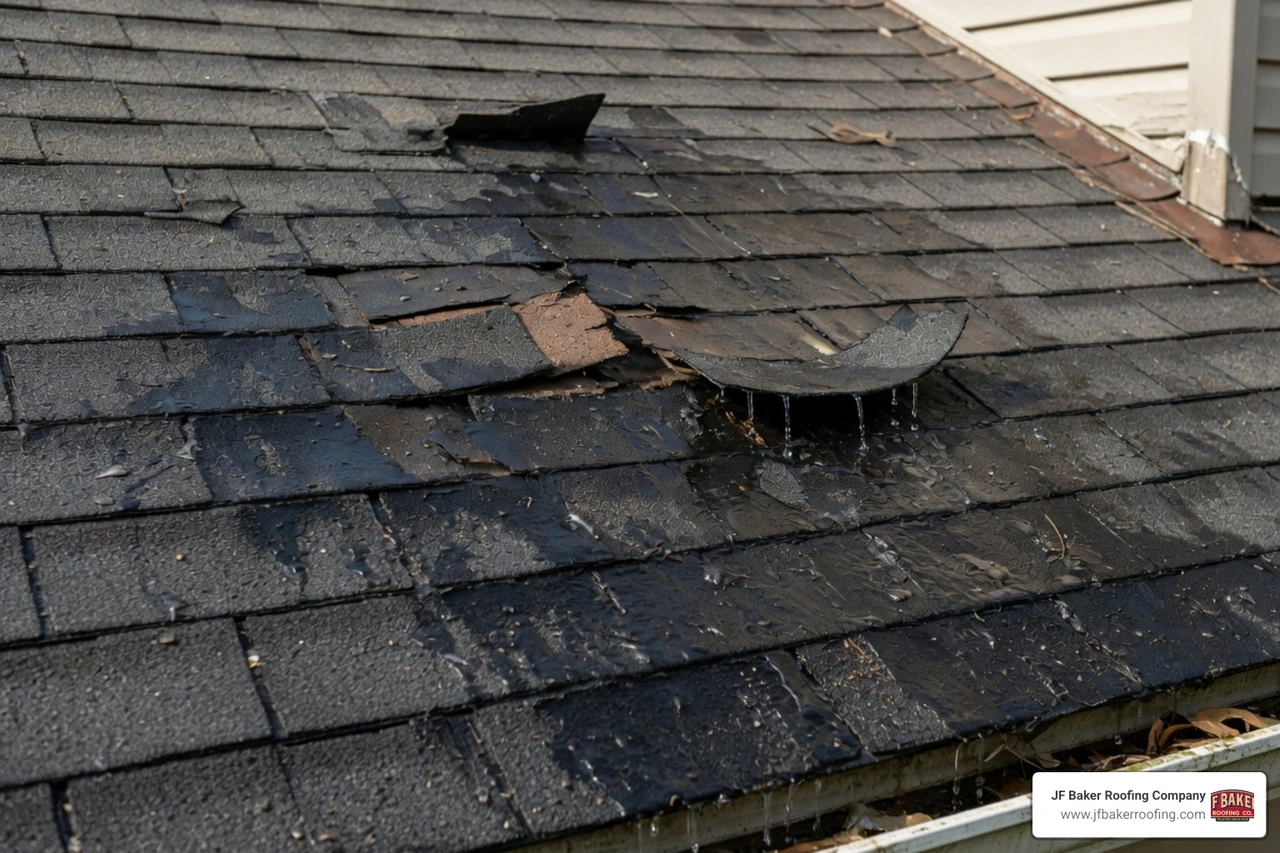
Punctures are often caused by "accidental" damage. Maybe a satellite dish installer dropped a screw, or a heavy branch fell during a storm. Even a bird pecking at the surface can occasionally cause a pinhole. Look for small nicks or areas where the black rubber looks "scuffed."
Spotting Seam Separation and Lifting Edges
This is the most common cause of leaks. Over time, the adhesives used to bond two sheets of rubber can dry out or fail. If you see a seam that looks like it’s "smiling" (the top edge is curling up), it’s time for a rubber flat roof repair. In fact, there is a 95% chance of a leak if a seam runs through a low spot where water ponds.
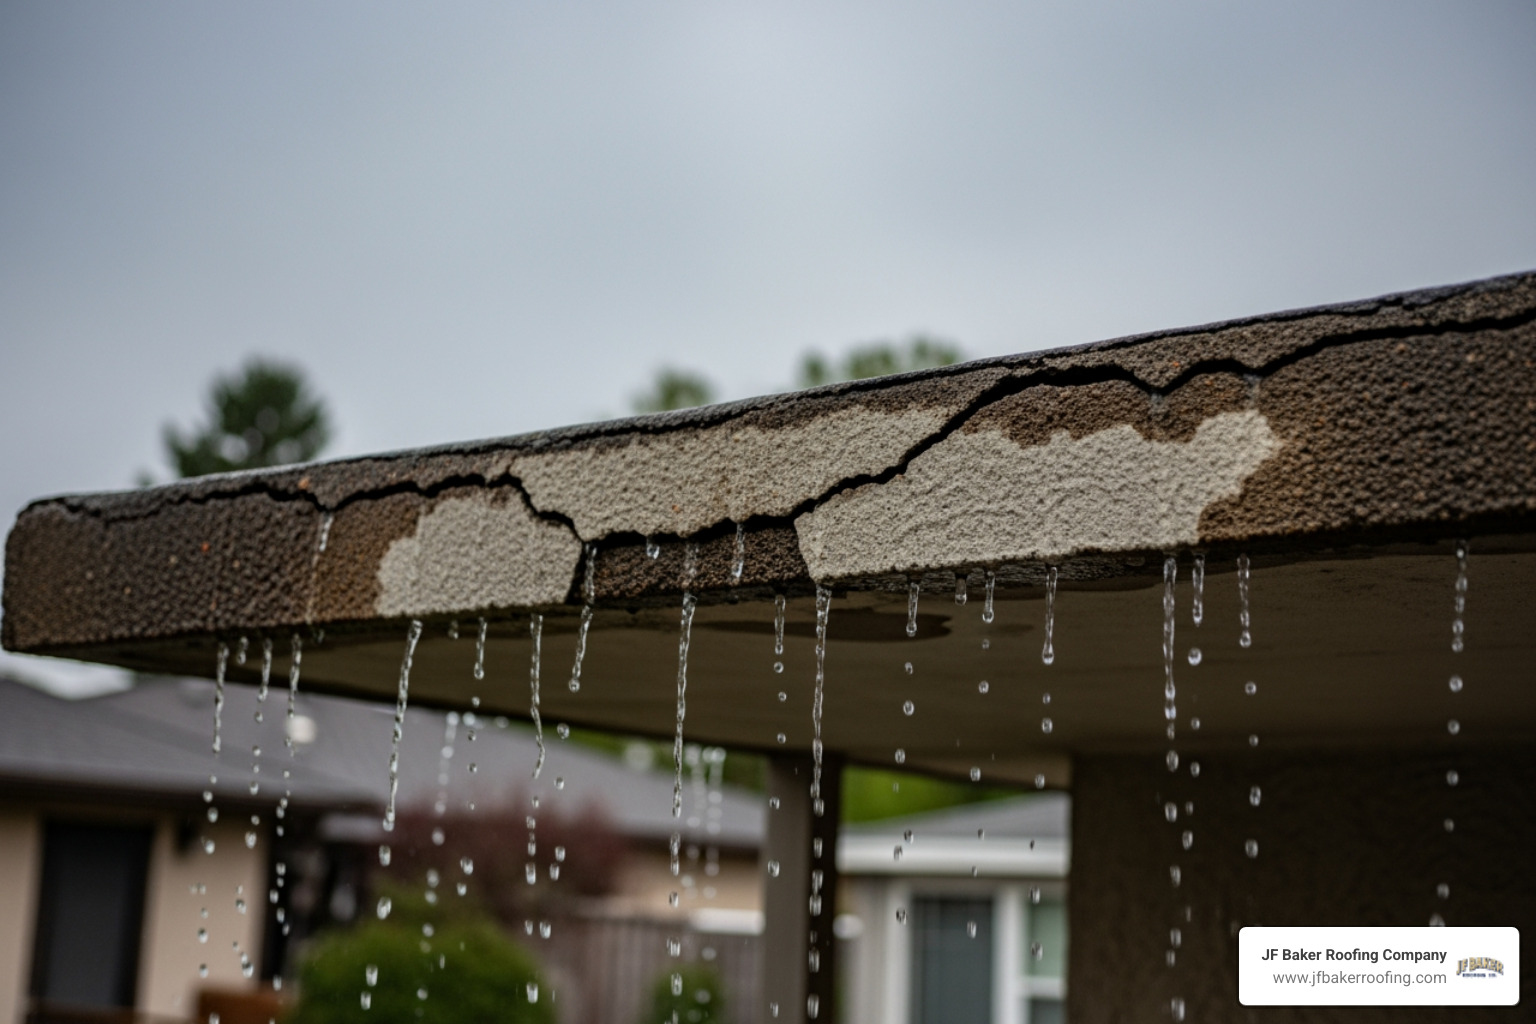
Recognizing Ponding Water and Drainage Issues
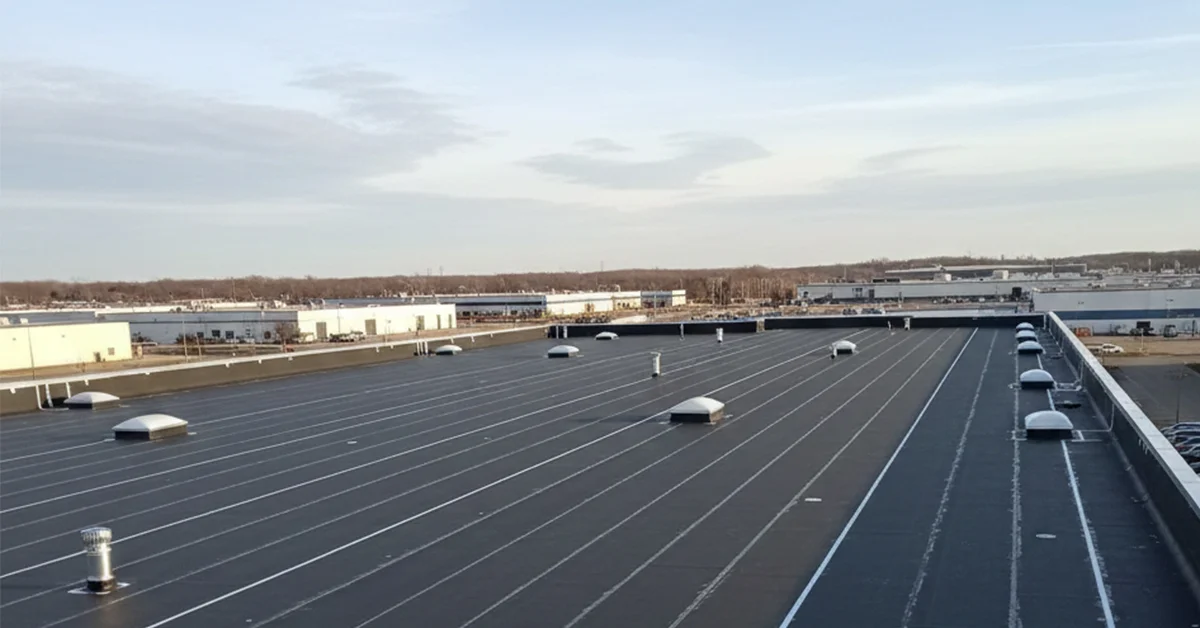
Flat roofs aren't actually perfectly flat; they should have a slight slope toward a drain or gutter. If you see "ponding water"—water that stays on the roof for more than 48 hours after rain—you have a drainage issue. Standing water puts constant hydraulic pressure on the seams, eventually forcing its way through.
Blistering and Bubbling on the Membrane
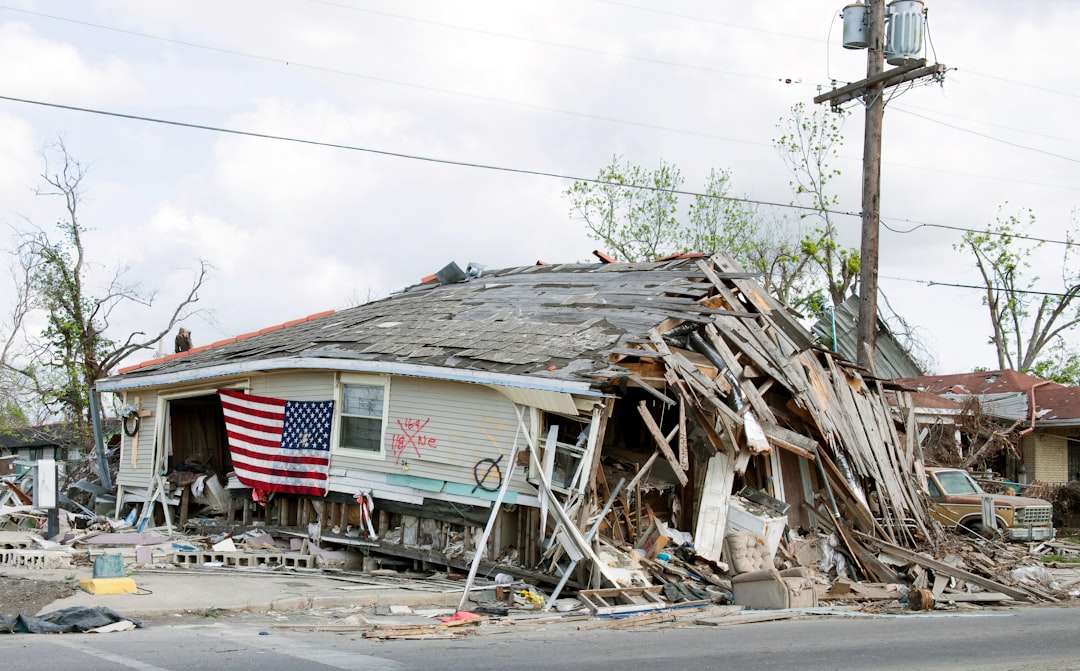
Bubbles often indicate that moisture is trapped under the membrane or that the original adhesive wasn't allowed to "flash off" properly during installation. If the bubble is small and the roof isn't leaking, it might be fine, but large blisters can pop and create significant Storm Damage Repairs.
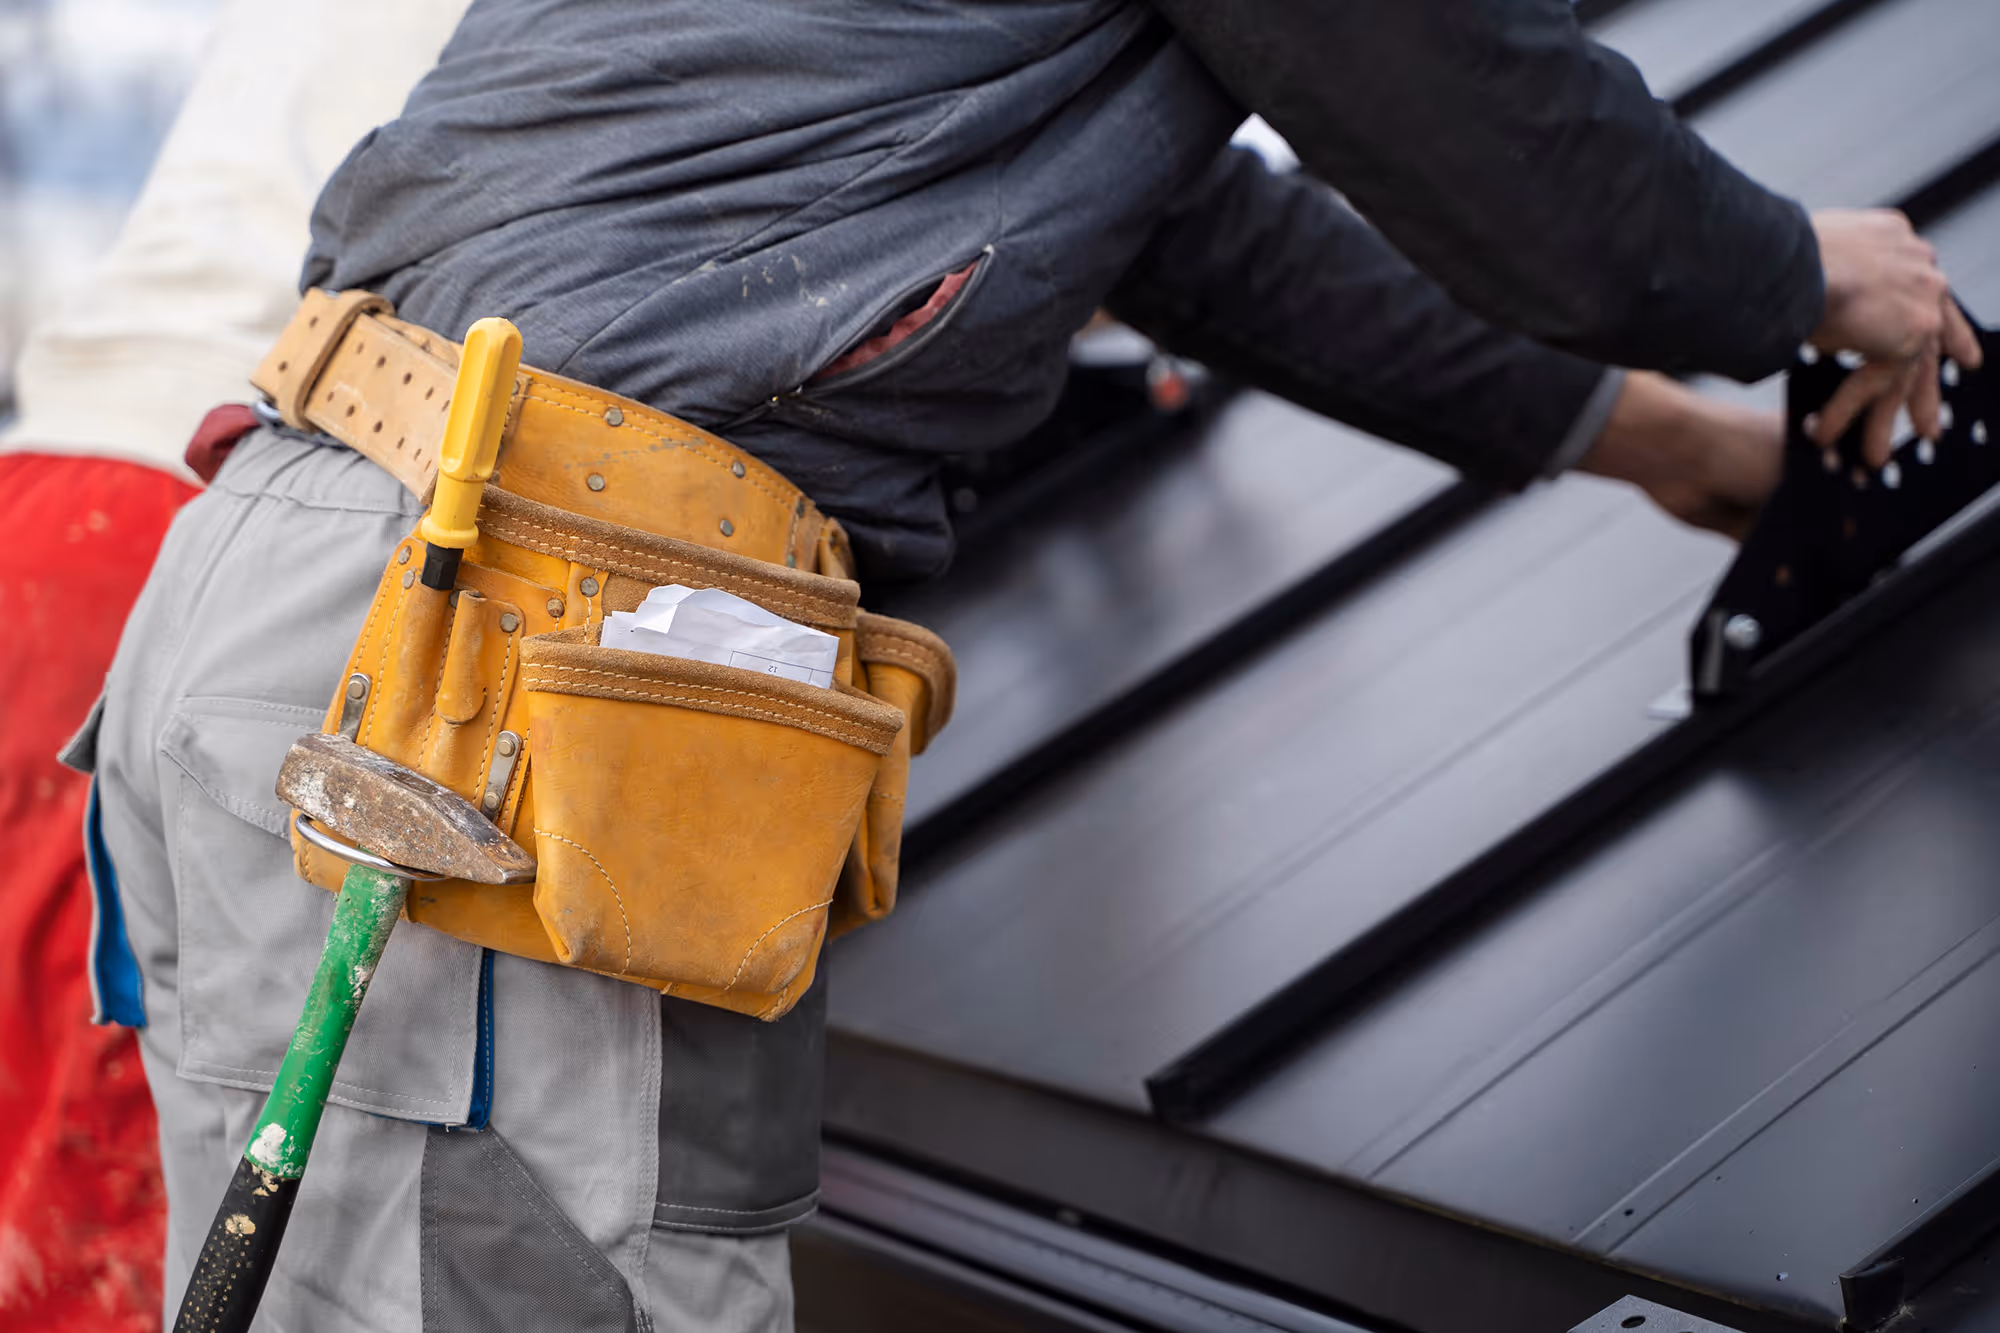
Essential Materials and Tools for EPDM Repair
Before you climb that ladder, you need the right gear. Using the wrong products—like asphalt-based "wet patch" from a big-box store—can actually melt and destroy EPDM rubber.
Required Tools for the Job
- Utility Knife: For cutting patches to size.
- Scrub Brush (Soft-Bristled): To clean the membrane without scratching it.
- Seam Roller: This is non-negotiable. You need firm pressure to create a permanent bond.
- Caulk Gun: For applying lap sealant around the edges.
- Marker or Crayon: To outline your repair area.
Essential EPDM Repair Materials
- EPDM Cleaner: A specialized solvent to remove the "carbon black" dust that naturally migrates out of the rubber.
- EPDM Primer: This "activates" the rubber surface so the adhesive can bond.
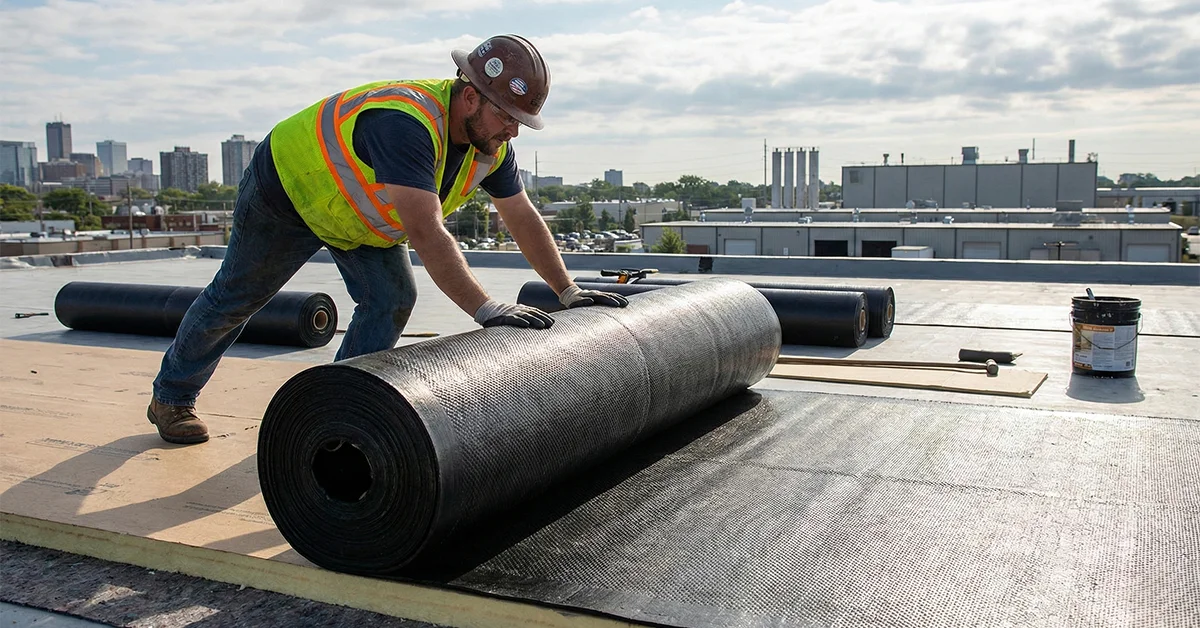
- EPDM Patching Material: You can buy Peel-and-Stick EPDM patches or use a piece of 60-mil EPDM membrane with splice adhesive.
- Lap Sealant: A thick, "self-leveling" caulk used to waterproof the edges of the patch.

Step-by-Step Guide to Repairing a Puncture or Tear
Ready to fix that leak? Follow these steps for a professional-grade rubber flat roof repair.
Step 1: Properly Clean and Prepare the Surface
You cannot skip this. Over time, EPDM develops a fine layer of black carbon dust. If you try to stick a patch to that dust, it will peel off within a month.
- Scrub the area with warm, soapy water (Spic and Span works well) and a soft brush.
- Rinse and let it dry completely.
- Use a Weathered Membrane Cleaner on a rag to wipe the area until the rag comes away clean. Clean at least 12 inches around the damage.
Step 2: Cut and Shape the EPDM Patch
Measure the damage. Your patch should extend at least 2 to 3 inches past the tear in every direction.
- Pro Tip: Always round the corners of your patch. Square corners have a tendency to snag and peel up over time. Rounded corners stay flat.
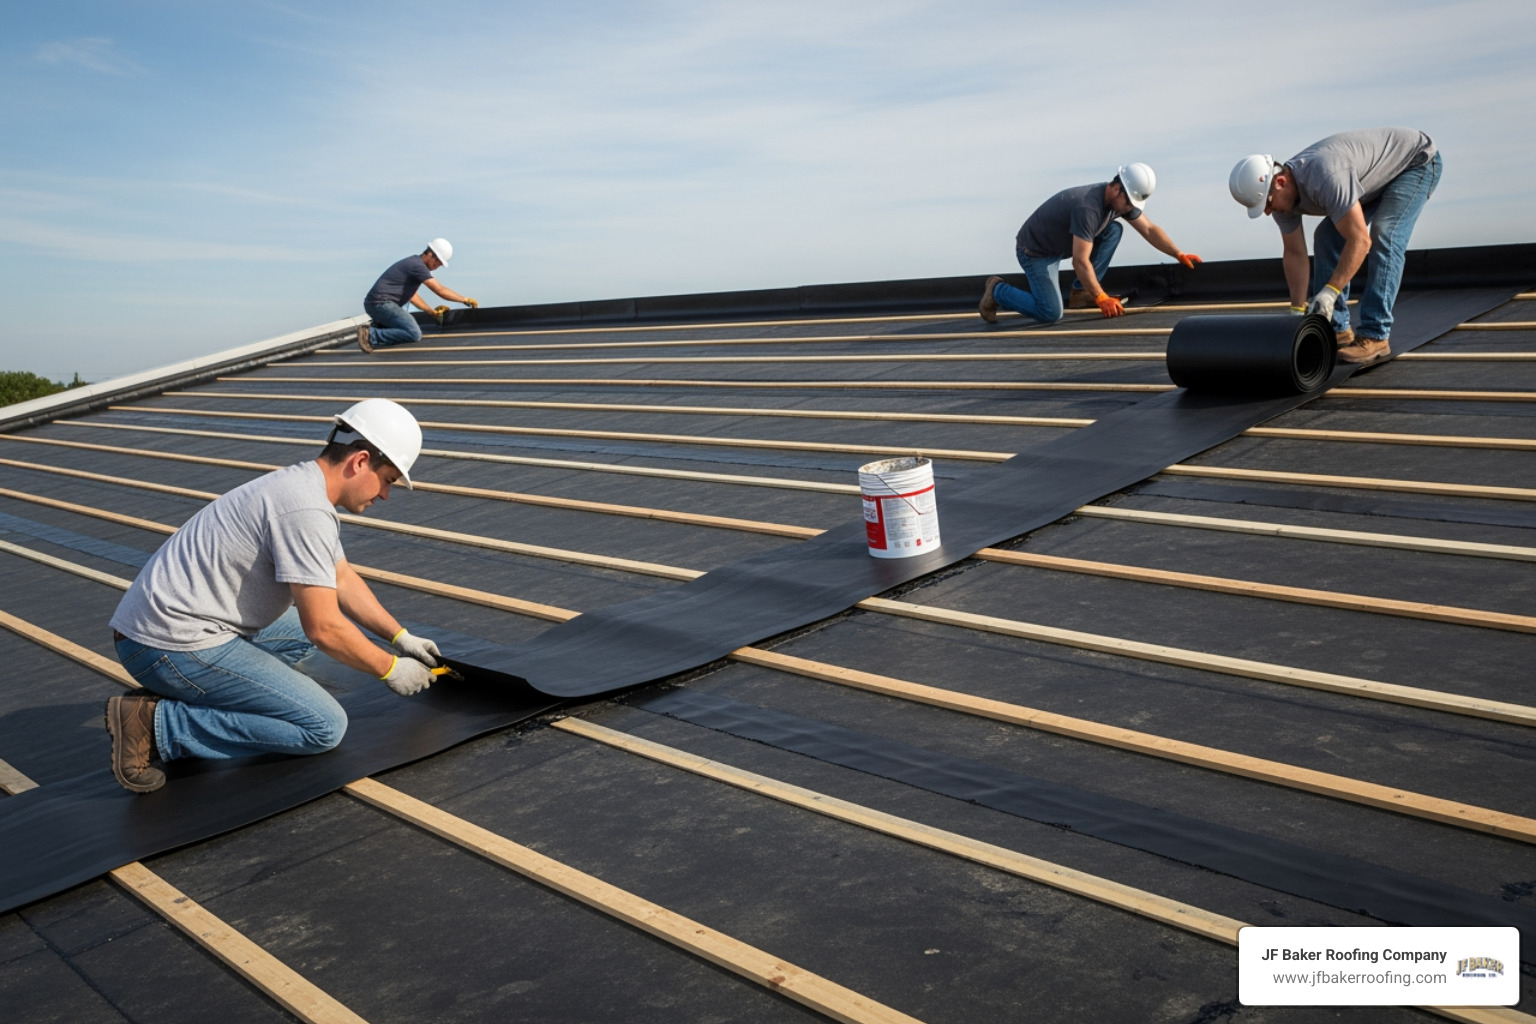
Step 3: Apply EPDM Primer and Adhesive
Brush a thin, even coat of EPDM primer onto the roof surface and the back of the patch (if you aren't using a peel-and-stick version).
- The Tack Test: Wait 2 to 5 minutes. Touch the primer with a dry finger. It should be "tacky" (sticky) but should not string up or stick to your finger. If it’s still wet, wait longer.
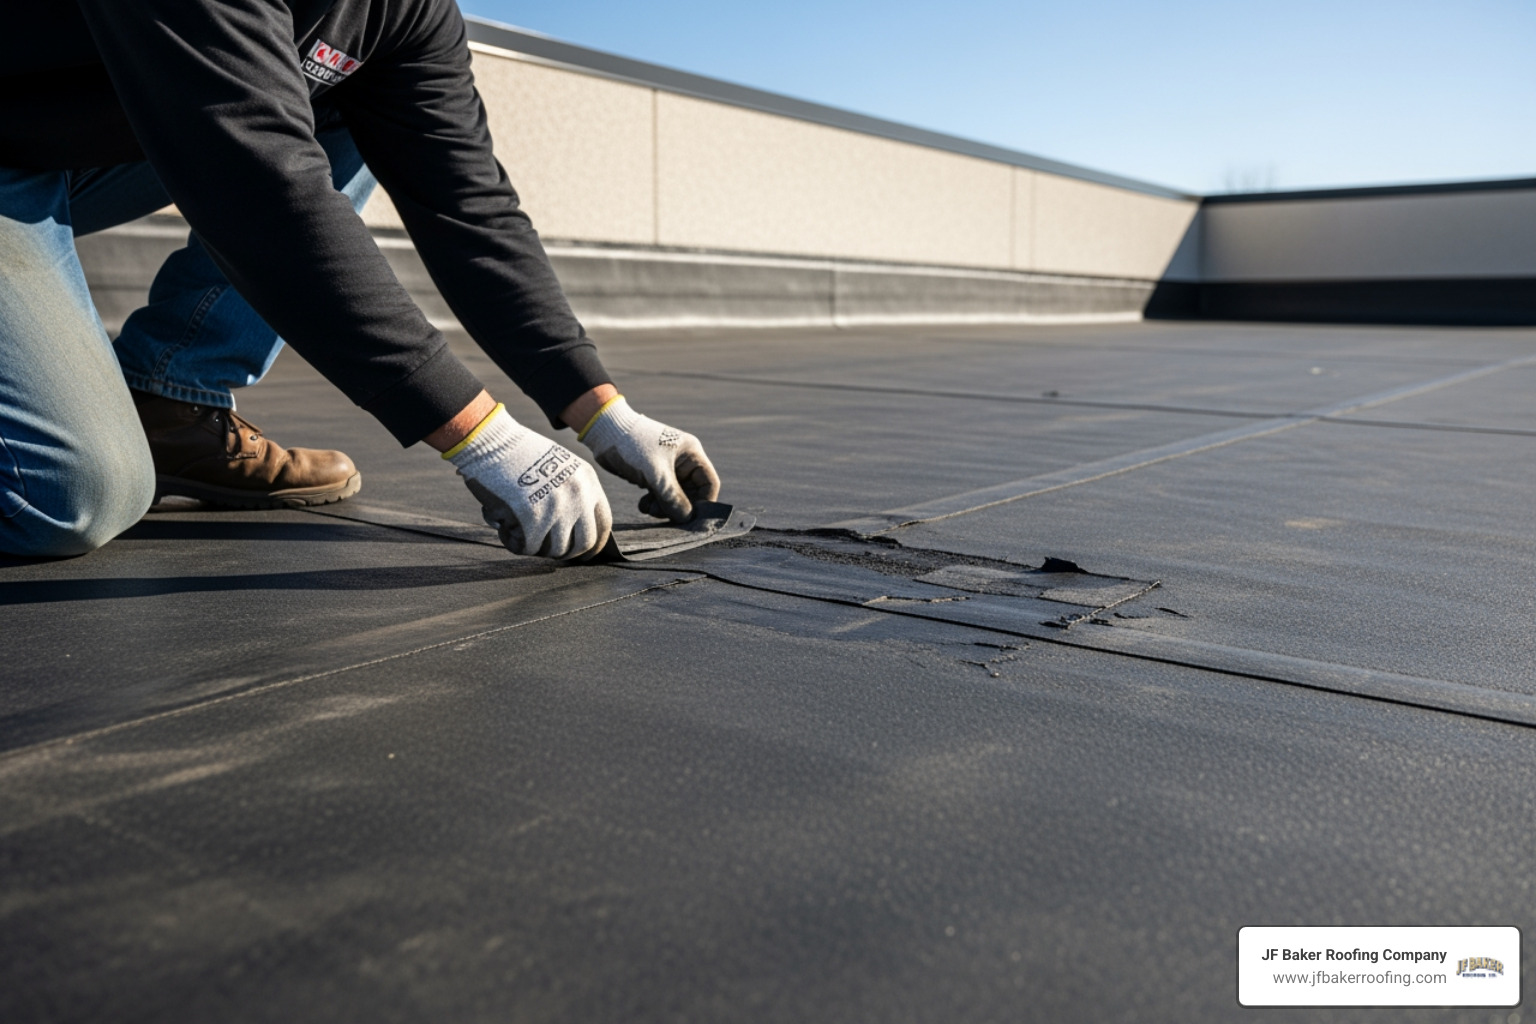
Step 4: Secure the Patch and Remove Air Bubbles
Place the patch carefully over the damage. Start from the center and work your way out to the edges to avoid trapping air. Use your seam roller to apply heavy pressure across the entire patch, especially along the edges.
Step 5: Seal the Edges with Lap Sealant
Wait at least 4 hours for the adhesive to set, then apply a 3/8-inch bead of lap sealant around the entire perimeter of the patch. This prevents water from "wicking" into the adhesive layer.
Repairing Damage at Seams, Edges, and Corners
Seams and corners are the "high-traffic" areas for leaks.
Fixing Seam Separation
If a seam has lifted, you need to clean inside the gap as best as possible. Apply primer to both the underside of the top sheet and the top of the bottom sheet. Once tacky, press them together and roll firmly. If the gap is wide, apply a 6-inch wide EPDM cover tape over the entire seam.
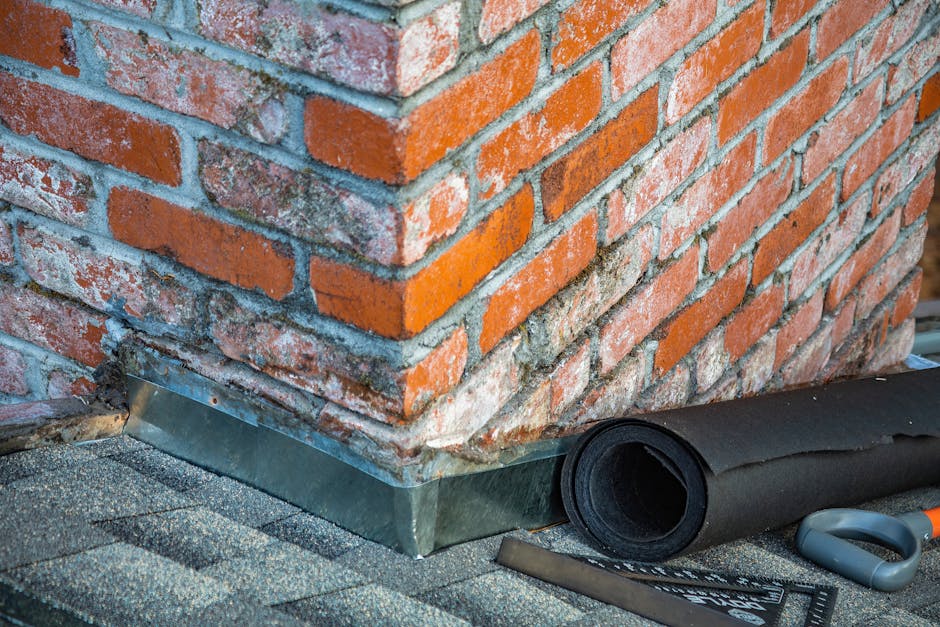
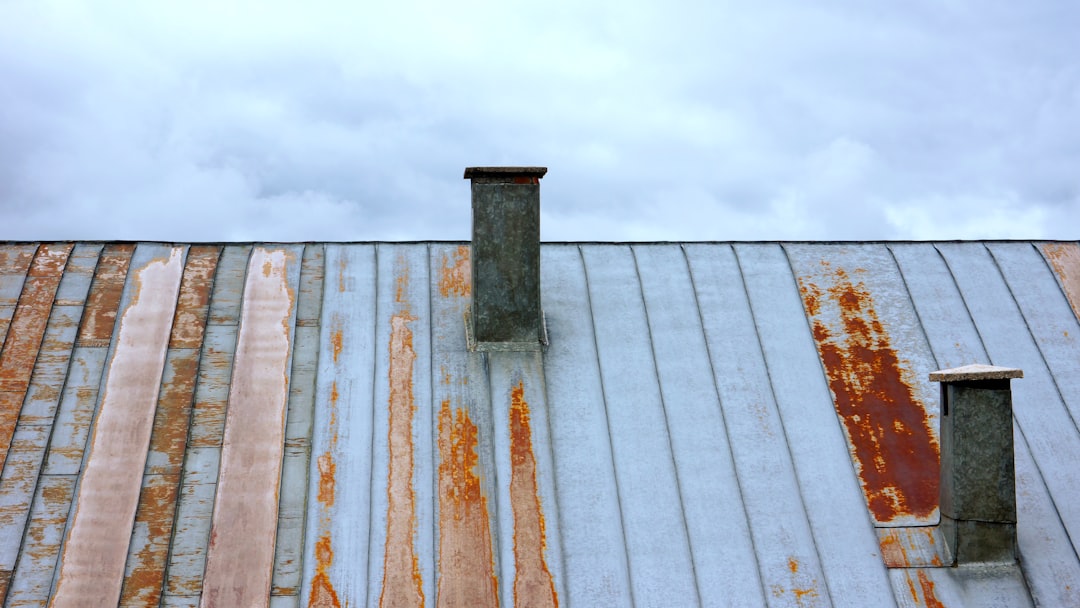
Patching Outside Corners and Pipe Flashings
Corners are tricky because the rubber has to bend in two directions. Use "uncured" flashing tape for these areas. Uncured tape is stretchy and can be molded around a corner or the base of a pipe boot.
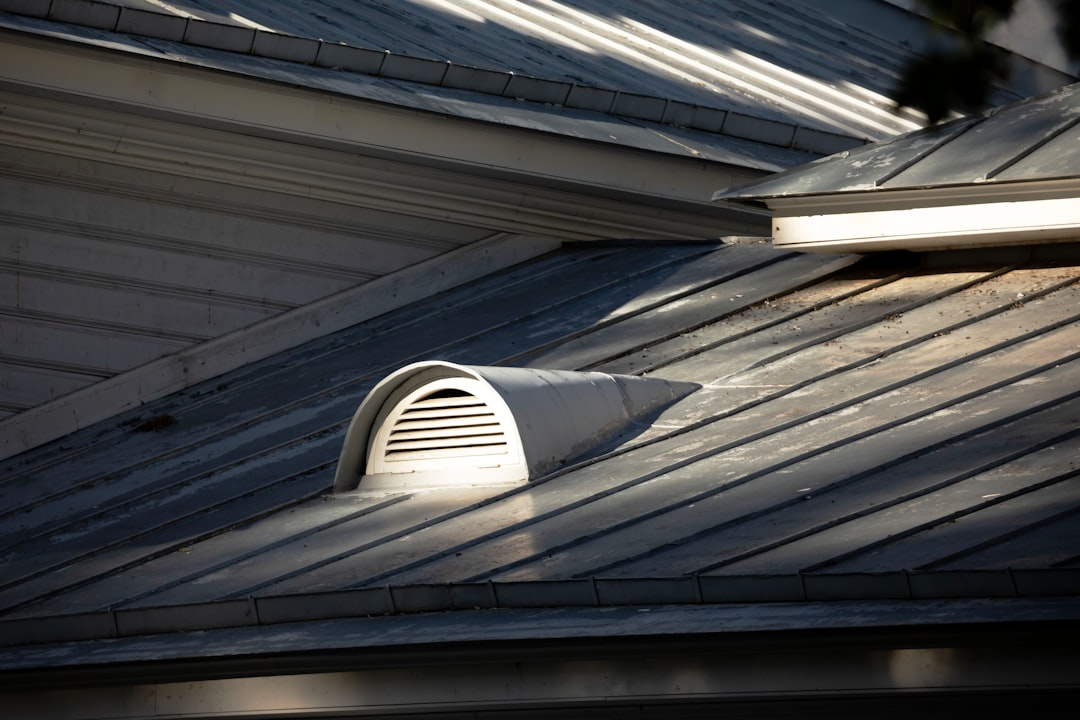
Addressing Issues Around Vents and Skylights
Check the metal flashing. Often, the leak isn't in the rubber, but in the old caulk where the rubber meets the metal. Scrape away the old, cracked caulk, clean the surface, and apply a fresh bead of high-quality EPDM-compatible sealant.
DIY vs. Professional Rubber Flat Roof Repair
Can you do this yourself? Most of the time, yes!
When a DIY Project is Appropriate
If you have one or two small punctures or a single seam that has lifted a few inches, a DIY EPDM Repair Kit is a cost-effective solution. These kits usually include a patch, primer, and a scrub pad, making it a "one-stop shop" for minor fixes.
When to Hire a Professional Roofing Contractor
You should call us at JF Baker Roofing if:
- The damage is extensive (tears longer than 12 inches).
- The underlying wood (decking) feels soft or "spongy" when you walk on it.
- You have multiple leaks in different areas.
- The roof is more than 25 years old.
- The repair involves complex Anna Compton Commercial Roof Replacement style detailing around HVAC units or large parapet walls.
Common Mistakes to Avoid During Repairs
We have seen many "failed" DIY repairs. Avoid these pitfalls:
- Using Asphalt Products: Never use "Black Jack" or asphalt shingles on EPDM. The oils in asphalt will chemically react with the rubber and cause it to swell and fail.
- Poor Cleaning: If you don't remove that carbon dust, your patch will fail.
- Skipping the Primer: Adhesive alone isn't enough; the primer is what creates the molecular bond.
- Working in Wet Weather: EPDM repairs require a bone-dry surface. Even high humidity or dew can ruin a repair.
Maintenance Tips to Prevent Future Damage
An ounce of prevention is worth a gallon of lap sealant.
- Biannual Inspections: Check your roof every spring and fall.
- Clear the Drains: Remove leaves and debris from gutters and drains so water doesn't pond.
- Trim the Trees: Overhanging branches are the #1 cause of punctures during Ohio windstorms.
- Apply a Coating: After 15-20 years, an Elastomeric Roof Coating can add 10 years of life to your membrane by providing a new UV-resistant layer.
Expected Lifespan: Repair vs. Replacement
How do you know when to stop patching and start over?
- Lifespan: EPDM typically lasts 20–30 years, though high-quality 60-mil or 90-mil membranes can last 50 years with maintenance.
- Repair: If the membrane is still flexible and the damage is localized.
- Replace: If the rubber feels brittle, has "shrunk" (pulling away from the edges), or if more than 25% of the seams are failing.
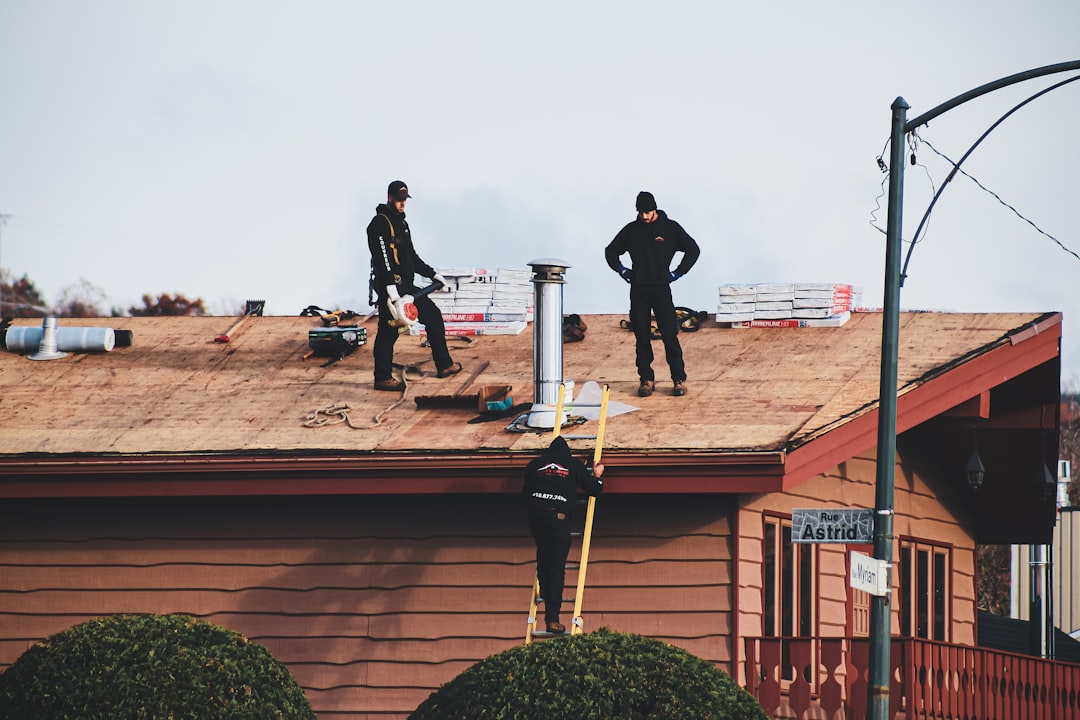
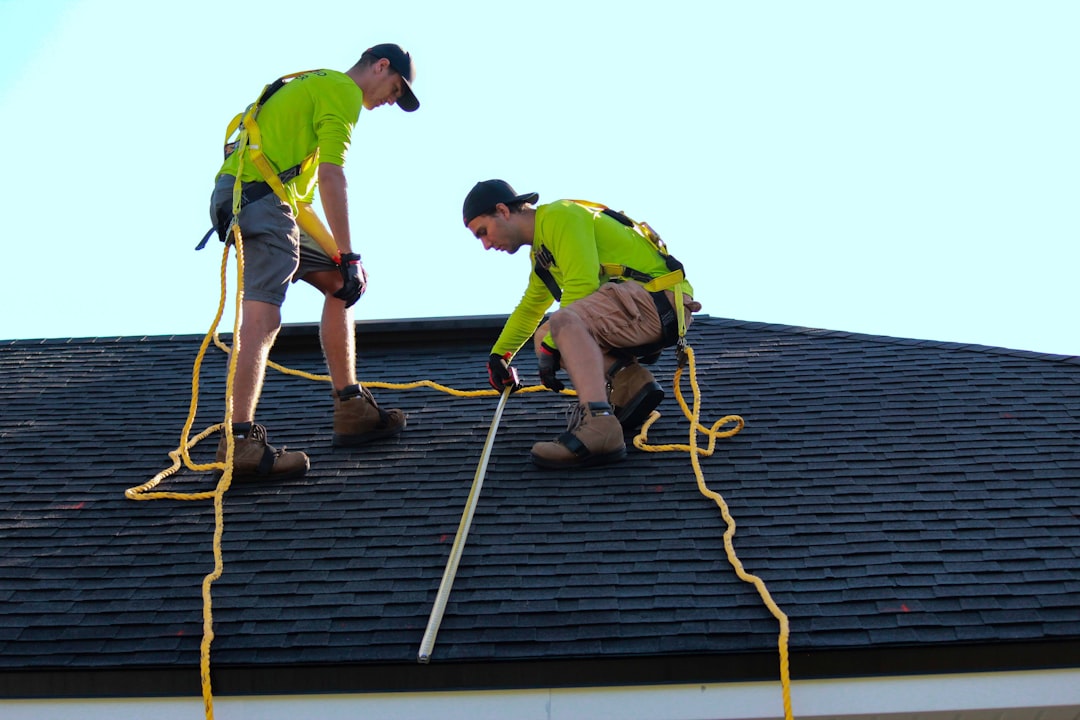
Safety Precautions for Flat Roof Work
Roofing is dangerous. Always follow OSHA safety guidelines.
- Check the Deck: Before stepping on a leaking roof, ensure the structure isn't rotted.
- Ladder Safety: Ensure your ladder extends 3 feet above the roof edge and is tied off.
- Weather: Never work on a roof during high winds or if rain is in the forecast.
- Chemicals: Wear gloves when handling EPDM primers and cleaners, as they are strong solvents.
Why Choose JF Baker Roofing for Your Flat Roof?
At JF Baker Roofing, we’ve been serving Central Ohio for over 96 years. We understand the specific challenges of rubber flat roof repair in our local climate. Whether you're in Columbus, Delaware, or Gahanna, our family-owned team provides:
- Quality Craftsmanship: We don't just "slap on a patch"; we ensure the substrate is dry and the bond is permanent.
- Transparent Pricing: No hidden fees, just honest estimates.
- Local Expertise: We know the building codes and weather patterns of Central Ohio inside and out.
If you’re dealing with a stubborn leak or just want a professional "second set of eyes" on your roof, we are here to help.
Ready to protect your investment?Contact JF Baker Roofing today for a free flat roof inspection!


.jpeg)