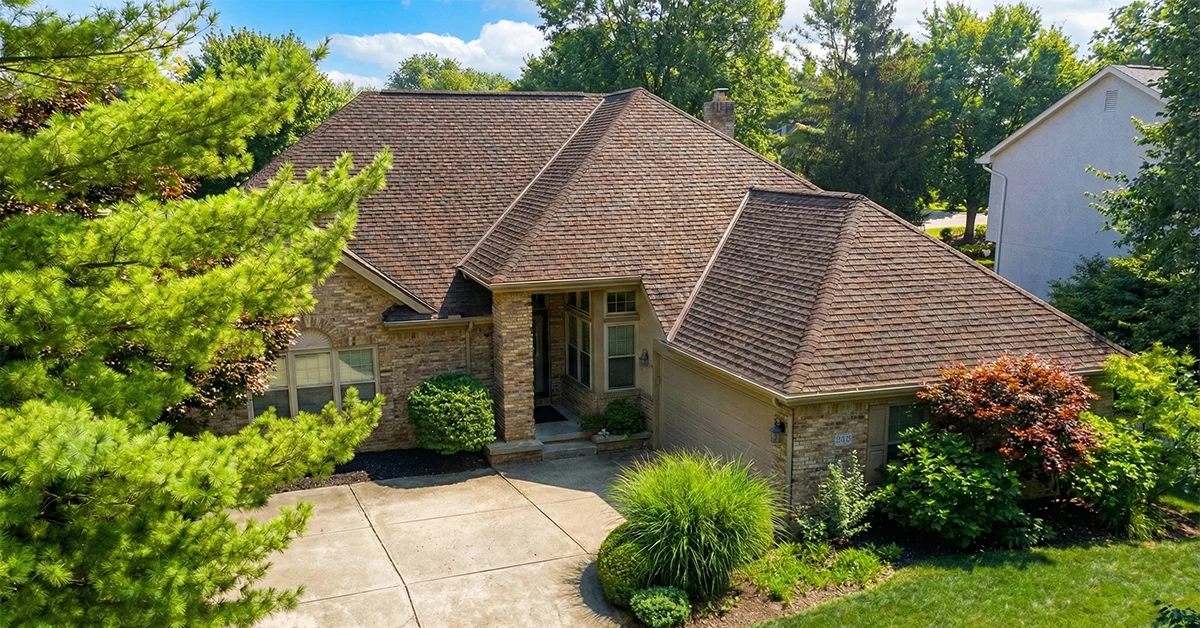
The Pros and Cons of Hiring Flat Rubber Roof Experts
Is EPDM Rubber Roofing Right for Your Flat Roof?
EPDM rubber roof installation is one of the most reliable ways to waterproof a flat or low-slope roof — and it's a top choice for homeowners and business owners across Central Ohio.
Quick answer for flat roof owners:
- What is EPDM? A synthetic rubber membrane (ethylene propylene diene monomer) applied in large sheets over flat or low-slope roofs.
- How long does it last? 20–50+ years with proper installation and basic maintenance.
- DIY or professional? DIY costs $3–$6/sq ft in materials; professional installation runs $6–$14/sq ft with labor and warranty.
- Biggest risk? Poor surface preparation causes roughly 90% of premature EPDM roof failures.
- Best for: Garages, additions, commercial buildings, sheds, and any roof with a slope under 10 degrees.
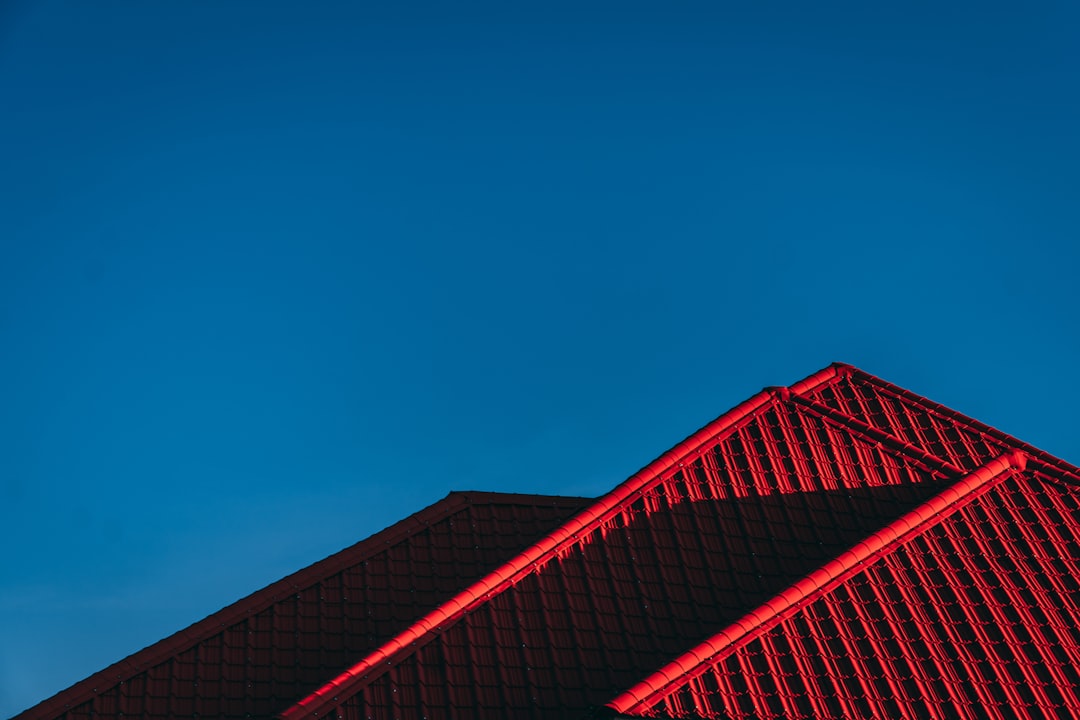
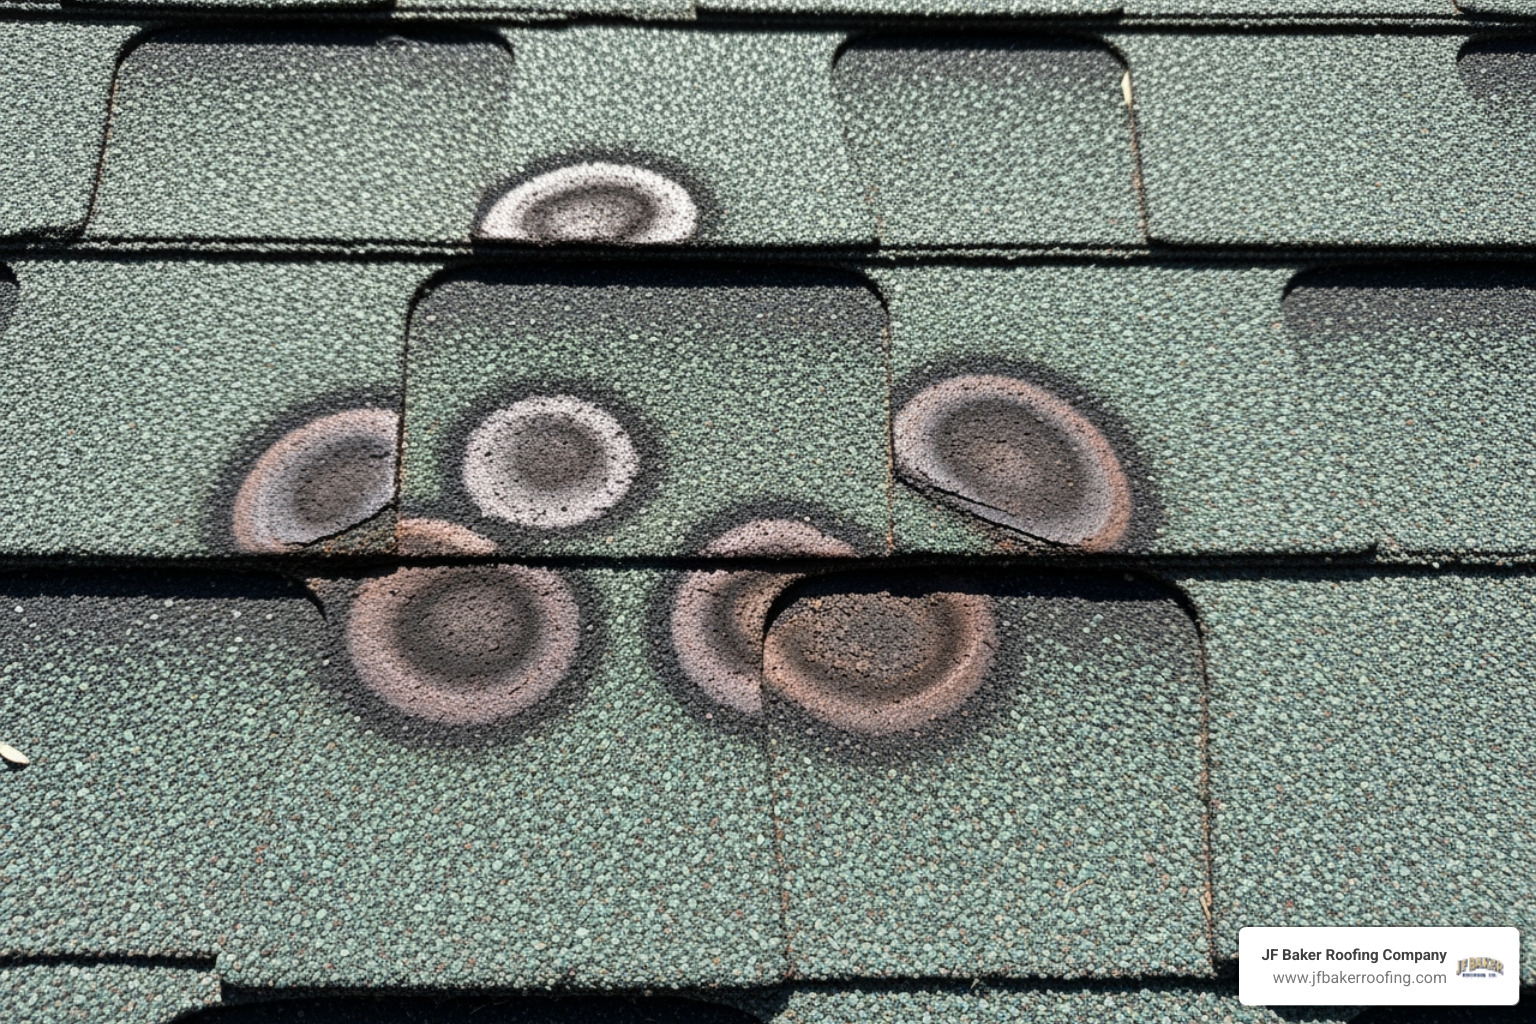
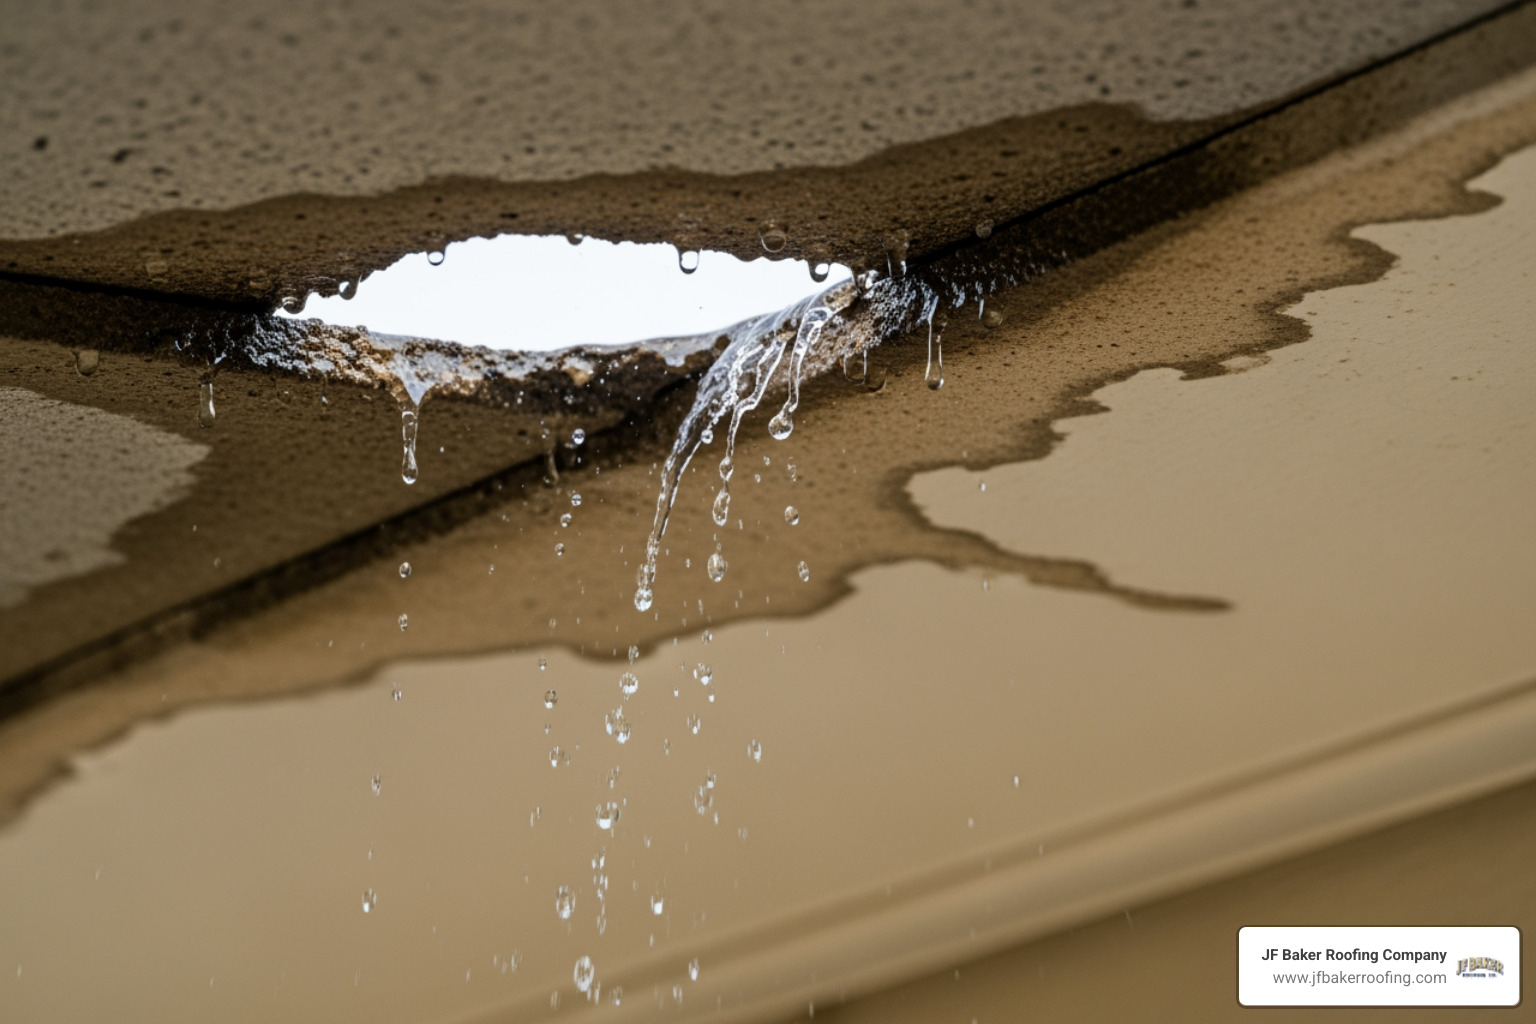
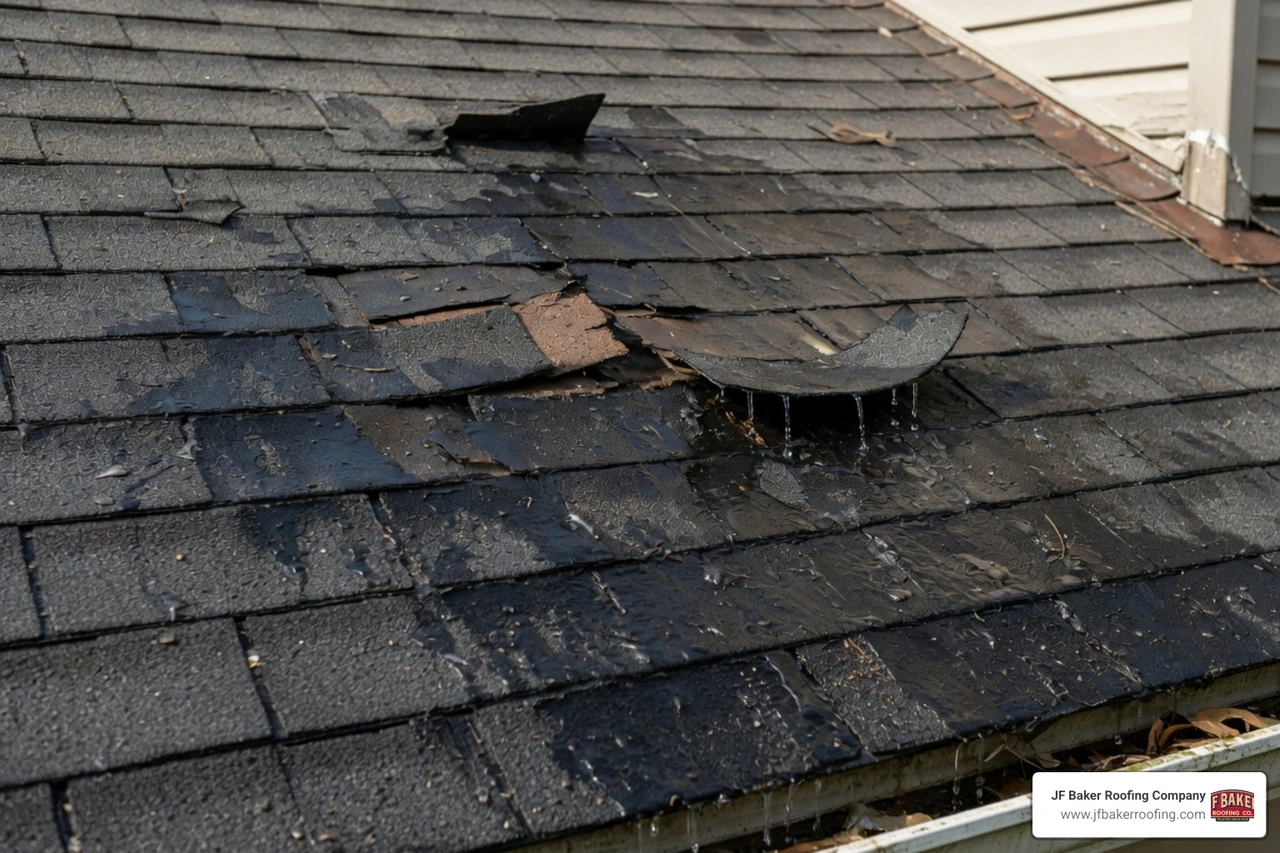
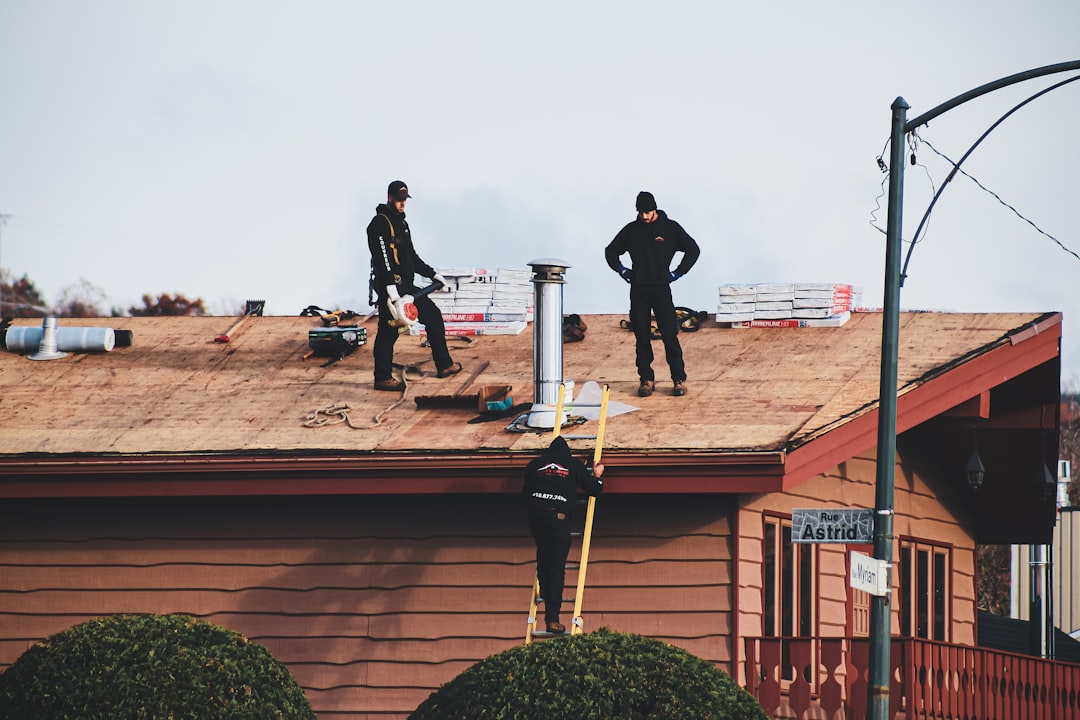
Flat roofs have a reputation for being tricky. Leaks, ponding water, and failed seams are frustrating — and expensive. But EPDM has quietly become the go-to solution for architects, contractors, and property owners who need a durable, low-maintenance waterproofing system.
The material itself rarely fails. The installation is where things go wrong.
This guide covers everything you need to know — whether you're weighing a DIY weekend project or deciding whether to call in a certified roofing crew like the team at JF Baker Roofing Company.

Understanding epdm rubber roof installation: Pros, Cons, and Performance
When we talk about epdm rubber roof installation, we are discussing a material that has been the backbone of the commercial roofing industry for over 40 years. EPDM (which stands for Ethylene Propylene Diene Terpolymer) is essentially a high-tech synthetic rubber. It’s incredibly tough, yet flexible enough to move with your building as temperatures swing from those humid Columbus summers to our freezing Ohio winters.

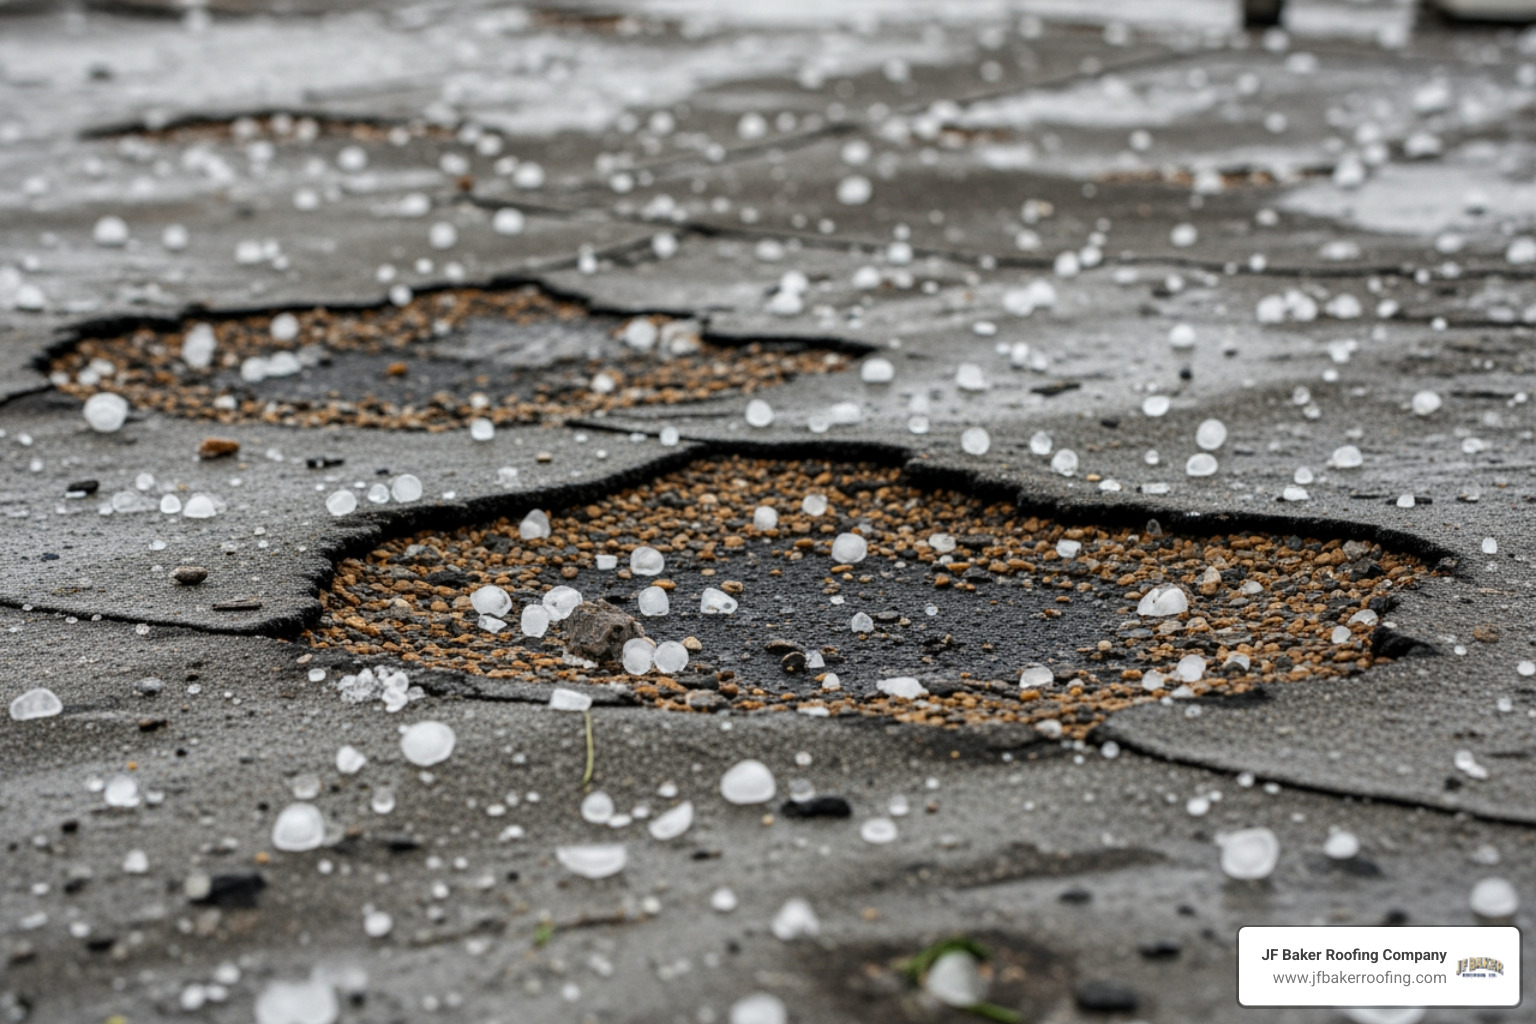
The performance of EPDM is legendary. It is highly resistant to UV radiation, thermal shock, and even hail. Because it deteriorates at a rate of only about 1 mil per year, a standard 60-mil membrane can theoretically provide waterproof protection for up to 50 years.
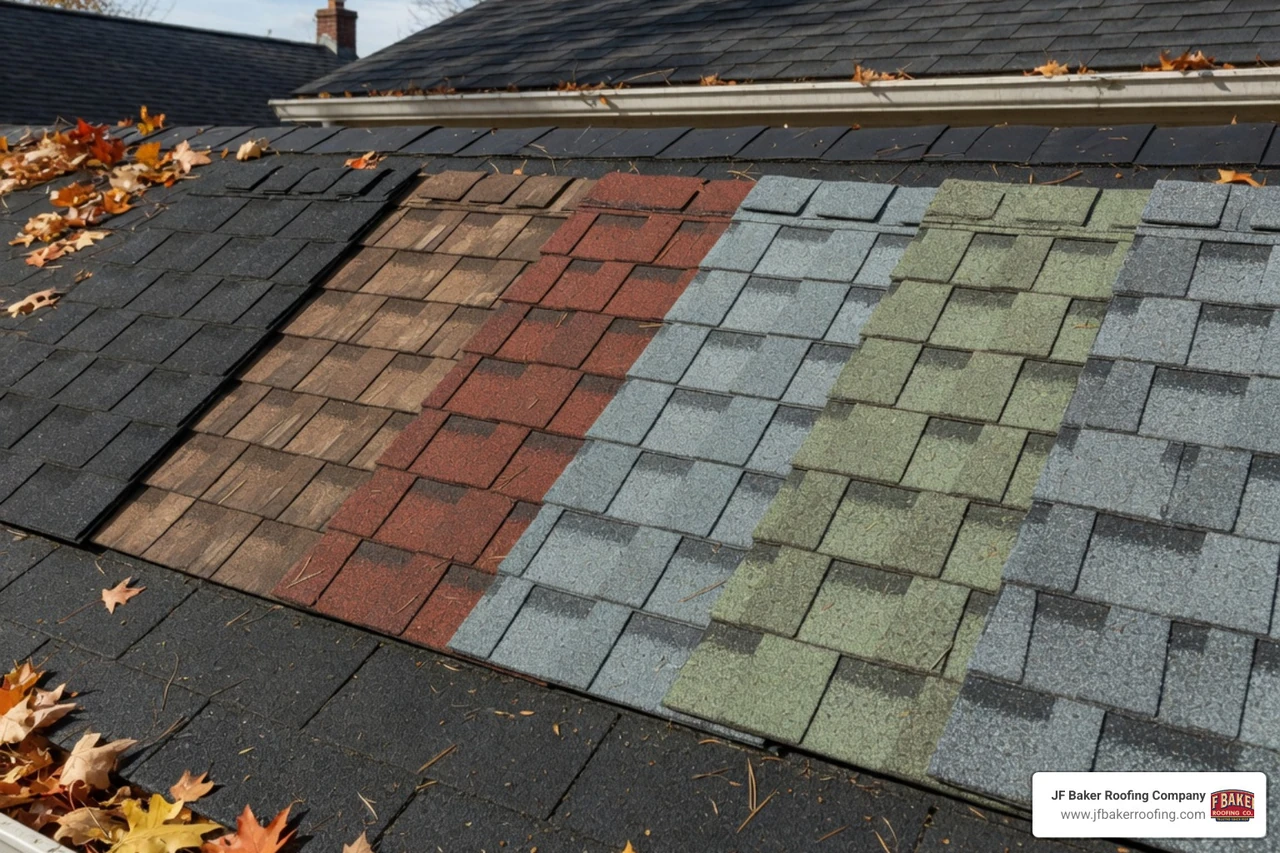
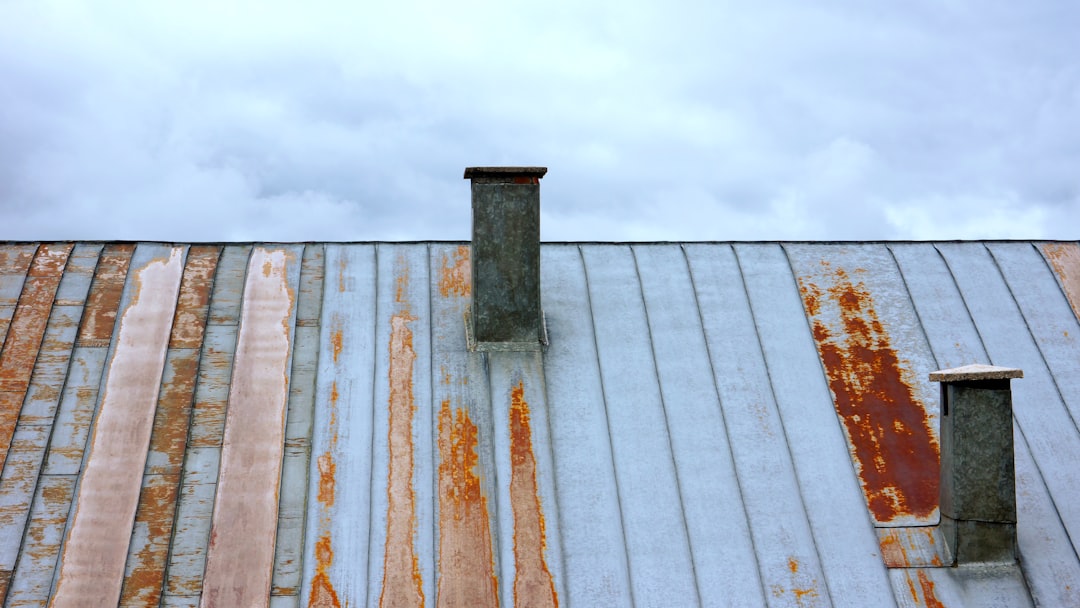
However, it’s not all sunshine and rainbows. While EPDM is eco-friendly and long-lasting, it does have aesthetic limitations. Most residential EPDM is black, which absorbs heat—though white versions are available for better reflectivity. It’s also susceptible to punctures from sharp falling branches or heavy foot traffic. To learn how it stacks up against other materials, check out our guide on the Types of Commercial Roofing Systems.
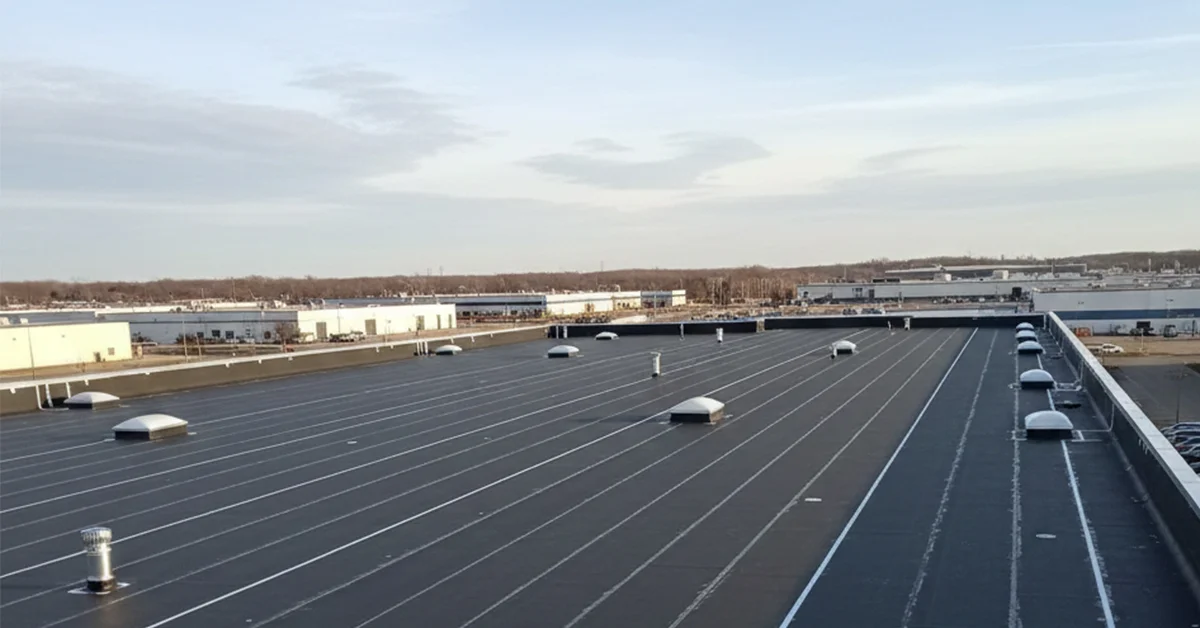
Why EPDM is the Standard for Flat and Low-Slope Roofs
Why do we recommend EPDM so often for flat surfaces? It comes down to chemistry. Unlike asphalt shingles, which rely on gravity to shed water, EPDM creates a monolithic, waterproof "skin." This makes it perfect for roofs where water might sit for a short period before reaching the drain.
The flexibility of the material is another major win. It can stretch and contract without cracking, which is vital in Central Ohio where the thermometer jumps around. According to Scientific research on EPDM durability, the membrane remains flexible down to -49°F and can withstand heat up to 300°F. If your garage or home addition has a roof that doesn't drain perfectly, EPDM is often the only material that can handle the "ponding" without failing.
Comparing EPDM to Other Commercial Roofing Options
When choosing a system, you’ll likely hear about TPO and PVC as well. Here is how they generally compare:
FeatureEPDM (Rubber)TPO (Thermoplastic)PVC (Vinyl)Average Lifespan20–50 Years10–20 Years20+ YearsSeam MethodAdhesive/TapeHeat-WeldedHeat-WeldedCostMost EconomicalModerateHighestFlexibilityExtremely HighModerateModerateChemical ResistanceModerateHighExtremely High
While TPO is popular for its white, reflective surface, EPDM often wins on longevity and ease of repair. Because EPDM doesn't require specialized heat-welding equipment for every seam, the epdm rubber roof installation process is often more straightforward and cost-effective for residential applications.
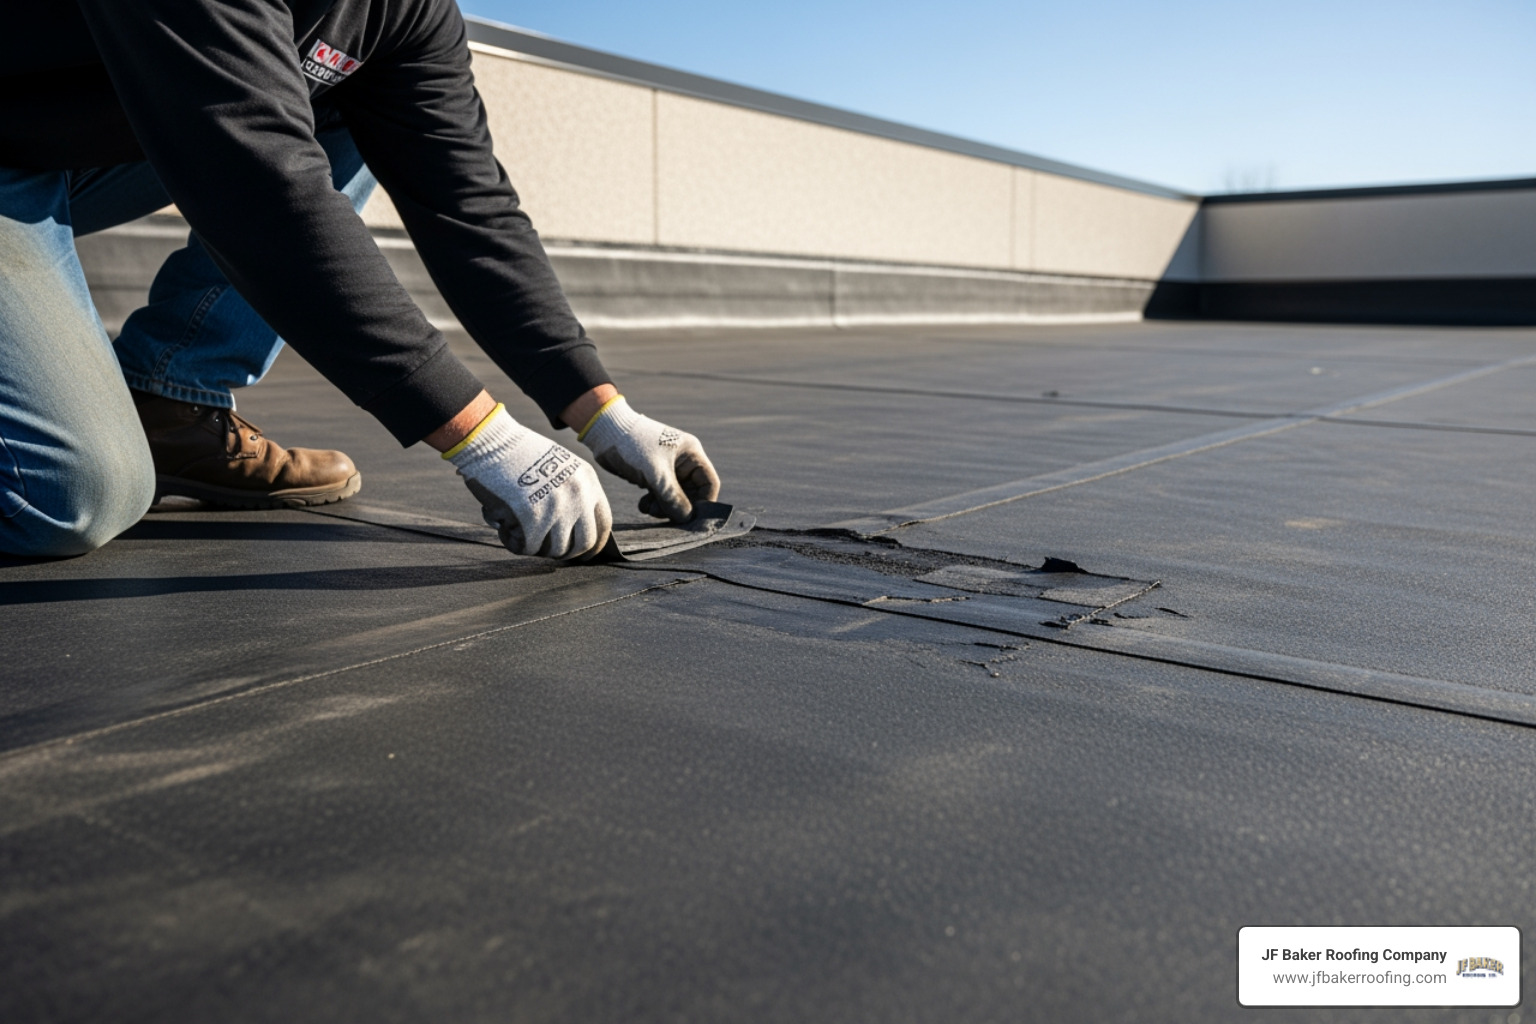
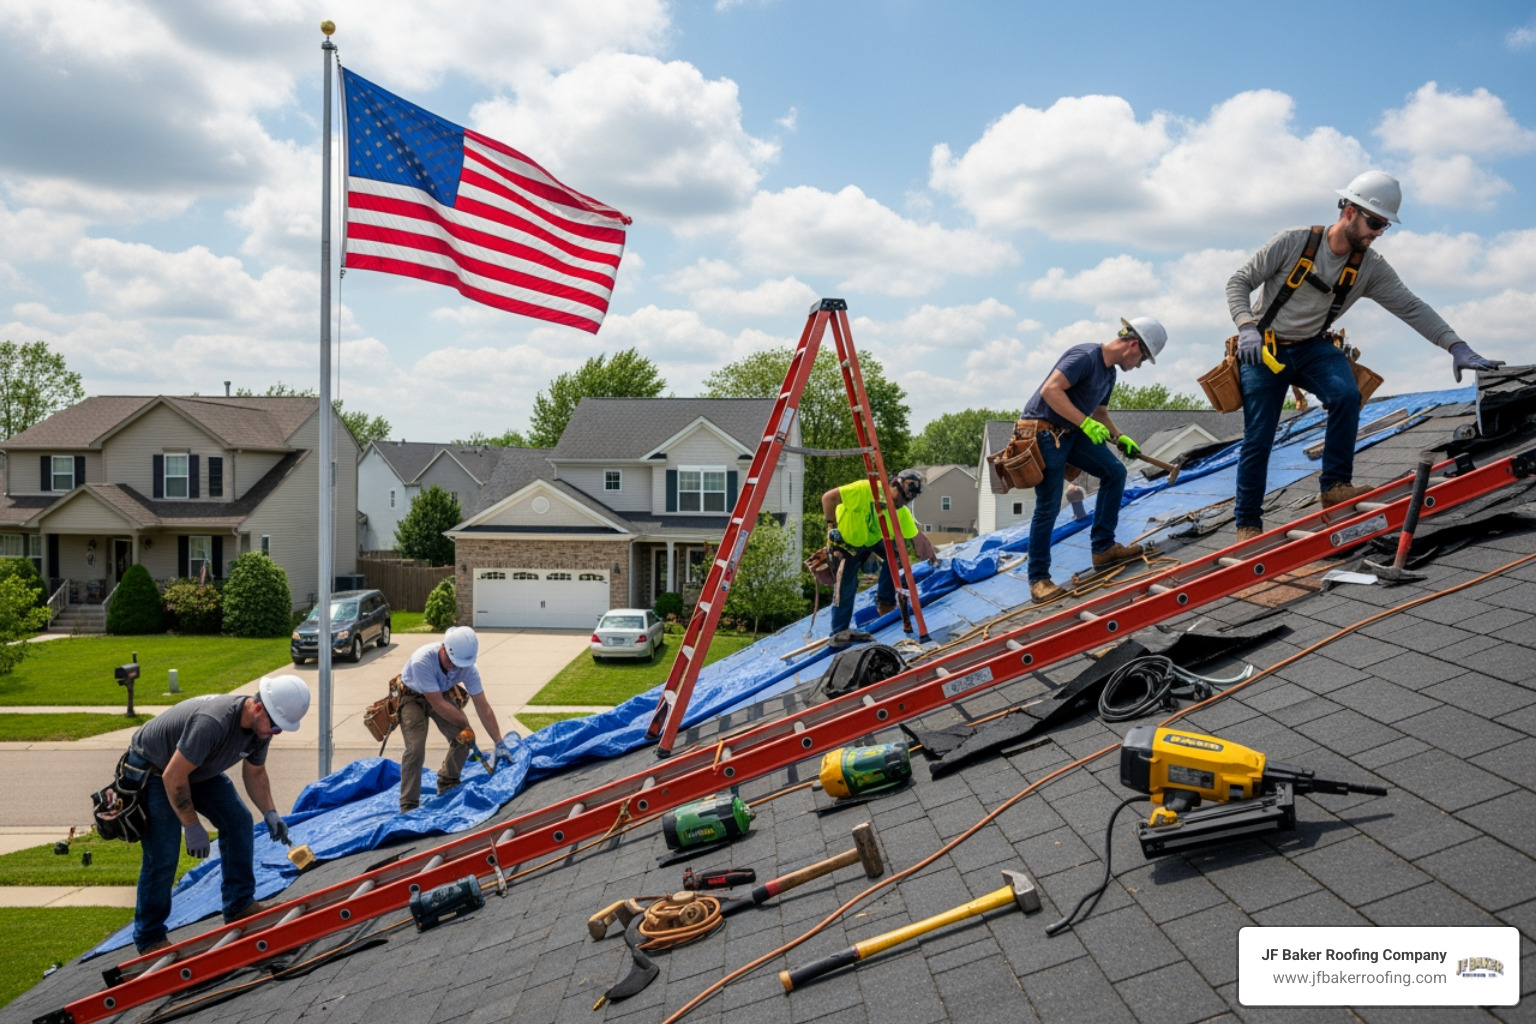
Preparation, Tools, and Safety for the Project
Before a single drop of adhesive touches the roof, preparation is king. We cannot stress this enough: 90% of EPDM failures are caused by poor substrate preparation. If the surface isn't clean, dry, and smooth, the rubber simply won't stick, and you'll end up with bubbles that look like a giant bowl of Rice Krispies.
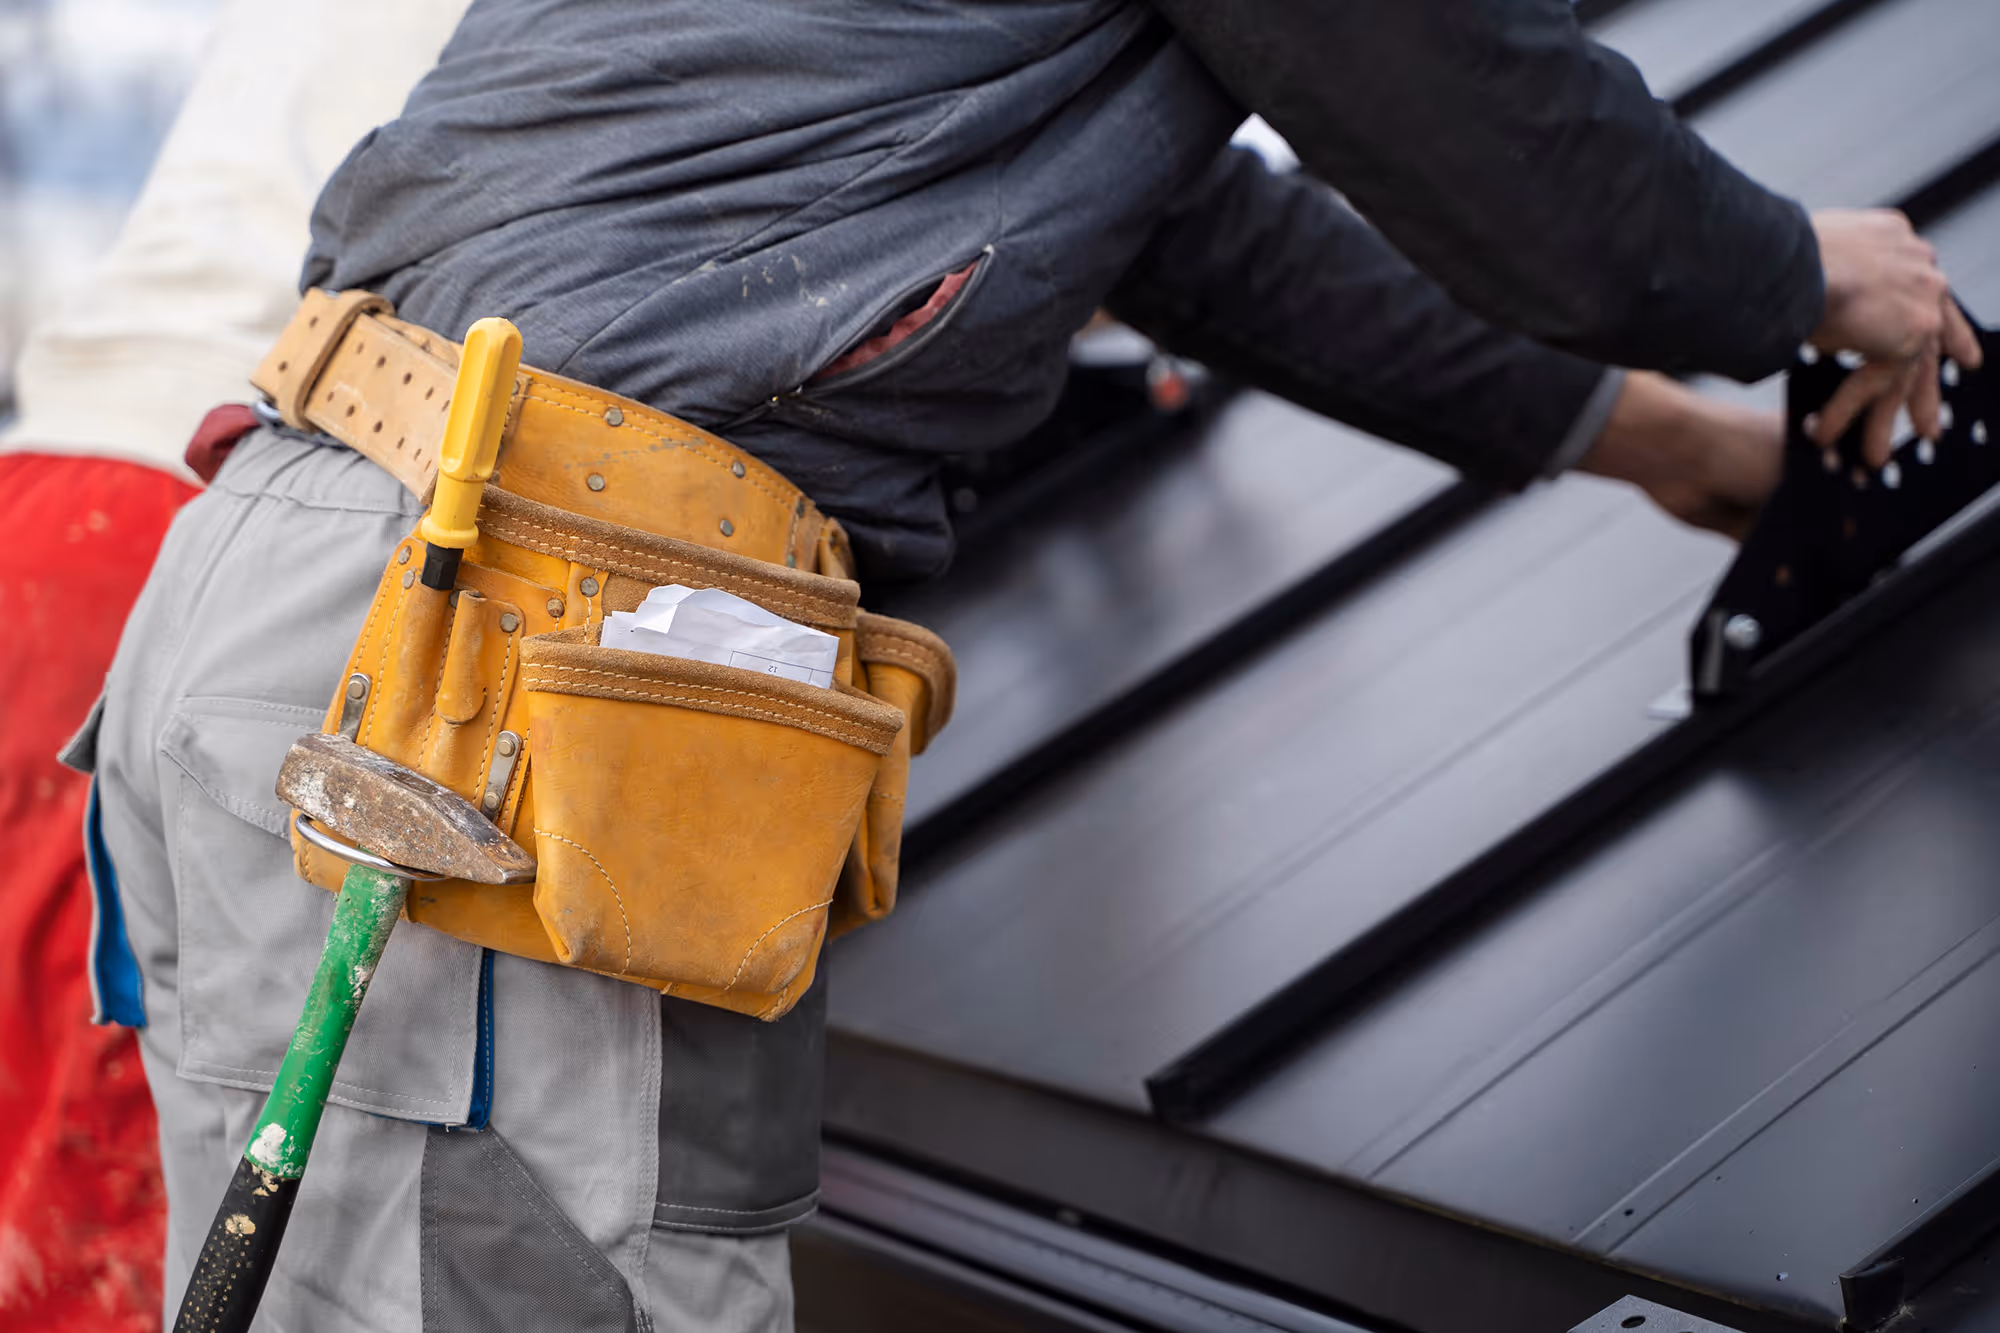
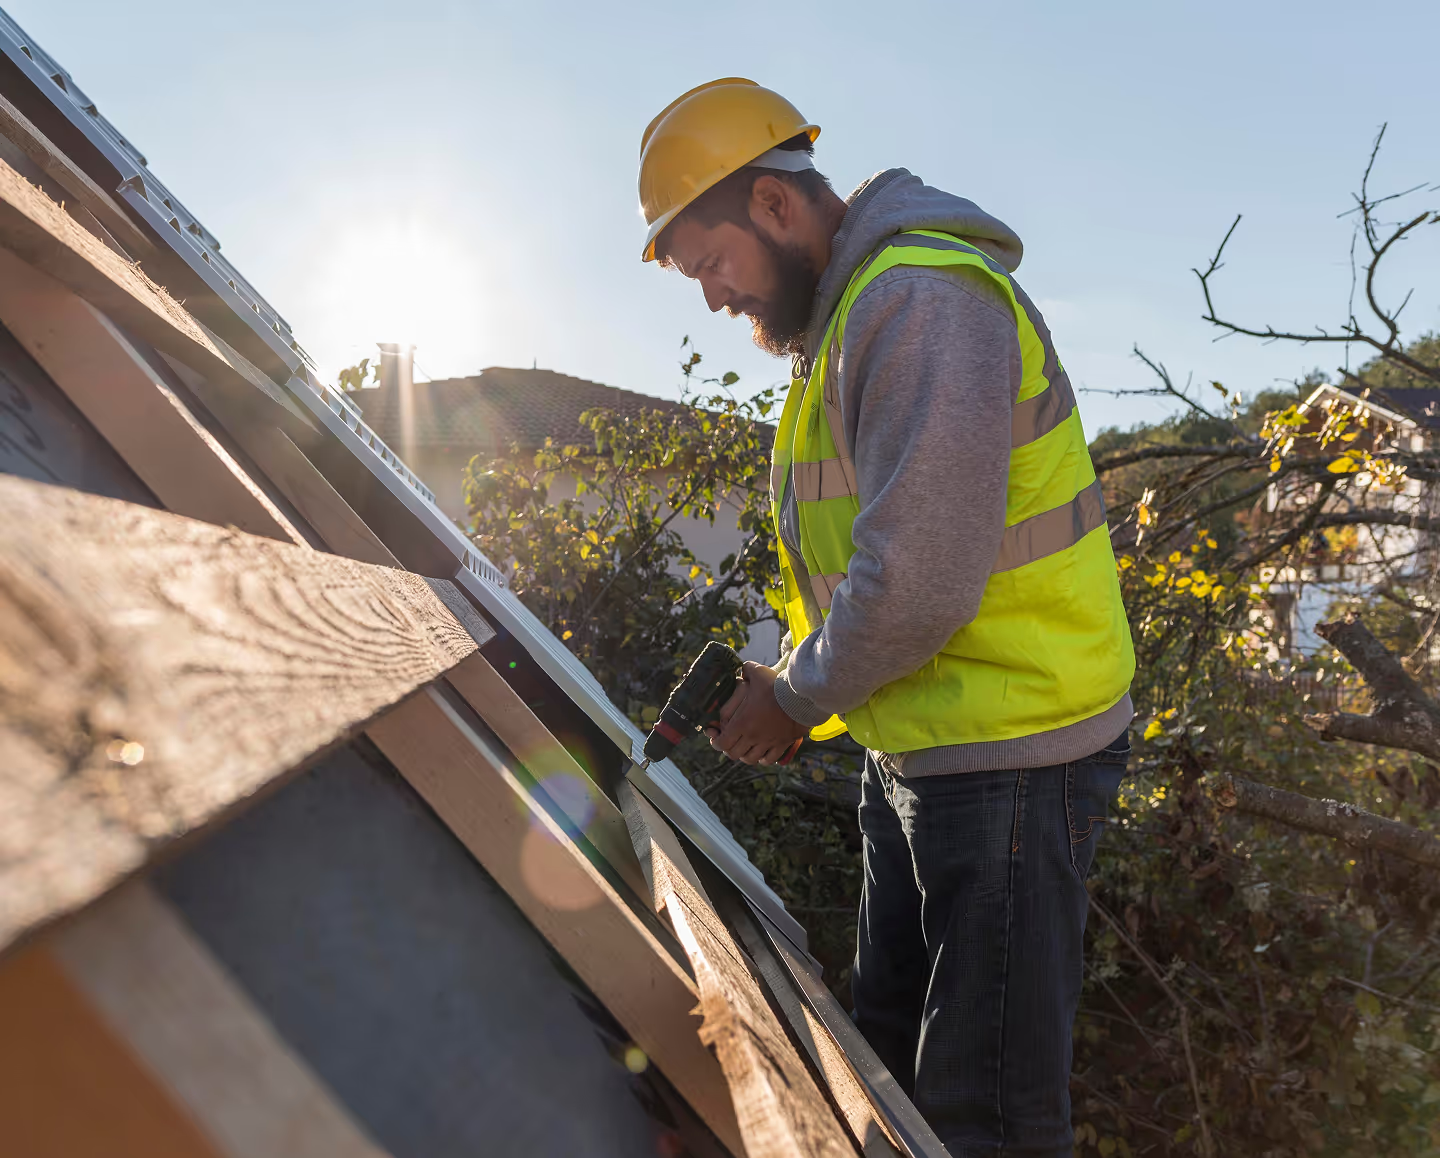
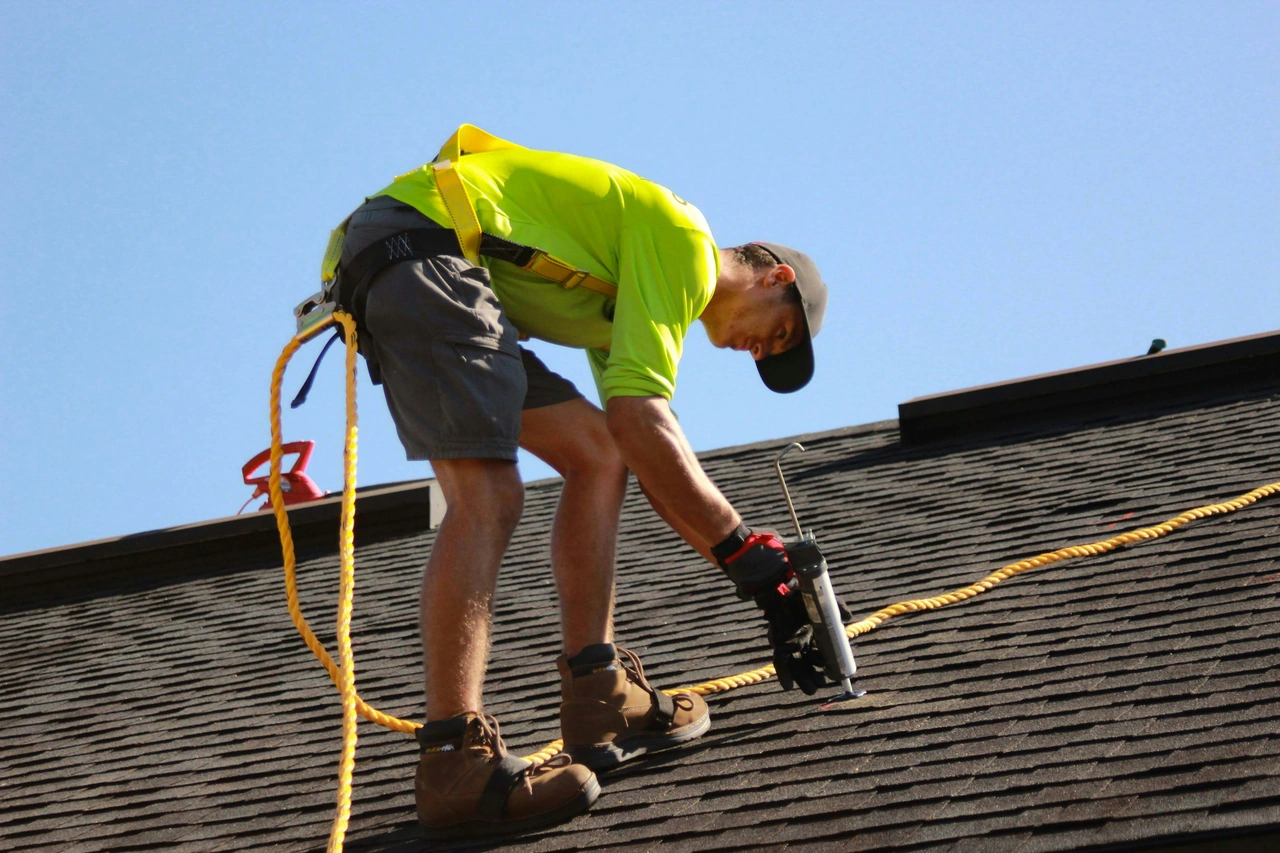
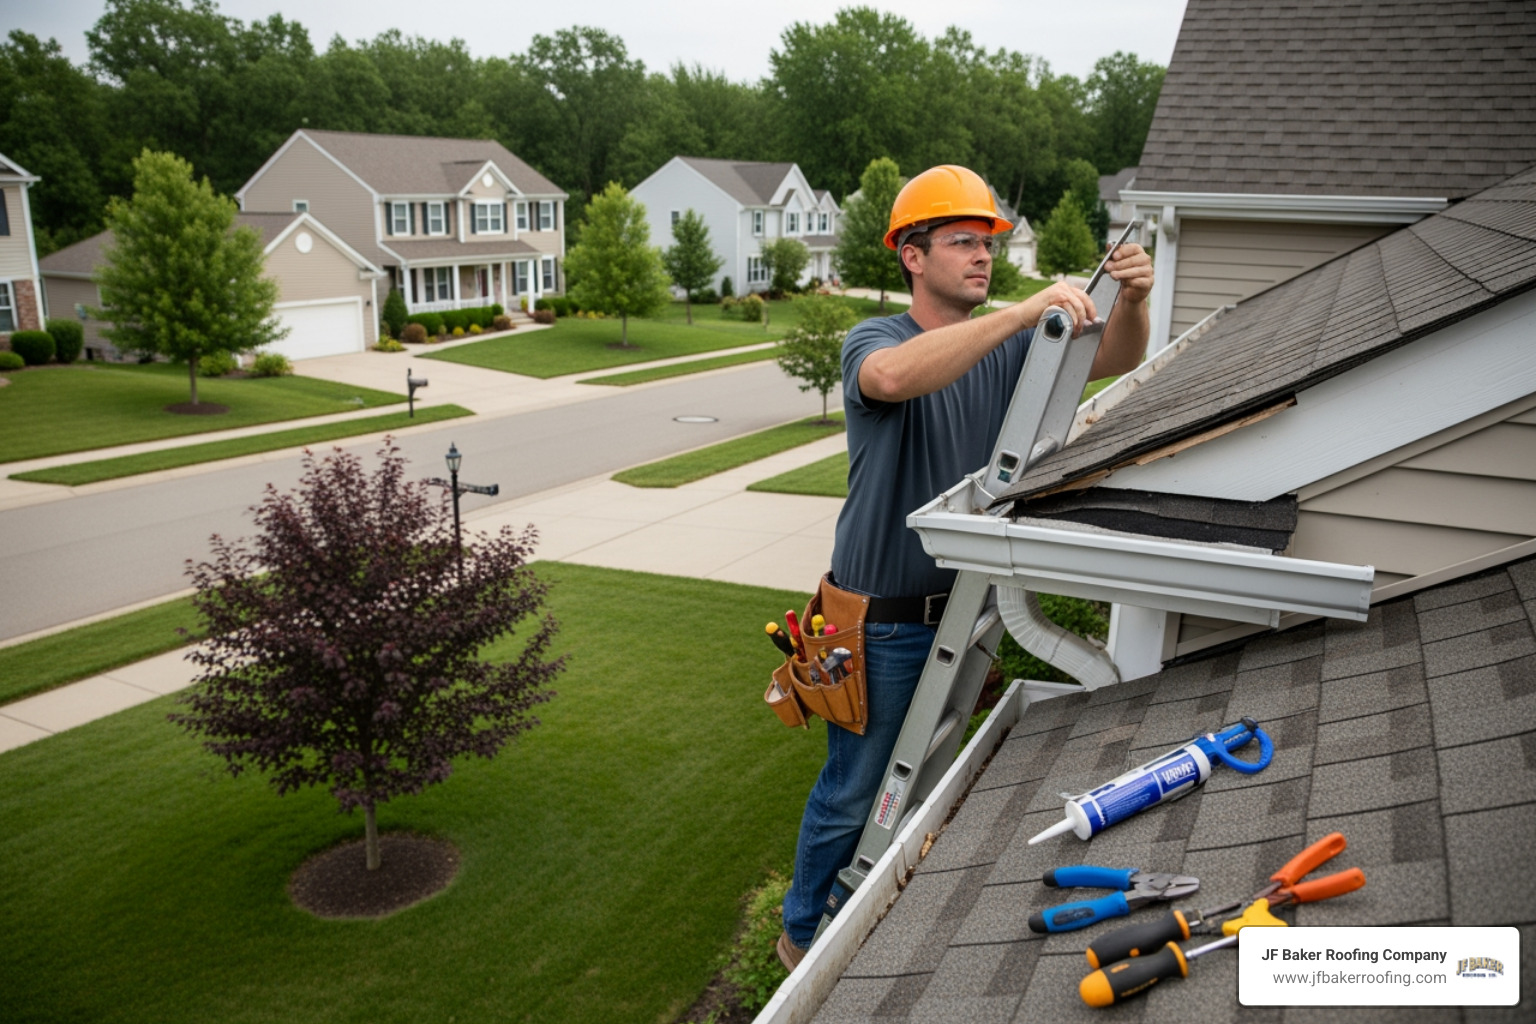
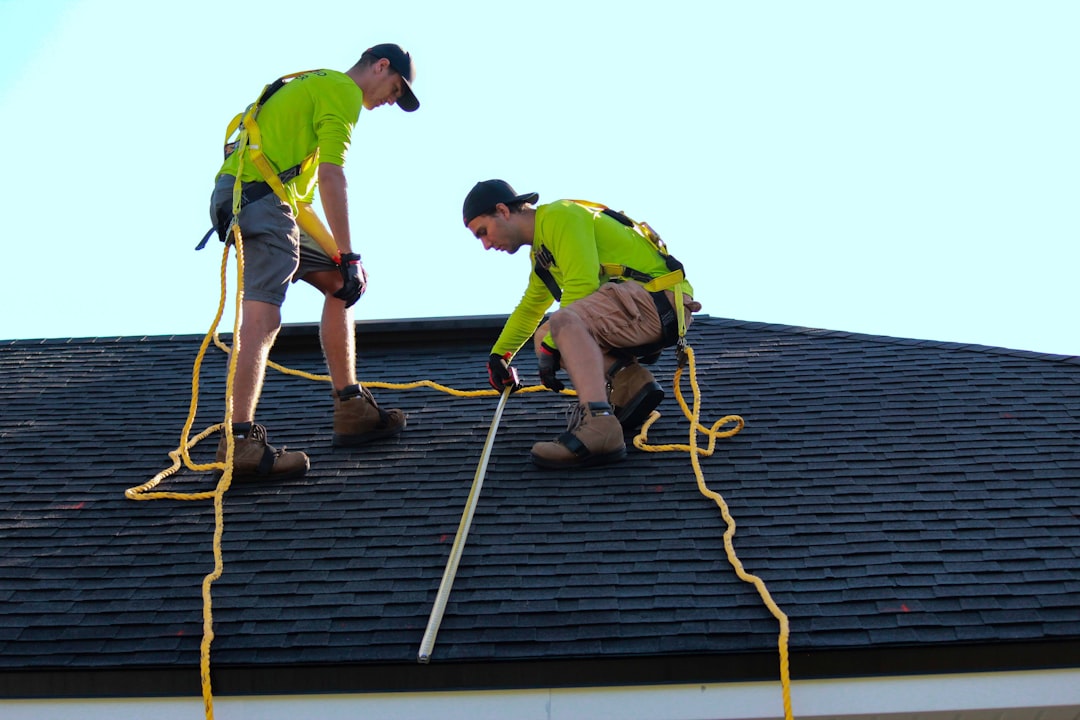
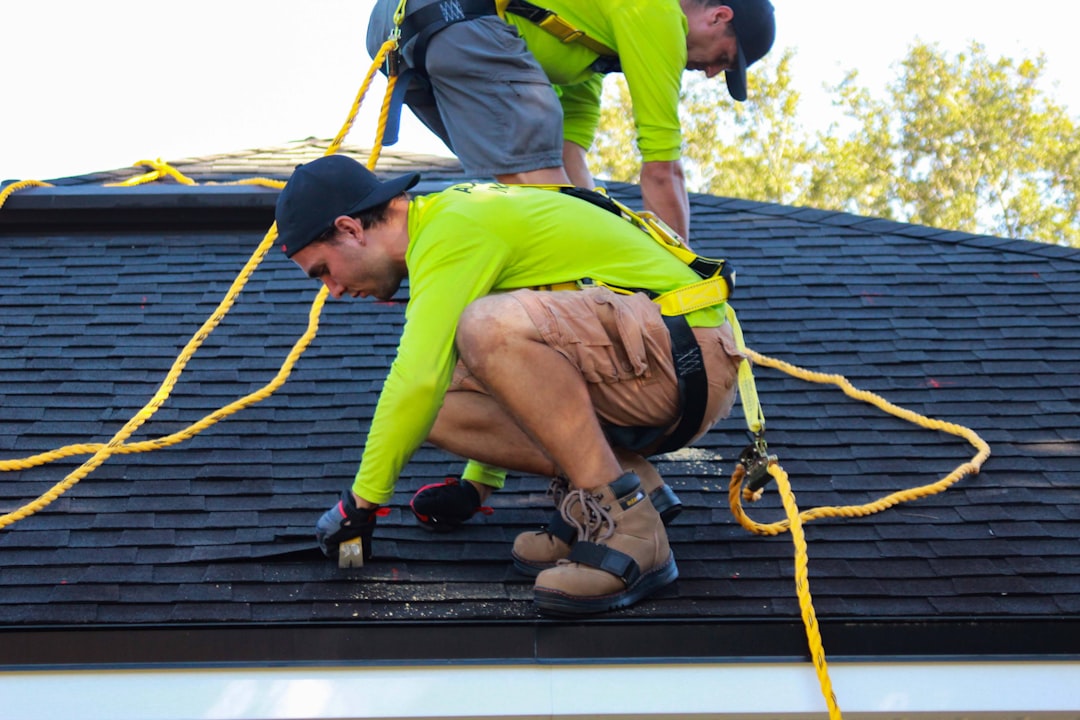
Safety is our first priority at JF Baker Roofing. For any epdm rubber roof installation, we follow strict OSHA compliance. This includes fall protection (harnesses and guardrails) and proper PPE like gloves and eye protection when handling solvent-based adhesives.
Essential Tools and Materials for epdm rubber roof installation
If you’re tackling this yourself or just want to make sure your contractor is prepared, here is the "must-have" list:
- 9-inch medium pile roller: For applying deck adhesive.
- 4-inch mini roller: For contact adhesive on the perimeters.
- Penny roller: A tiny brass roller used to ensure seams and corners are locked down tight.
- Heavy-duty scissors or utility knife: For trimming the membrane.
- Stiff-bristle broom: To sweep out air bubbles.
- The Membrane: Typically 60-mil for residential or 90-mil for heavy-duty commercial use.
- Adhesives: Water-based for the main deck and contact adhesive for the edges.
Preparing the Substrate for Maximum Adhesion
We start by stripping the old roof down to the wood. If the existing decking is rotted or sagging, it must be replaced. EPDM is best installed over a smooth surface like OSB3 or, even better, 1-inch polyisocyanurate (iso) insulation board.
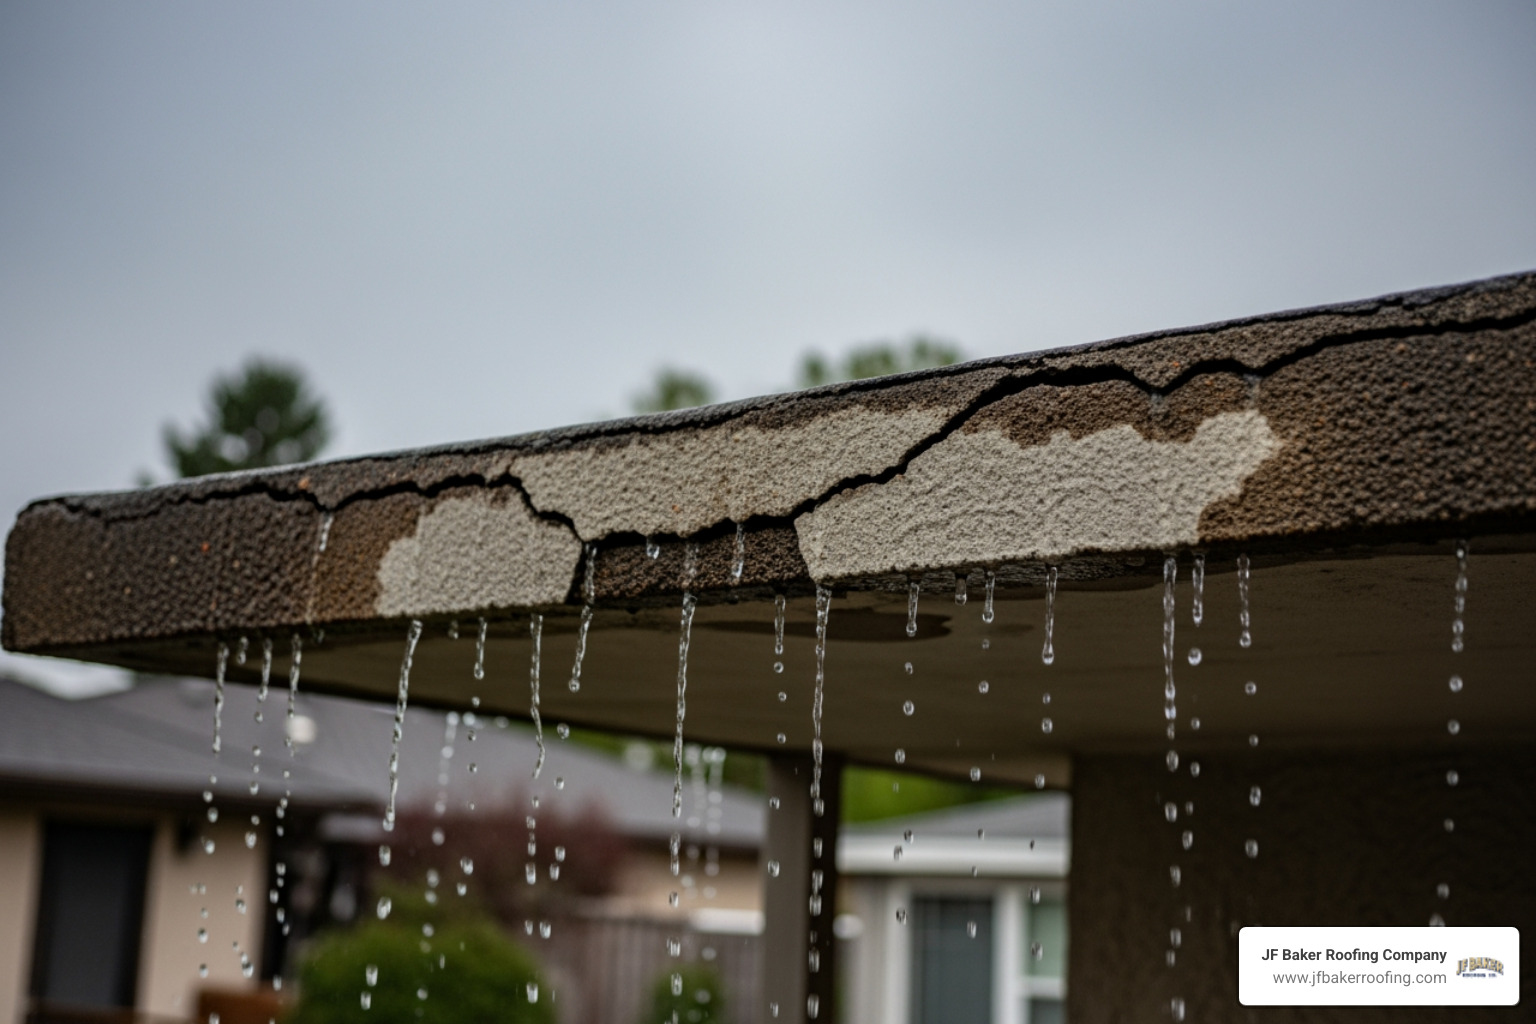
When we install iso board, we use screws and metal plates—usually one every 2 square feet—to ensure the board doesn't shift. Every bit of dust, dirt, or old bitumen must be swept away. If there’s even a hint of moisture trapped under the membrane, it will turn into steam in the sun and cause the roof to delaminate.
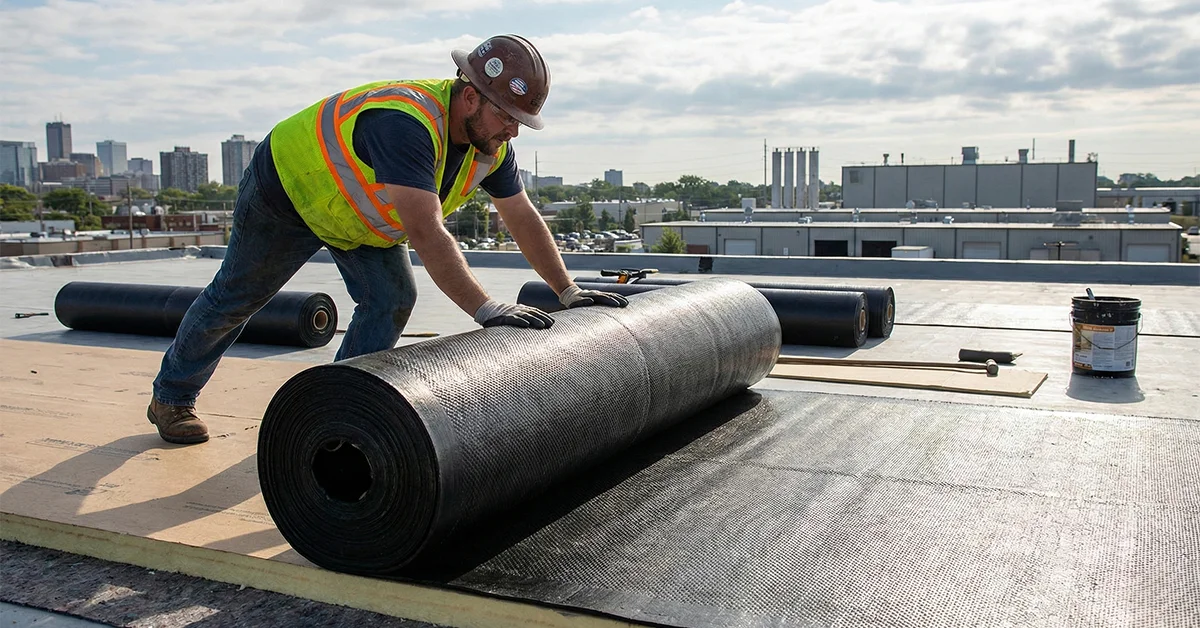
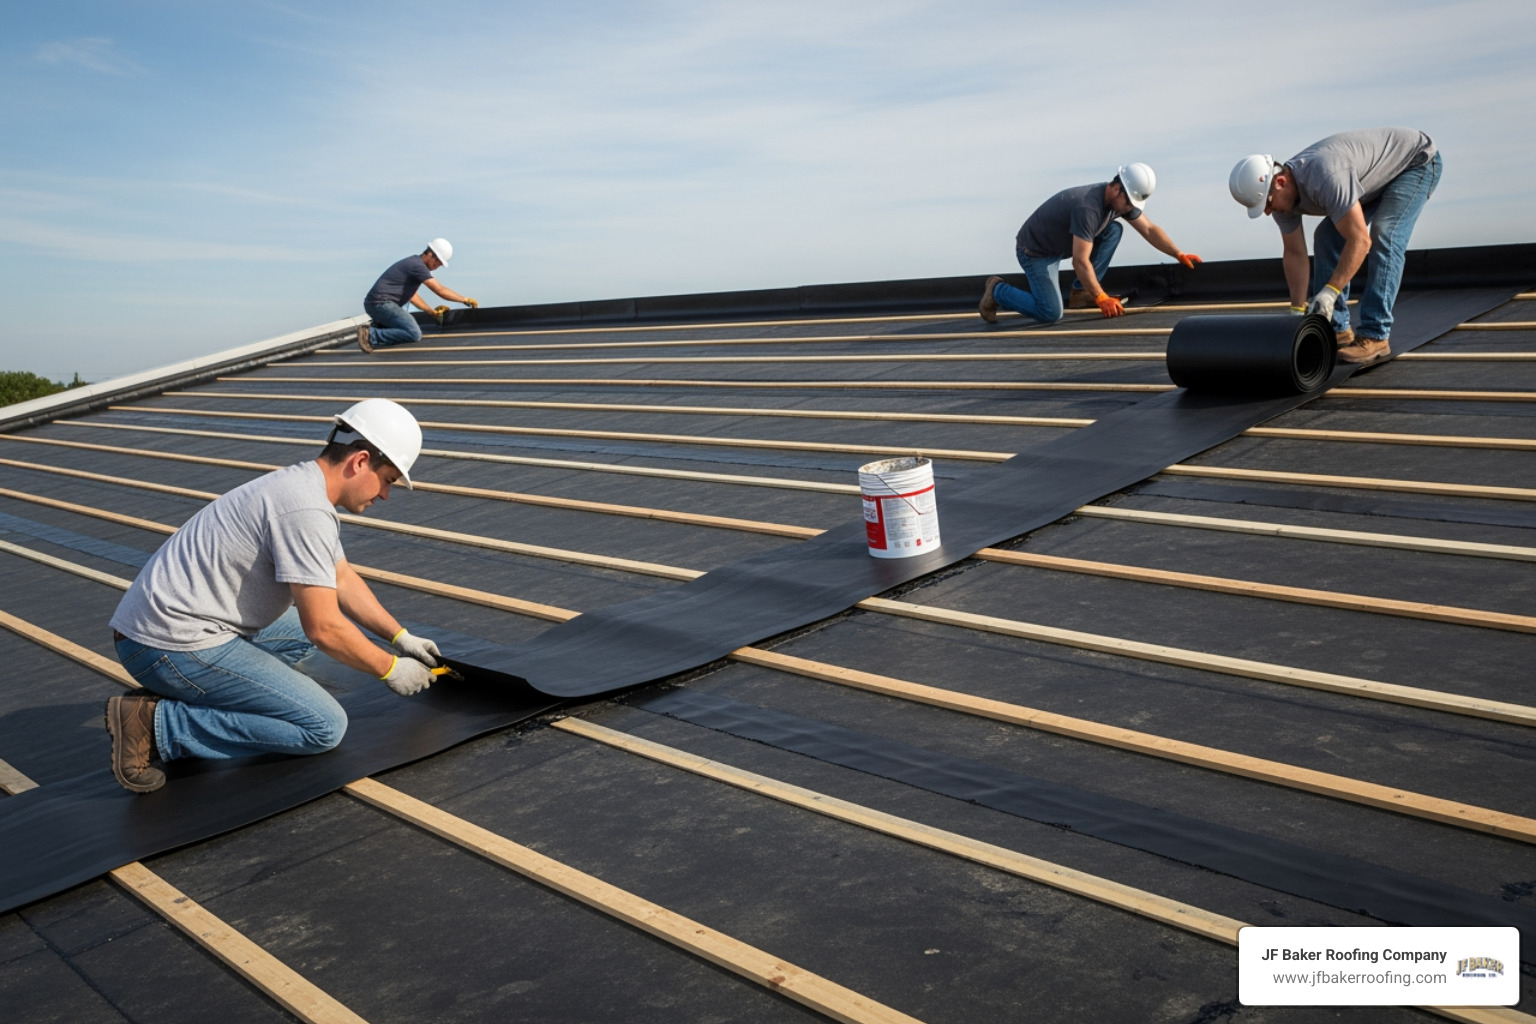
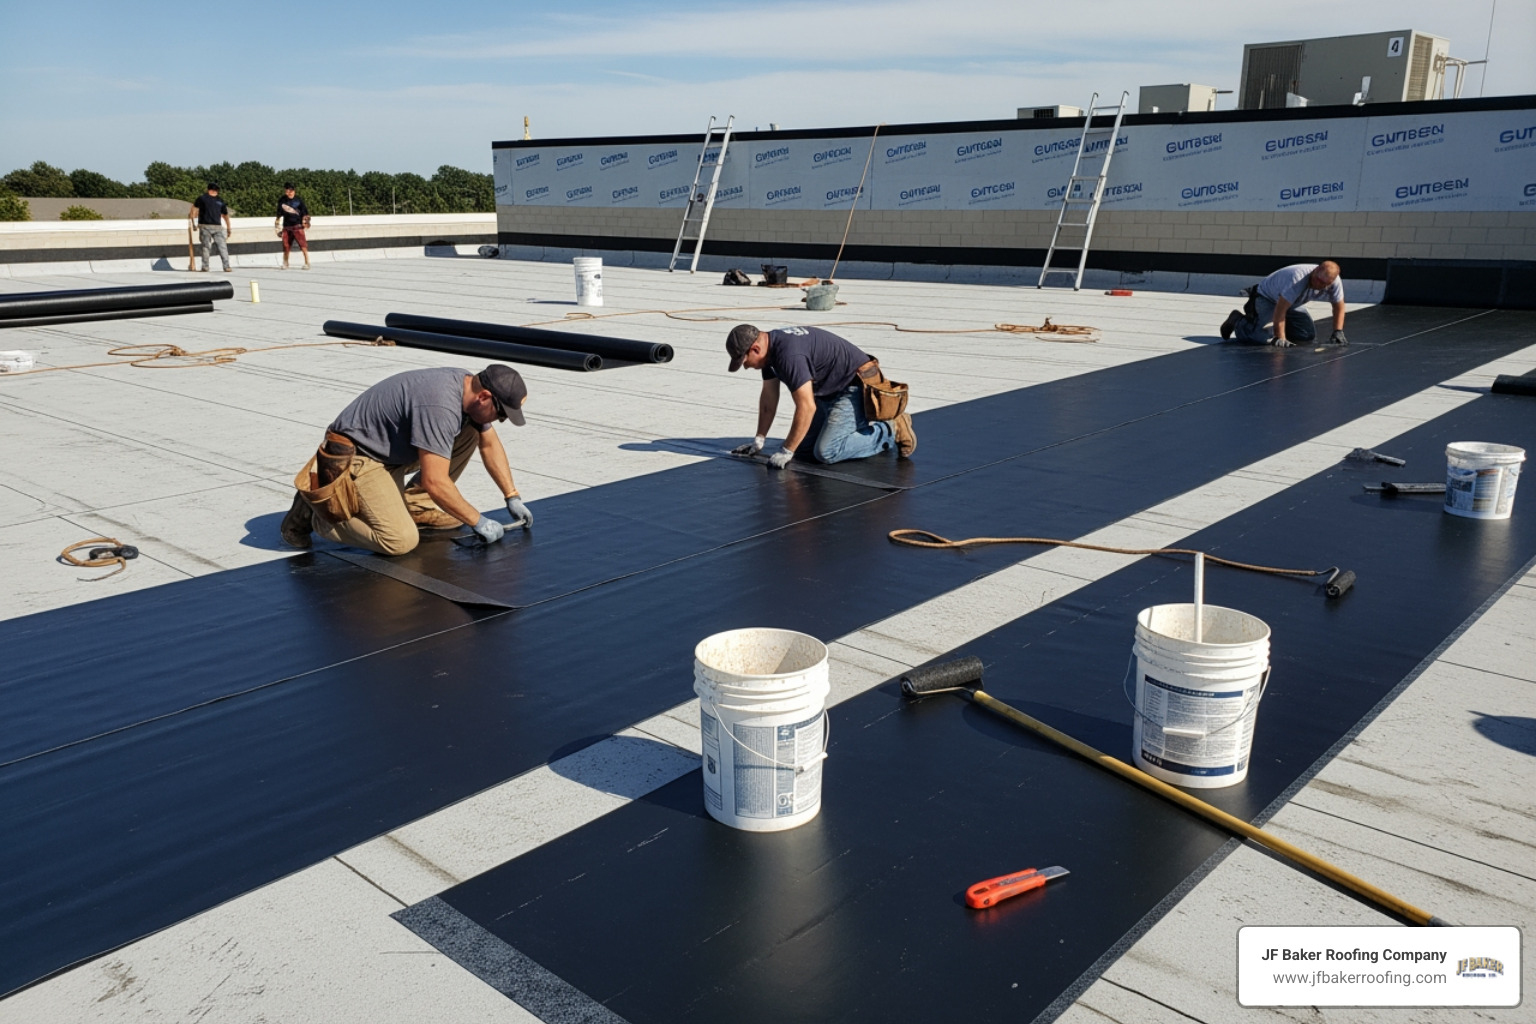
The Step-by-Step epdm rubber roof installation Process
The actual "laying of the rubber" is a bit like a choreographed dance. You can't just throw it down and call it a day.
Mastering the epdm rubber roof installation Steps
- Unroll and Relax: We spread the EPDM sheet over the roof and let it sit for 30 to 60 minutes. This "relaxation" period allows the transportation creases to drop out. If you skip this, the roof will wrinkle later as it expands and contracts.
- Positioning: We align the sheet so there is a 150mm (roughly 6-inch) overhang on all sides.
- The Fold-Back: We fold half of the membrane back onto itself to expose the substrate.
- Adhesive Application: We apply water-based adhesive to the deck using a 9-inch roller. We leave a 150mm strip at the edges—that's for the stronger contact adhesive later.
- The Bonding: While the adhesive is wet, we roll the membrane back into place.
- The Brooming: We immediately use a stiff-bristle broom to sweep from the center outward. This expels trapped air and ensures 100% contact.
- Perimeters: We apply contact adhesive to both the roof edge and the back of the membrane. We wait for it to become "tacky" (the tack-off test: if it doesn't stick to your finger, it's ready) before pressing them together.
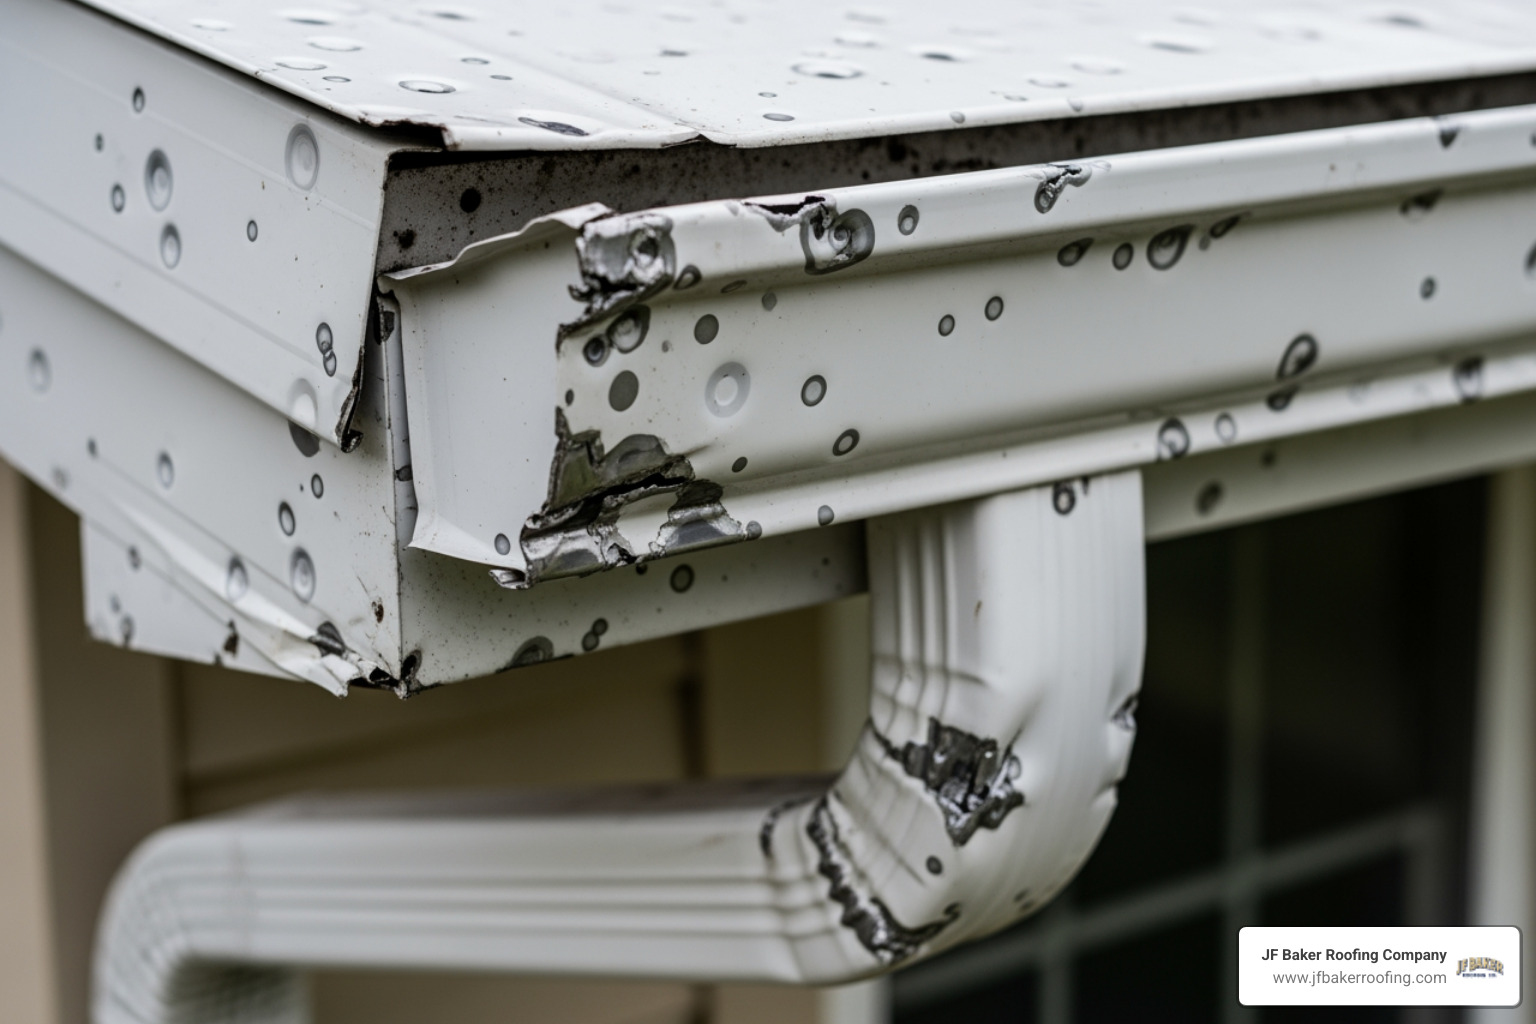
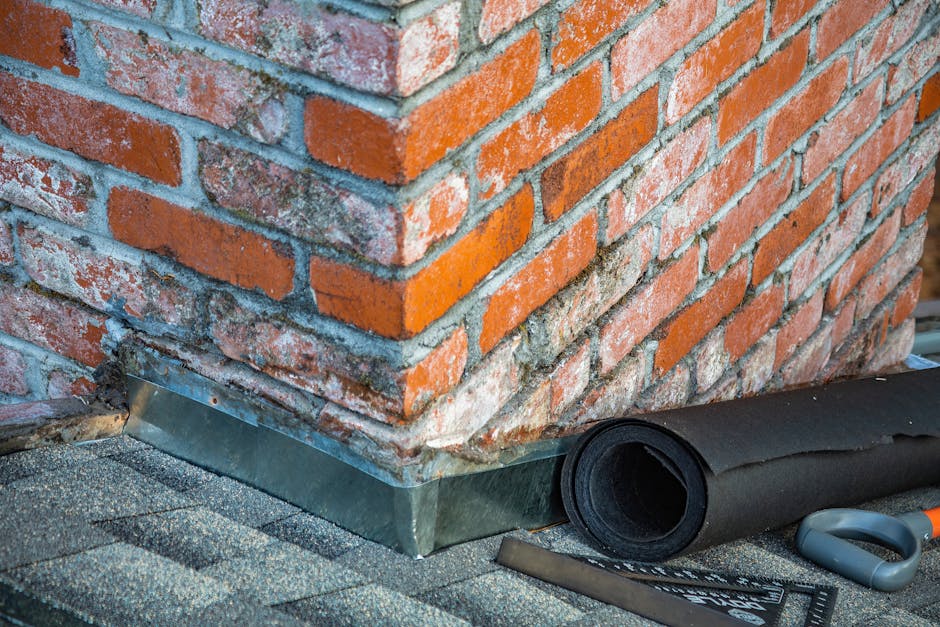
Detailing Edges, Seams, and Roof Penetrations
The "details" are where the leaks happen. This includes pipes, vents, and corners.
- Seams: If the roof is wider than the roll (usually 20 feet), we create a seam using primer and specialized seam tape. This creates a chemical bond that is actually stronger than the rubber itself.
- Corners: We use a "pigs ear" fold for external corners, pinching the excess rubber and folding it neatly.
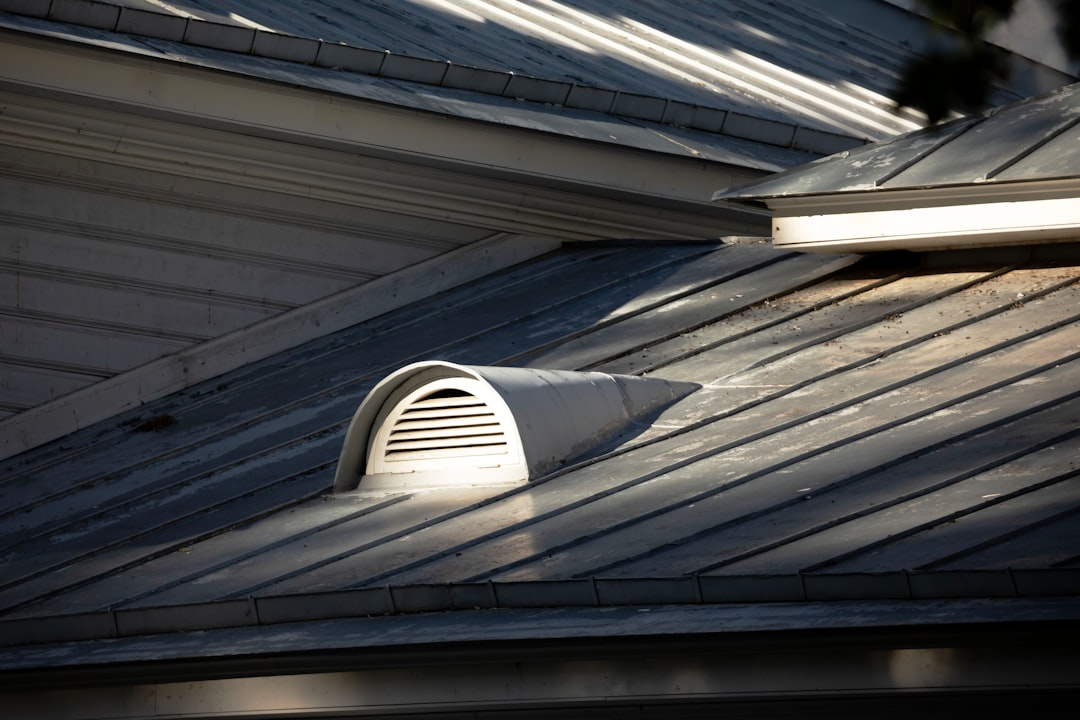
- Penetrations: For pipes, we use pre-formed "boots" that slide over the pipe and are sealed with seam tape and lap caulk.
- Trims: Finally, we install drip trims and kerb edges to direct water into the gutters and prevent wind from lifting the edges of the rubber.
DIY vs. Professional: Costs, Risks, and Common Mistakes
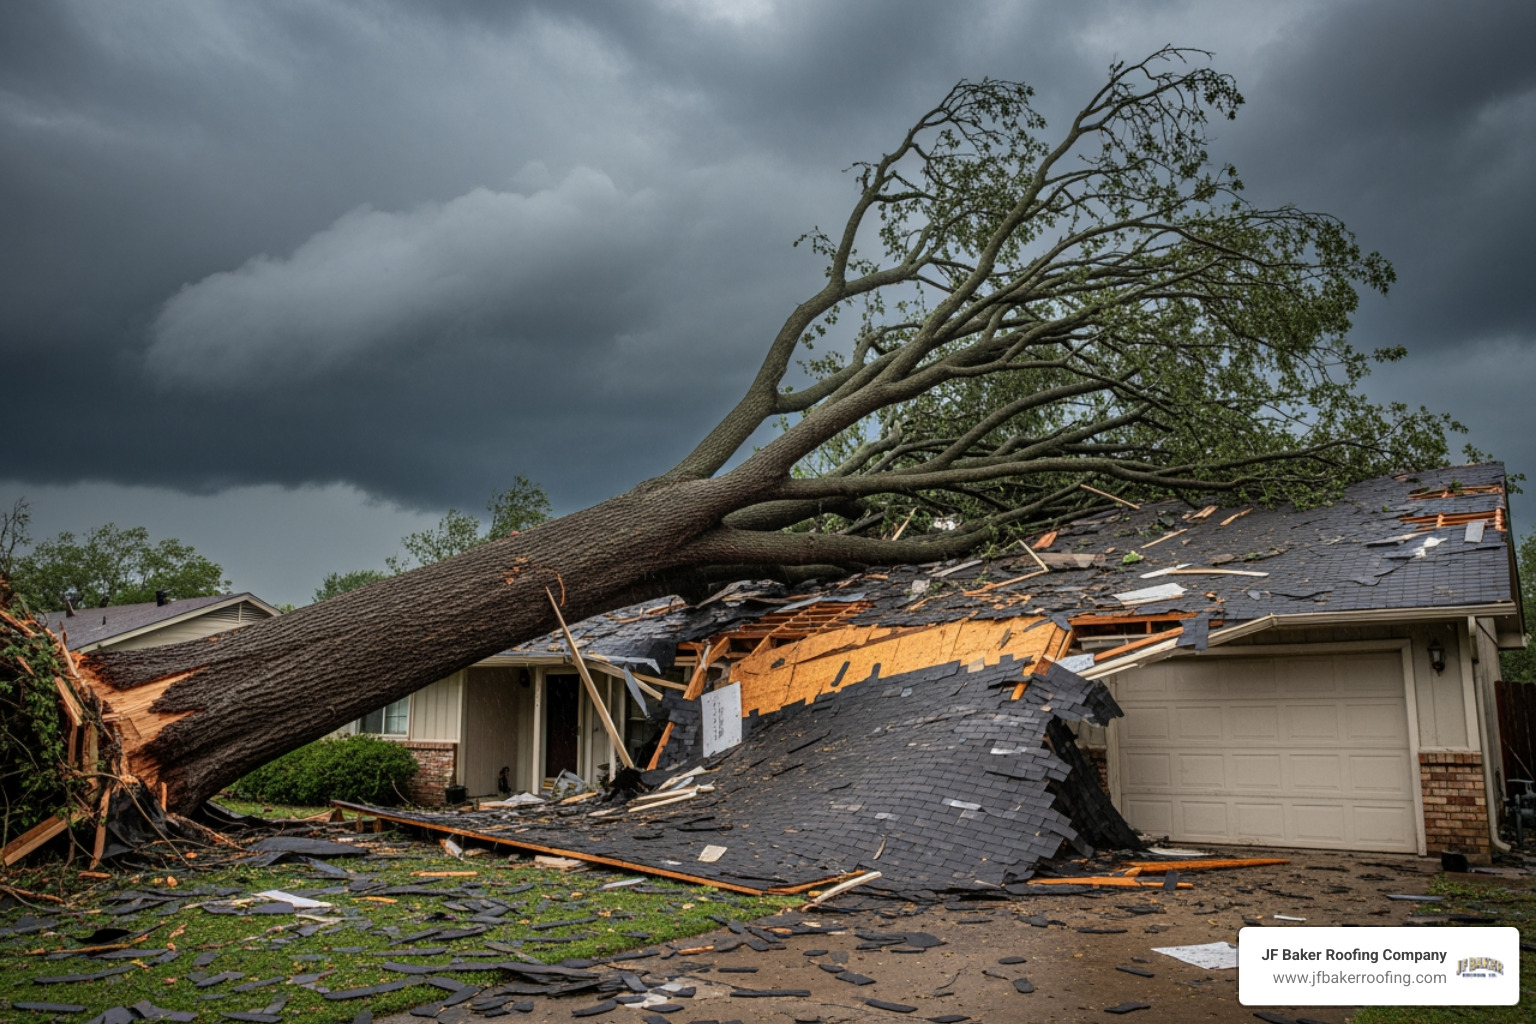
We get it—saving money feels good. But a roof isn't a kitchen backsplash. If a backsplash fails, it looks ugly; if a roof fails, your living room ceiling ends up on your floor.
DIY Cost: You can expect to spend $3 to $6 per square foot on materials and tools.Professional Cost: Hiring experts like us usually runs $6 to $14 per square foot.
Why the difference? You’re paying for a labor warranty, professional-grade materials, and nearly a century of experience. For instance, in our Anna Compton Commercial Roof Replacement project, we had to manage complex structural details that a DIYer simply wouldn't have the equipment to handle.
Common Installation Mistakes to Avoid
In our 96+ years of business in Central Ohio, we’ve seen some "creative" DIY attempts. Here are the most common blunders:
- Skipping the relaxation phase: Leading to permanent ripples.
- Applying adhesive to a wet deck: The adhesive won't cure, and the rubber will peel right off.
- Stretching the membrane: If you pull the rubber too tight around a corner, it will eventually "shrink" back and pull away from the wall, creating a massive leak.
- Puddling adhesive: Too much glue is just as bad as too little. It creates "gas bubbles" that are nearly impossible to remove.
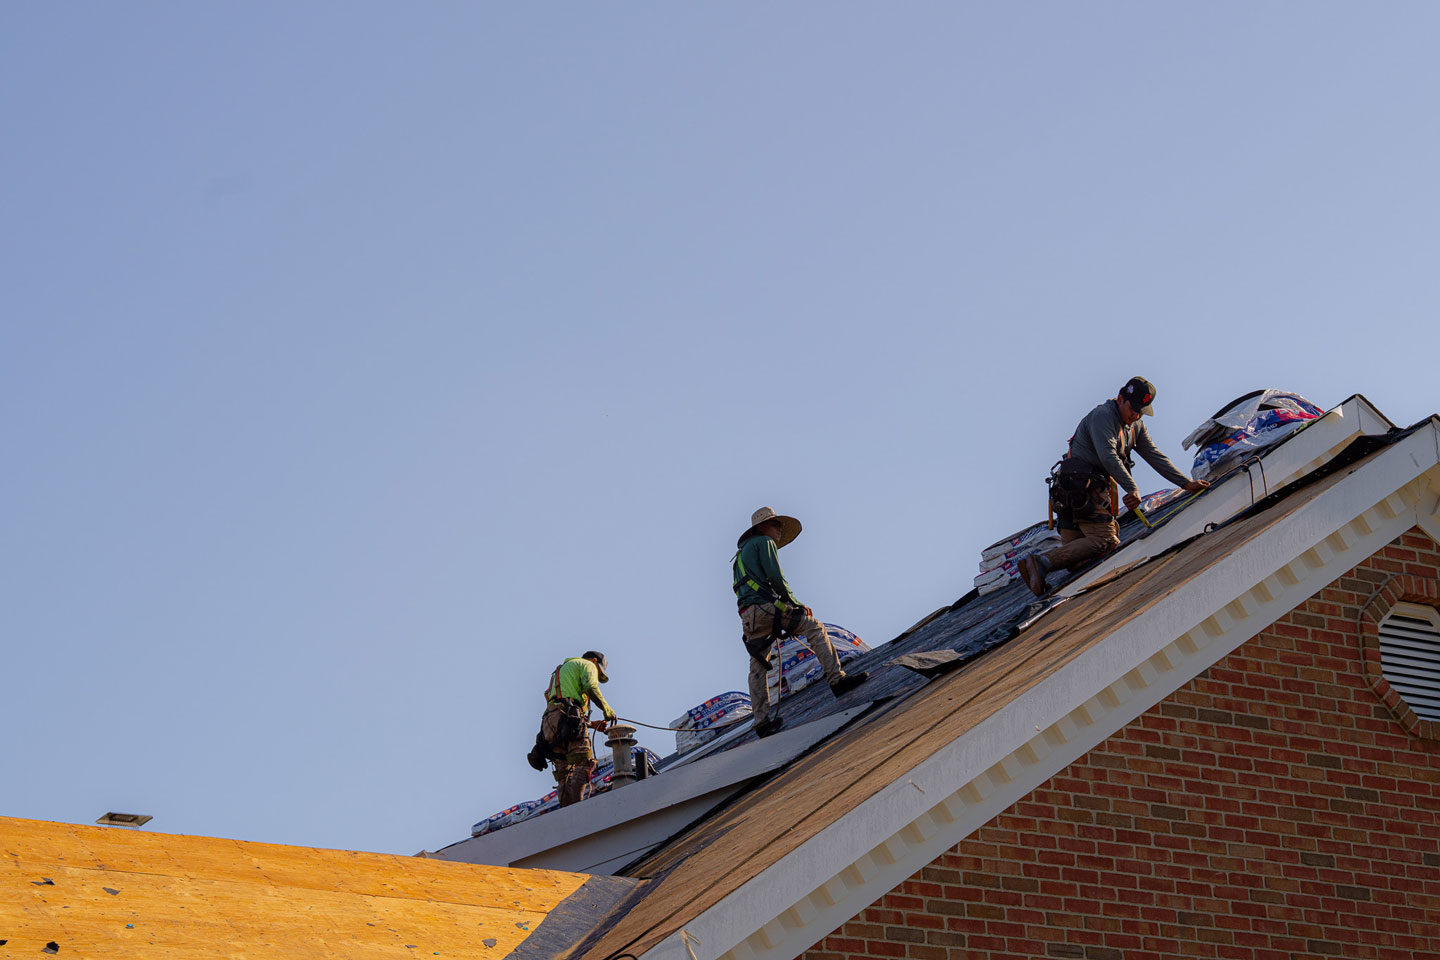
When to Hire a Professional Expert
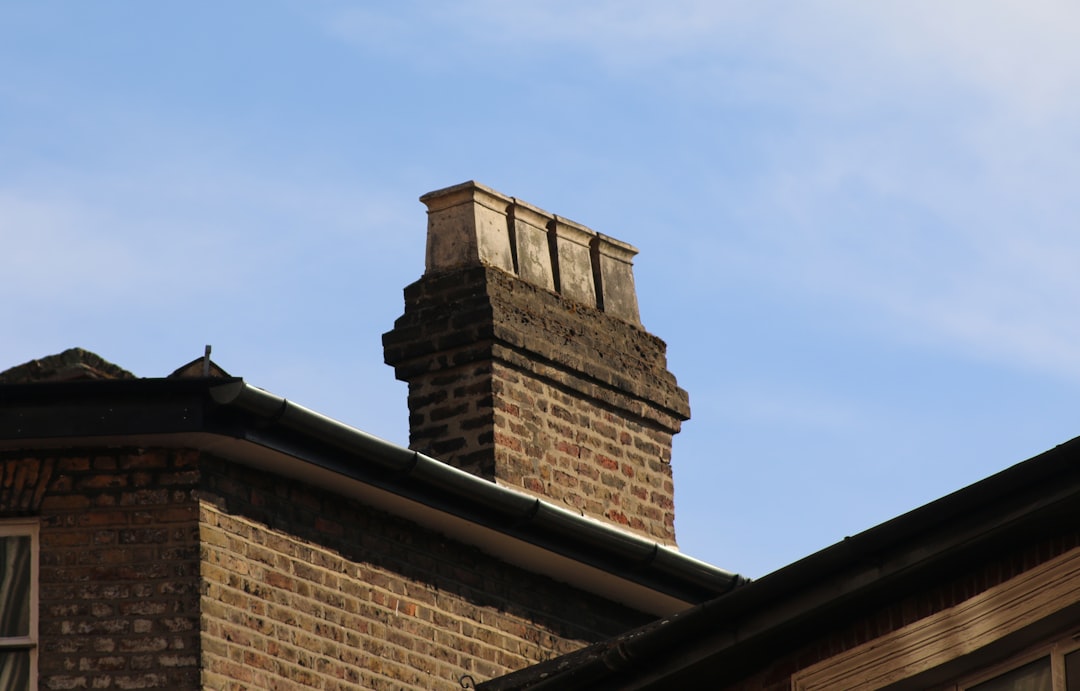
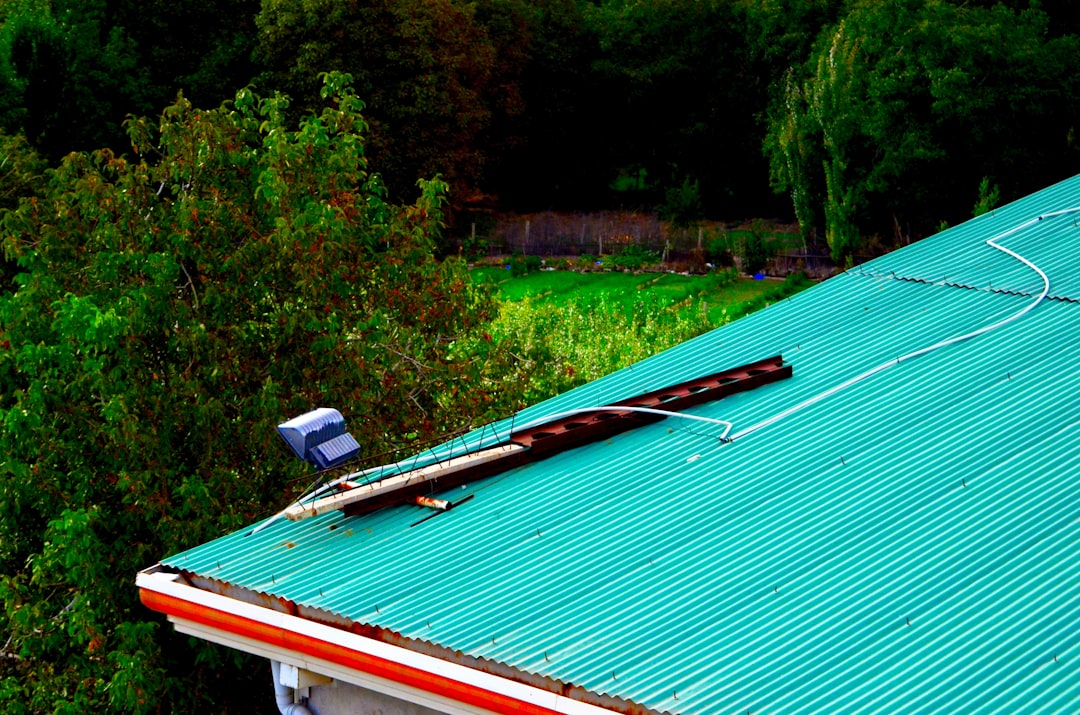
If your roof has multiple "penetrations" (chimneys, pipes, skylights), you should probably call a pro. Handling the flashing around these areas requires precision. Additionally, if you are dealing with a large commercial area or need to meet insurance requirements for a warranty, a certified installer is your best bet for long-term peace of mind.
Longevity, Weather Precautions, and Maintenance
An EPDM roof is a long-term investment. With a 30- to 50-year life expectancy, it might be the last roof you ever put on that part of your home.
Maintenance is simple:
- Clean it: Use a mild detergent and a soft brush once or twice a year to remove dirt and leaves.
- Inspect it: Check the seams and the caulking around pipes every spring and fall.
- Repair it: If a branch punctures the roof, a simple EPDM patch kit can fix it in minutes.
Weather Precautions for Installation
In Central Ohio, we have to watch the forecast closely.
- Temperature: Water-based adhesives should only be used when the temperature is 4°C (40°F) and rising. If it freezes within 24–48 hours of installation, the bond will fail.
- Humidity: High humidity can slow down the "tack-off" time for contact adhesives.
- Cold Weather: In the winter, we switch to solvent-based adhesives which bond better in lower temperatures.
Quality Assurance and Final Inspection
Once the epdm rubber roof installation is complete, we don't just pack up and leave. We perform a "seam probe" test, using a small tool to check every inch of the seams for gaps. We also check the drainage efficiency—we want to see that water moving toward the gutters, not sitting in the middle of the roof.
Frequently Asked Questions about EPDM Roofing
Can I install EPDM over an existing roof?
Technically, yes, if the existing roof is in good shape and flat. However, we almost always recommend a full tear-off. You want to see the condition of the wood underneath to ensure there’s no rot or structural sagging that could cause water to pond.
How long does an EPDM rubber roof actually last?
Most systems last 20 to 30 years, but high-quality installations with 60-mil or 90-mil membrane often exceed 50 years. Because it only wears down at 1 mil per year, the material is incredibly durable.
What is the difference between water-based and contact adhesive?
Think of water-based adhesive as "movable" glue. It gives you time to shift the membrane and smooth out bubbles on the main deck. Contact adhesive is "instant" glue. Once the two surfaces touch, they are stuck forever. We use contact adhesive on the perimeters and vertical walls because it provides a much stronger bond against wind uplift.
Conclusion
At JF Baker Roofing, we’ve spent over 96 years building a reputation for integrity and quality craftsmanship. We aren't just contractors; we are a family-owned business that treats every roof in Columbus, Upper Arlington, and the surrounding areas like it’s our own.
Whether you need a small repair on a garage or a massive epdm rubber roof installation for a commercial warehouse, we provide transparent pricing and the peace of mind that comes with a job done right the first time.
Ready to protect your property with the best rubber roofing in Central Ohio? Find more info about our Commercial Roofing Services or give us a call today for a free estimate. We look forward to helping you stay dry for the next 50 years!


.jpeg)