Polyurethane Roof Sealant Guide: What Homeowners Should Know Before Sealing Flashing
What Is Polyurethane Roof Sealant and How Does It Differ From Alternatives?
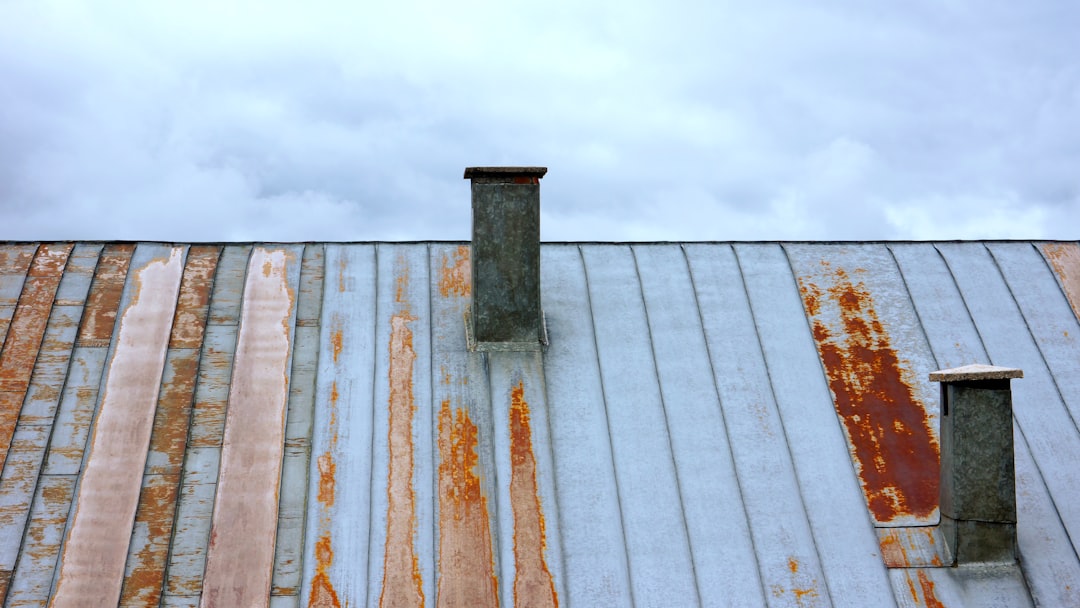
Roof flashings bear the brunt of thermal shifts, high winds, and moisture. When sealing junctions around roof valleys, vents, and masonry, choosing the right chemical formulation determines whether your repair lasts for years or splits within months. Understanding elastomeric properties and basic chemical differences helps ensure you select the right product for your roof.
Understanding Polyurethane Roof Sealant Chemistry and Elasticity
Polyurethane roof sealants are single-component elastomeric polymers that cure through exposure to moisture in the surrounding air. When extruded from the cartridge, the prepolymer reacts with ambient humidity, cross-linking into a tough, flexible synthetic rubber barrier.
What sets polyurethane apart in roofing applications is its high tensile strength and elasticity. Standard formulations feature an elongation at break ranging between 400% and 589%, paired with movement capabilities of ±25% to ±35%. Many heavy-duty formulations conform to strict ASTM C920 Class 25 elastomeric standards, meaning they can repeatedly expand and compress across extreme temperature swings without tearing or peeling away from the substrate. This non-sag consistency prevents the material from slumping out of vertical joints while curing, providing a uniform protective bead over seams and fasteners.
Polyurethane vs. Silicone and Acrylic Sealants
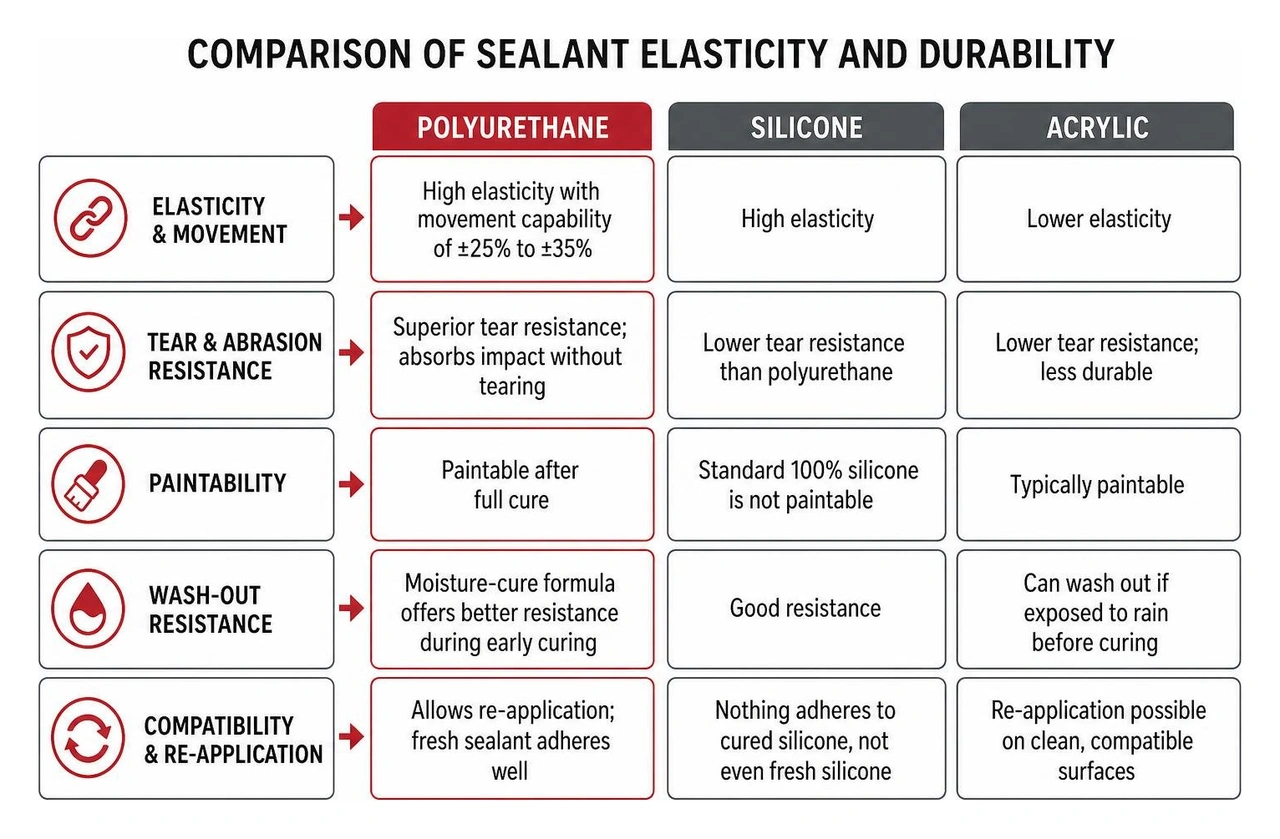
Selecting the right material requires understanding how polyurethane compares to silicone and water-based acrylics:
- Adhesion and Cohesive Strength: Polyurethane develops a powerful mechanical and chemical bond across diverse building materials. It adheres tenaciously to porous surfaces like brick and concrete, as well as non-porous metals.
- Paintability: Unlike standard 100% silicone, polyurethane can be painted after full cure. This allows homeowners and contractors to color-match flashings to shingles, trim, or siding seamlessly.
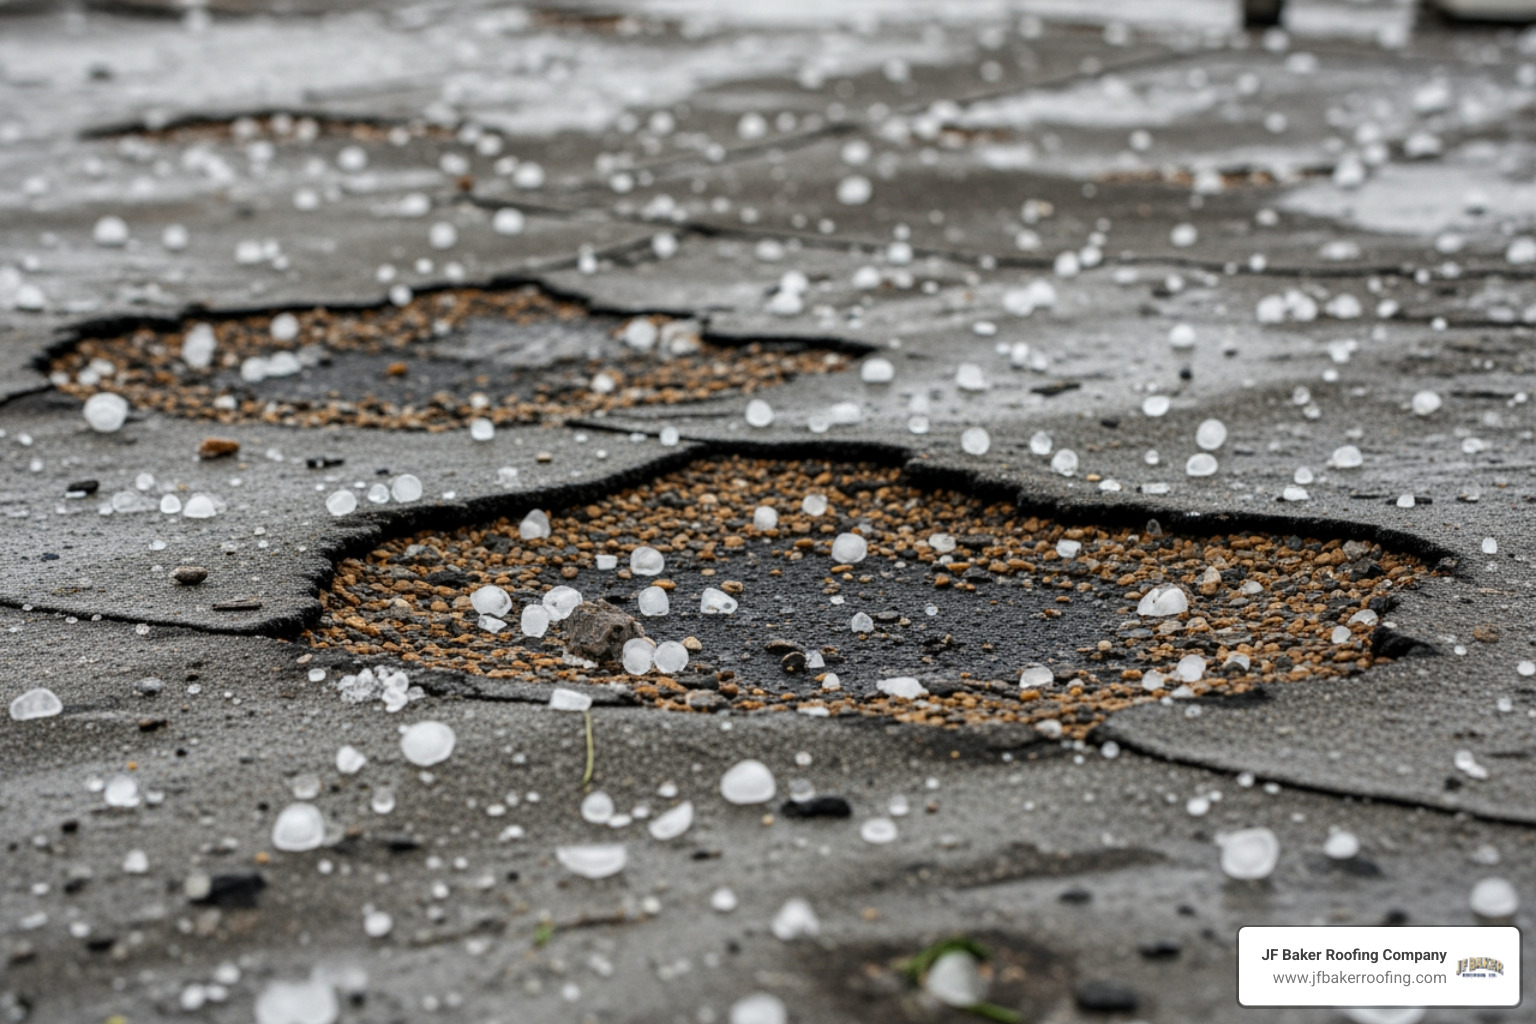
- Tear and Abrasion Resistance: Polyurethane provides superior tear resistance compared to silicone. If foot traffic or hail hits the joint, polyurethane absorbs the impact without tearing away from the edge.
- Wash-Out Resistance: Water-based acrylic caulks can wash out if unexpected rain arrives shortly after application. Moisture-cure polyurethane skins over reliably, offering better weather resilience during early curing stages.
- Compatibility and Re-application: While silicone offers high UV resistance, nothing adheres to cured silicone, not even fresh silicone. Polyurethane allows for straightforward maintenance, making our expert flashing sealant comparison a helpful starting point when weighing long-term maintenance.
Substrate Compatibility and Critical Roofing Applications
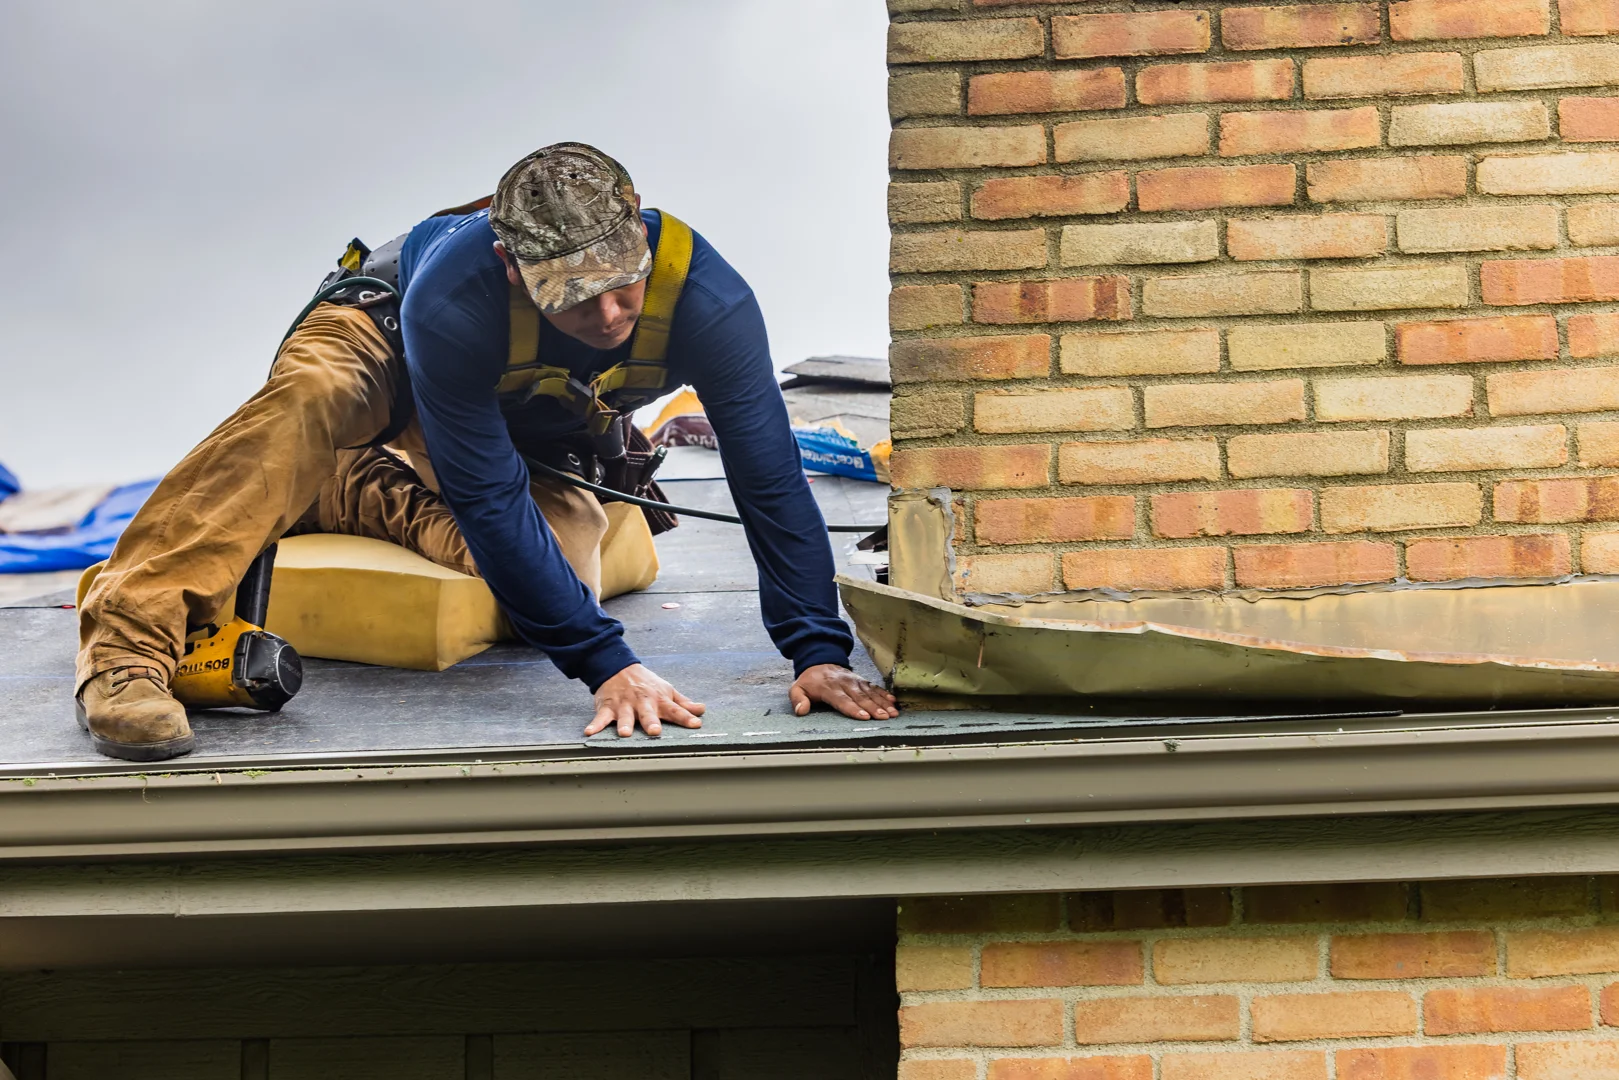
A successful seal depends directly on how well the compound bonds with the surrounding building materials. Polyurethane formulas are designed to adhere to a wide spectrum of building components without cracking.
Compatible Roof Surfaces and Membranes
Polyurethane creates a durable waterproof barrier on many common residential and commercial roofing materials:
- Metals: Galvanized steel, painted steel, aluminum trim, and copper. (Note: smooth metals like stainless steel or bare copper may benefit from light mechanical abrading or a specialized primer.)
- Masonry and Stone: Brick, mortar, precast concrete, and stone. Polyurethane is an excellent choice when repairing concrete roof leaks because its moisture-curing chemistry bonds tightly to clean porous substrates.
- Wood and Trim: Plywood decking, cedar fascias, and engineered trim boards.
- Roofing Membranes: SBS-modified bitumen torched sheets, smooth-surfaced asphalt underlayments, and EPDM rubber. For single-ply membranes like TPO, specific surface priming is generally required to achieve an enduring bond.
Critical Flashing and Penetration Zones
Every roof features vulnerable transition points where planes intersect or penetrations exit the decking. Gun-grade and brush-grade polyurethanes provide flexible water barriers in high-risk locations:
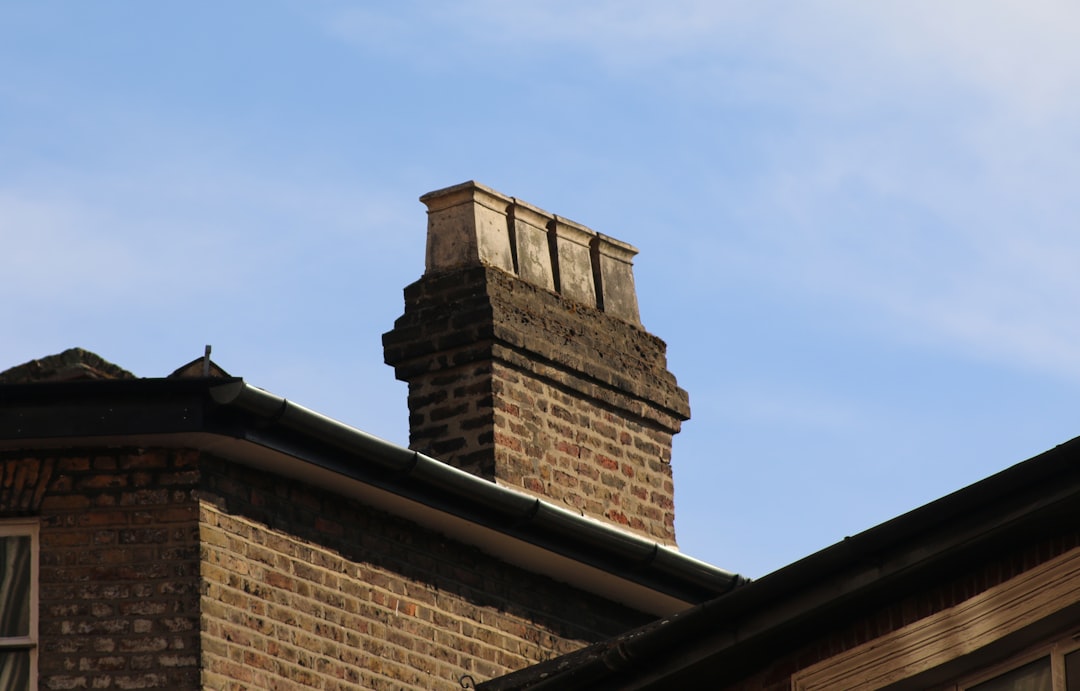
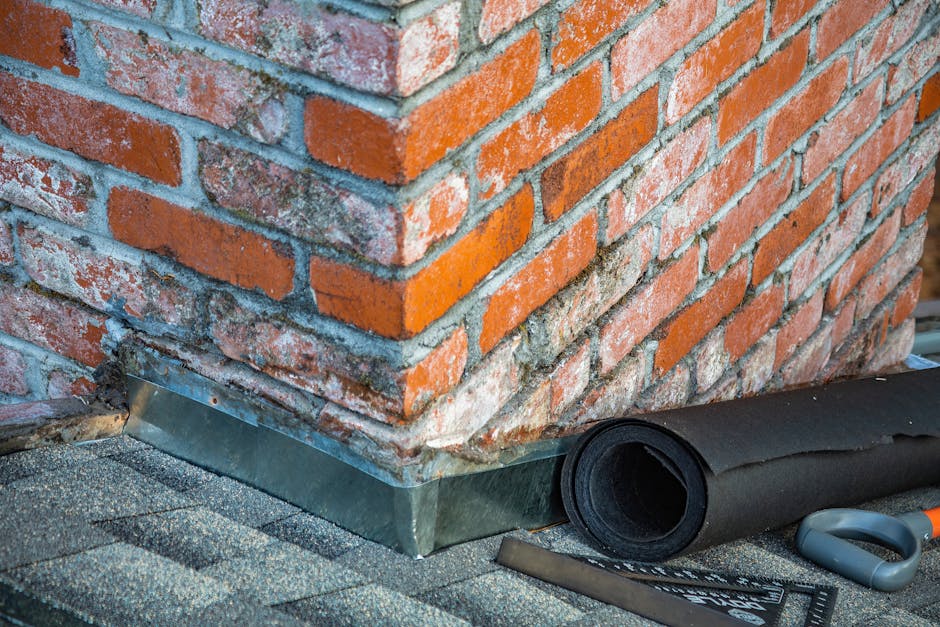
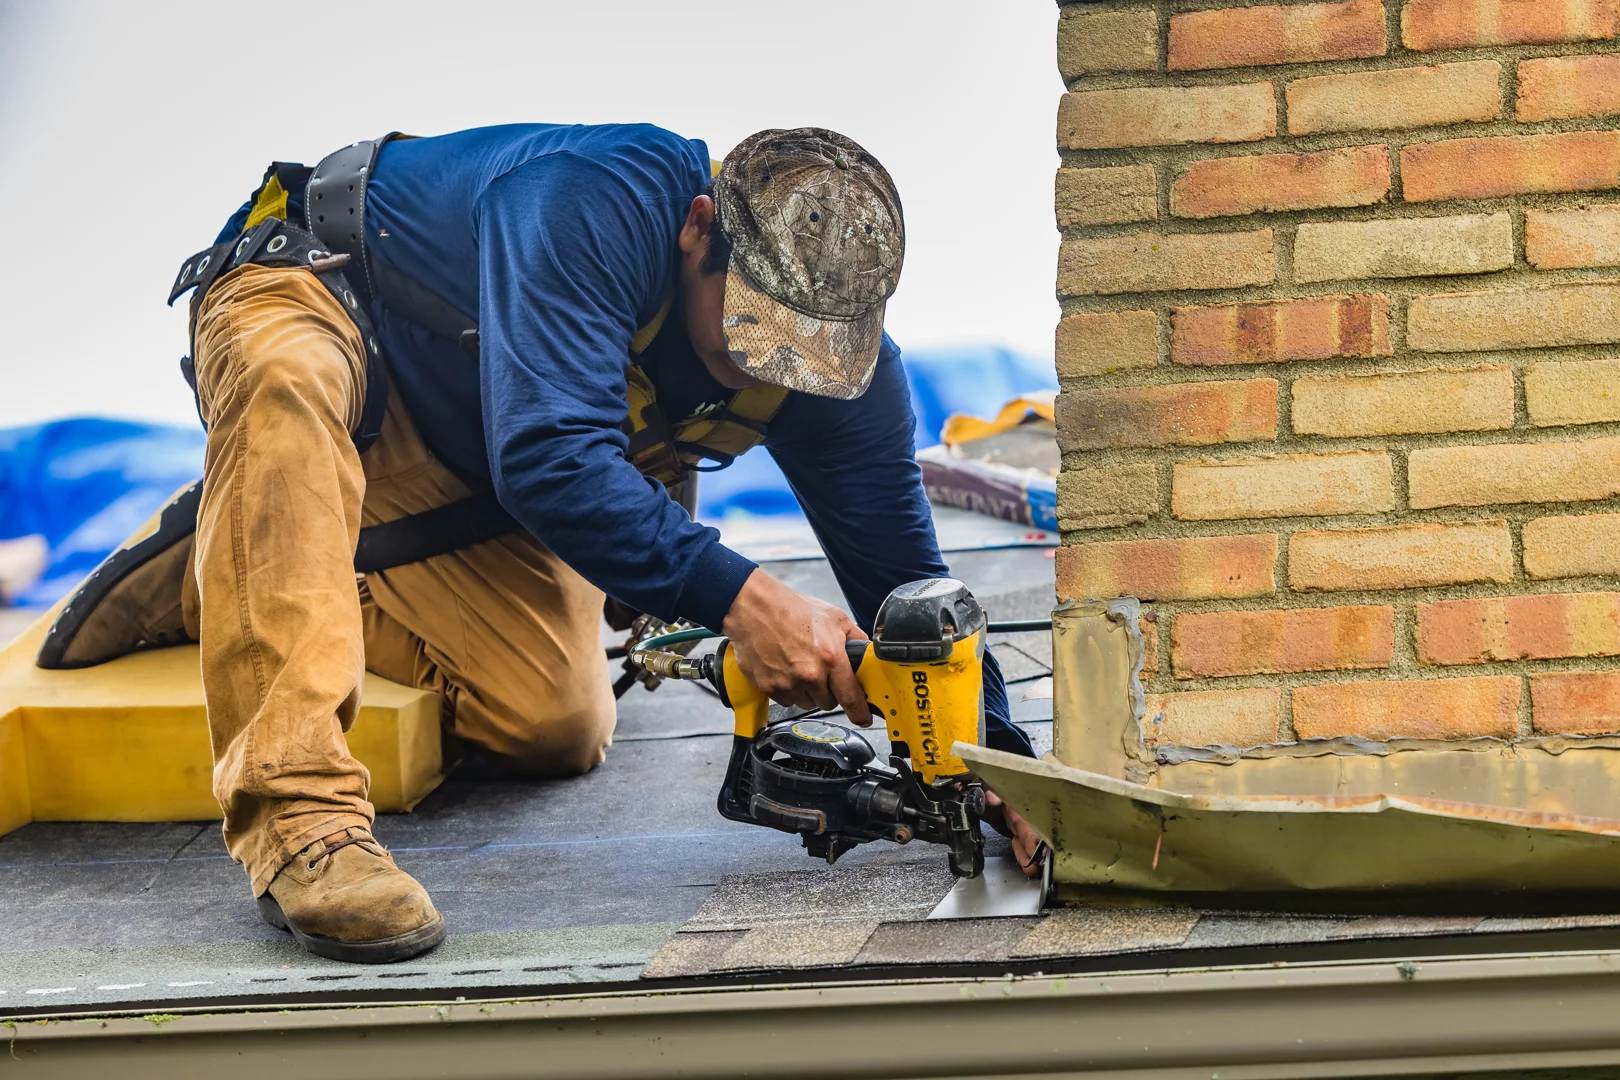
- Chimney and Step Flashing: Step and counter-flashing on chimneys endure stress as masonry and roof trusses expand at different rates. Polyurethane forms an elastic bond across mortar joints and metal flanges, making it central to permanent chimney flashing repairs.
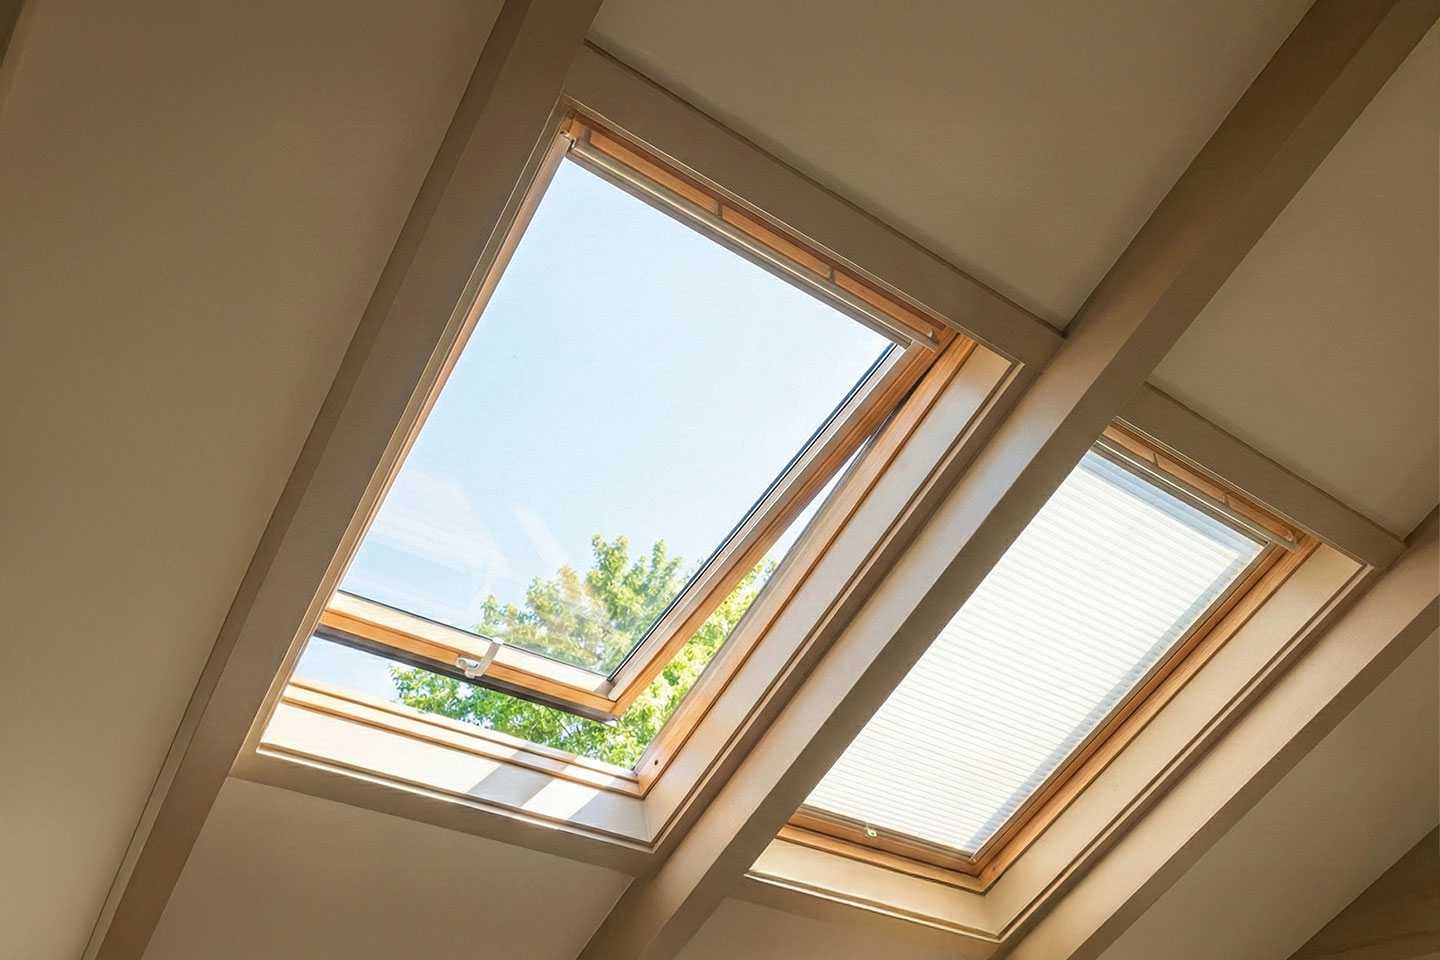
- Skylights and Vent Boots: Plumbing vent pipes, HVAC curbs, and skylights require continuous beads around their base flanges to stop wind-driven rain.
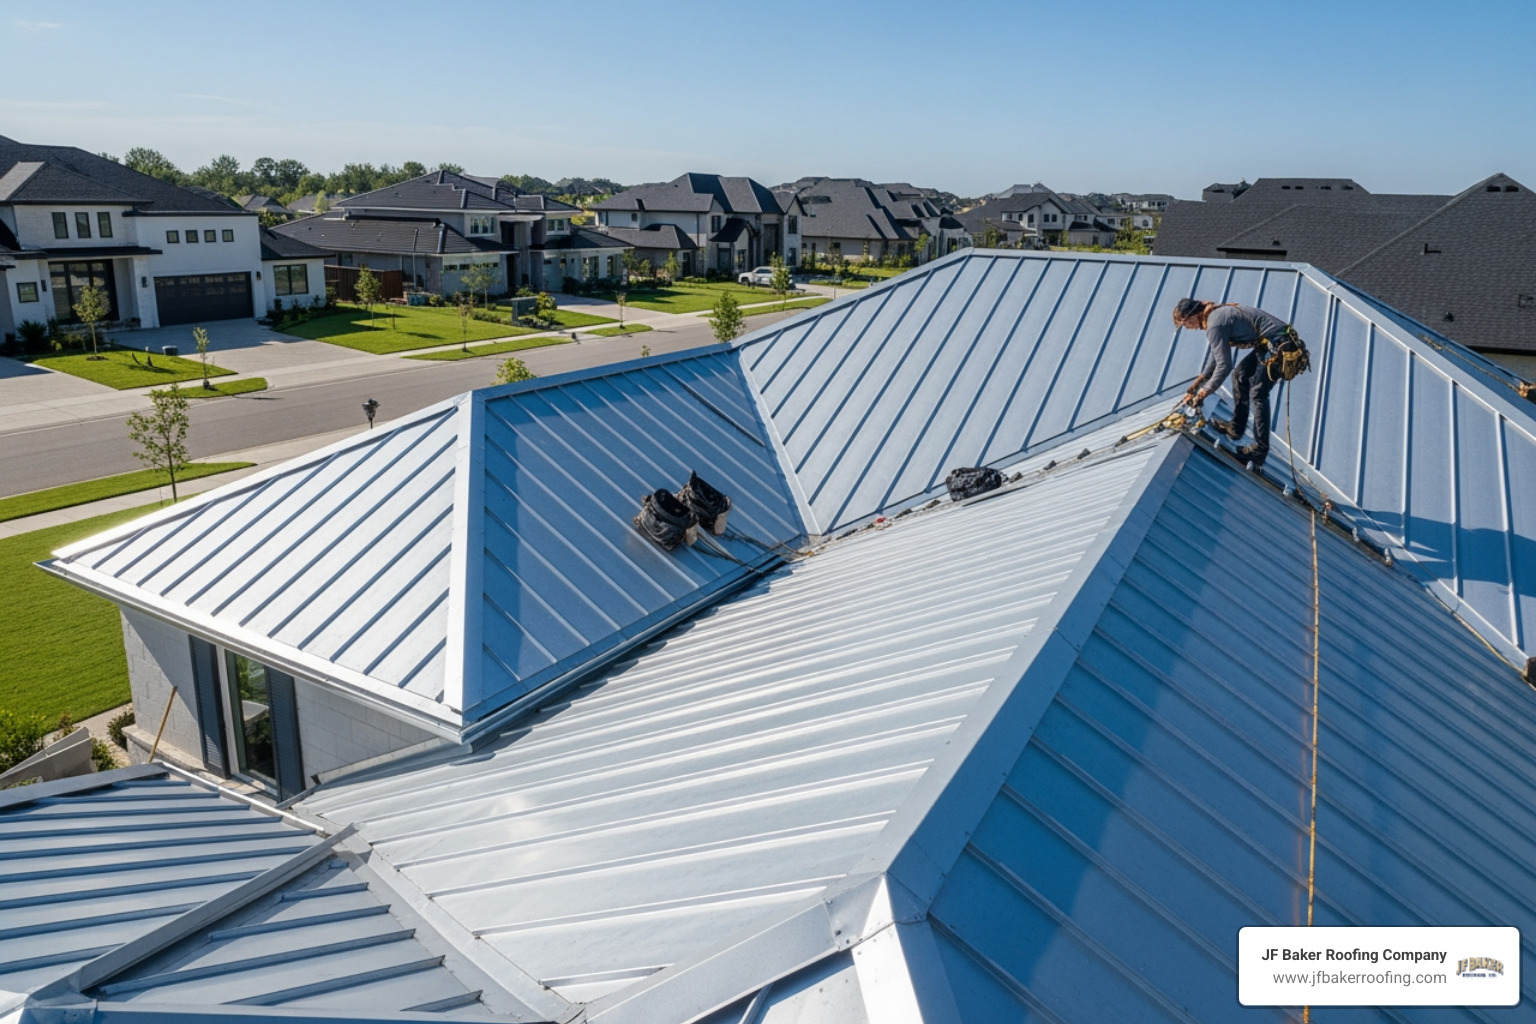
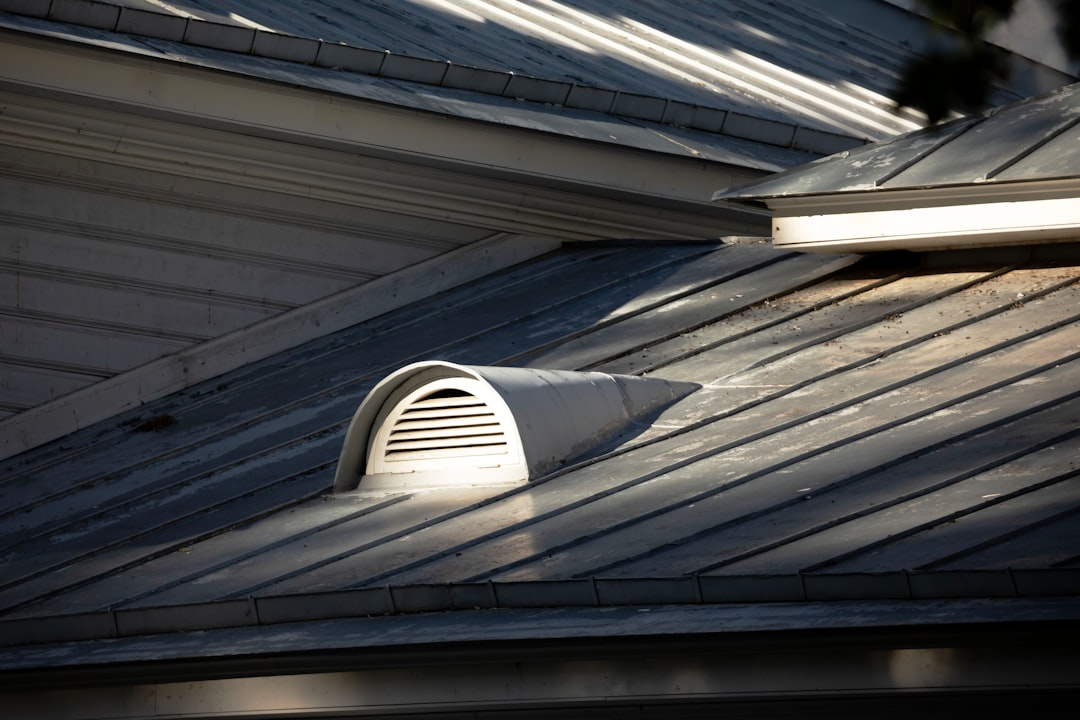
- Ridge Caps and Valleys: Metal roof transitions experience significant thermal expansion. Using a high-tensile sealant helps with troubleshooting metal ridge cap leaks and sealing lap joints across metal panels.
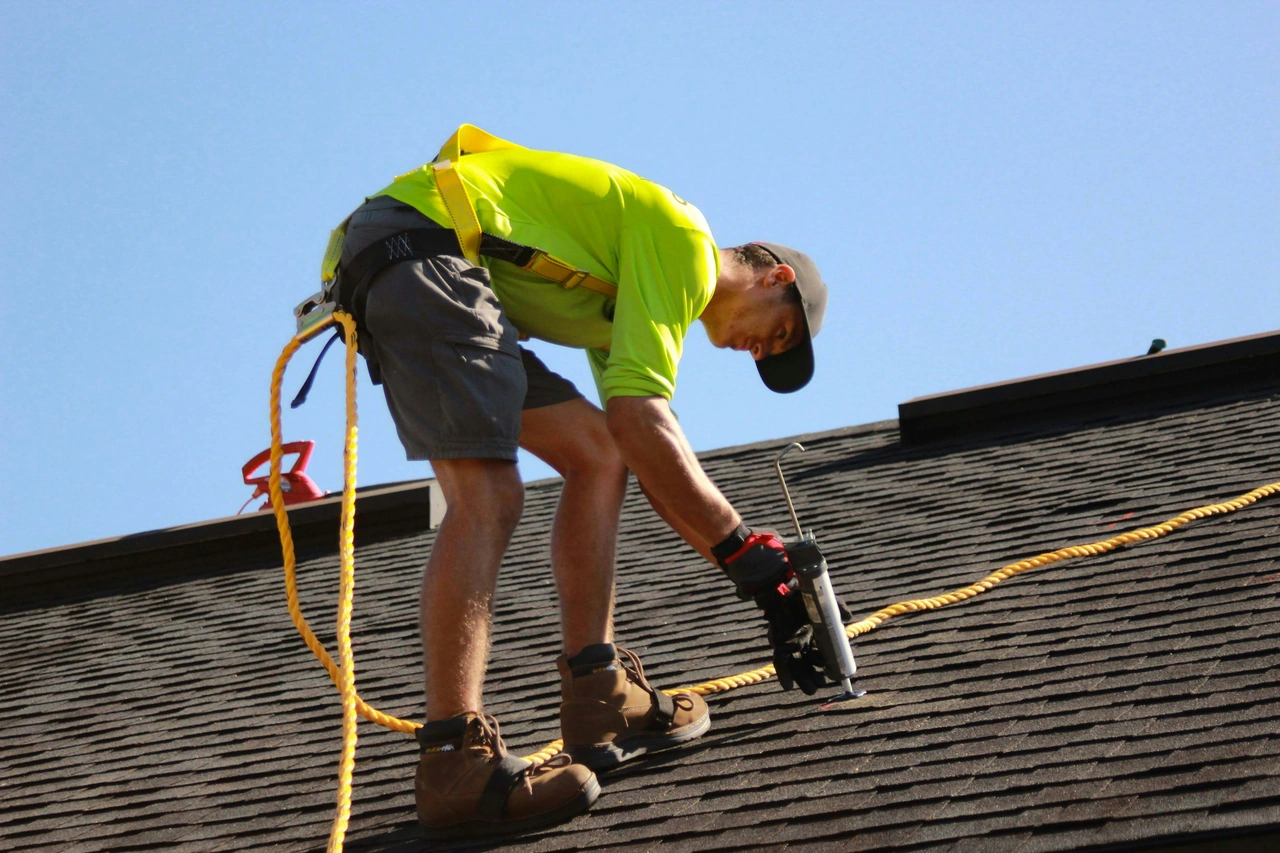
- Fastener Sealing: Exposed fasteners on metal roofs can back out or lose their rubber washers over time. Capping each fastener head with polyurethane seals threads and prevents rust.
Surface Preparation and Professional Application Standards

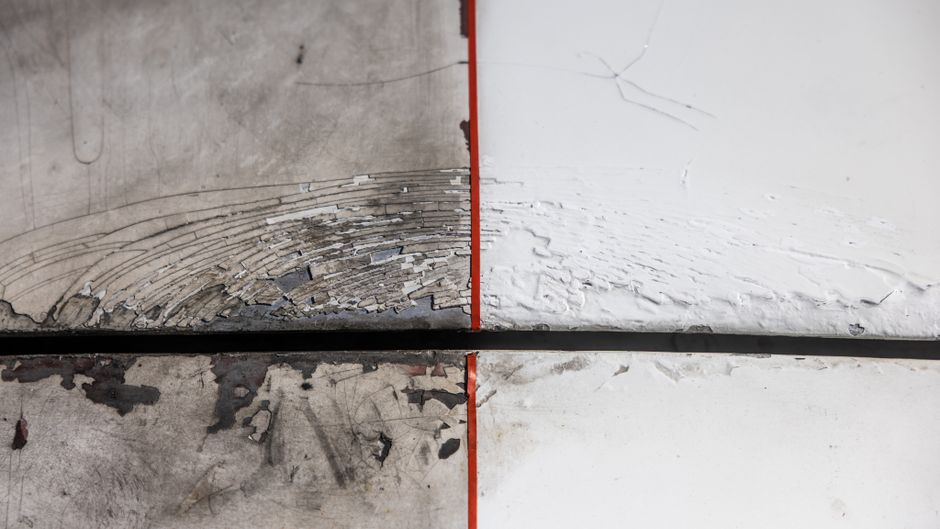
The performance of any elastomeric sealant depends on careful surface preparation. Even the highest-grade polyurethane will fail if applied over dust, oil, peeling paint, or old caulk residue.
Best Practices for Cleaning, Priming, and Joint Design
Achieving a long-lasting, watertight seal requires attention to the joint itself:
- Complete Contaminant Removal: Remove loose debris, rust scale, moss, and chalking residue using a stiff wire brush or scraper. Wipe metal surfaces clean with a quick-evaporating solvent such as acetone or MEK. Avoid mineral spirits, which can leave an oily film that interferes with adhesion.
- Eliminating Old Silicone: If a previous repair was made using silicone caulk, completely scrape away all traces. Polyurethane will not stick to silicone residue. Abrade the area down to bare, sound substrate before proceeding.
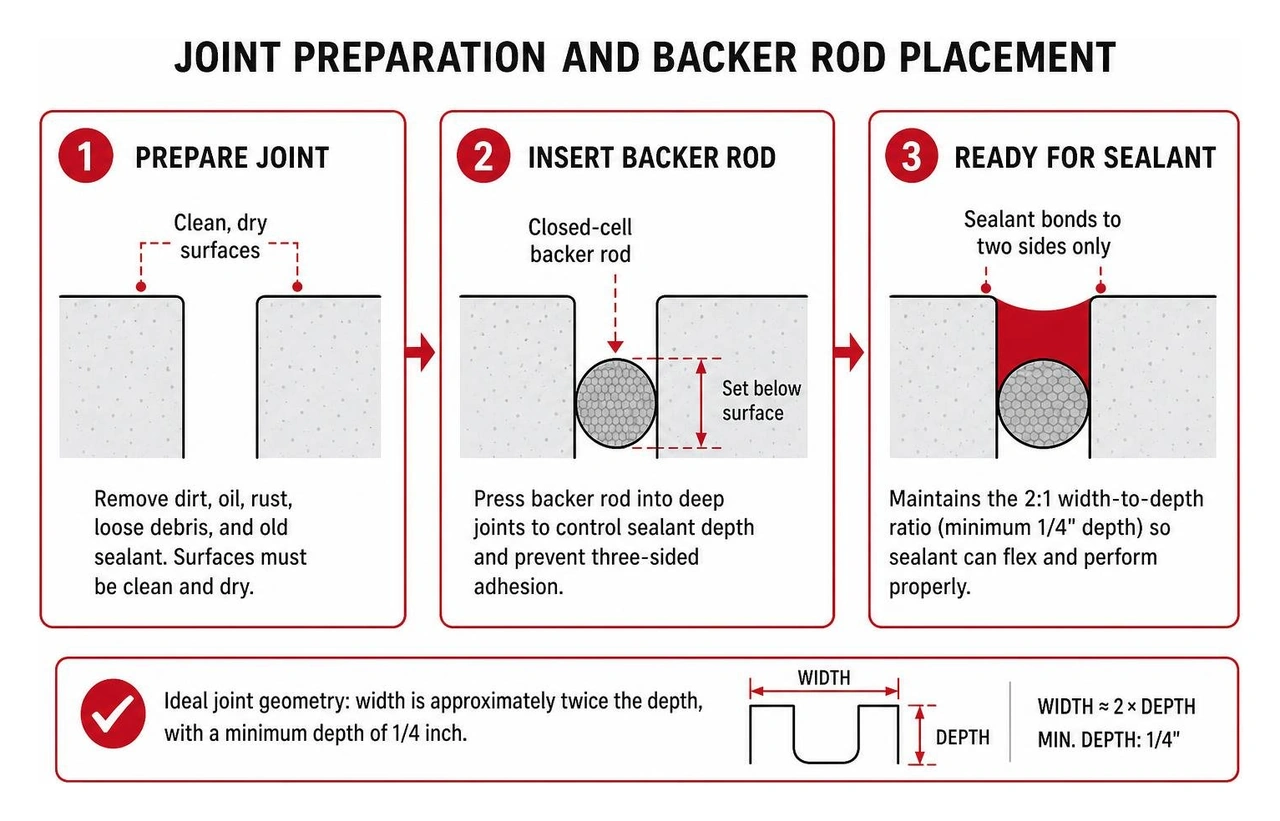
- Controlling Joint Depth: Sealants need room to stretch. If a joint is too deep, the sealant experiences internal stress and tears. For joints deeper than half an inch, insert a closed-cell polyethylene backer rod.
- Maintaining the 2:1 Width-to-Depth Ratio: Ideal joint geometry requires the joint width to be roughly twice its depth, with a minimum depth of 1/4 inch. Backer rods also prevent three-sided adhesion, ensuring the sealant bonds only to the two opposing surfaces so it can flex freely. Reviewing proper flashing repair techniques helps ensure these details are handled correctly.
Step-by-Step Guide to Applying Polyurethane Roof Sealant on Flashings
- Inspect and Secure the Flashing: Ensure metal flashings are fastened tight to the substrate with appropriate fasteners.
- Clean and Dry the Joint: Scrub the area free of dirt and grease. The surface must be dry to the touch to avoid trapping water underneath.
- Install Backer Rod (If Needed): Press a closed-cell foam backer rod into deep expansion joints to regulate sealant thickness.
- Prepare the Cartridge: Cut the plastic nozzle at a 45-degree angle to match your desired bead width, then puncture the inner foil seal thoroughly.
- Extrude a Continuous Bead: Hold the caulking gun at a steady angle and push the bead forward into the joint, filling the void completely without leaving air pockets.
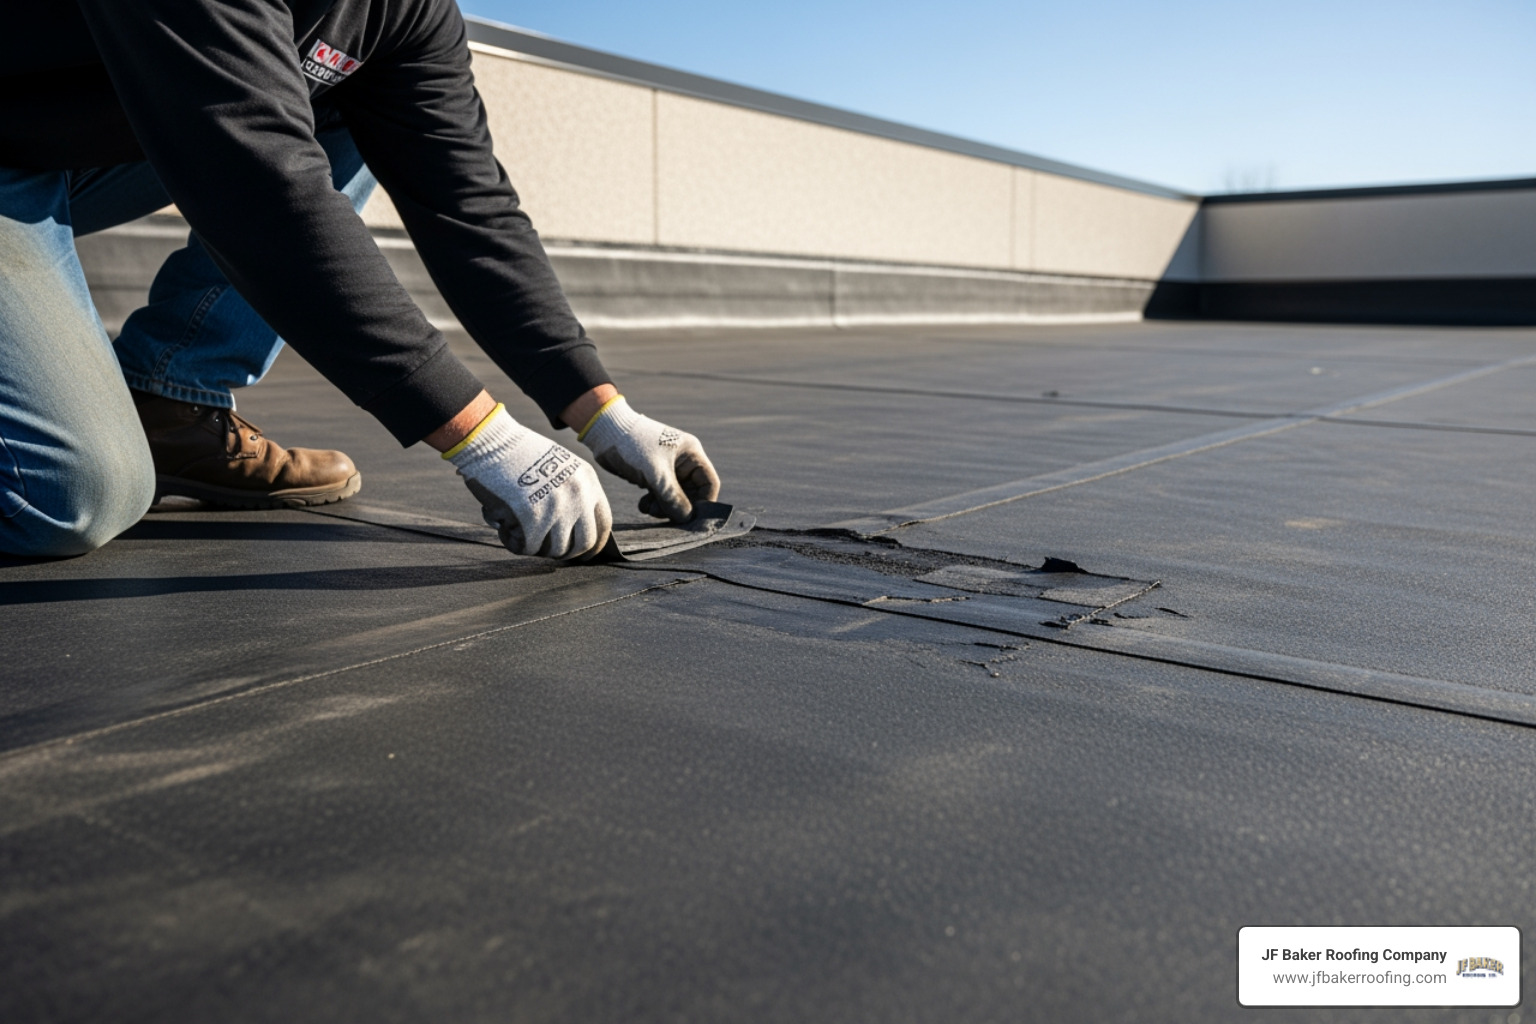
- Tool Within Five Minutes: Tool the bead immediately using a curved spatula, slicking tool, or gloved finger dipped in clean water. This forces the sealant firmly against both surfaces and creates a clean profile that sheds water. Meeting the technical specifications for high-performance polyurethane sealant requires solid, void-free contact across the joint.
Curing Timelines, Failure Points, and Environmental Considerations
Polyurethane cures via chemical reaction with atmospheric moisture rather than simple solvent evaporation. Understanding this process helps prevent premature joint failure.
Moisture Curing, Temperature Windows, and Tack-Free Times
Under standard laboratory conditions (75°F and 50% relative humidity), polyurethane sealant skins over in 2 to 5 hours, becomes tack-free within 24 to 30 hours, and reaches functional cure in 3 days. A full deep-joint cure generally takes 7 days, advancing inward at roughly 1/16 inch per day.
- Temperature Limits: The ideal application temperature spans 40°F to 100°F. Applying sealant below 40°F slows the cure rate significantly because cold air holds very little moisture.
- Humidity Factors: In low-humidity conditions, the cure rate extends. Conversely, high heat combined with excessive humidity can cause rapid skinning, so joints must be tooled quickly after extrusion.
- Rain Exposure: While polyurethane handles light moisture better than water-based acrylics once skinned over, protect the bead from heavy downpours during the initial hours of curing. Consult the manufacturer's moisture-cure polyurethane physical properties to confirm specific weather allowances.
Limitations, UV Exposure, and Incompatible Substrates
While polyurethane is durable, it has distinct limitations that homeowners should consider:
- Prolonged Standing Water: Most gun-grade polyurethanes are engineered for sloped drainage and shedding water. They should not be used in flat roof areas subject to continuous standing or ponding water.
- Direct Sunlight Discoloration: Extended UV exposure can cause light-colored polyurethanes to yellow or lose surface gloss over time. While this rarely impacts waterproofing integrity, applying an exterior-grade paint coating protects the seal and maintains a uniform appearance.
- Unprimed Single-Ply Plastics: Polyurethane will not adhere reliably to unprimed TPO or certain slick thermoplastics without designated chemical primers.
- Interior Use Restrictions: Moisture-curing polyurethanes contain low concentrations of isocyanates and solvents. They are formulated for exterior ventilation and should not be used in unventilated interior spaces. Unopened cartridges have an average shelf life of 12 months when stored below 80°F in dry conditions.
Frequently Asked Questions About Roof Sealants
Can polyurethane roof sealant be painted over?
Yes. Once polyurethane has fully cured (typically 72 hours under standard temperature and humidity), it can be coated with quality exterior acrylic latex paints or elastomeric roof coatings. Painting shields the sealant from solar radiation and helps match your roof's color scheme.
How long does polyurethane sealant take to cure completely?
Most polyurethane sealants skin over in 2 to 5 hours and dry to the touch within 24 hours. However, full deep-section cure requires 48 to 72 hours for thin applications and up to 7 days for deep expansion joints. Curing progresses from the outside inward as ambient moisture penetrates the compound.
Can you apply polyurethane sealant over old silicone caulk?
No. Polyurethane will not bond to silicone or its oily residue. If silicone exists on the flashing, mechanically scrape, wire-brush, or abrade the surface down to bare metal or masonry, then wipe it clean with acetone before applying polyurethane.
Conclusion
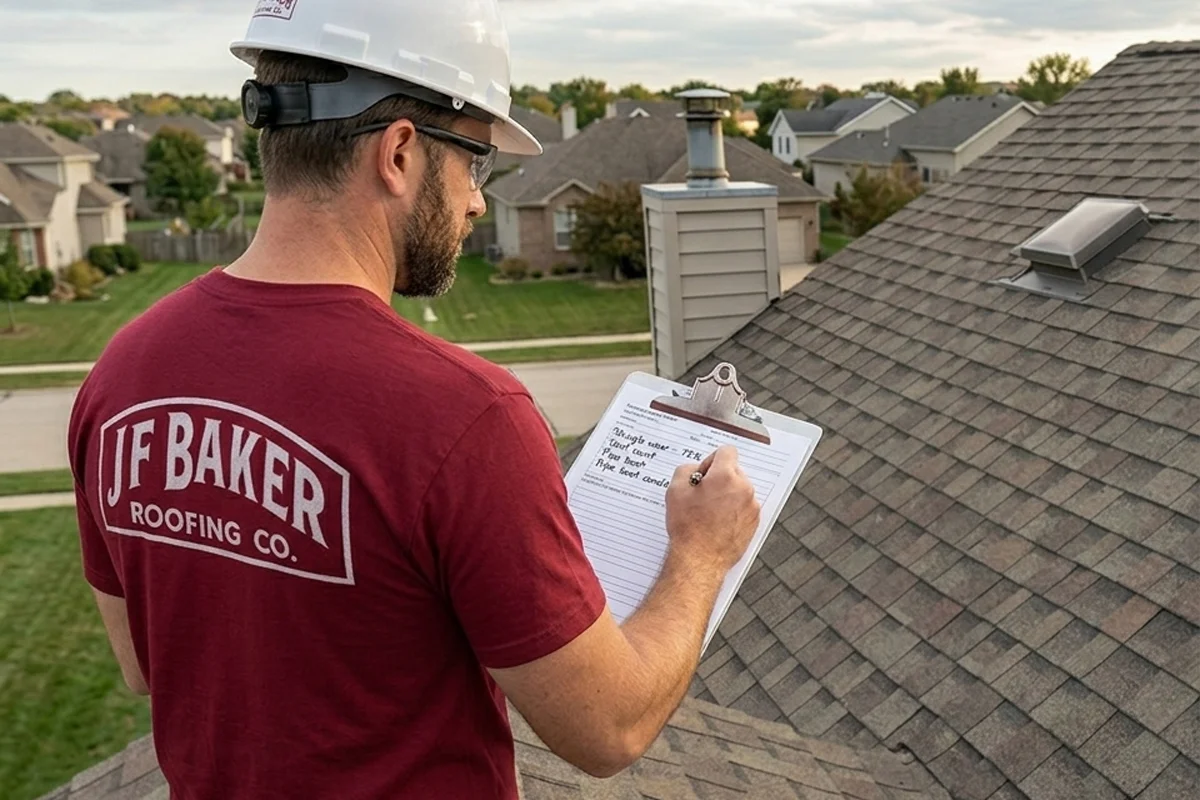
A well-installed flashing system protects your roof by directing water safely into the gutters. While quality polyurethane roof sealants provide a strong, flexible barrier for minor seam maintenance and properly prepared joints, sealants cannot compensate for corroded, detached, or missing metal flashings.
At JF Baker Roofing, we believe in honest assessments, transparent pricing, and no high-pressure sales tactics. Built on integrity. Proven by performance. Trusted since 1929, our family-owned company is led by third-generation owners Chad and Pat Baker. We are an NRCA member, CertainTeed ShingleMaster Preferred Contractor, and a BBB Accredited Business with an A+ rating.
Whether your home needs minor flashing maintenance, gutter installation and repair, custom sheet metal work, storm damage repairs, roof replacement, or commercial roofing across Columbus, Dublin, Upper Arlington, Hilliard, Grandview Heights, Worthington, or Westerville, we recommend repairs when repairs suffice and replacement only when genuinely needed.
If you have questions about your roof flashings or want a professional inspection, explore our comprehensive roofing and flashing services or connect with our friendly team today. We stand behind every roof we install.






.jpeg)