The Homeowner's Flashing Sealant Field Guide for Metal Roofs
How to Choose Metal Flashing Sealant
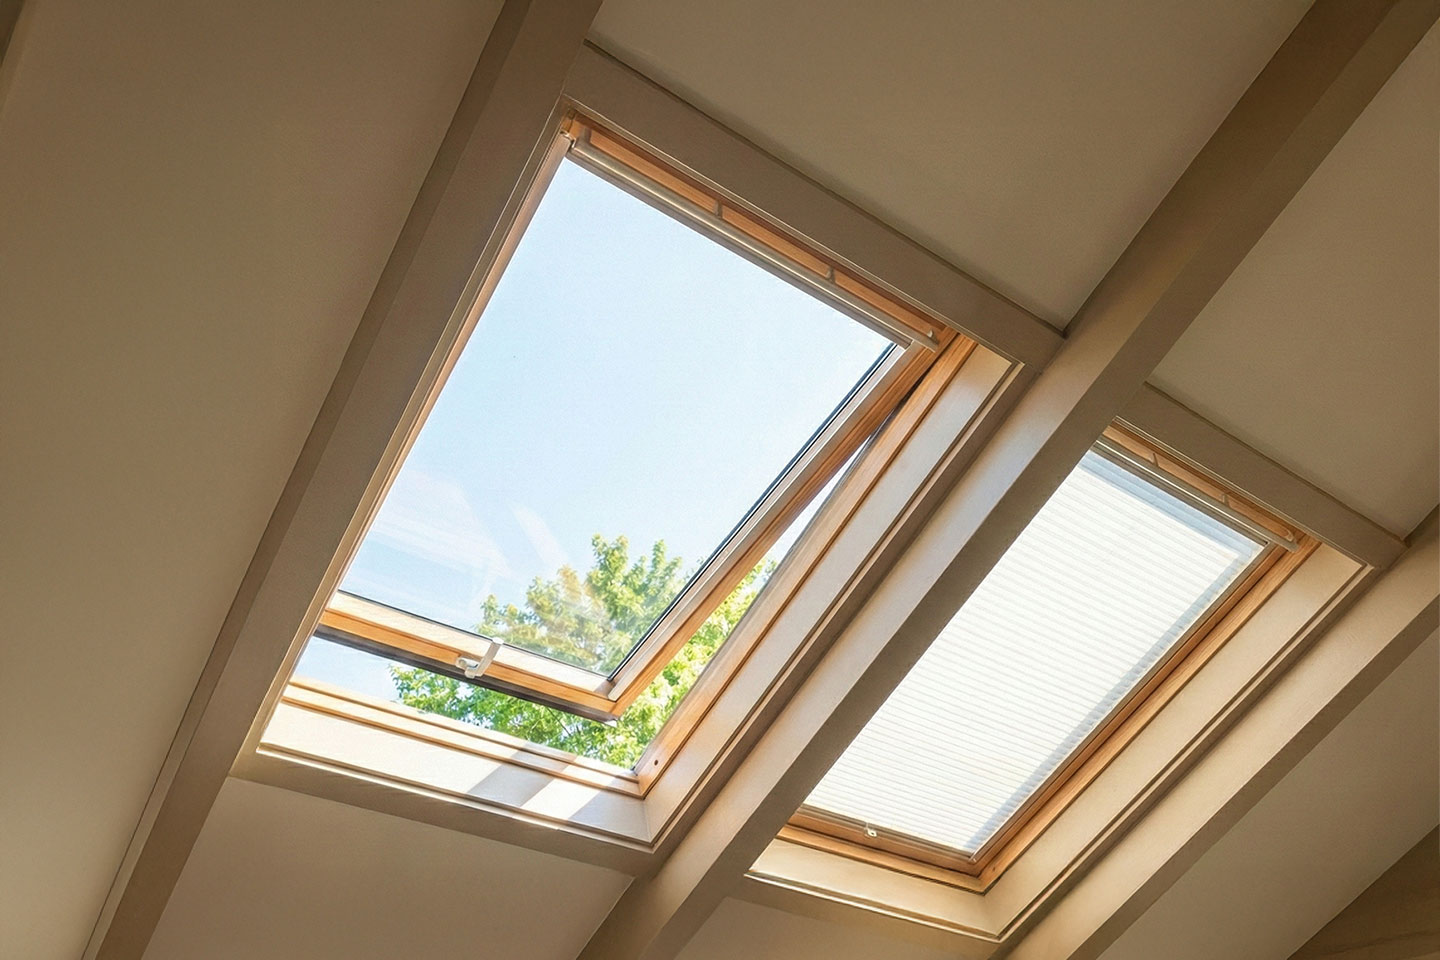
Choose the sealant by the joint, not just the roof. Butyl tape is often the right choice for hidden metal-to-metal laps. For exposed joints around flashings or rooflights, look for a UV-resistant, neutral-cure silicone or a compatible hybrid sealant. Check the roof and sealant manufacturers' guidance before using either product on coated metal, polycarbonate, or a roof membrane.
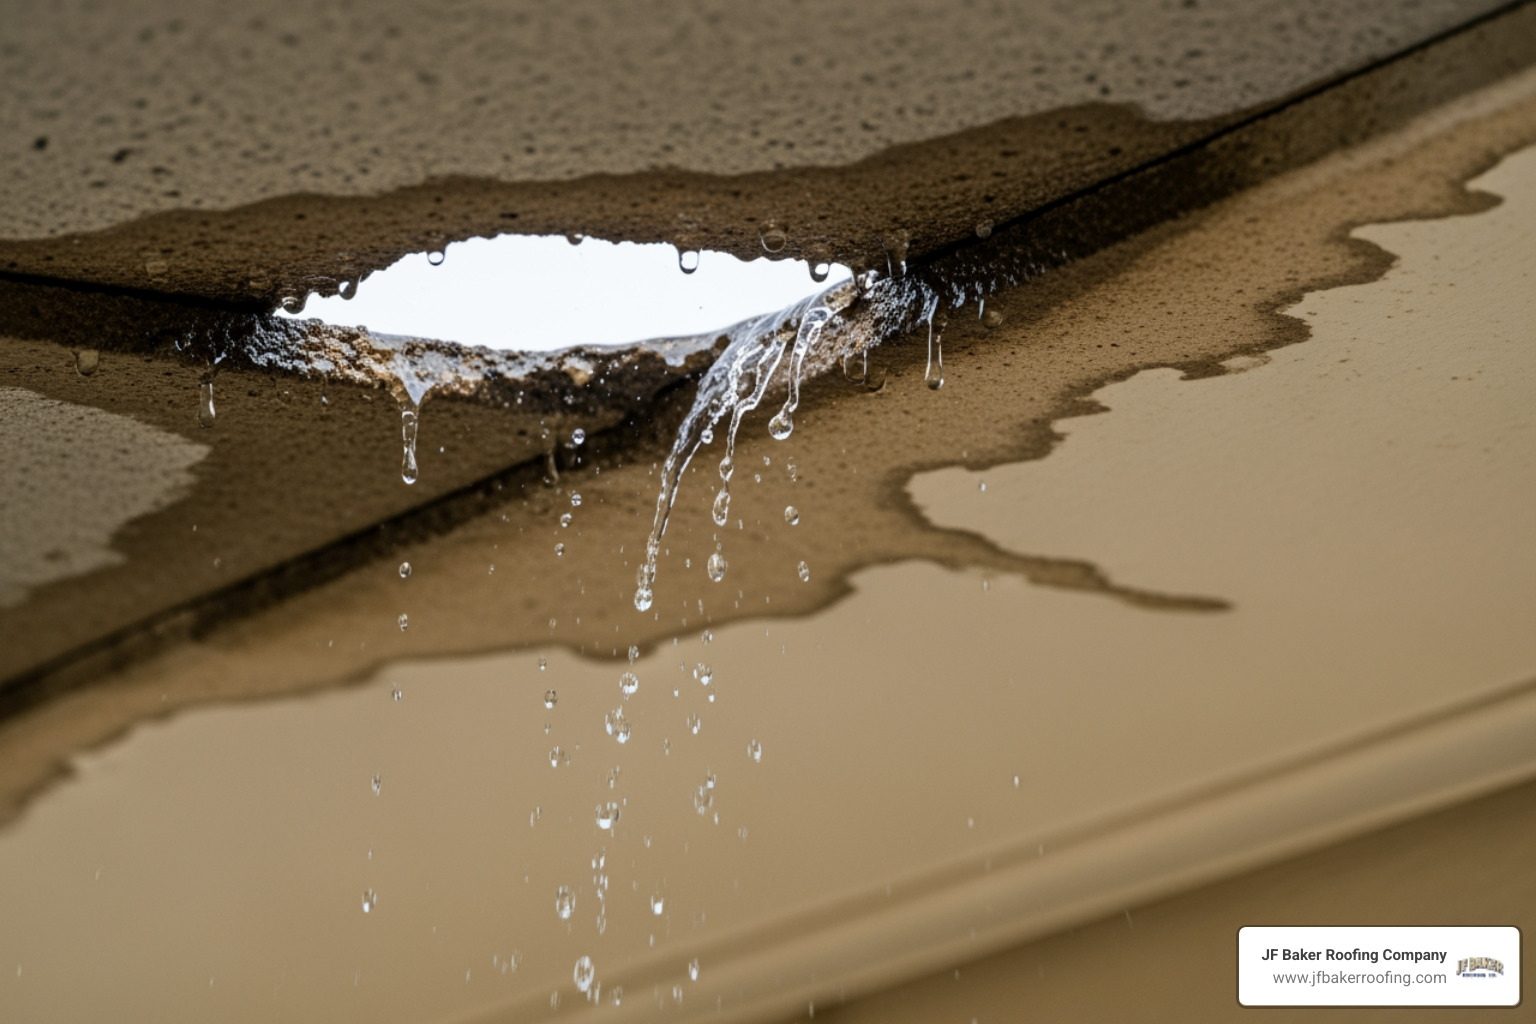
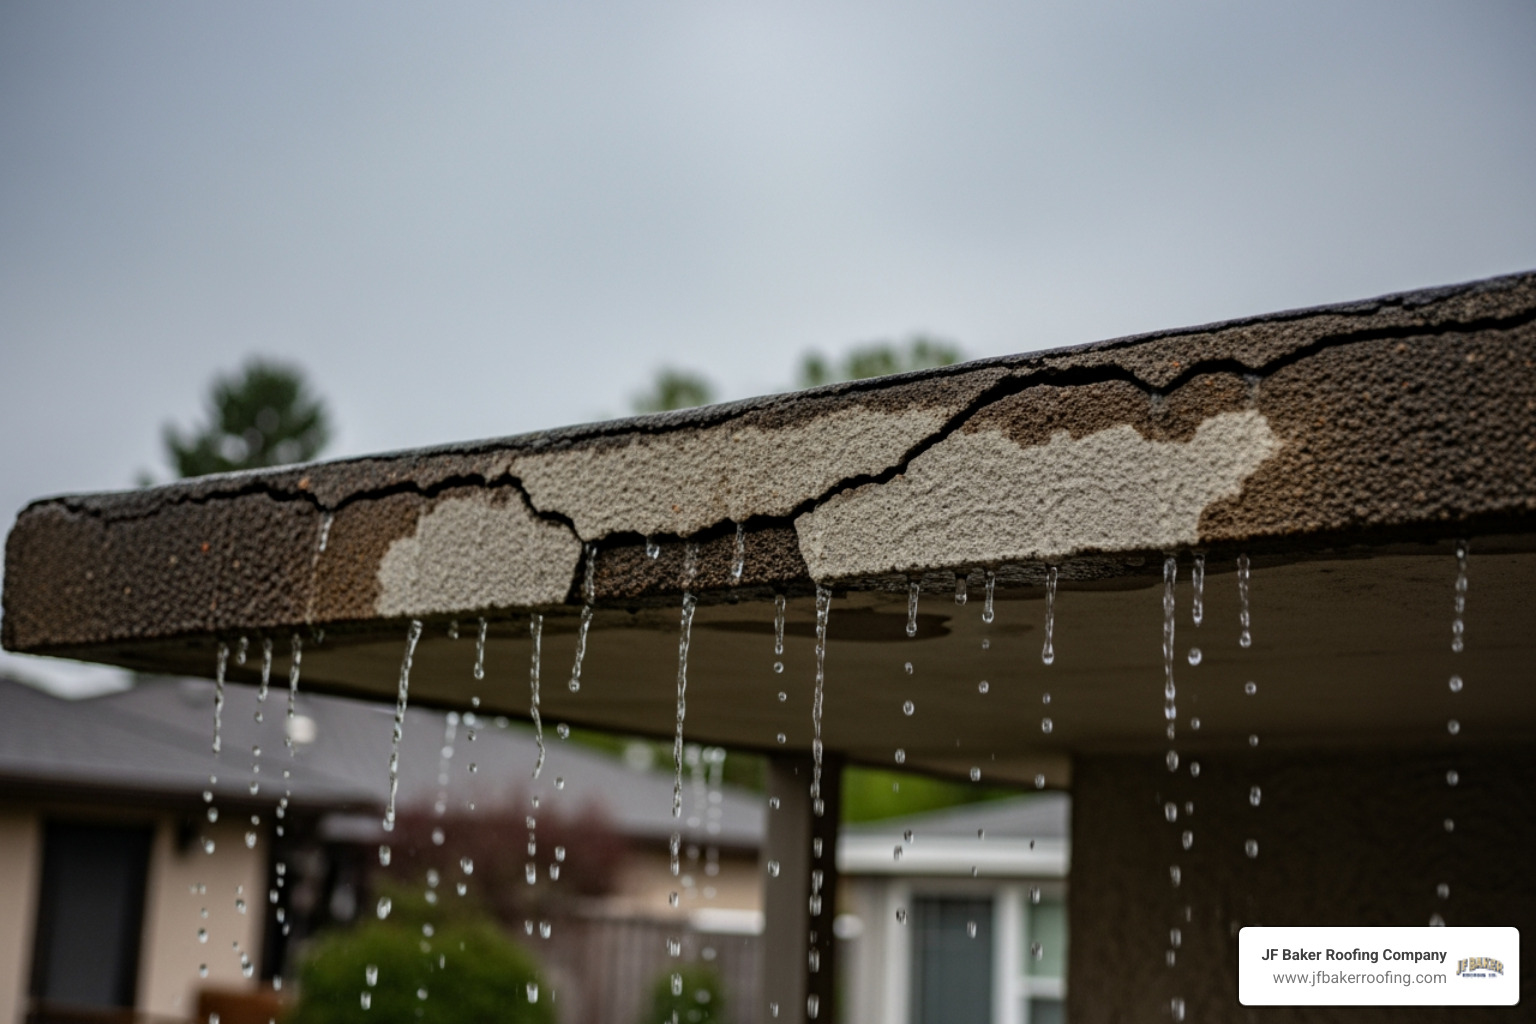
Sealant helps keep wind-driven rain out, but it cannot make up for a loose flashing or a poor overlap. That matters in Central Ohio, where summer heat and winter cold make metal expand and contract. Fix the flashing detail first, then seal the joint.
I'm Chad M. Baker, a third-generation owner of JF Baker Roofing, serving Central Ohio since 1929.
Metal flashing sealant basics:
The Essential Role of Sealants in Metal Roofing Systems
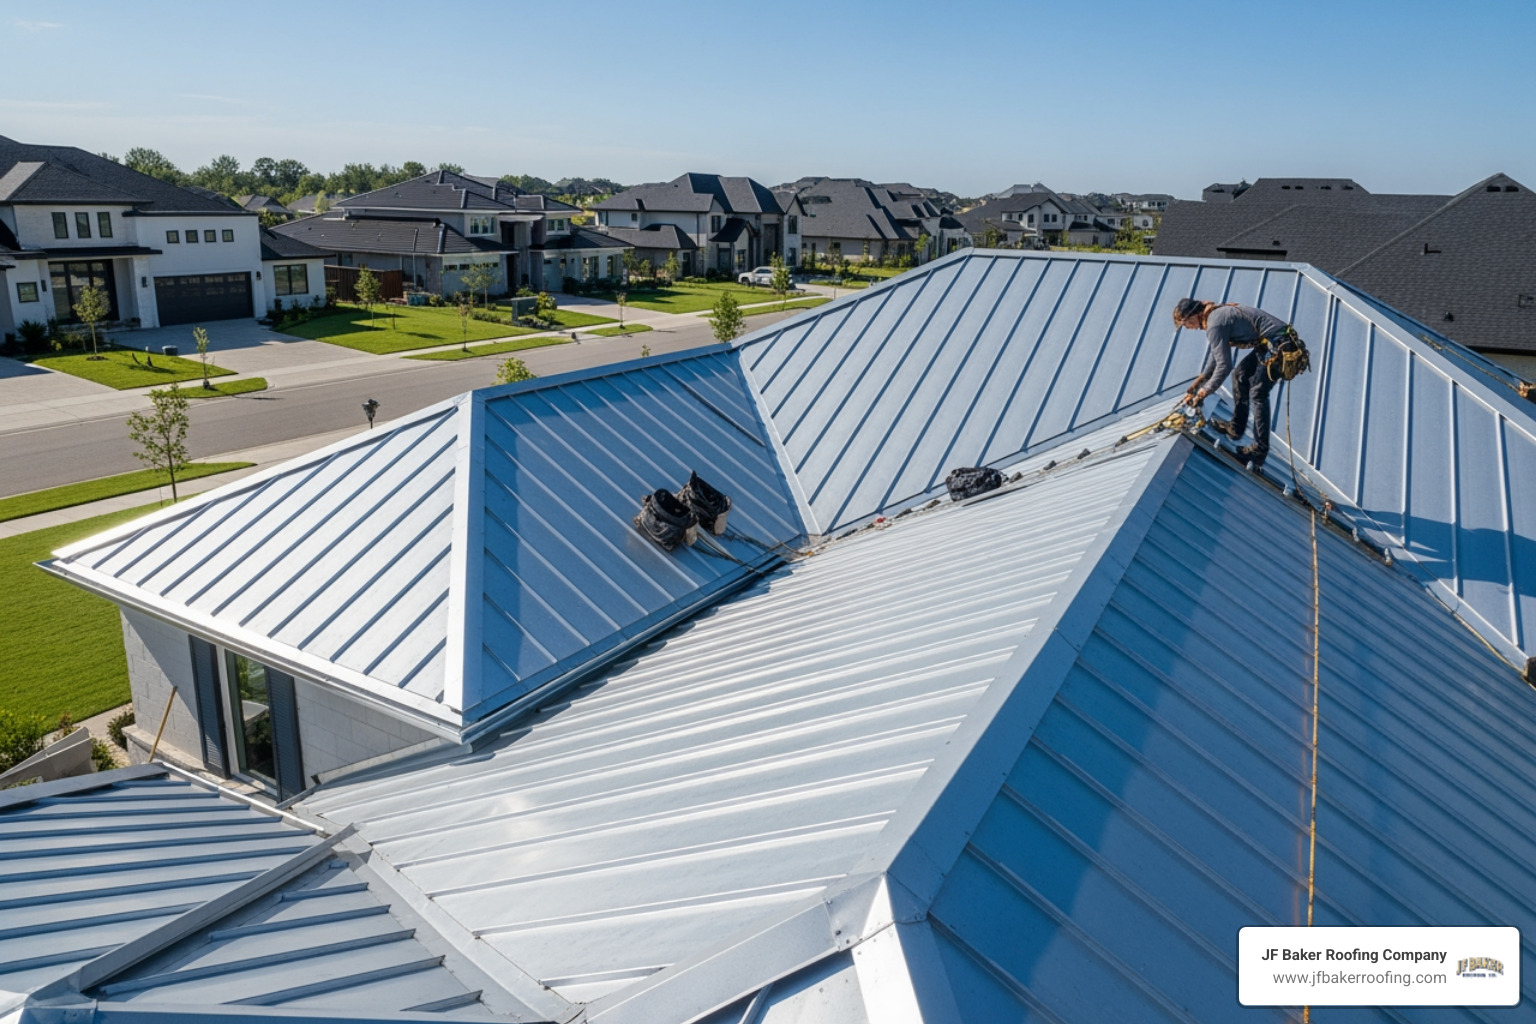
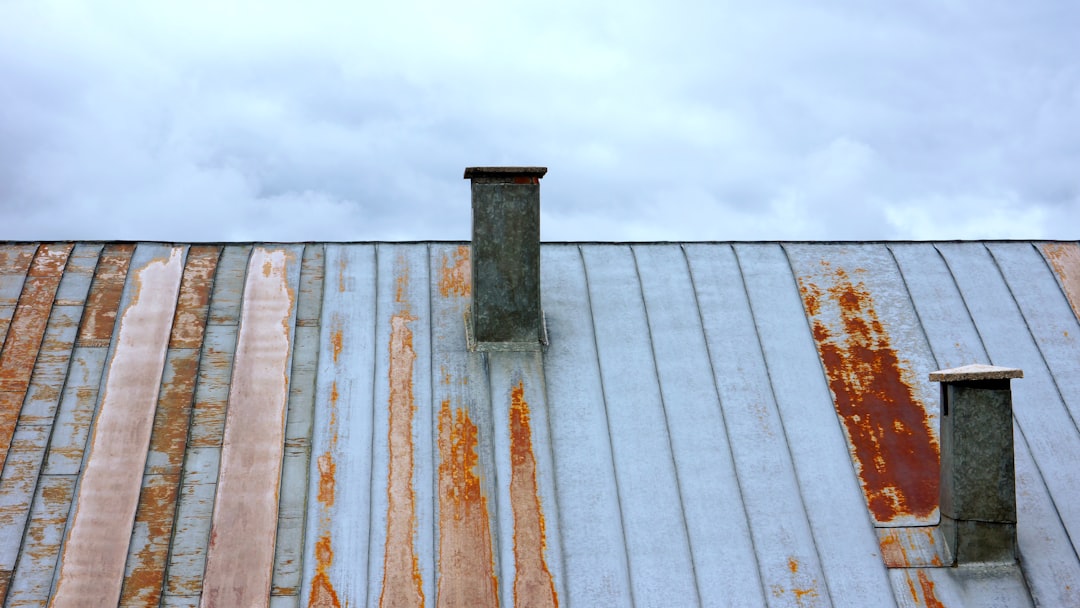
A metal roof is one of the most durable building envelope choices you can make. When properly designed and installed, a quality metal roof system easily lasts 40 to 60 years. However, the sheet metal alone does not make the entire assembly watertight. Roofs are full of penetrations, transitions, wall abutments, and intersecting planes where sheet metal components meet.
To bridge the micro-gaps at these transitions, roofing assemblies rely on specialized sealants. Unlike the rigid steel or aluminum panels, an elastic sealant must absorb the daily expansion and contraction caused by seasonal climate shifts. While the metal panels can last well over half a century, quality roof sealants generally offer a working service life of 10 to 20 years. Because of this lifespan difference, keeping up with comprehensive roof maintenance is essential to preserve your roof envelope against wind-driven rain, melting snow, and exterior debris.
Primary Mechanical Shedding vs. Secondary Chemical Seals
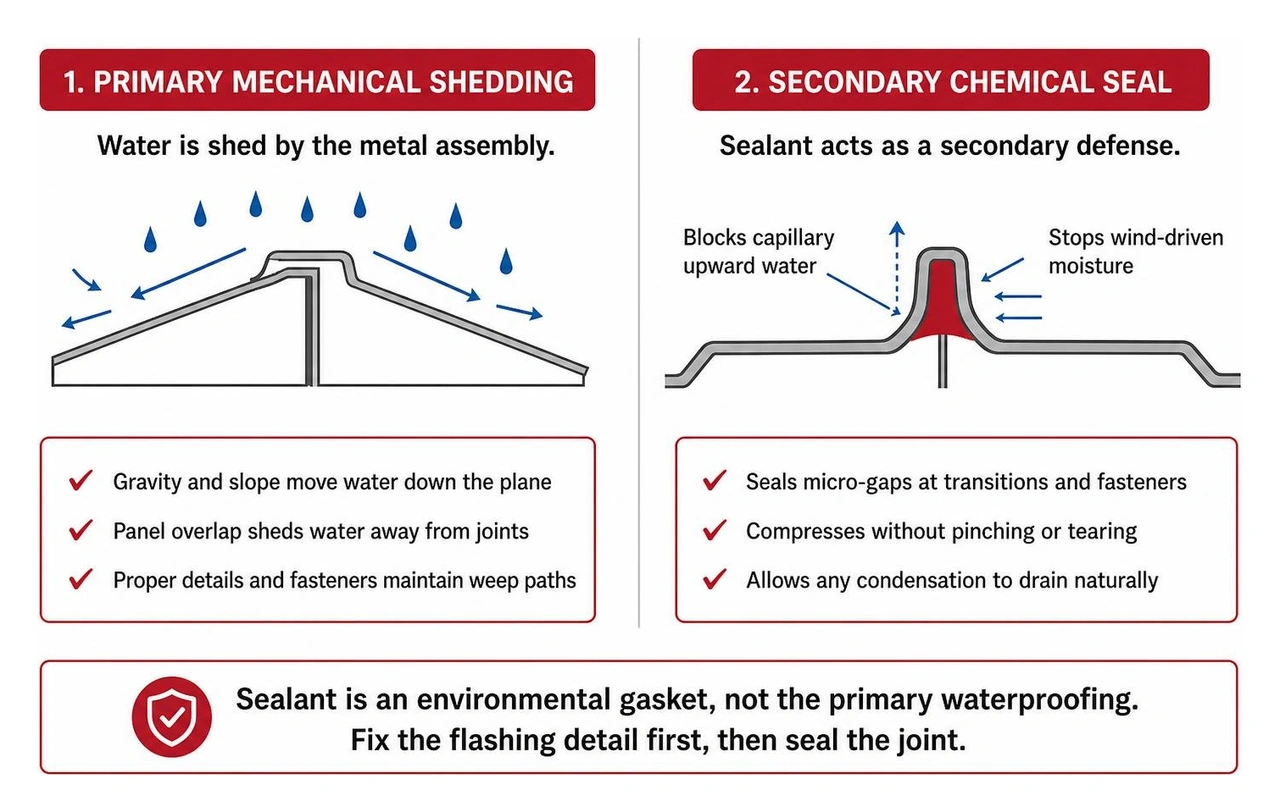
One of the most common roofing misconceptions is that sealant is the primary waterproofing layer. In true sheet metal craft, water shedding is always mechanical. Gravity, adequate slope, and generous panel overlap do the heavy lifting of moving water down the roof plane.
Sealant is engineered to serve strictly as a secondary defense. It acts as an environmental gasket to stop capillary action, where water gets drawn upward between closely fitted metal sheets, and to block horizontal, wind-driven moisture. If a flashing lacks sufficient overlap or has improperly placed fasteners, a bead of caulk will not prevent a leak over time. When fasteners are driven through metal sheets, they must compress the sealant without pinching or tearing it, maintaining an uninterrupted weep path so that any rogue condensation can drain naturally.
Choosing the Right Metal Flashing Sealant Chemistry
Choosing a tube of sealant off the shelf without checking its chemical composition is a fast track to joint failure. Different roofing substrates, ranging from Kynar 500 painted finishes and bare Galvalume to PVC pipe collars and single-ply membranes, require matching adhesive formulations.
Joint flexibility is governed by ASTM C920 ratings, which classify how far a sealant can expand and compress without tearing away from the substrate. In regions with freezing winters and humid summers, selecting a sealant with at least plus or minus 25 percent joint movement capability is critical.

Butyl Tape vs. Gun-Grade Metal Flashing Sealant
When building metal-to-metal joints, roofers divide their primary sealing tools into roll-applied butyl tapes and gun-applied liquid caulks.
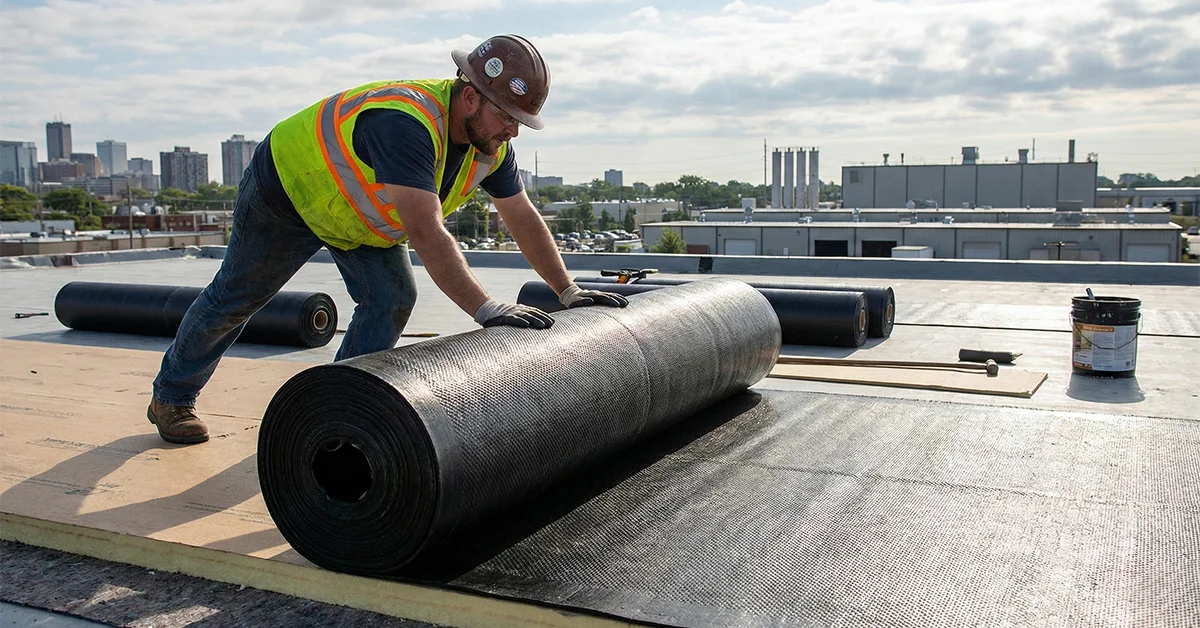
Butyl tape is a solid, non-skinning synthetic rubber ribbon that comes backed with release paper. It is the gold standard for concealed lap joints, such as standing seam rib overlaps and ridge cap base rails. Because it comes in uniform thicknesses, butyl tape ensures consistent coverage and prevents voids. It remains tacky and flexible for decades inside a closed seam.
Gun-grade sealants, like DAP Butyl-Flex Gutter and Flashing Sealant, are applied with a standard caulk gun to exposed joints, reglet channels, and irregular metal contours. DAP Butyl-Flex dries tack-free in roughly 12 hours and cures fully over 21 days, yielding about 55 linear feet of coverage from a standard cartridge with a 3/16-inch bead. Gun-grade caulks allow installers to tool a concave bead directly across exterior seams where roll tape cannot be easily compressed.
Silicone, Polyurethane, and Hybrid Elastomers
For exposed surface joints, three liquid chemistries dominate the industry:
- Neutral-Cure Silicone: Neutral-cure silicones, such as Everkem TruSil 100, are ideal for painted metal, Galvalume, and aluminum. Unlike standard bathroom silicone (acetoxy-cure), neutral-cure formulas do not release acetic acid during curing, meaning they will not chemically pit or corrode bare metals. Silicone provides unmatched UV resistance and holds up well against surface temperature spikes. Additionally, flashing-grade formulations like GacoPatch flashing grade silicone can be applied in single-step applications over damp metals without primer, making them useful for immediate repairs.
- Polyurethane Sealant: Polyurethanes offer powerful mechanical adhesion and can be painted once cured. They are well-suited for high-abrasion areas, masonry-to-metal joints, and heavy corrugated profiles. However, polyurethanes can become brittle faster under direct sunlight than premium silicones if unpainted.
- Hybrid Polymers: Hybrid elastomeric sealants combine the UV stability of silicone with the paintability and tear resistance of polyurethane. They are low in VOCs, contain no isocyanates, and can bond to damp surfaces without off-gassing or blistering.
High-Temperature and Fire-Rated Specialty Sealants
Certain roof penetrations require specialized high-performance sealants. Standard caulks quickly burn, crack, and fail when applied to hot furnace flues, kitchen grease exhausts, or wood stove pipe collars.
For high-temperature flues, installers rely on specialized heat-resistant silicones rated for 500°F continuous and 600°F intermittent service temperatures. Where metal roof penetrations pass through fire-rated commercial walls or parapets, building codes mandate intumescent firestop sealants. Products tested under ASTM E814 and ASTM E84 expand significantly when exposed to extreme heat, sealing the penetration to block flames, smoke, and toxic gases for up to four hours.
Similarly, industrial vapor-barrier compounds such as Foster® Elastolar® Sealant 95-44 feature a low water vapor permeance of 0.02 perms, an ASTM E84 flame spread of 15, a smoke development rating of 0, and an operating temperature range from -67°F to 250°F, making them an excellent choice for sealing heavy-duty metal jacketing laps.
Key Application Areas Across the Roof Envelope
Water always seeks the path of least resistance. On a metal roof, that path is found wherever a continuous sheet ends, intersects a vertical wall, or accommodates a pipe penetration.
Best Practices for Applying Metal Flashing Sealant at Critical Transitions
Proper sealing depends on placing the right material in the right location:
- Ridge Caps and End Laps: High winds push rain up the roof slope under the ridge cap. To prevent moisture intrusion, run a continuous strip of butyl tape along both sides of the ridge cap before securing the metal closure strips and stitching screws. Doing so prevents moisture from sneaking past the panel profile. For more insight on ridge upkeep, review our guide to metal roof ridge cap leak prevention.
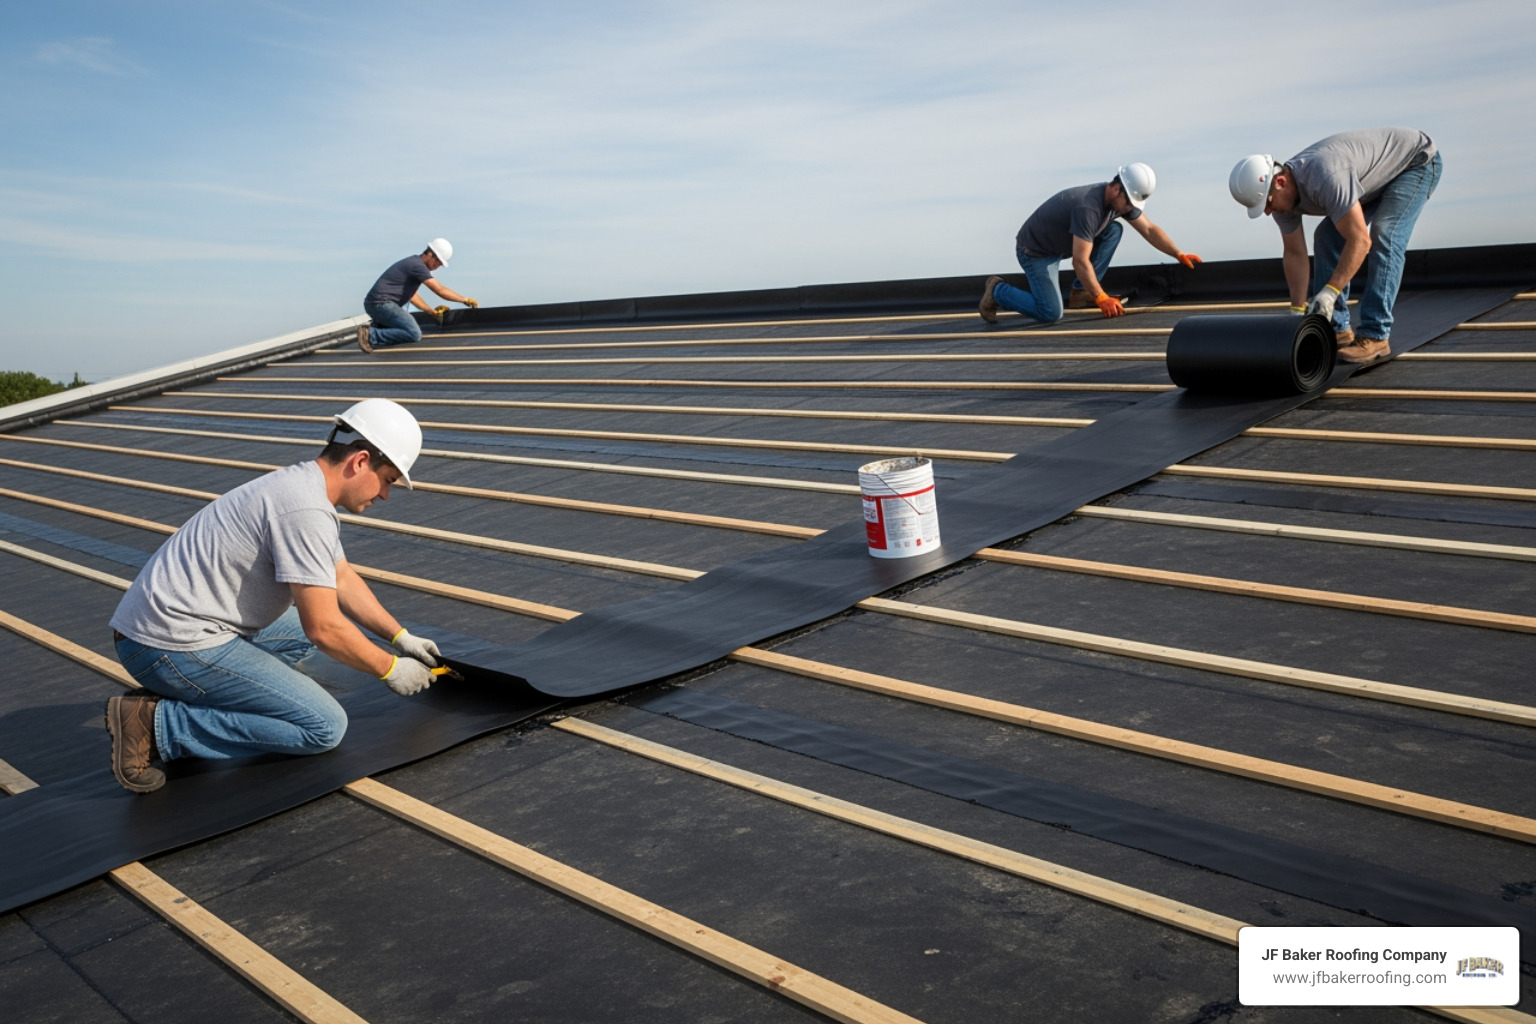
- Panel Side Laps: On low-slope metal roofs, apply a bead of non-skinning butyl between the overlapping panel ribs prior to driving mechanical fasteners.
- Pipe Penetrations and Plumbing Boots: Rubber boot flashings need a double barrier. Apply a continuous bed of neutral-cure silicone beneath the flexible metal base ring, secure it with self-tapping screws, and apply an external bead around the top collar where the rubber meets the pipe. When a boot fails, you can read our step-by-step approach to roof pipe flashing repairs.
Wall Abutments, Valleys, and Gutter Terminations
Transitions between metal roofs and vertical walls require careful mechanical and chemical coordination:
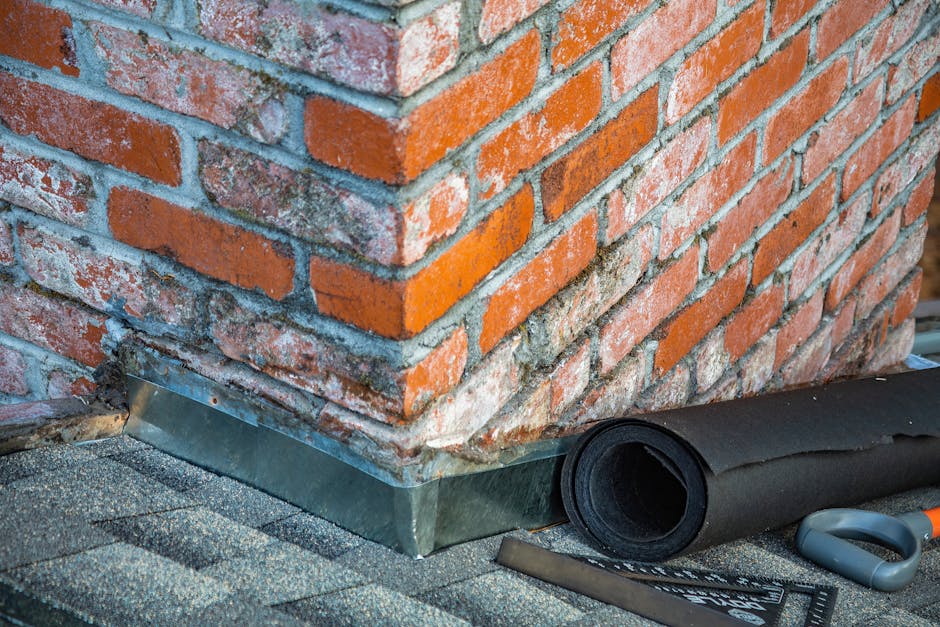
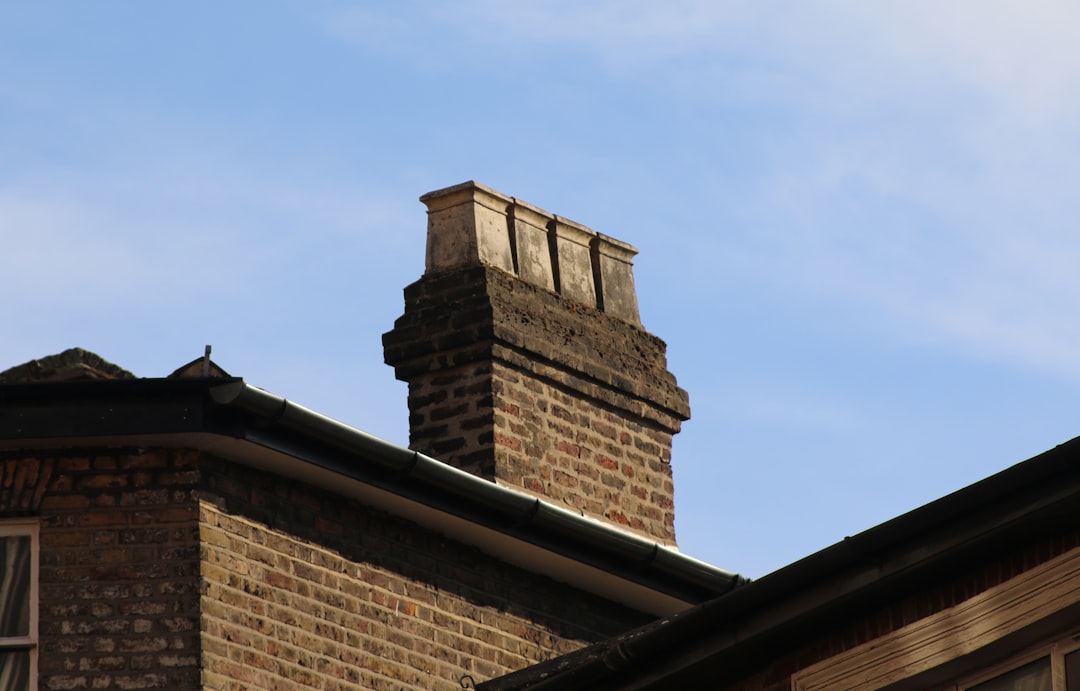
- Counterflashing Reglets: Where flashing tucks into masonry mortar joints, the cut groove must be cleared of dust and filled with an ASTM C920 polyurethane or hybrid sealant. This prevents water running down the brick from slipping behind the metal apron. Read our breakdown on chimney flashing leak repair to understand how stepped counterflashings operate.
- Valleys and End Offsets: Open valleys require open drainage space. Never run continuous caulk along valley edges in a way that traps debris or blocks natural water runoff.
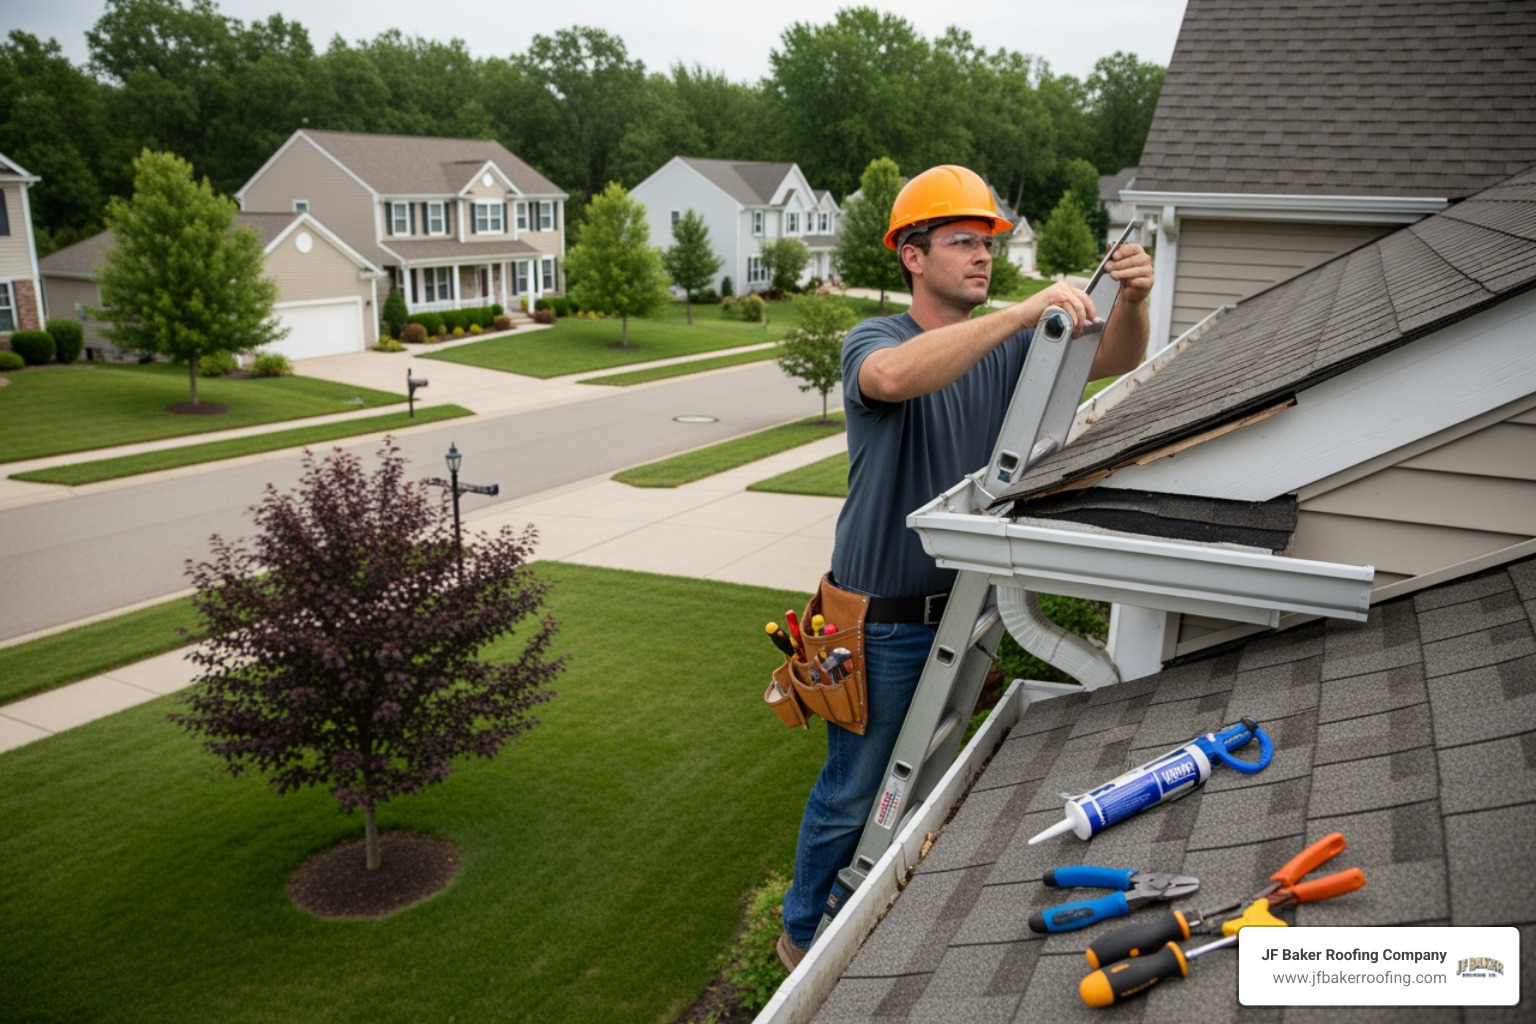
- Gutter End Caps and Outlets: Gutter troughs undergo constant water movement. Seal end caps and drop outlets on the inside seams using a moisture-curing elastomeric sealant to prevent drip leaks. If you require specialized metal profiles or custom edge details, our team provides in-house custom sheet metal work to ensure a proper fit.
Step-by-Step Surface Preparation and Installation Protocol
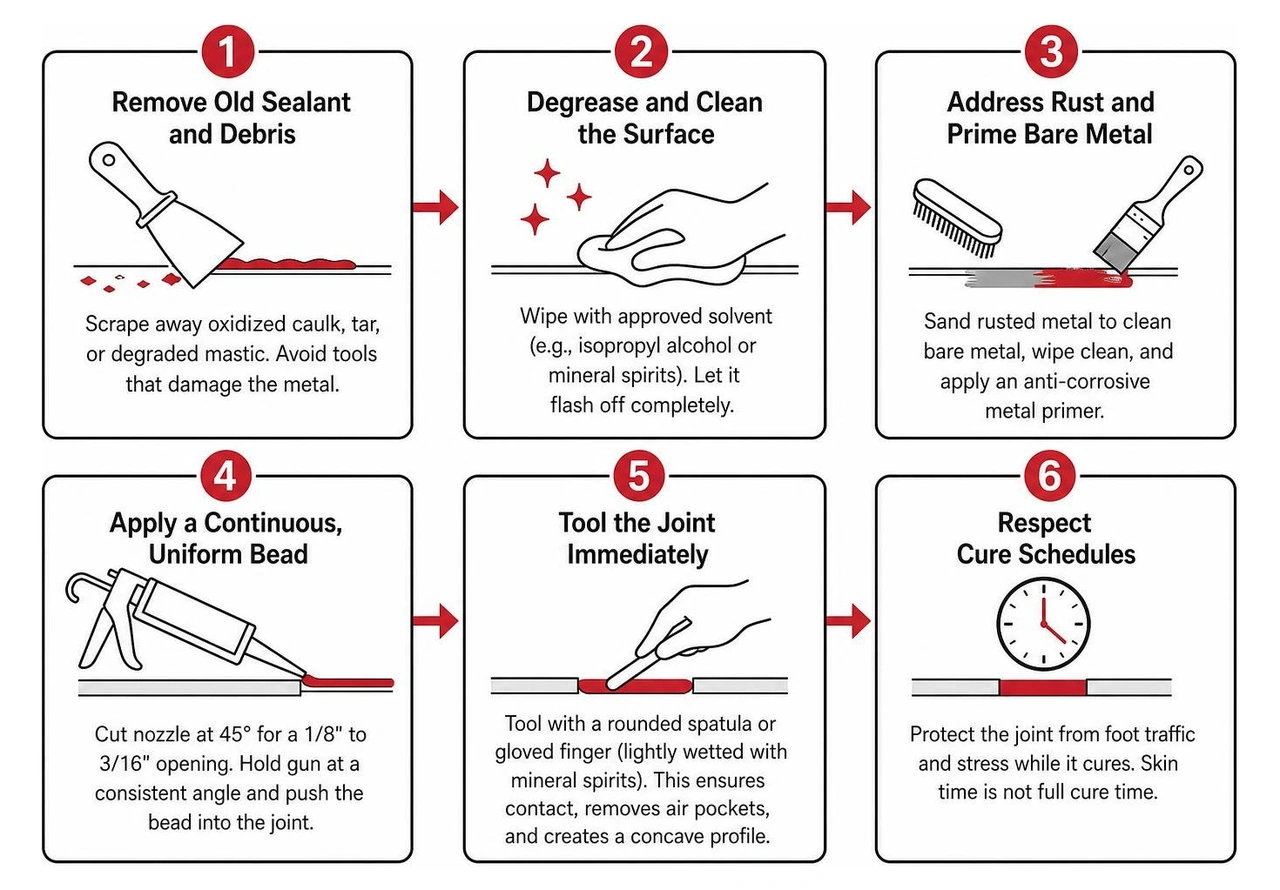
Even the best sealant formulation will fail if applied over dirty, wet, or chalked metal. Follow this step-by-step protocol to achieve an airtight, watertight bond:
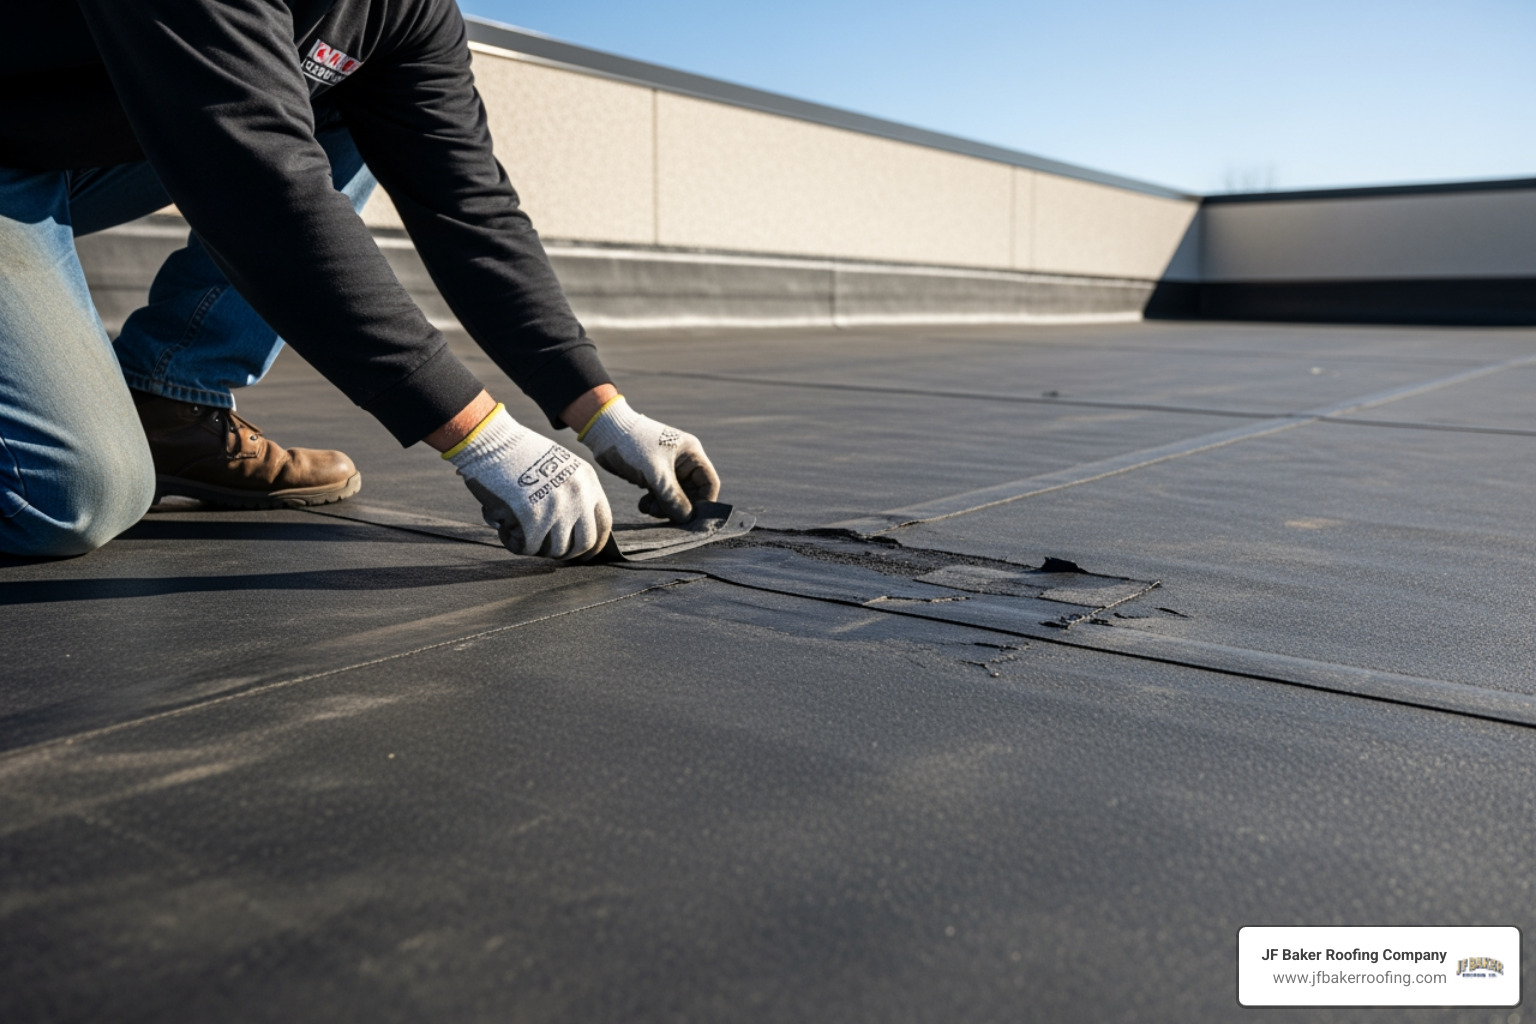
- Remove Old Sealant and Debris: Scrape away oxidized caulk, tar, or degraded mastic using plastic scrapers or brass wire brushes. Avoid heavy steel tools that gouge protective factory paint finishes.
- Degrease and Clean the Surface: Wipe the metal clean with an approved solvent like isopropyl alcohol or mineral spirits. Change wipe cloths frequently so you lift oils rather than spreading them around. Allow the solvent to flash off completely.
- Address Rust and Prime Bare Metal: If you uncover bare, rusted steel, sand it down to clean metal, wipe it clean, and apply an anti-corrosive metal primer before applying sealant.
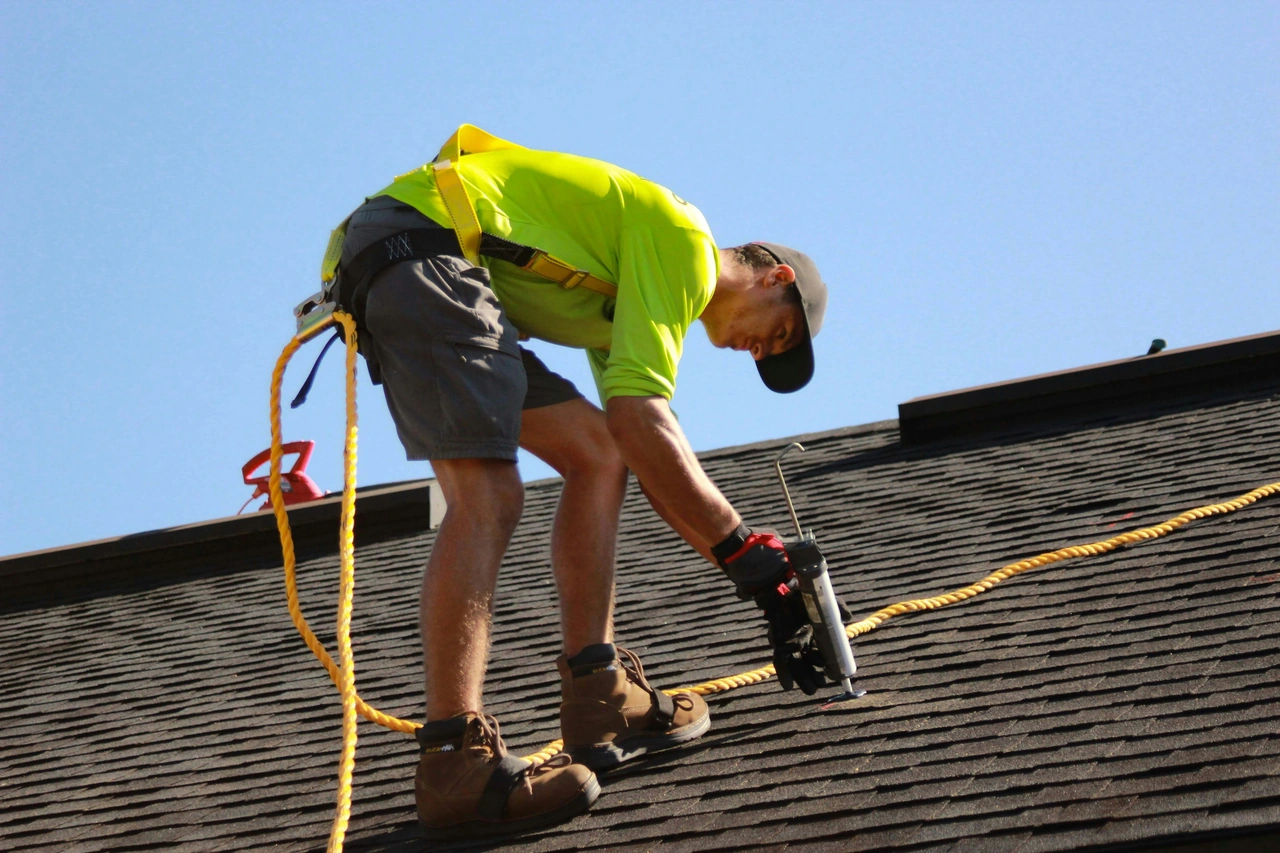
- Apply a Continuous, Uniform Bead: Cut the cartridge nozzle at a 45-degree angle to yield a 1/8-inch to 3/16-inch opening. Hold the caulking gun at a consistent angle, pushing the bead forward into the joint rather than dragging it loosely across the surface.
- Tool the Joint Immediately: Tool the wet bead with a rounded spatula or a gloved finger lightly wetted with mineral spirits. Tooling forces the sealant against both bonding surfaces, eliminates internal air pockets, and shapes a concave profile that sheds water naturally.
- Respect Cure Schedules: Protect the joint from foot traffic and mechanical stress while it cures. Skin time (often 30 to 90 minutes) is not full cure time (which can take anywhere from 24 hours for hybrids to 21 days for specialized butyls).
Common Mistakes That Trigger Premature Sealant Failure
Over our decades of roof repairs, we regularly see preventable errors cut sealant lifespan short:
- Rigidly Bridging Thermal Gaps: Metal expands in summer heat and shrinks in winter freezes. Applying brittle caulks or heavy, non-flexible mastics across active seams will cause the sealant to tear away as the metal moves.
- Using Corrosive Acetoxy Silicone: Standard household silicone releases acetic acid as it cures. On Galvalume, bare steel, and aluminum, this acid eats into the protective coating and accelerates rust along the seam.
- Sealing Over Chalked Paint or Dirt: Factory paint chalks as it ages under UV light. Applying caulk directly over chalky residue results in the sealant sticking to loose pigment instead of the metal, causing the entire bead to peel away.
- Over-Torquing Fasteners: Crushing a metal flashing joint with an over-driven screw squeezes out all the butyl tape or sealant, leaving an under-sealed metal-to-metal contact point.
- Blocking Natural Drainage Paths: Laying down a continuous bead of caulk where water is meant to drain turns your flashing into an accidental dam, backing water up under the roof panels.
- Mixing Incompatible Chemical Formulations: Applying silicone directly over asphalt mastics, or spreading polyurethane over uncured silicone, prevents proper chemical bonding and ruins both products.
Frequently Asked Questions about Metal Flashing Sealant
How long does metal flashing sealant last before needing replacement?
A quality, properly applied flashing sealant typically lasts between 10 and 20 years. Its actual lifespan depends on sun exposure, seasonal temperature swings, joint movement, and the specific chemistry used. We recommend scheduling a visual roof inspection every two to three years to look for shrinkage, surface cracks, or lost adhesion so small touch-ups can be handled before leaks develop.
Can I use standard silicone caulk on metal roof flashing?
Standard household silicone should not be used on metal roofing. Most general-purpose silicones are acetoxy-cure formulas that smell like vinegar and release acetic acid, which corrodes bare metal and attacks the protective zinc-aluminum coating on steel panels.
For metal roofs, always choose an ASTM C920 Class 25 (or higher) neutral-cure silicone or a hybrid elastomeric sealant. Neutral-cure silicones are non-corrosive, bond tightly to painted Kynar finishes, and handle exterior weather conditions without breaking down.
Can metal roof sealant be applied to damp or cold surfaces?
Most standard caulks require clean, completely dry substrates and ambient temperatures between 40°F and 100°F during application. However, specialized moisture-curing hybrid elastomeric sealants and dedicated flashing repair silicones can bond to damp surfaces without bubbling.
When applying sealant in colder weather, keep the cartridges warm inside a heated vehicle before use so the product extrudes easily and tools smoothly against the metal joint.
Practical Roofing Care for Central Ohio
Maintaining a reliable metal roof comes down to combining sound mechanical details with the right sealant chemistry. Making sure your flashings, laps, and penetrations are sealed properly protects your home through every season of weather.
JF Baker Roofing provides residential roofing, commercial roofing, roof repair, roof replacement, storm damage roofing, gutter installation and repair, and sheet metal work, with honest assessments, transparent pricing, and no high-pressure sales tactics. Built on integrity. Proven by performance.
Trusted since 1929, JF Baker Roofing has been serving Central Ohio for nearly 100 years. Led by third-generation owners Chad and Pat Baker, our family-owned company brings three generations of Central Ohio roofing experience to every job. We are a CertainTeed ShingleMaster Preferred Contractor, an NRCA member, and a BBB Accredited Business with an A+ rating. We proudly serve homeowners and commercial property managers across Columbus, Dublin, Upper Arlington, Hilliard, Grandview Heights, Worthington, and Westerville.
Whether you need a minor flashing repair or a complete roof assessment, we recommend repairs when repairs suffice and replacement only when genuinely needed. We stand behind every roof we install with professional crews, clean job sites, and clear communication from start to finish. For more details on maintaining your exterior joints, explore our 2026 roof flashing sealant guide. Let our reputation be your security, and reach out to our team whenever you would like an honest evaluation of your roof.