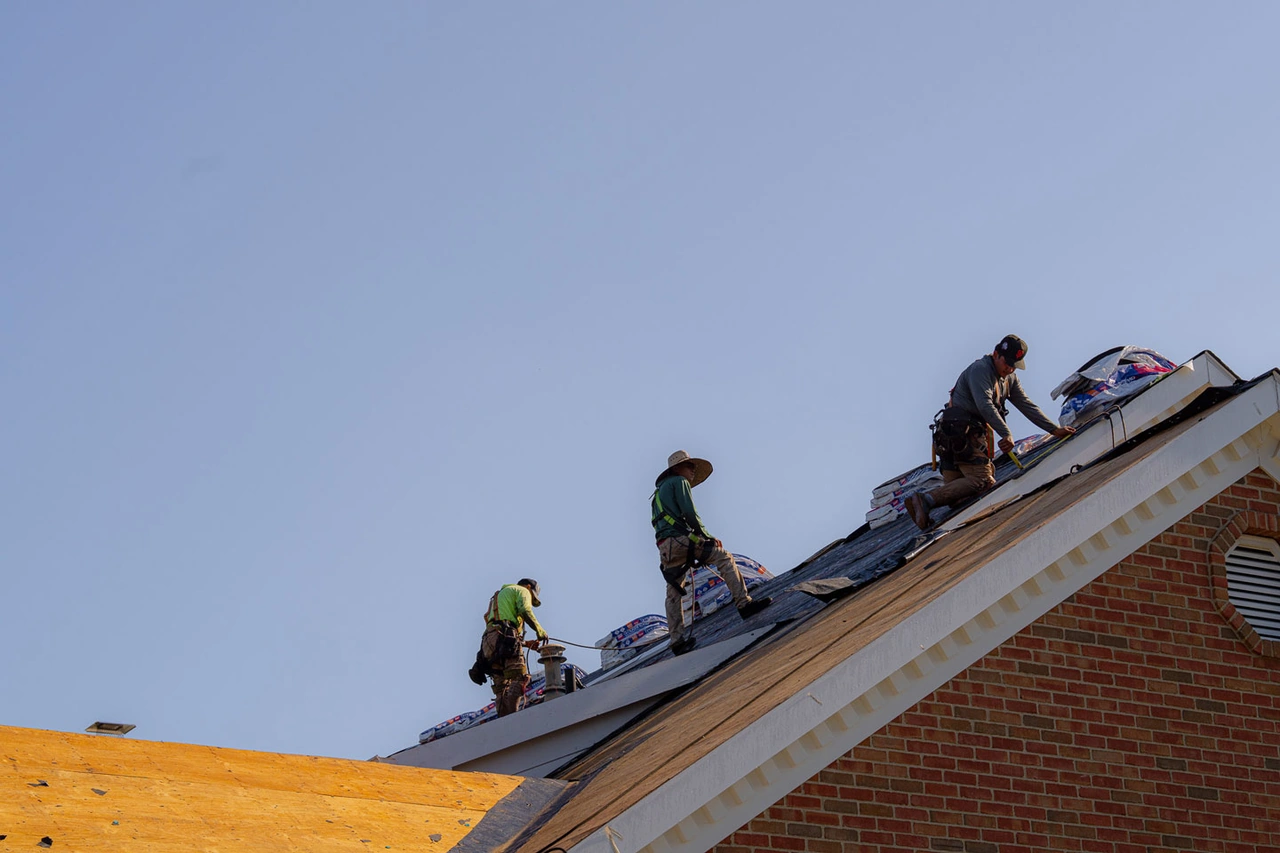
The Best Way to Patch a Roof Before the Next Storm

A Leaky Roof Won't Wait — Here's What to Do First
The best way to patch a roof depends on your roof type and the size of the damage, but for most homeowners dealing with a sudden leak, here is the fast answer:
- Stop the water inside — place buckets and move valuables away from the drip.
- Find the leak source — check your attic first with a flashlight before climbing onto the roof.
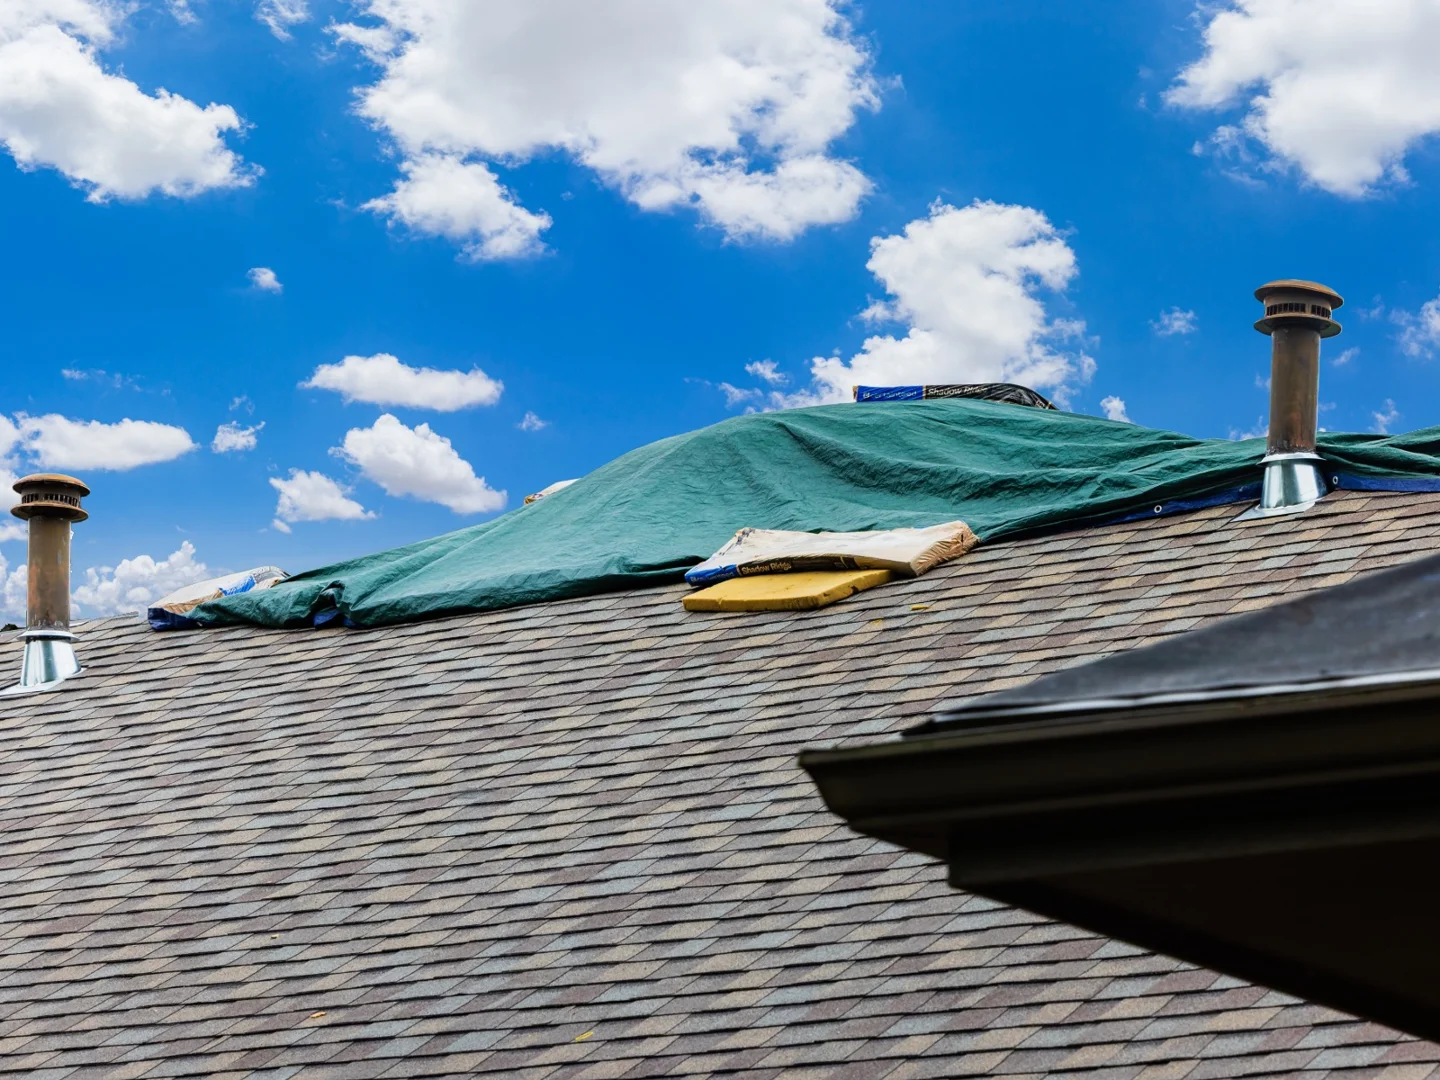
- Apply a temporary tarp — secure it with 2x4 boards over the damaged area until you can make a proper repair.
- Clean and dry the repair surface — then apply roofing cement, replace damaged shingles, and seal all nail heads.
- Call a roofer if the damage is widespread, the deck feels soft, or the leak keeps coming back.
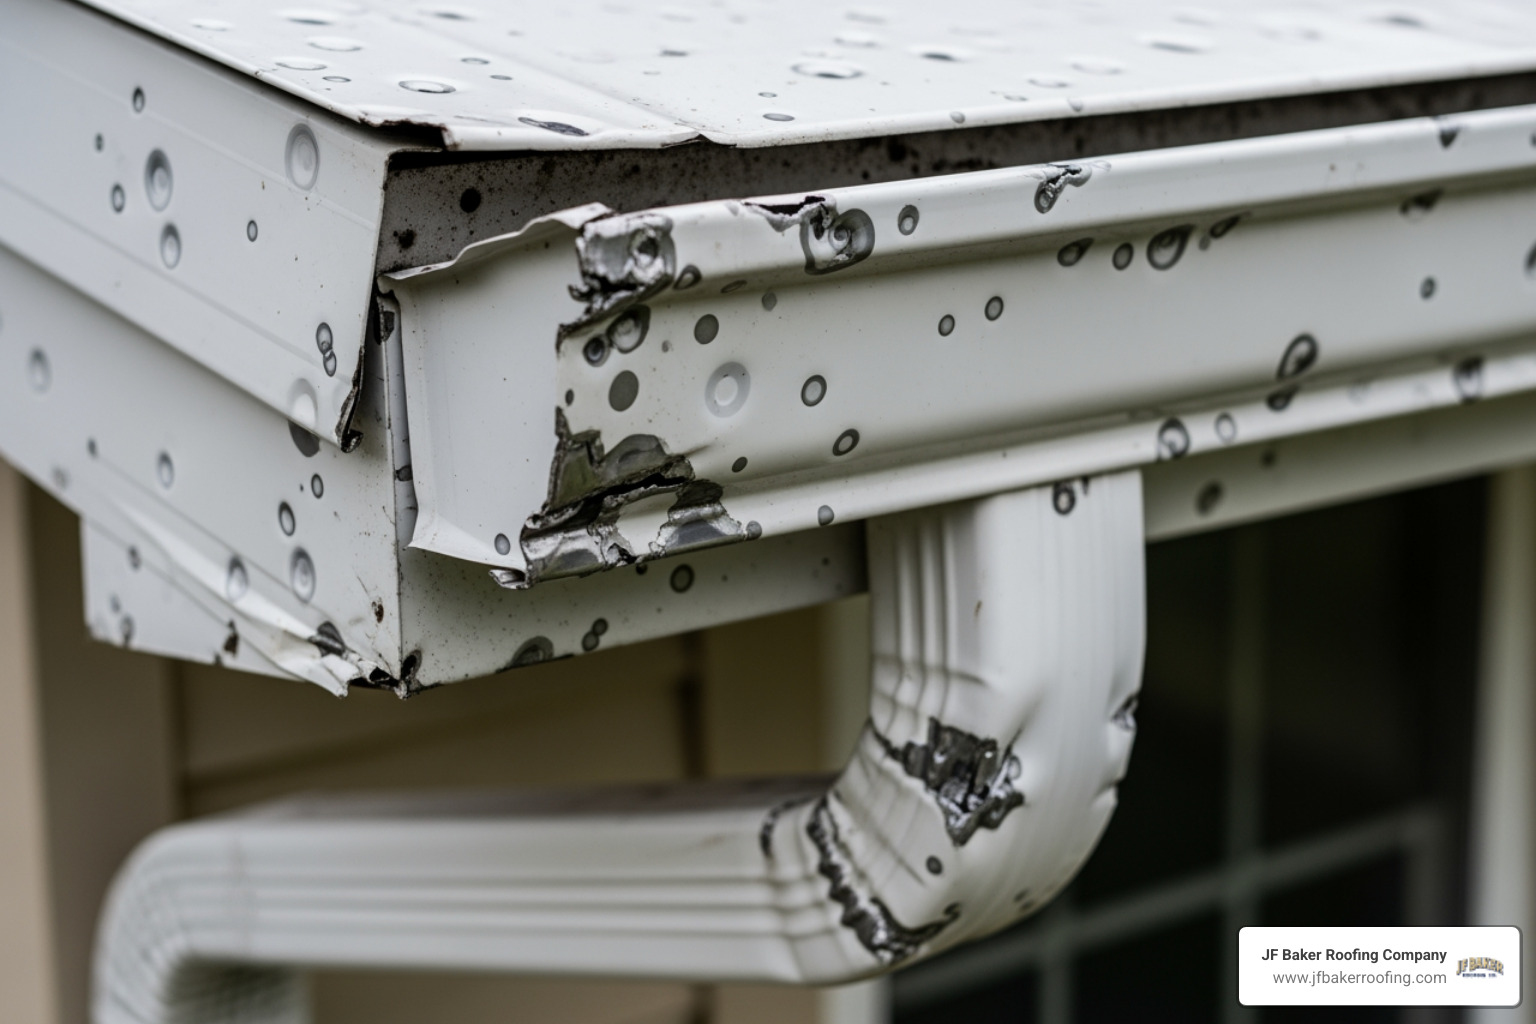
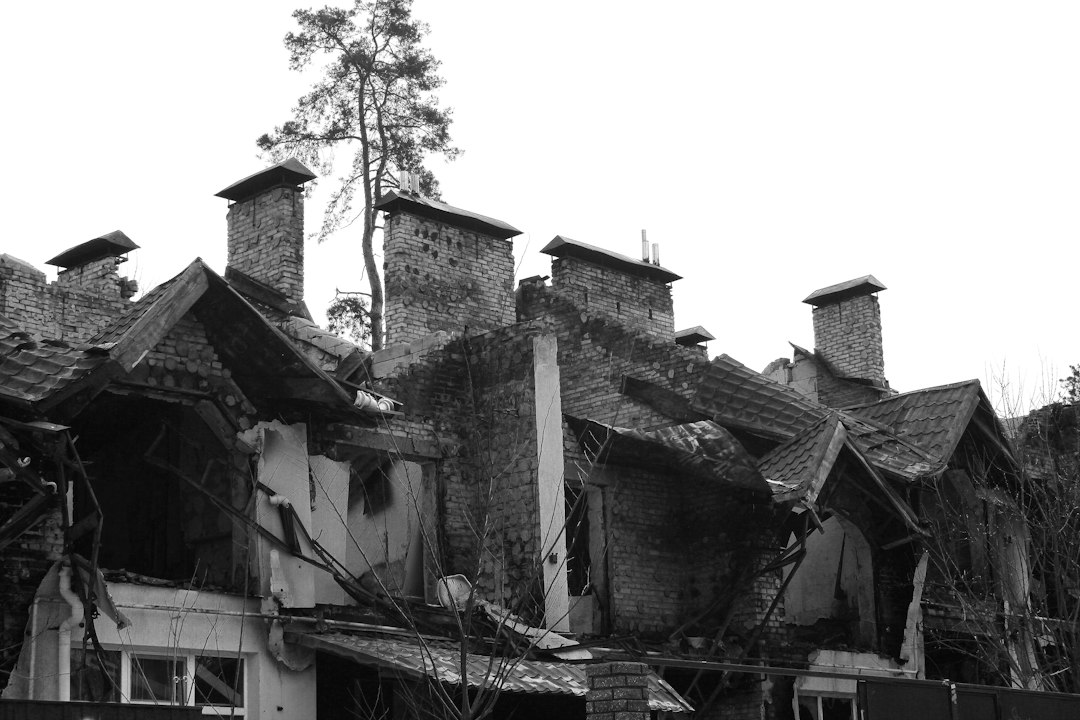
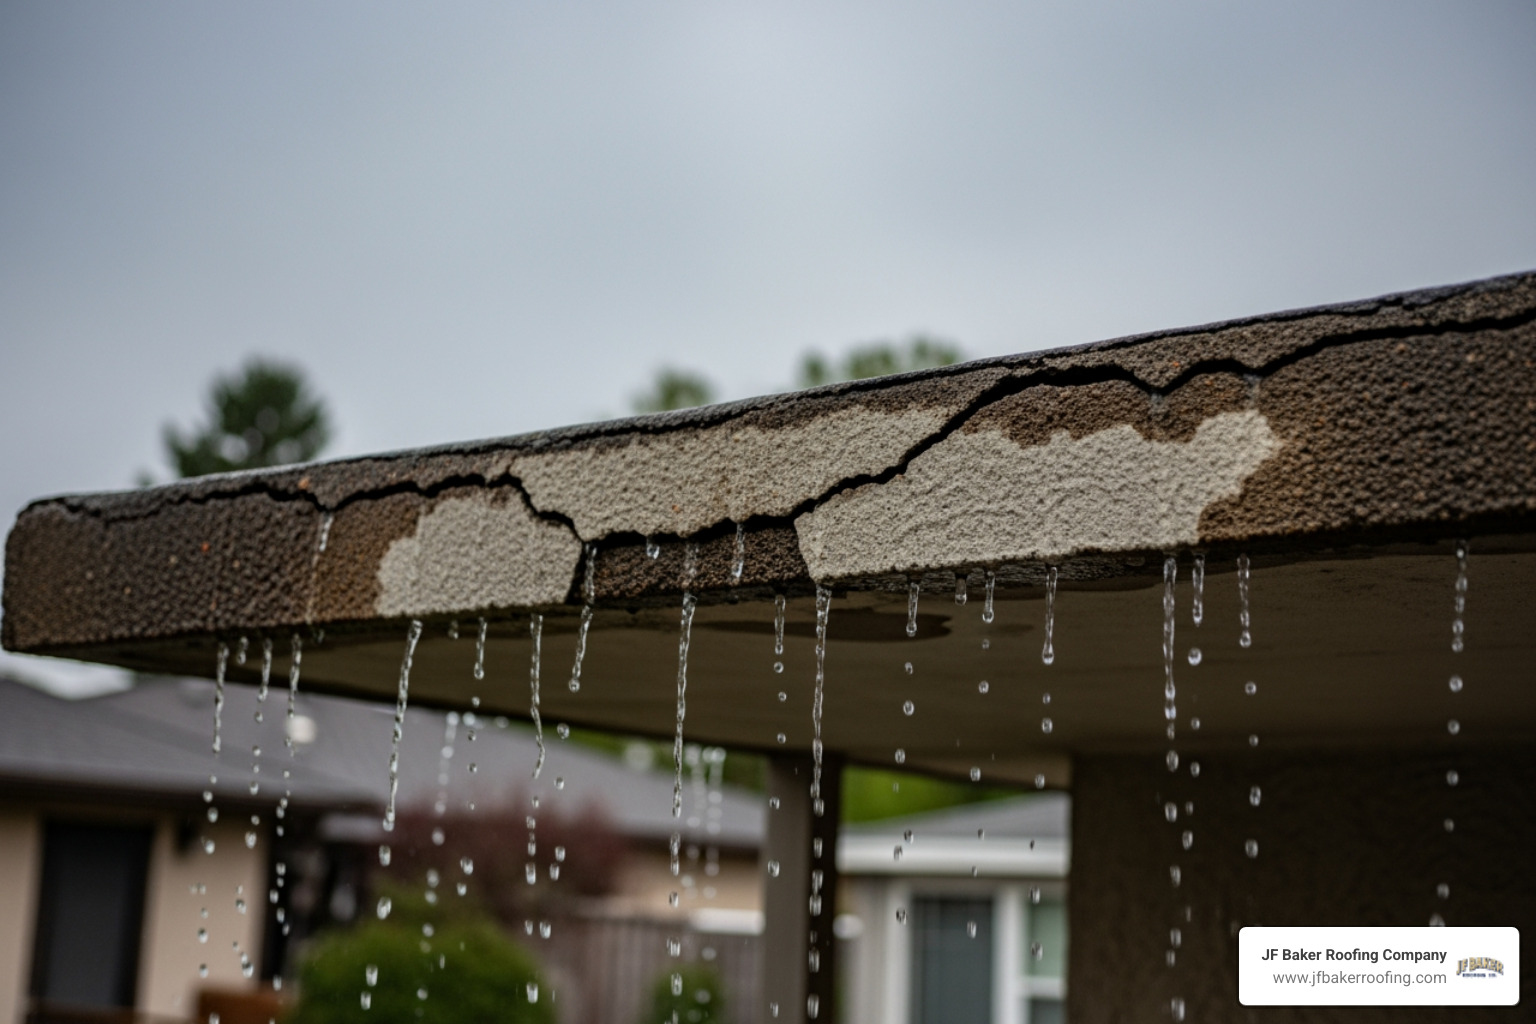
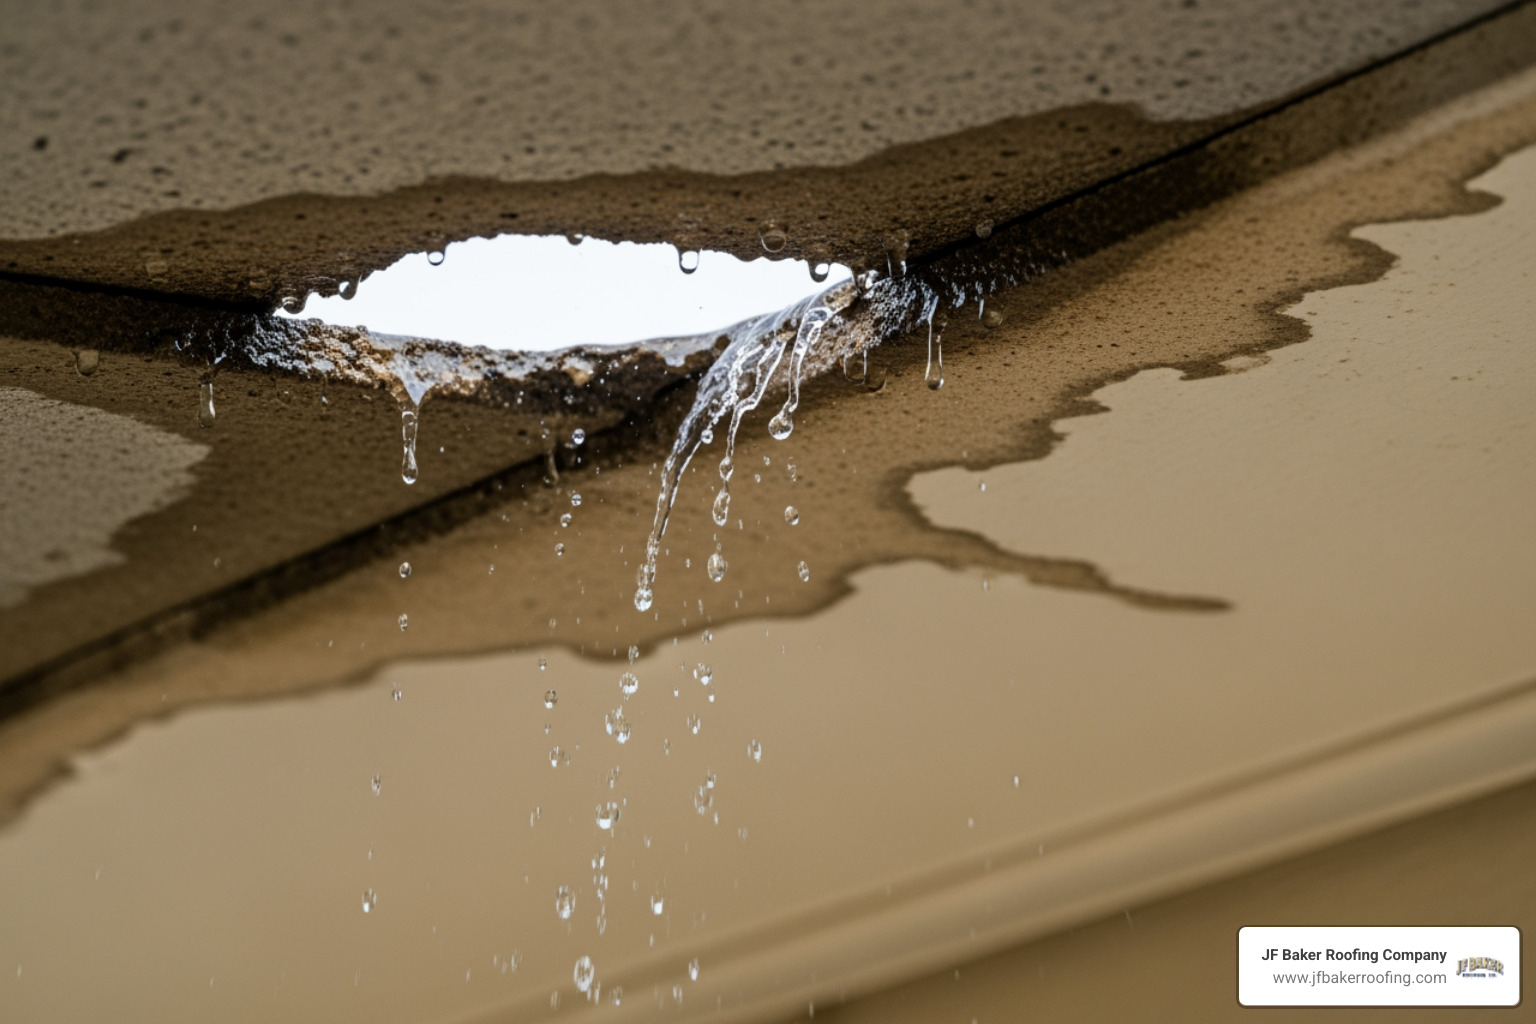
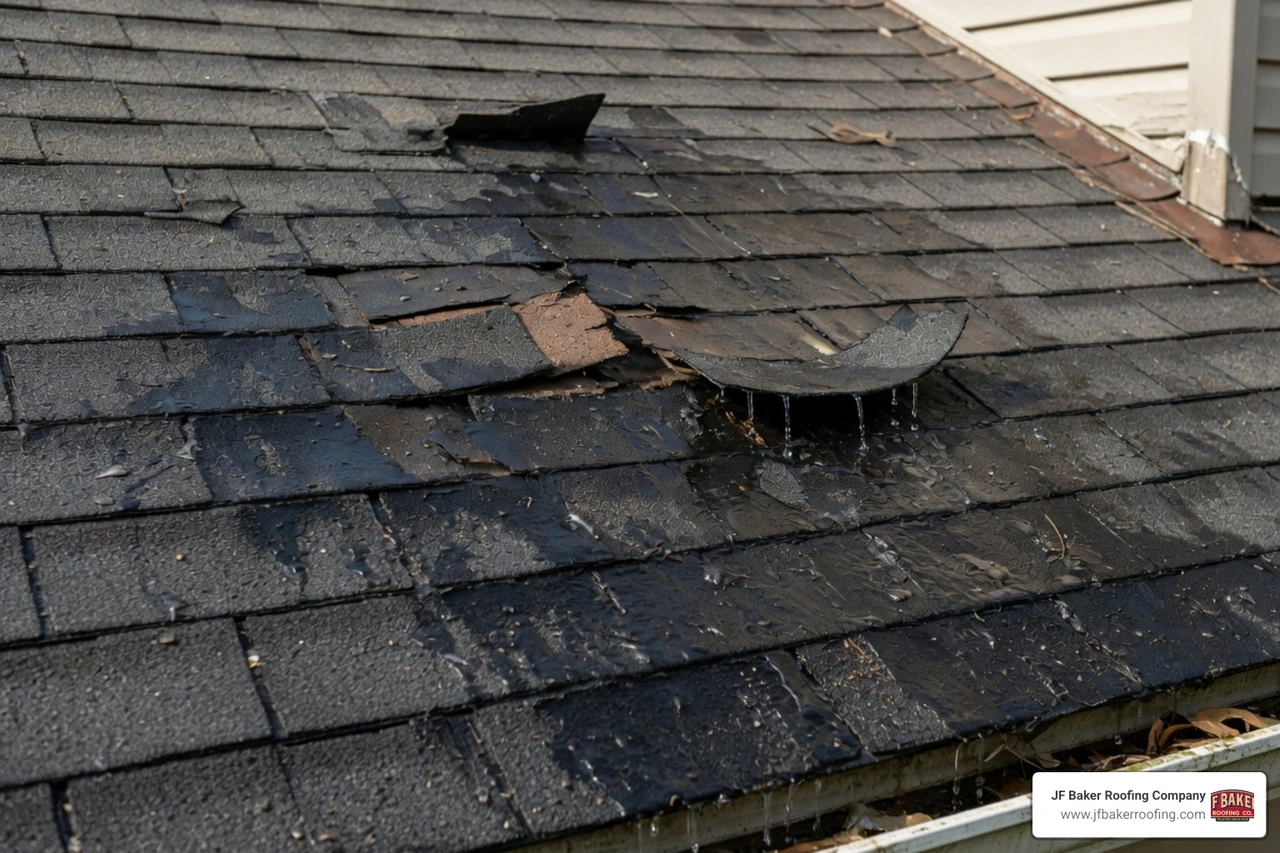
Spring storm season hits Central Ohio hard. A single missing shingle or a small split in flashing around a pipe vent can go from a minor inconvenience to a serious water damage problem in just one rainstorm. What looks like a small stain on your ceiling can mean rot is already forming in the roof deck below.
The good news is that many common roof leaks are manageable if you act quickly and use the right approach. Whether you are dealing with a blown-off shingle after a windstorm, cracked flashing around a chimney, or a small puncture from a fallen branch, knowing what to do in the first few hours makes a real difference.
A small leak left alone can quickly turn into water damage, mold, and costly structural repairs. This guide walks you through how to find the source of a leak safely, how to patch different roof types correctly, and how to know when a patch is enough versus when it is time for a full replacement.
JF Baker Roofing has been helping Central Ohio homeowners protect their homes since 1929. The advice here reflects what we have learned over nearly a century of honest roofing work — no pressure, just practical guidance you can actually use.
Best way to patch a roof basics:
Finding the Leak Source Safely
Before you can apply a patch, you have to know exactly where the water is getting in. This is often the trickiest part of the job. Water is sneaky. It rarely falls in a straight line from the roof to your ceiling. Instead, it often enters at one point, runs along a rafter or the top of the insulation, and finally drips down several feet away from the actual hole.
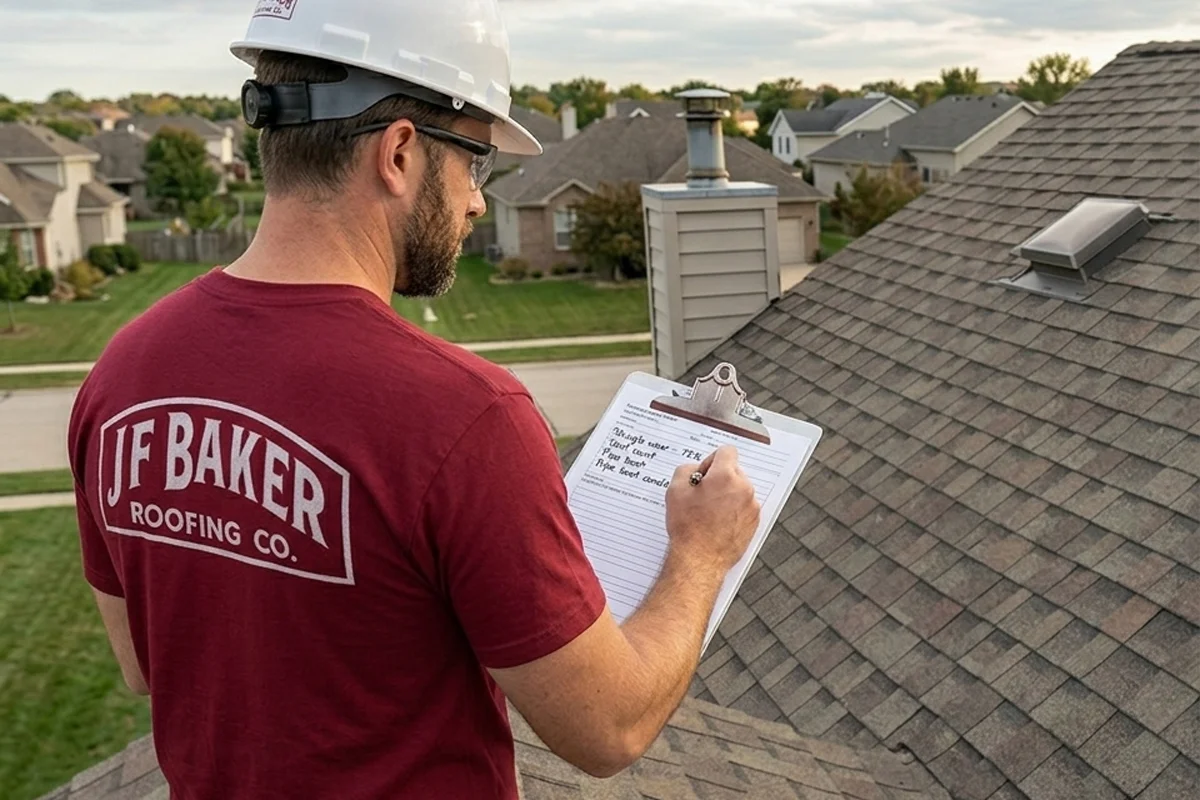
The safest and best way to patch a roof starts with an inspection from inside your attic. Grab a bright flashlight and head upstairs. Look for water trails, damp spots in the insulation, or dark stains on the wood rafters. If it is currently raining, you might see the glisten of water reflecting your light. If the wood is dry but stained, the leak is likely older.
If you cannot find the source from the attic, you can perform a garden hose test. Have a helper stay in the attic with a flashlight while you go outside. Start low on the roof and spray water near a suspected area. Work your way up slowly, giving the water time to soak through. When your helper sees a drip, you have found your spot.
Safety is our biggest priority. If you must get on the roof, follow these rules:
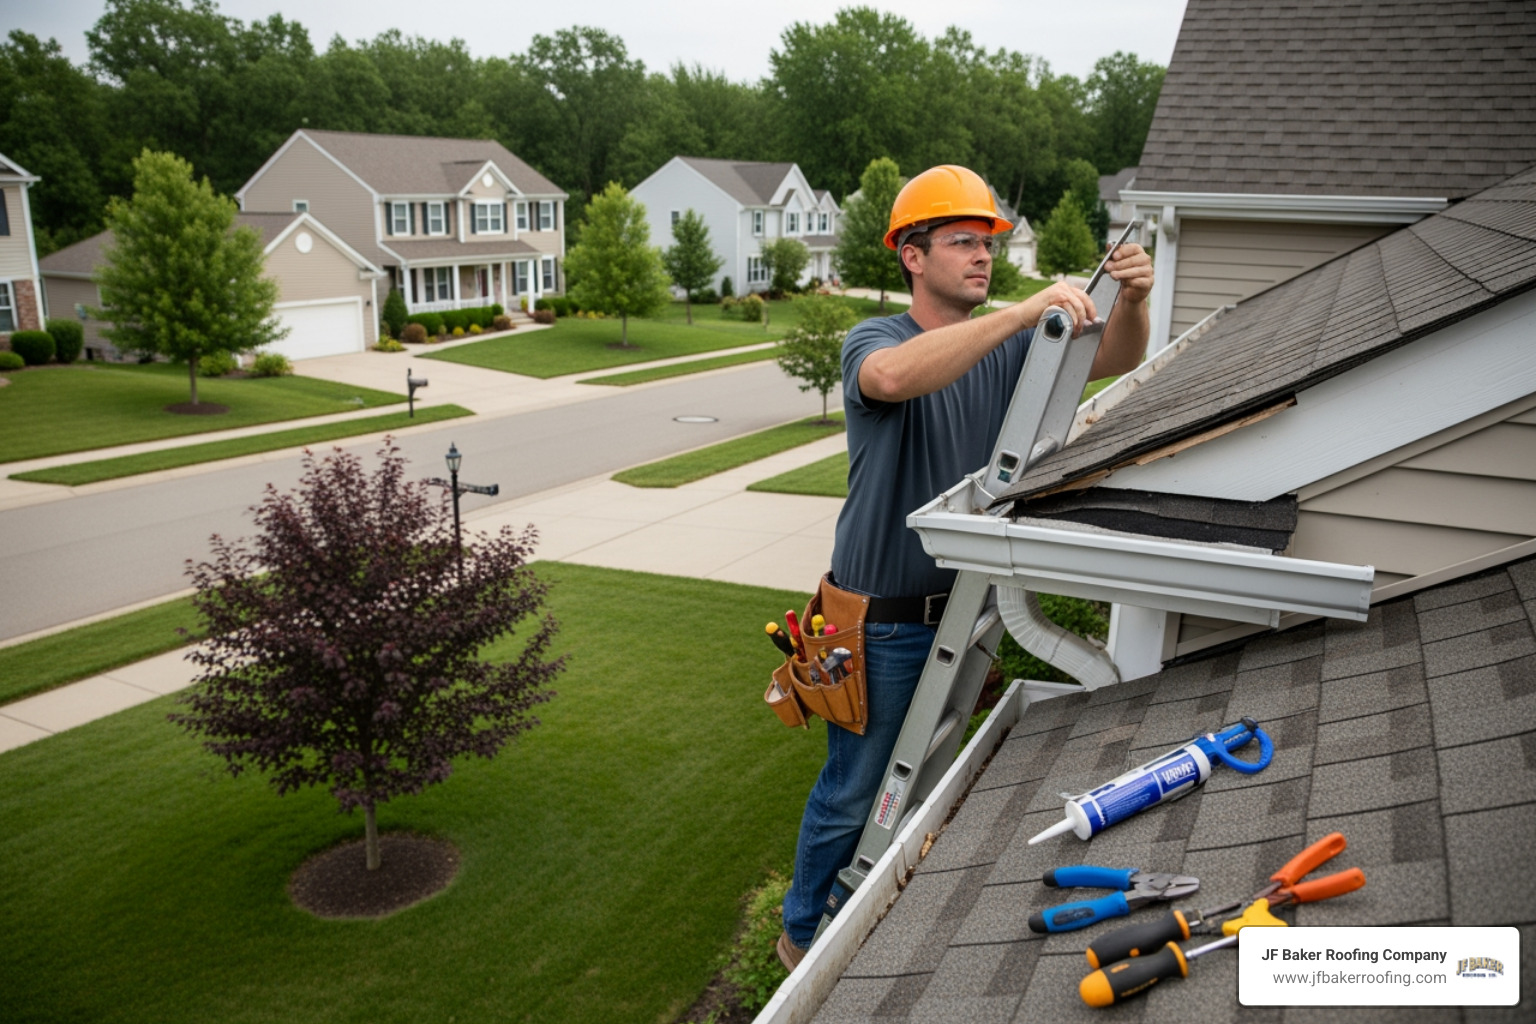
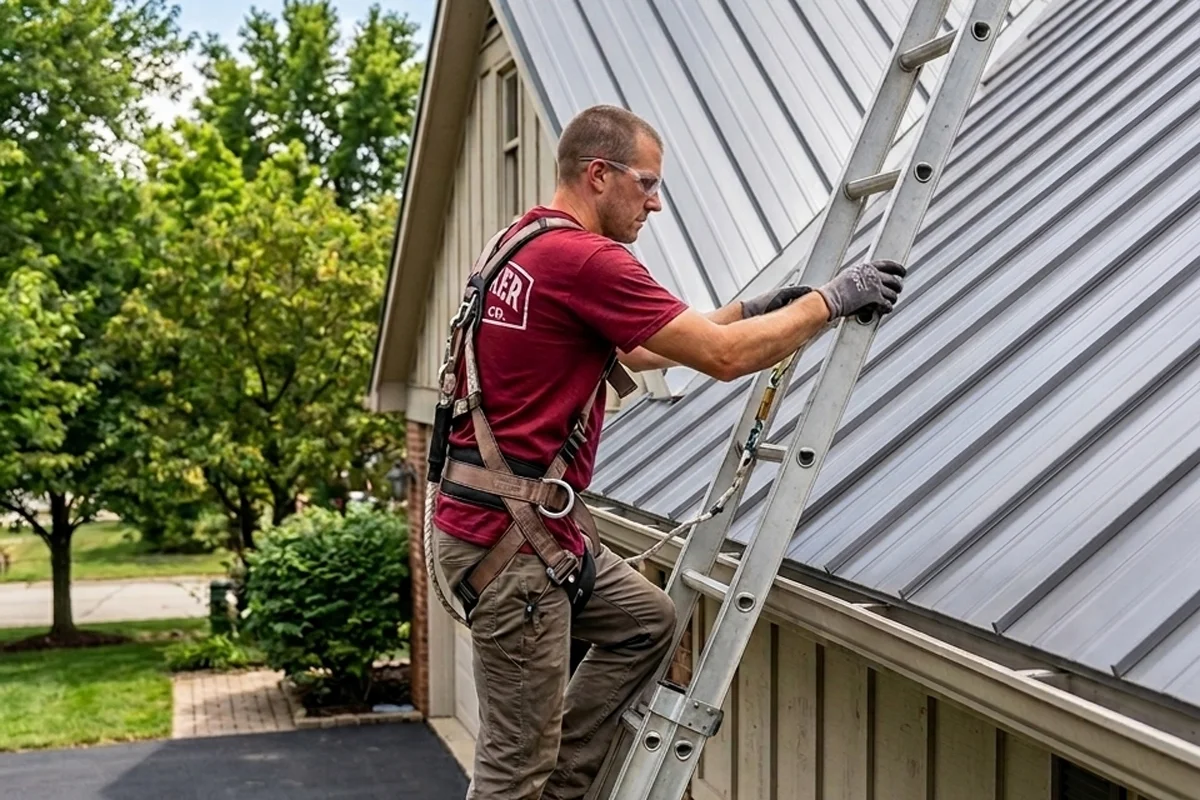
- Use the 4-to-1 rule for ladders: for every four feet of height, the base of the ladder should be one foot away from the wall.
- Ensure the ladder extends at least three feet above the roof edge so you have something to hold onto when stepping off.
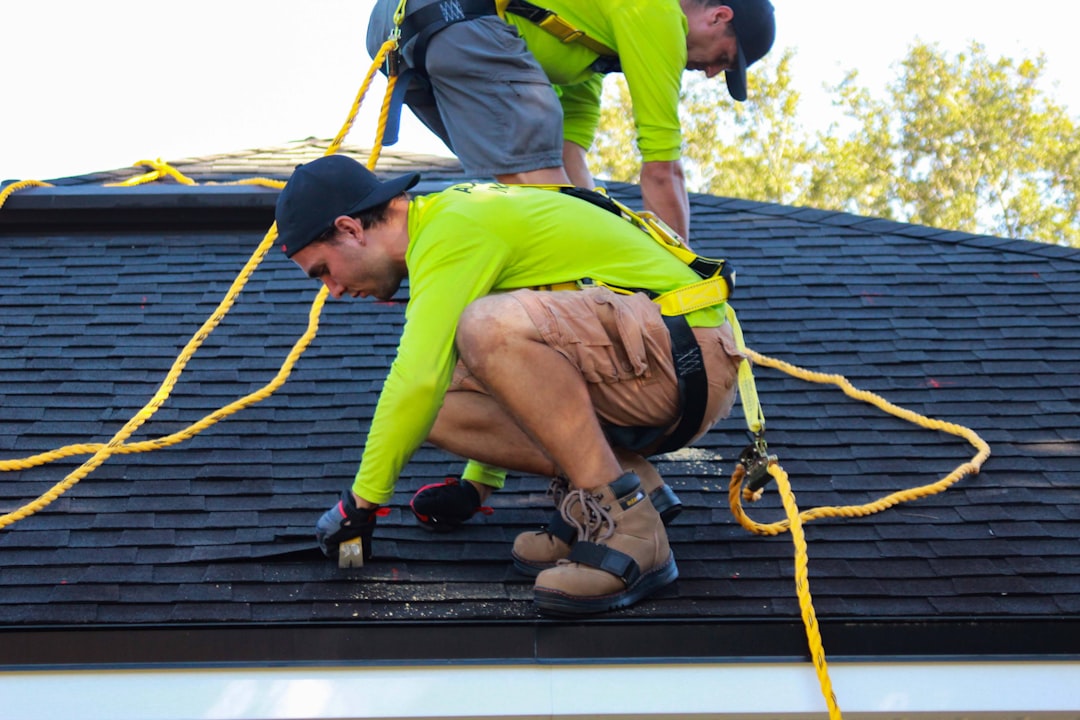
- Wear sturdy, rubber-soled boots for better grip.
- Avoid the roof if it is wet, icy, or if the wind is blowing hard.
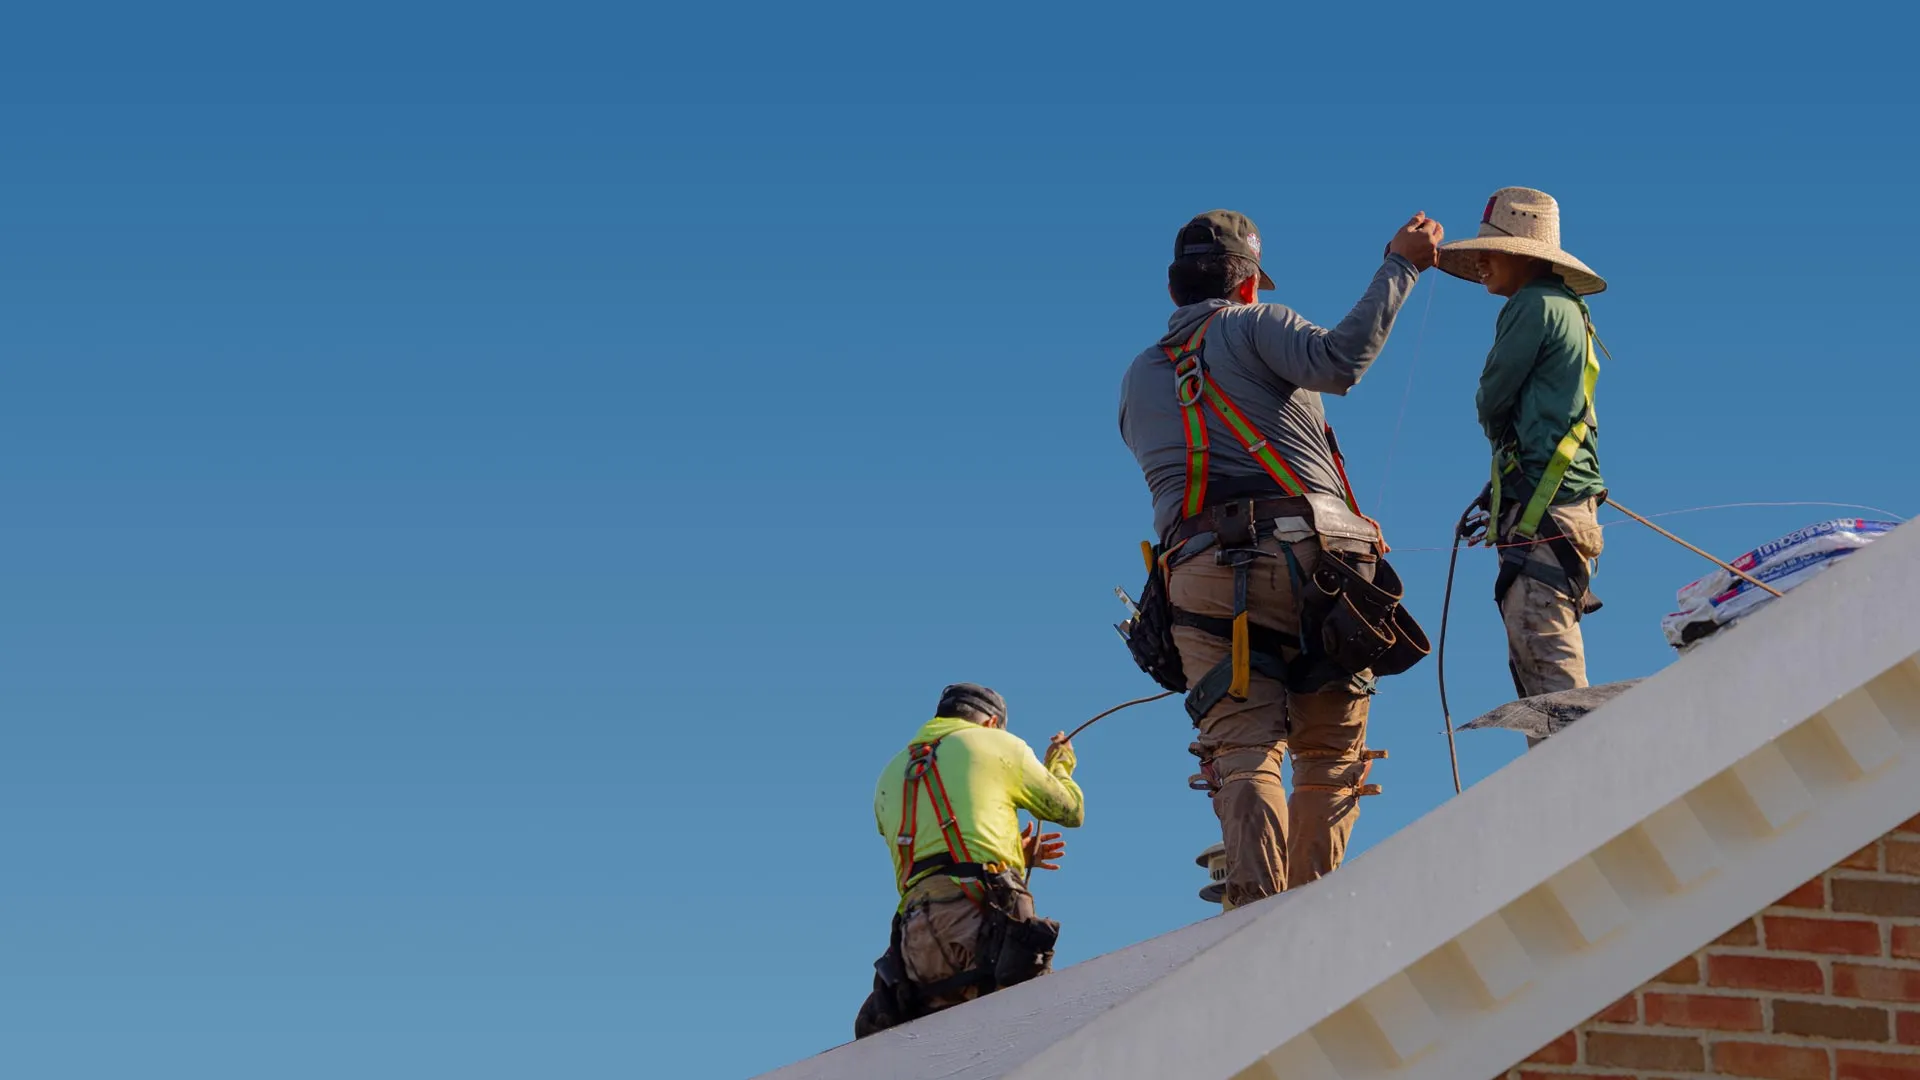
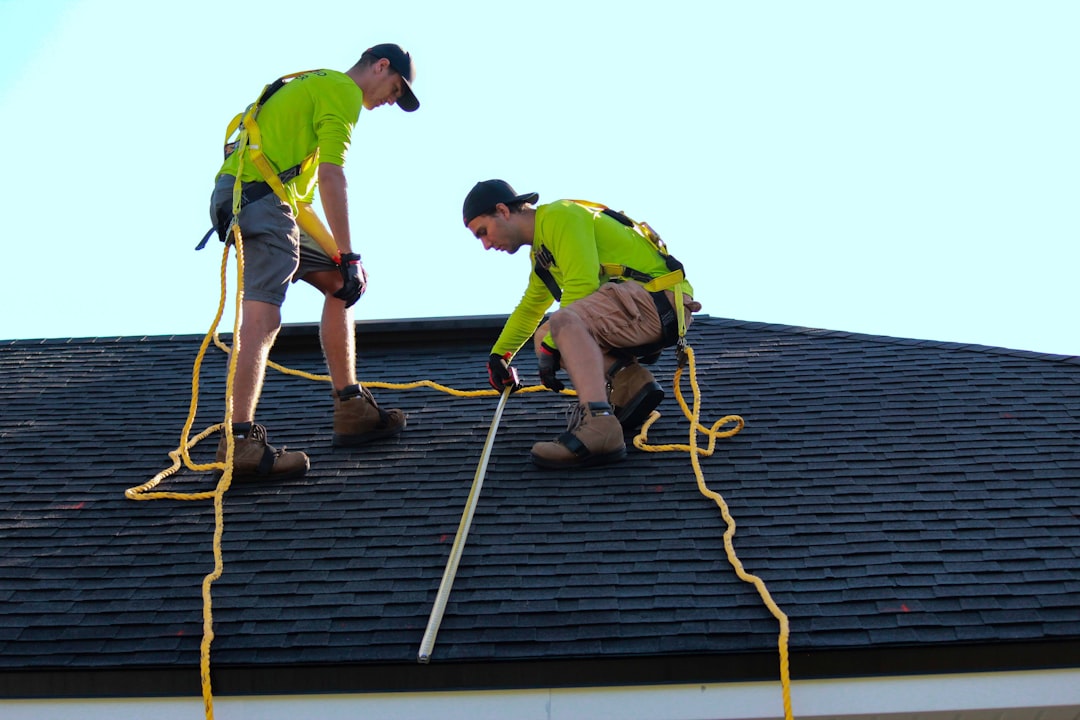
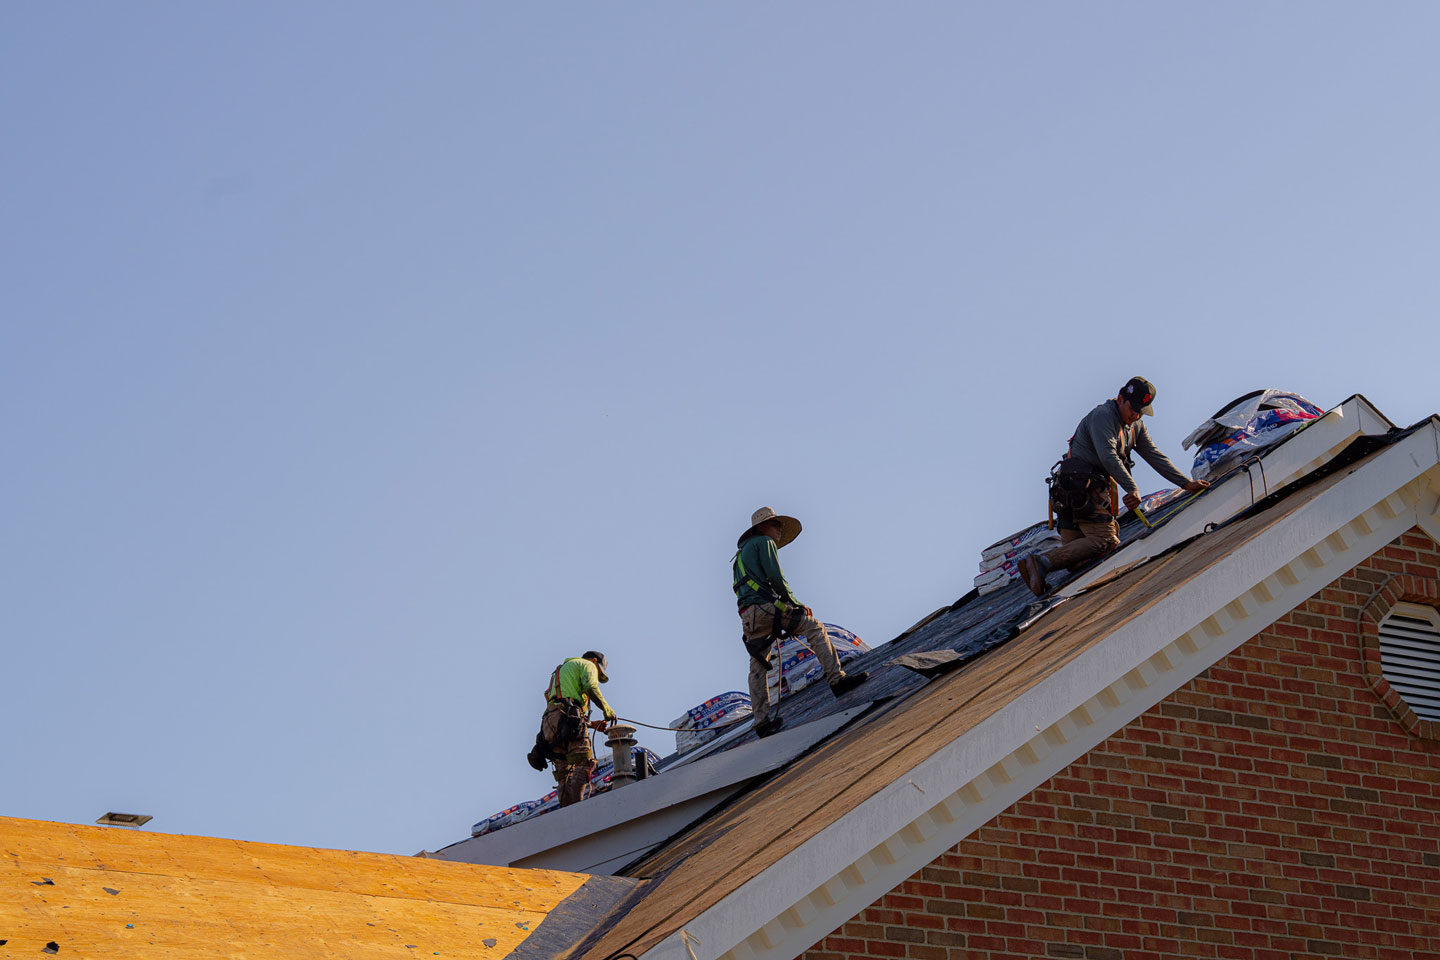
- Use a safety harness if you are working on a steep slope. According to safety statistics, a properly anchored harness can reduce the risk of a fatal fall by over 80 percent.
If you are uncomfortable climbing, use a pair of binoculars from the ground. Look for missing shingles, cracked vent boots, or warped flashing around the chimney. For more details on safe identification, you can check this How to safely identify leaks guide.

The Best Way to Patch a Roof: Step-by-Step Guide
Once you have located the damage, it is time to perform the repair. For most homes in Columbus and surrounding areas like Dublin or Westerville, you will be dealing with asphalt shingles. These cover nearly 70 percent of homes in the U.S. and are generally the most straightforward to patch.
Here is the best way to patch a roof using shingles:
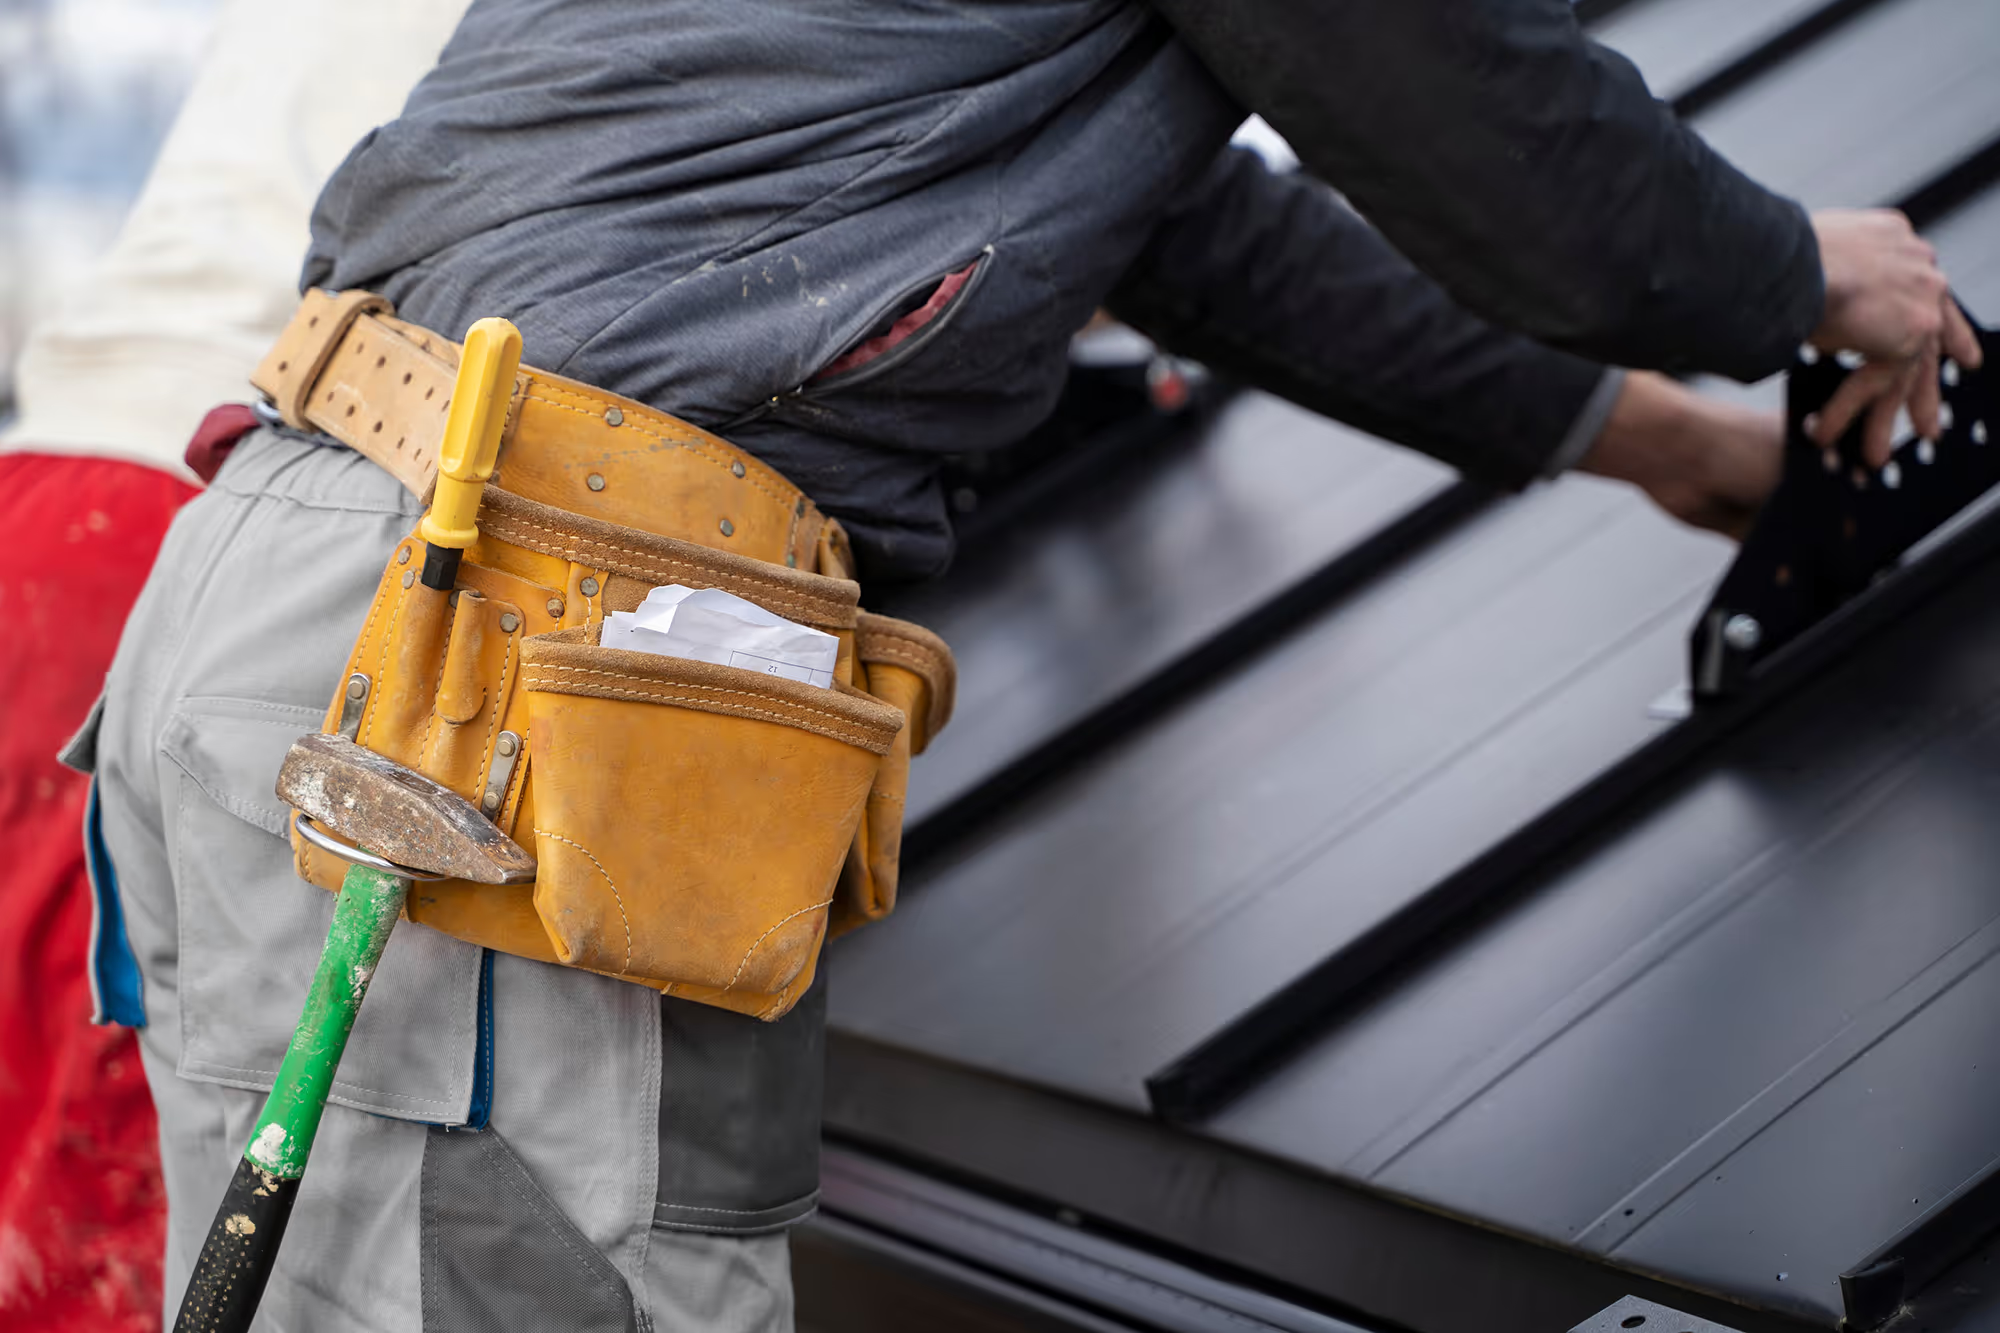
- Gather your tools: You will need a flat pry bar, a hammer, a utility knife, galvanized roofing nails (1.25 or 1.5 inches), and a tube of asphalt roofing cement.
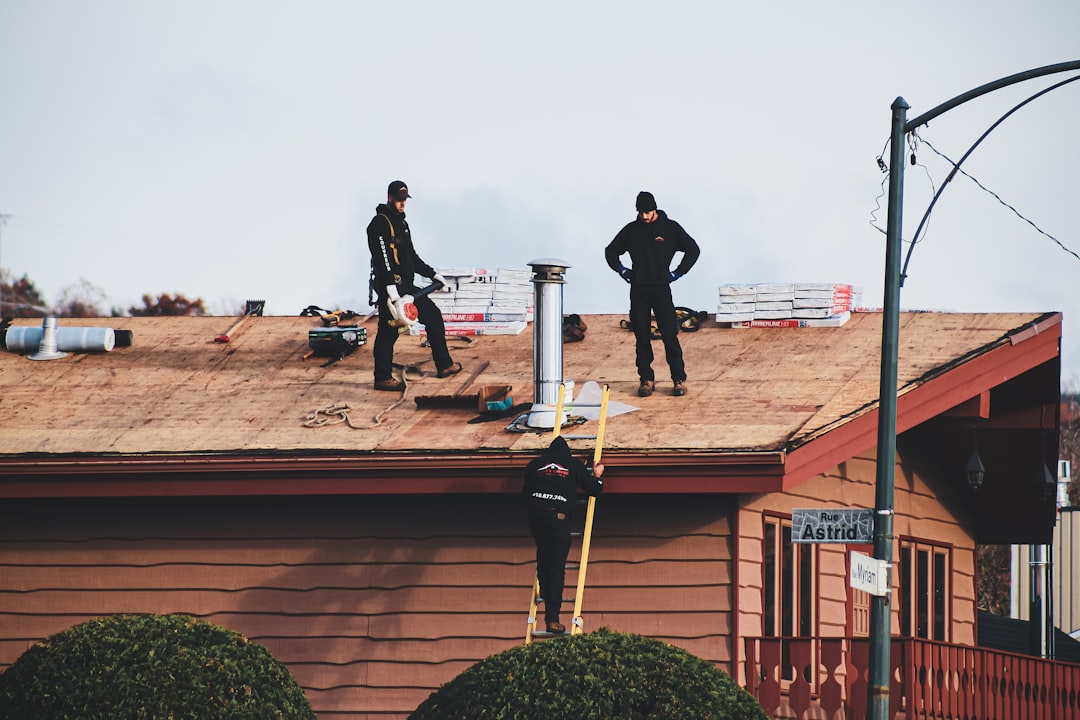
- Prepare the area: Use the pry bar to carefully lift the shingles directly above the damaged one. You need to reach the nails holding the broken shingle in place.
- Remove the damage: Slide the pry bar under the damaged shingle and pop the nails out. Once the nails are gone, the shingle should slide right out.
- Inspect the deck: Before putting a new shingle down, look at the wood underneath. If it is soft, rotting, or crumbling, a simple patch will not work. You may need to Replace Drip Edge or repair the plywood decking first.
- Cut the new shingle: If the replacement shingle is a tight fit, try rounding the back corners slightly with your utility knife. This makes it much easier to slide into position.
- Nail it down: Slide the new shingle into place. Drive four nails into the nail strip, about one inch from each side and six inches apart. Never nail through the exposed part of the shingle.
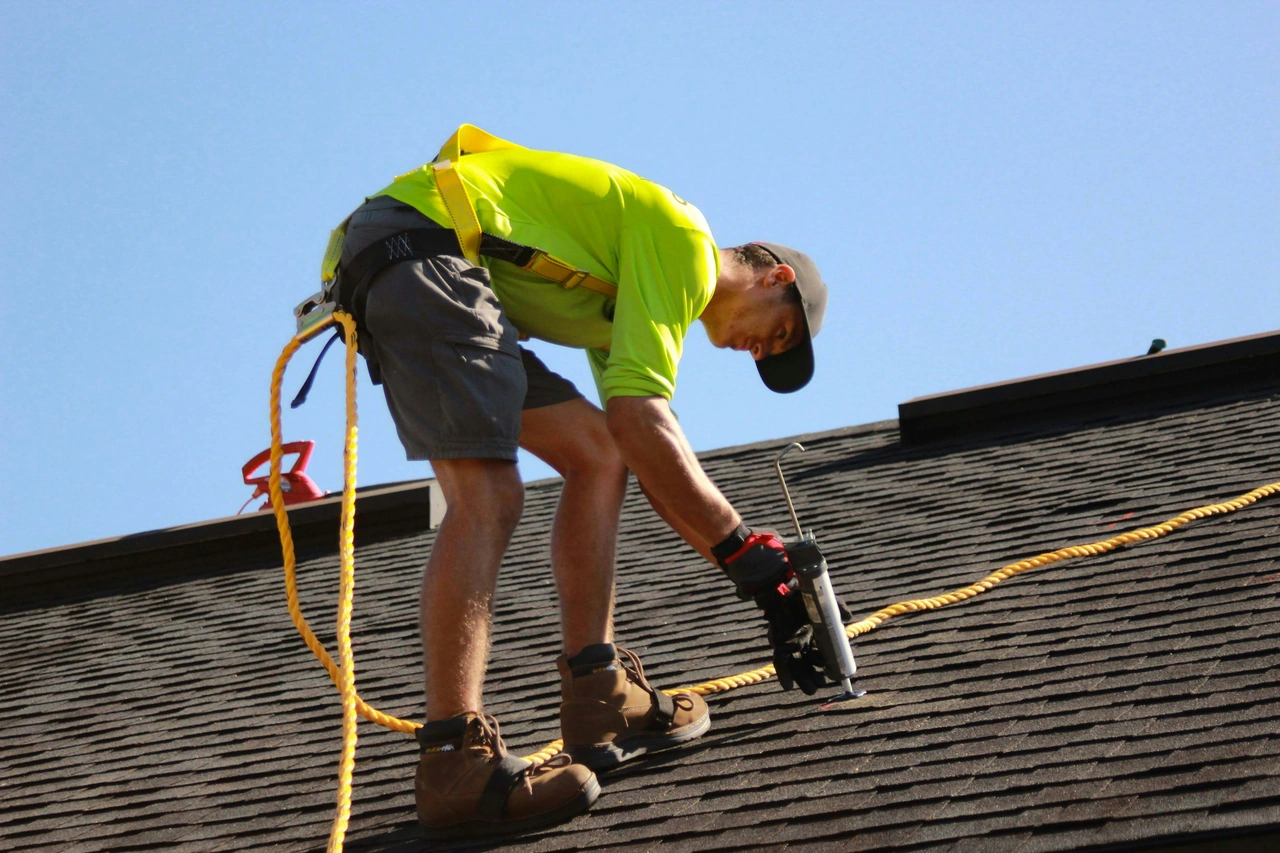
- Seal it up: Apply a small dab of roofing cement over each nail head. This is a critical step that many DIYers skip. Unsealed nail heads are the most common cause of leaks in new patches.
For a more comprehensive look at this process, you might find the Roof Patch Guide: How To Patch Your Roof In 7 Steps helpful. Shingles are easiest to work with on a warm, dry day. If it is too cold, they become brittle and crack. If it is too hot, they can become too soft and tear easily.
The Best Way to Patch a Roof in Emergency Situations
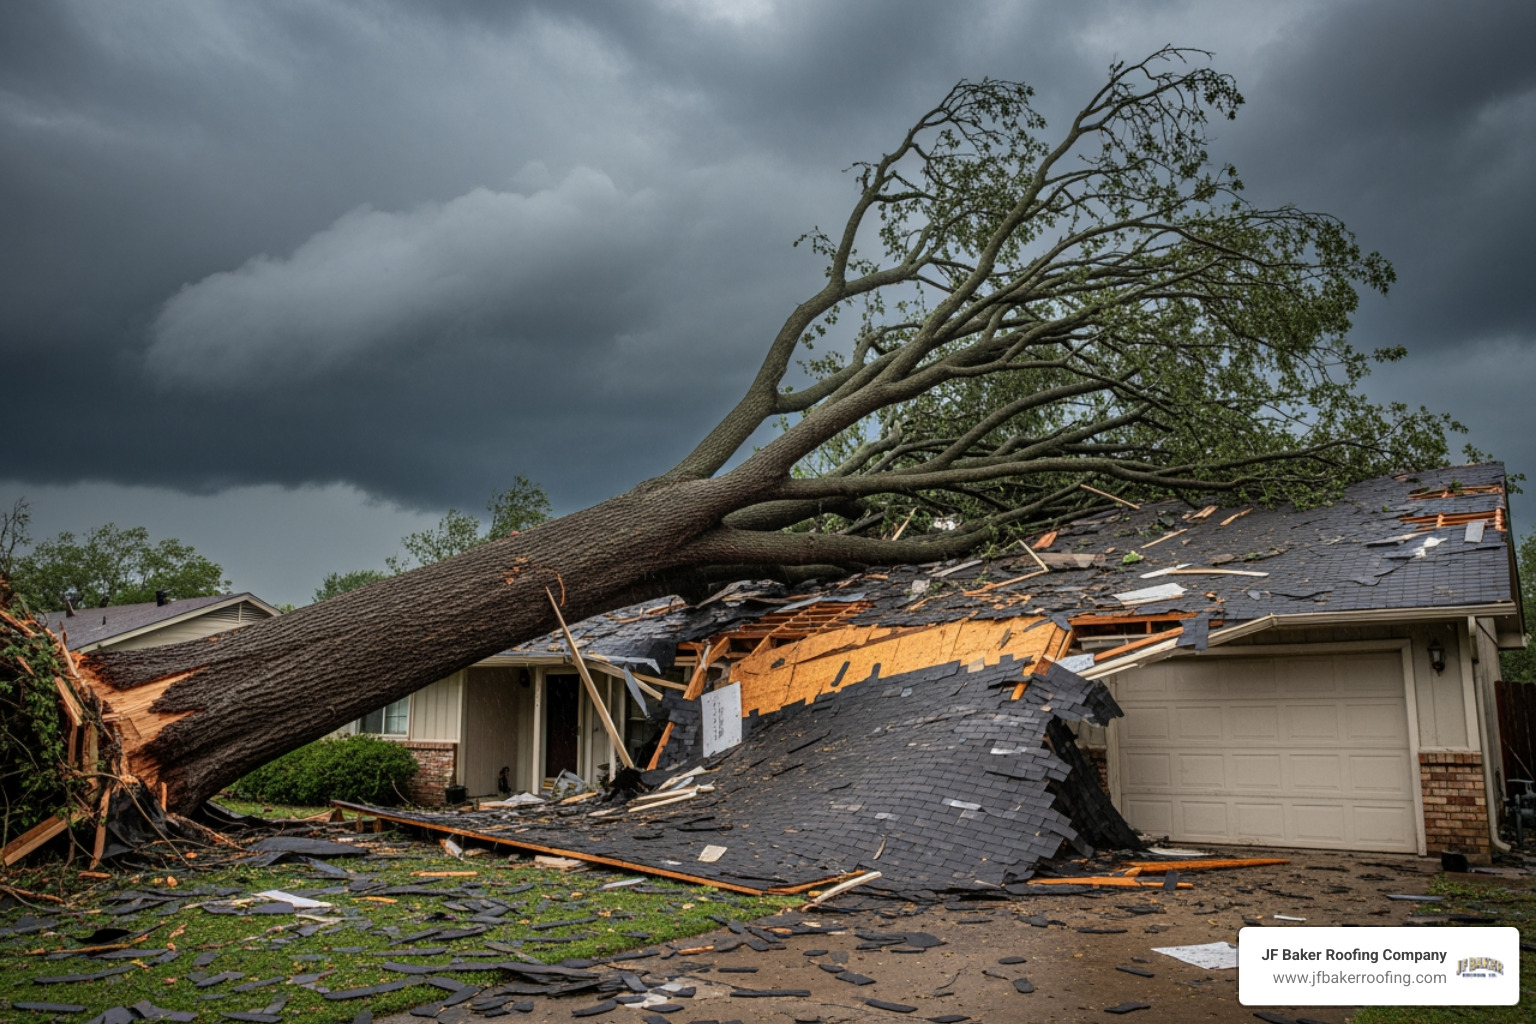
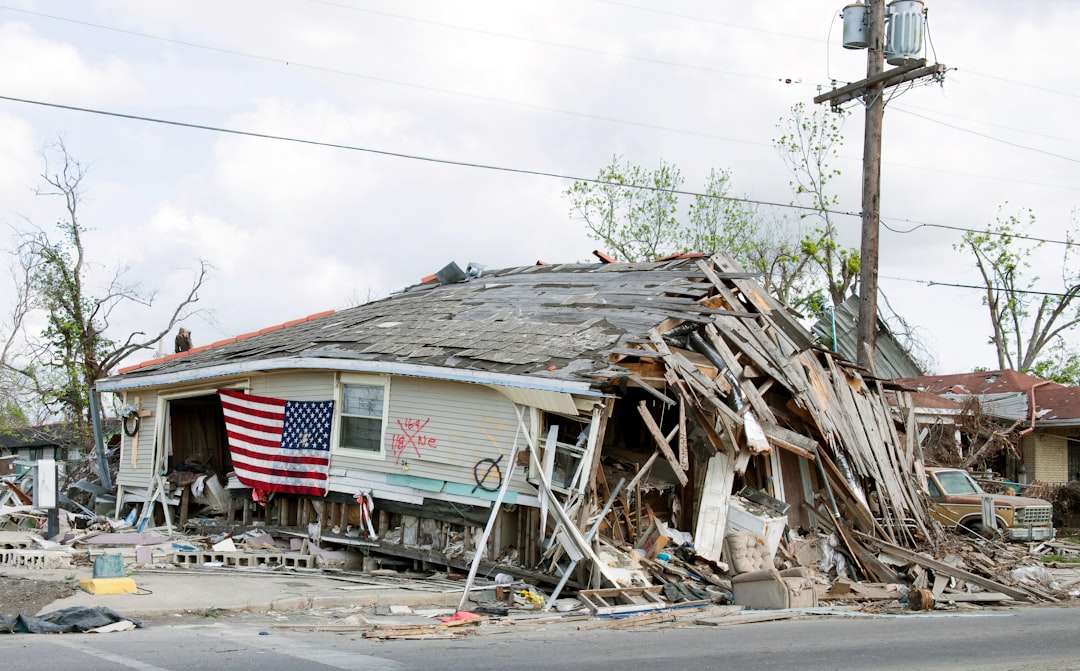
If a storm is actively rolling through Central Ohio and you have a major hole from a fallen limb, you might not have time for a permanent shingle repair. In these cases, a tarp is your best friend.
To install a tarp correctly:
- Use a heavy-duty tarp that is larger than the damaged area. It should extend at least four feet past the damage on all sides.
- Always run the tarp over the ridge (the peak) of the roof. If you stop the tarp halfway up the slope, water will just run under the top edge and into the hole.
- Secure the tarp using 2x4 boards. Wrap the tarp around the board and then nail the board into the roof. This prevents the wind from catching the edges and ripping the tarp away.
- Avoid using bricks or sandbags, as these can slide off and become dangerous projectiles in high winds.
For more emergency tips, see this How to Effectively Patch Your Roof: A DIY Guide.
The Best Way to Patch a Roof Around Chimneys and Vents
Leaks often happen at "penetrations" — places where something pokes through the roof. This includes chimneys, plumbing vents, and valleys.
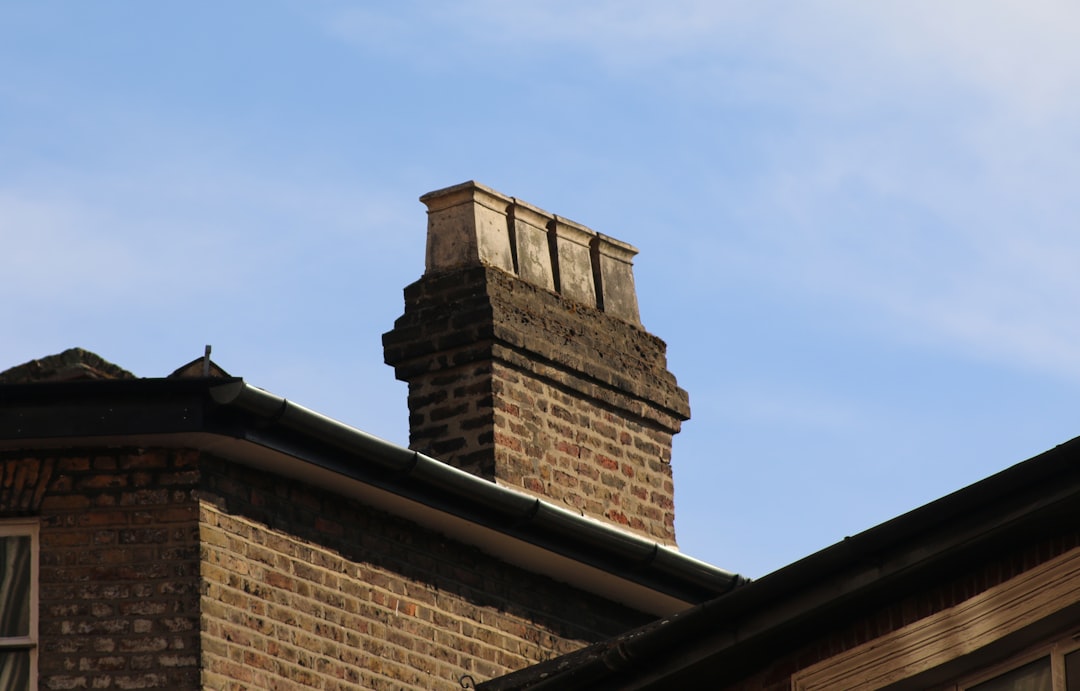
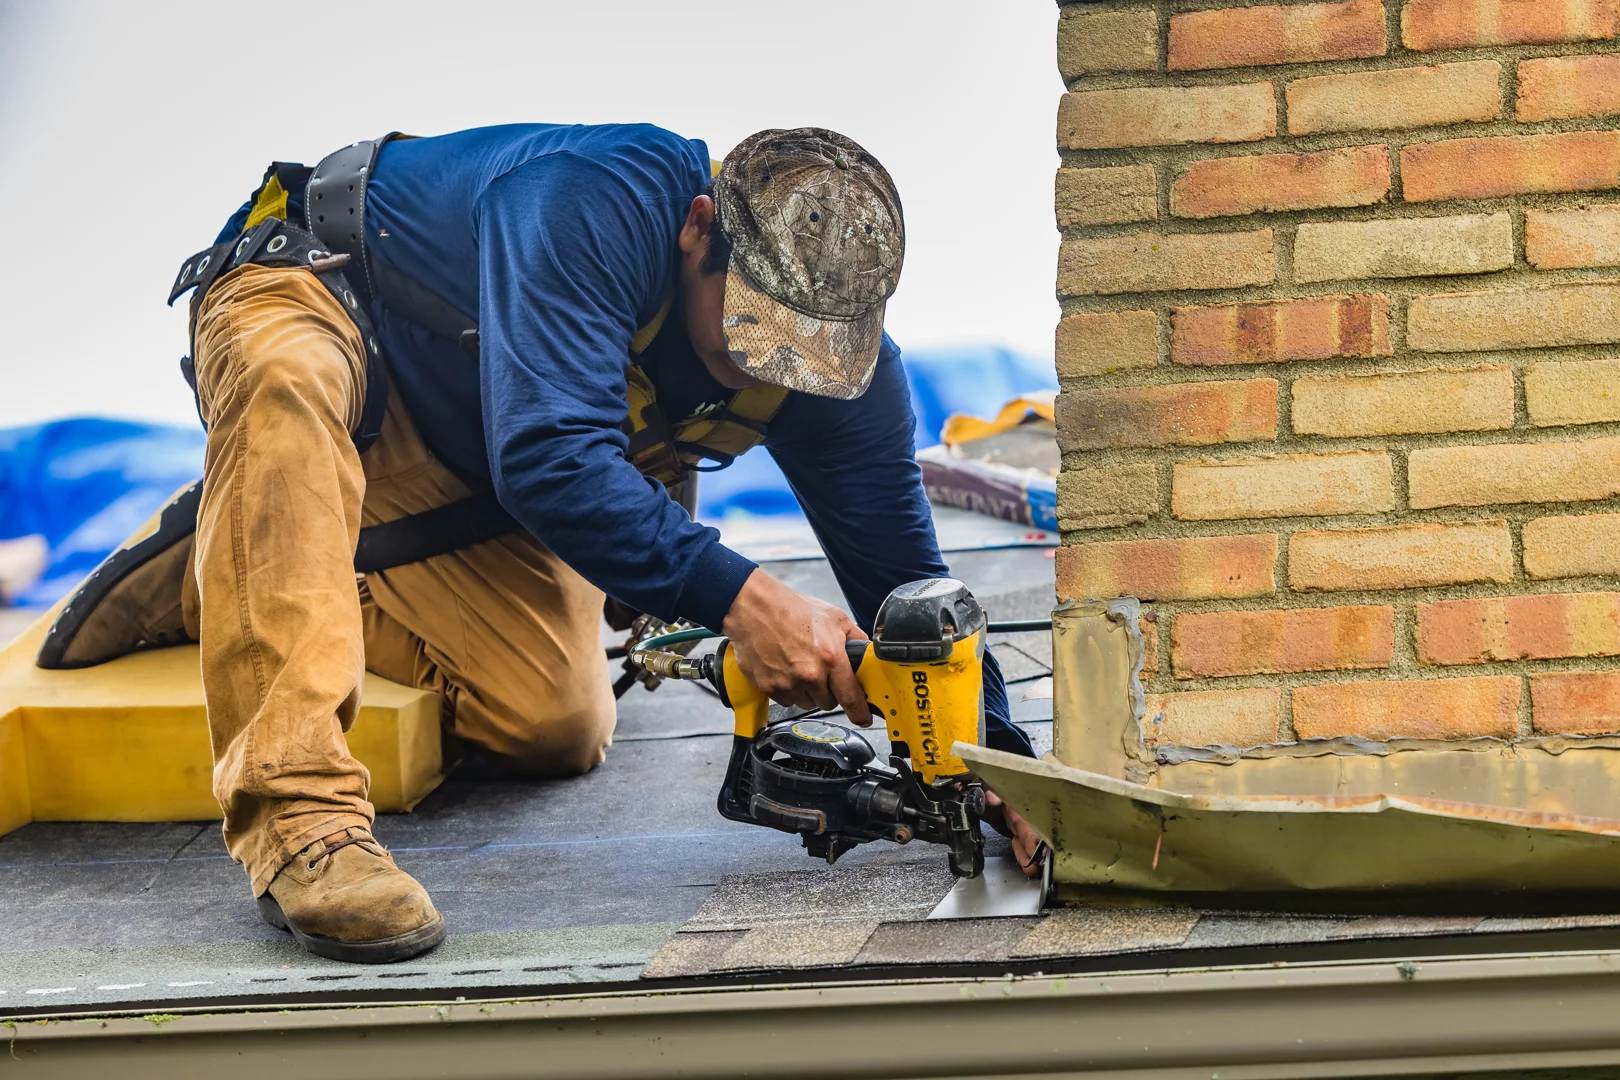
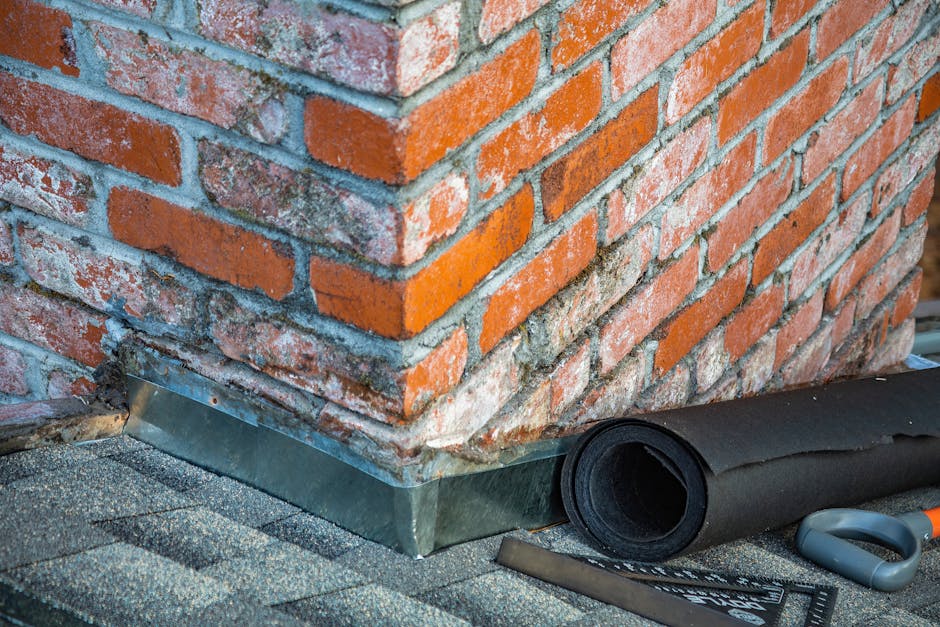
If your chimney is leaking, the culprit is usually the metal flashing. Over time, the sealant between the metal and the brick can crack. You can often perform a Chimney Leak Fix by cleaning out the old, brittle caulk and applying a fresh bead of high-quality roofing sealant.
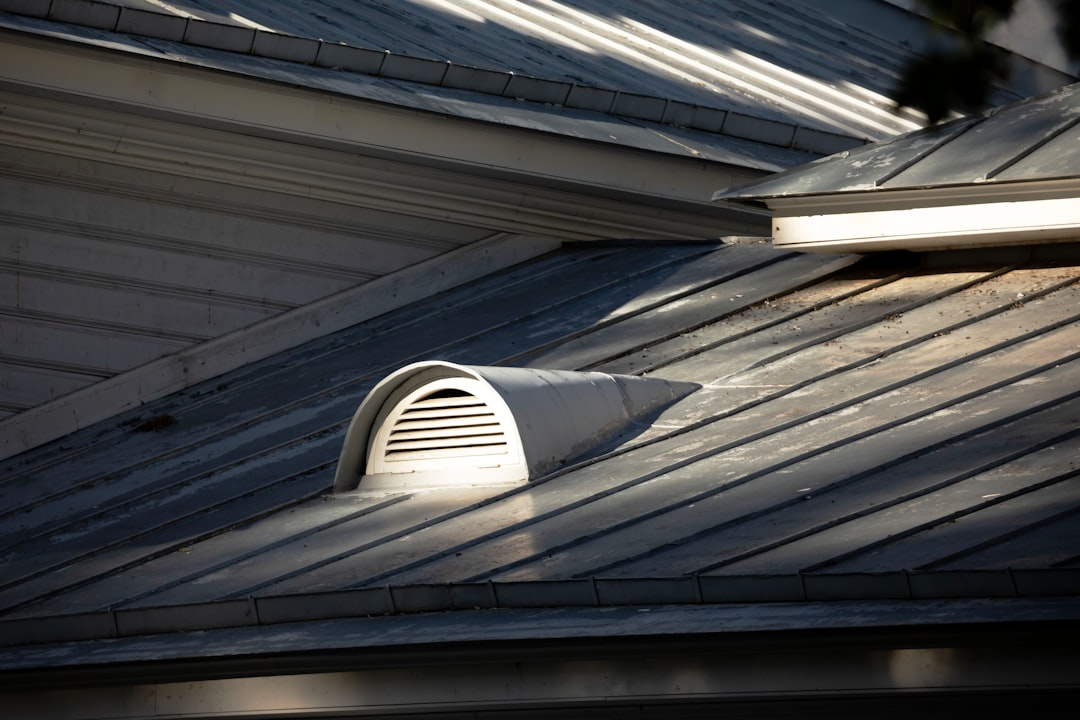
Plumbing vents often have a rubber "boot" that seals the pipe. These rubber seals tend to rot and crack after about 10 to 15 years, often failing long before the shingles do. You can buy a replacement boot at any local hardware store. Slide it over the pipe and seal the base with roofing cement.
If you have a metal roof, check the ridge cap. High winds can loosen the fasteners, leading to a Metal Roof Ridge Cap Leaking. Tightening the screws or adding a bit of butyl tape can usually stop the drip.
Patching Specific Materials and Problem Areas
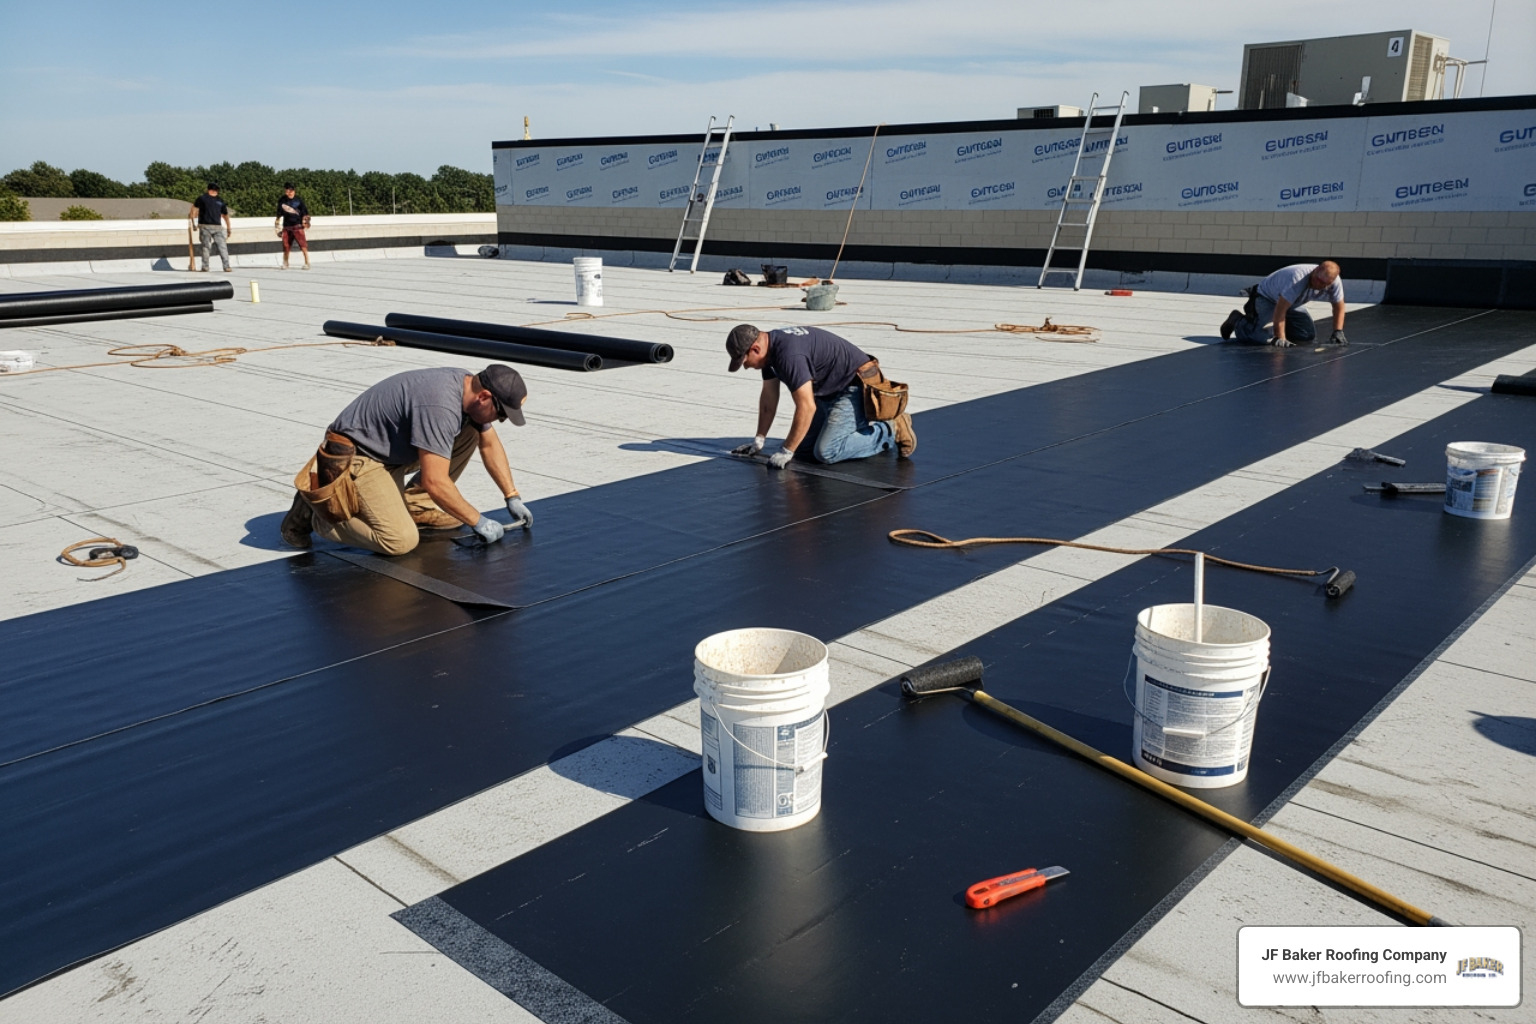
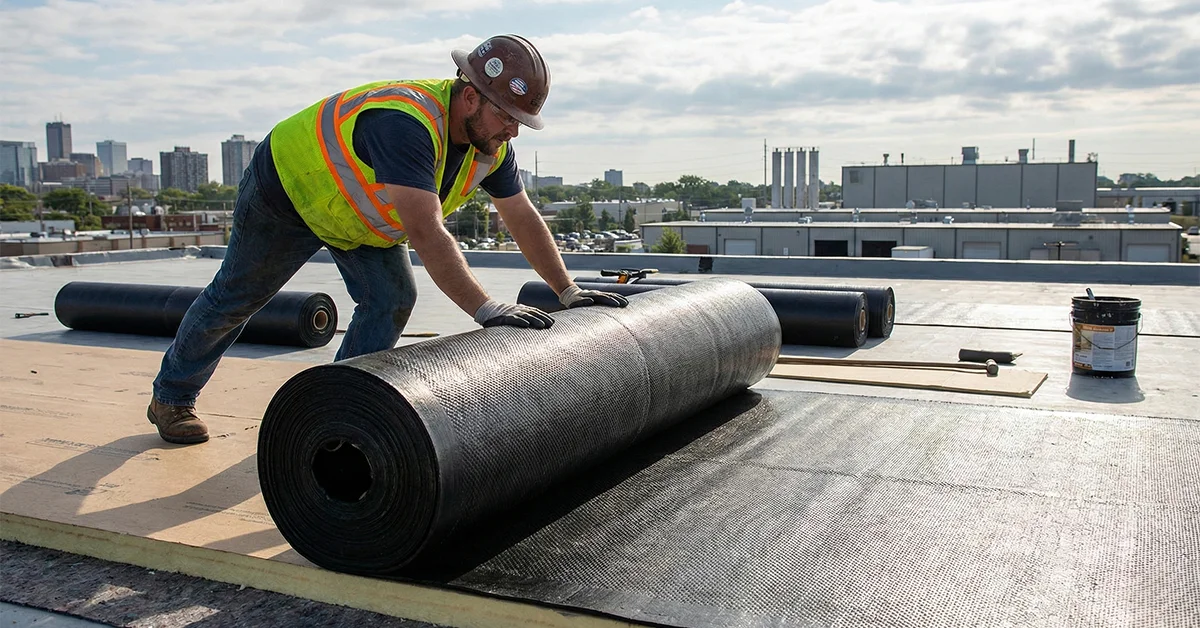
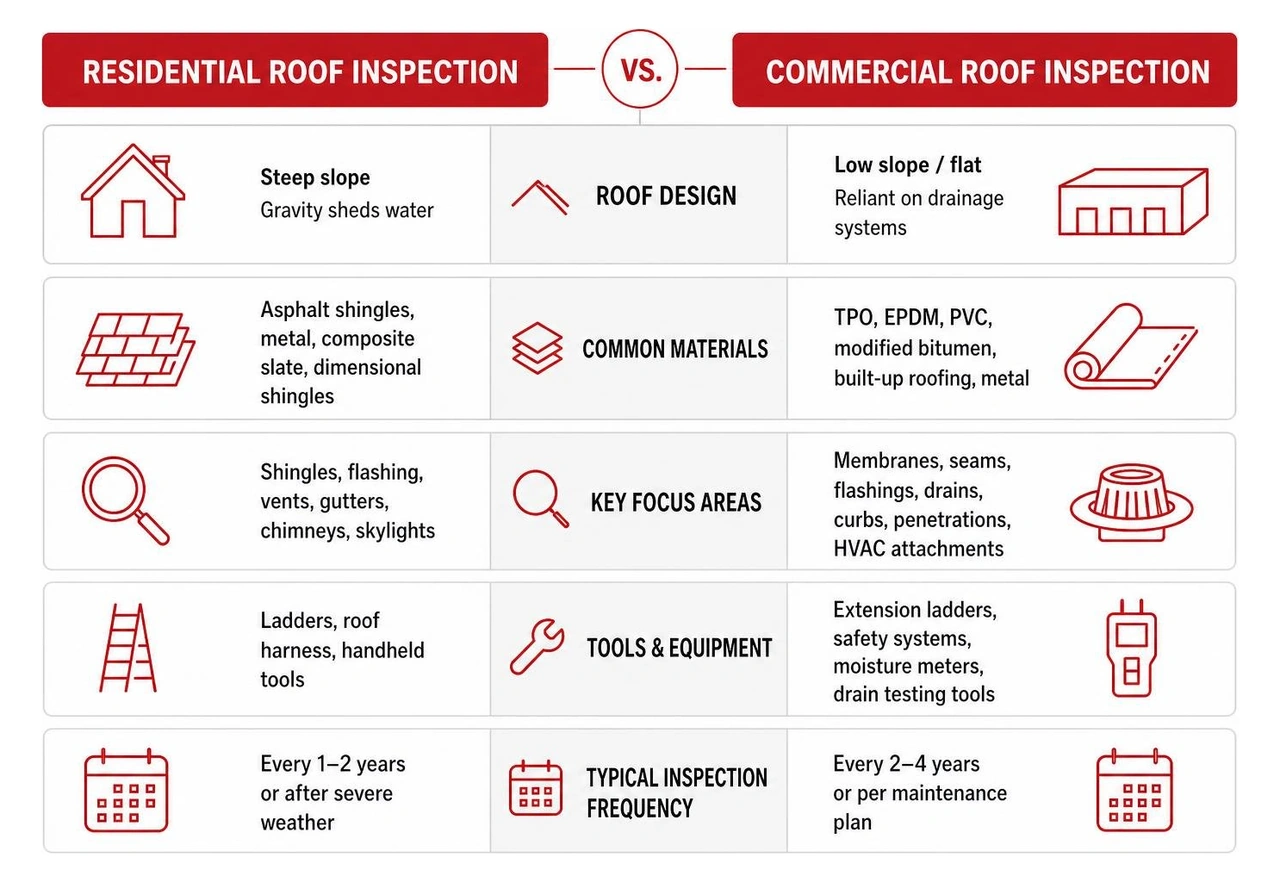
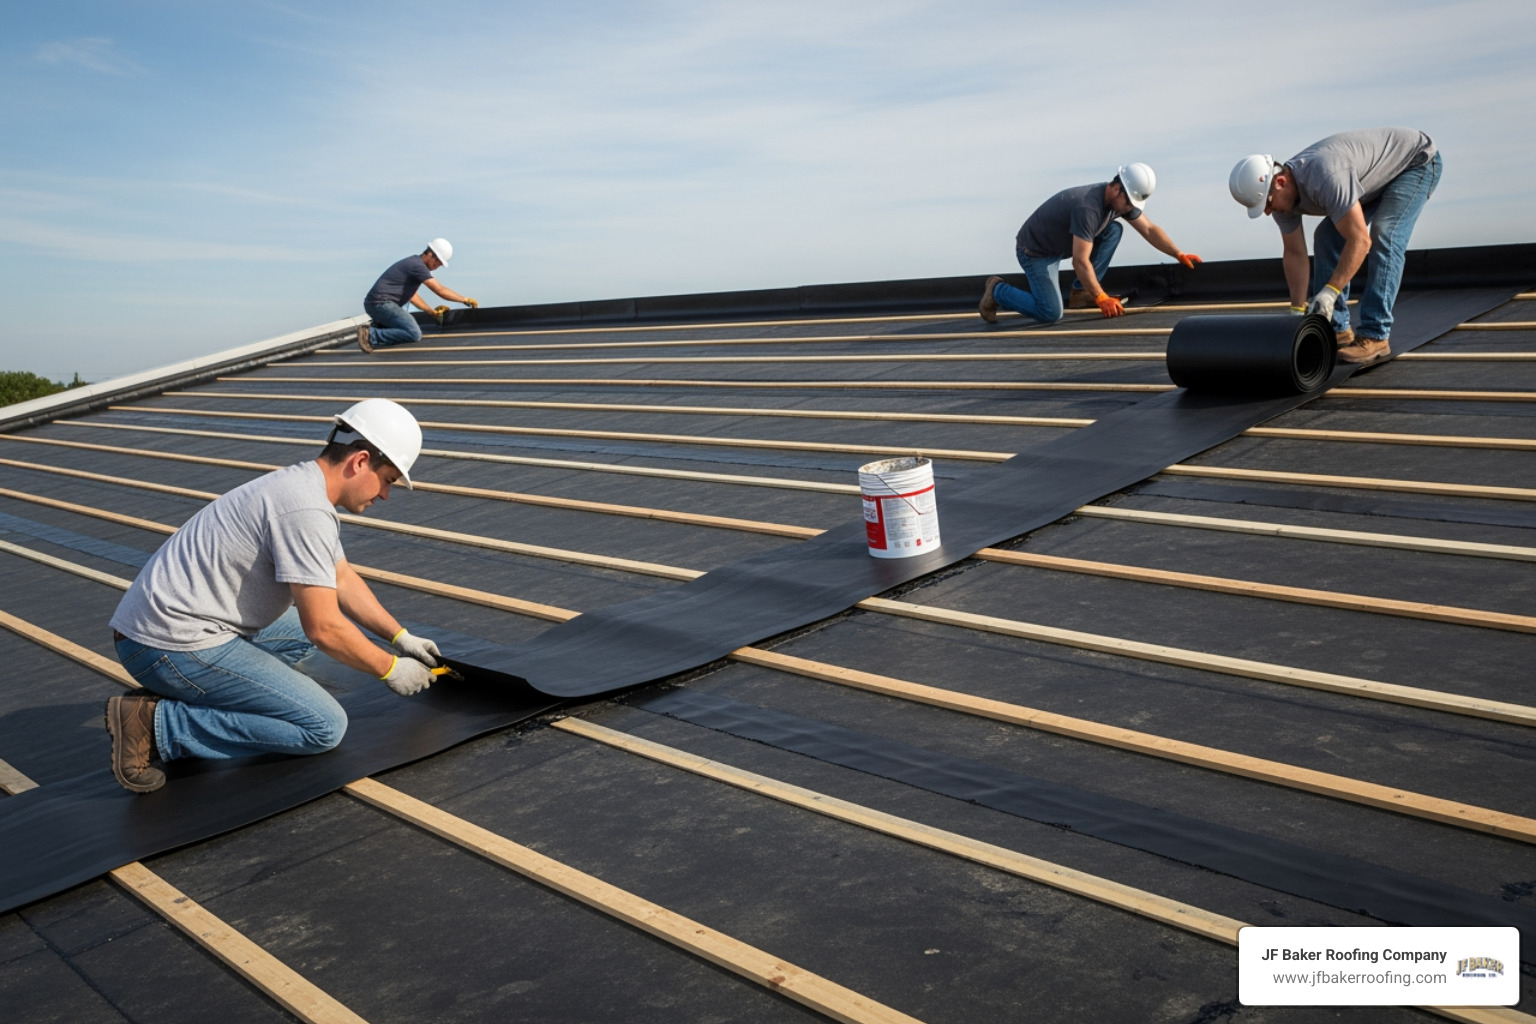
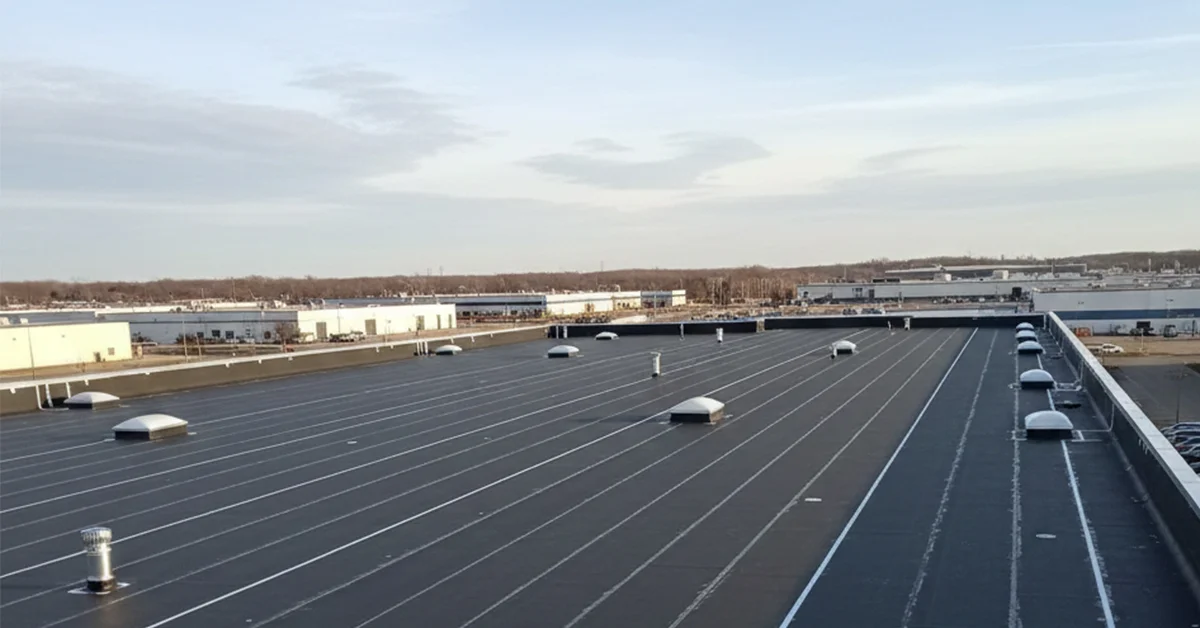
While asphalt shingles are common, many commercial buildings and some residential additions in Columbus use flat or low-slope roofing materials. Patching these requires a different set of tools.
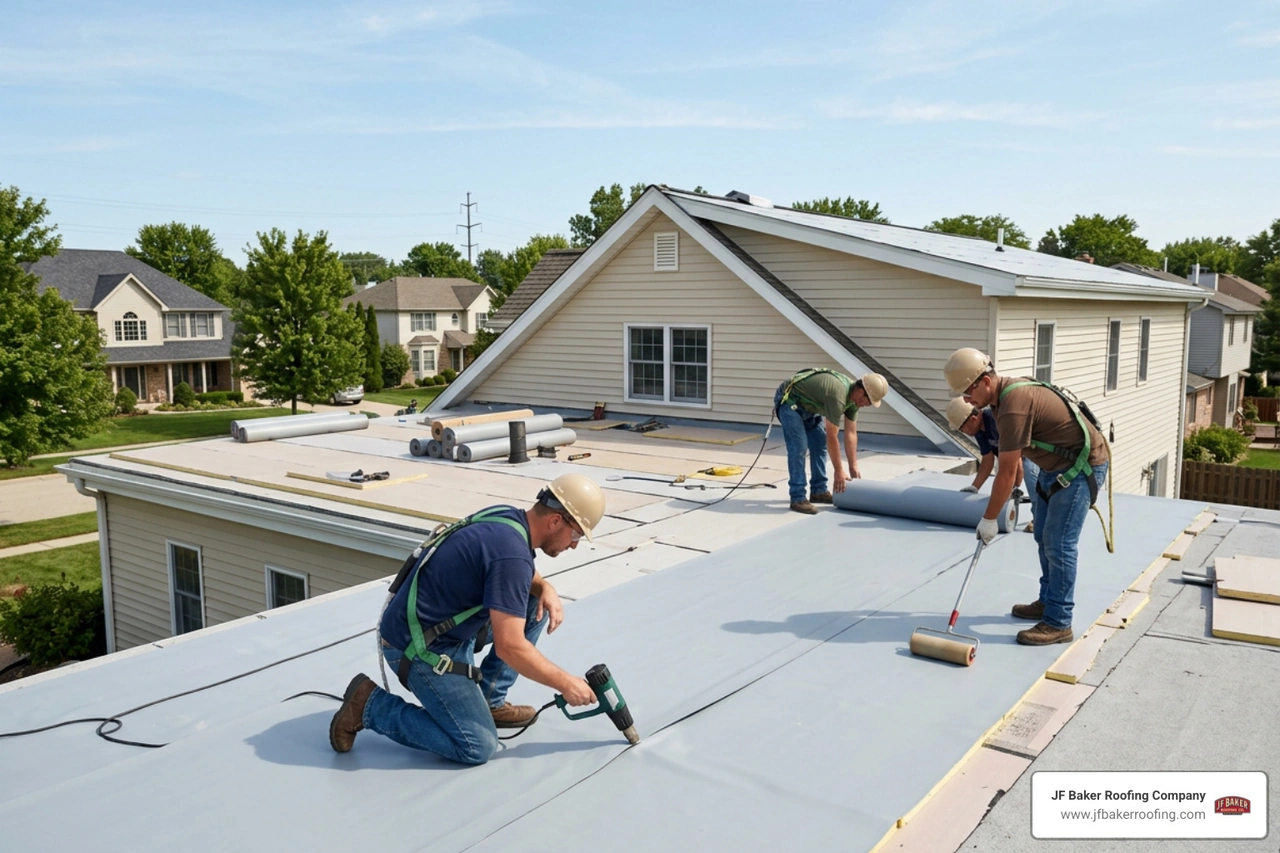
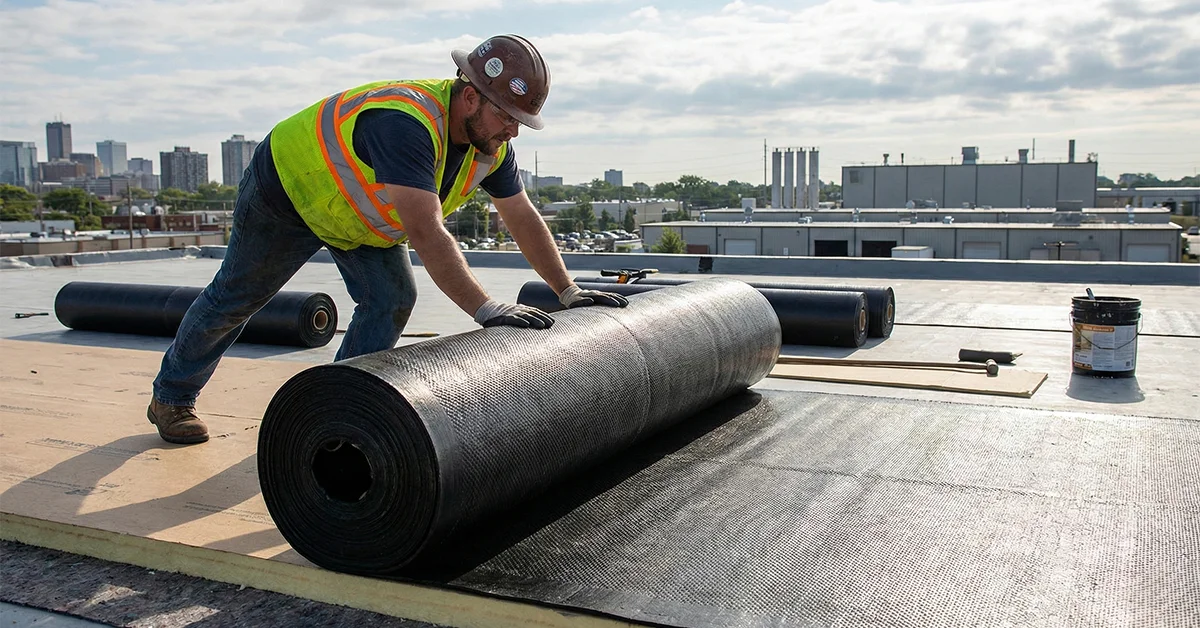
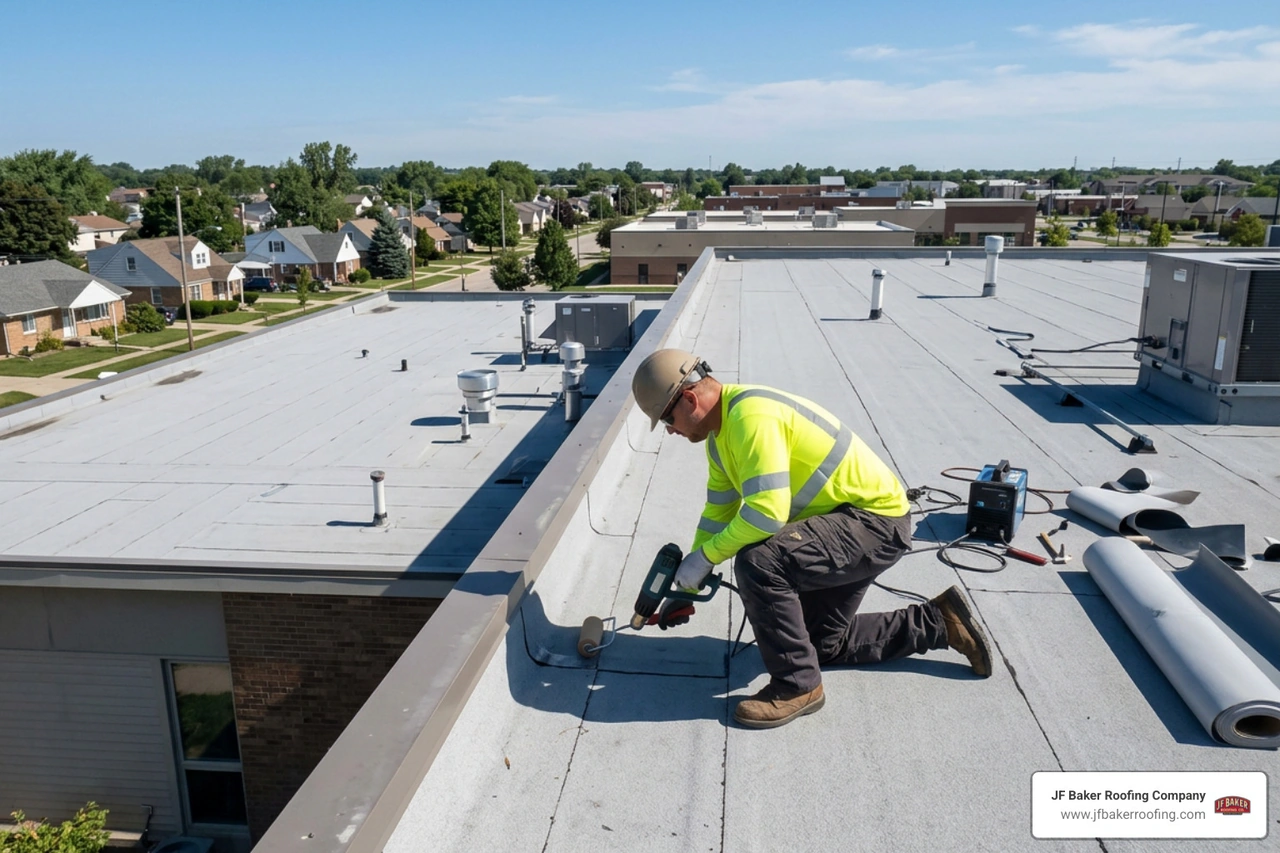
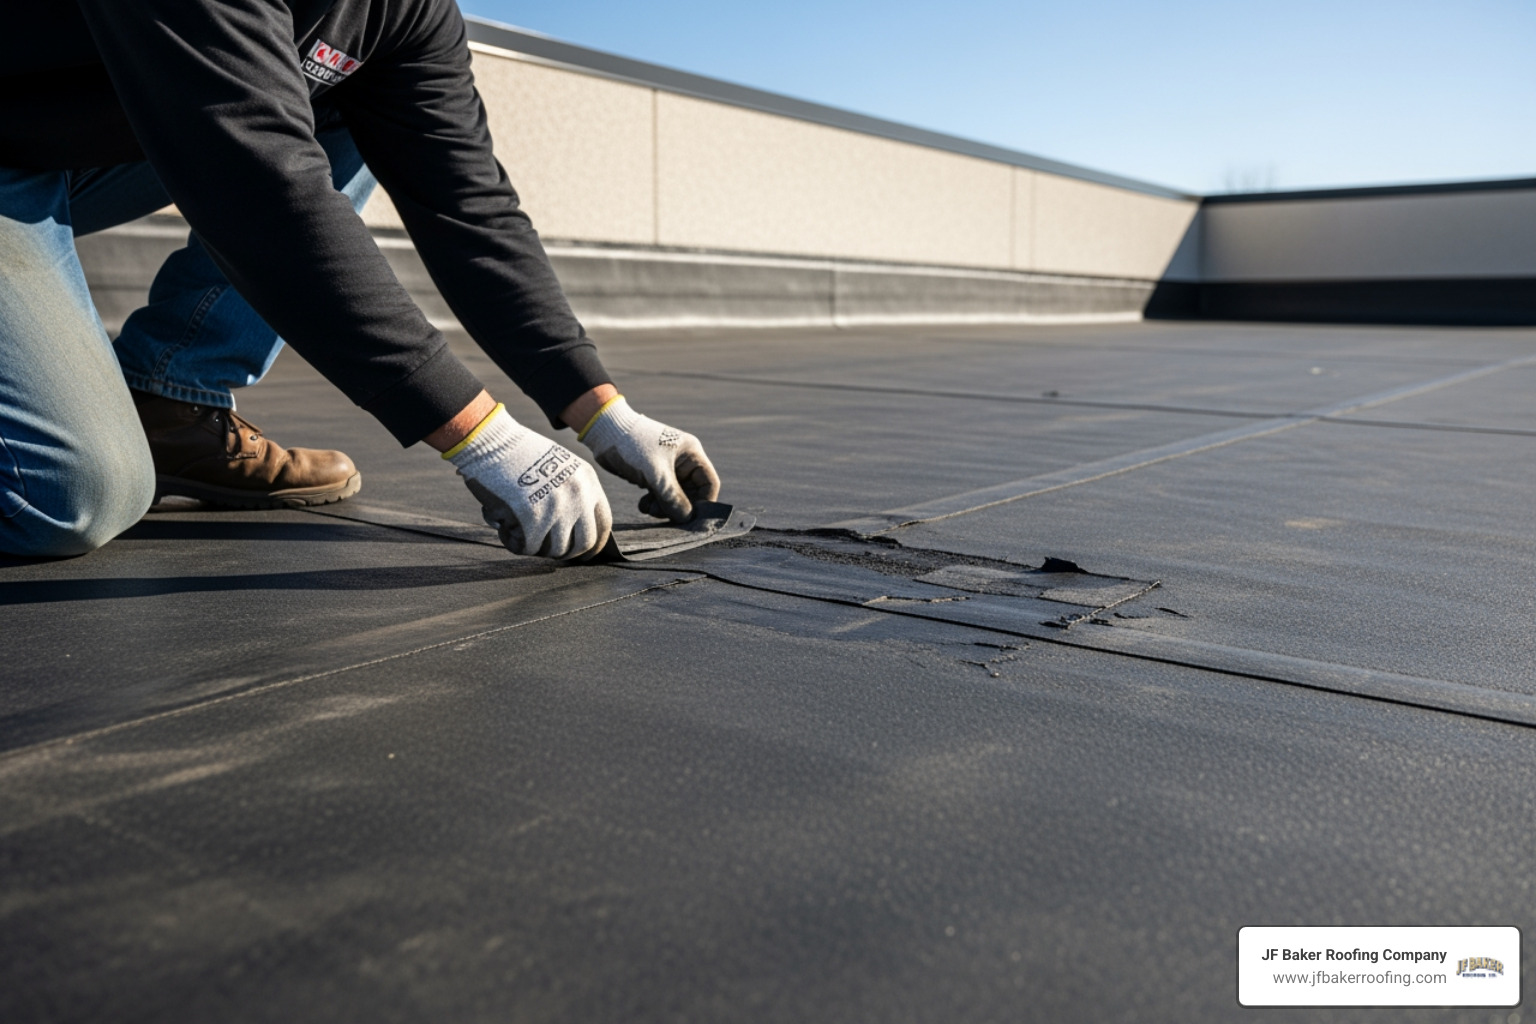
Flat Roofs (EPDM and TPO):Patching a rubber roof is more like patching a bicycle tire than a traditional roof. You cannot use asphalt-based cement on these materials because the chemicals will actually eat through the rubber. Instead, you need a specific Rubber Flat Roof Repair kit.
- Clean the area thoroughly with a specialized cleaner or primer.
- Apply a self-adhesive EPDM patch or use a piece of matching membrane with contact cement.
- Use a seam roller to ensure there are no air bubbles.
- Seal the edges with a lap sealant.
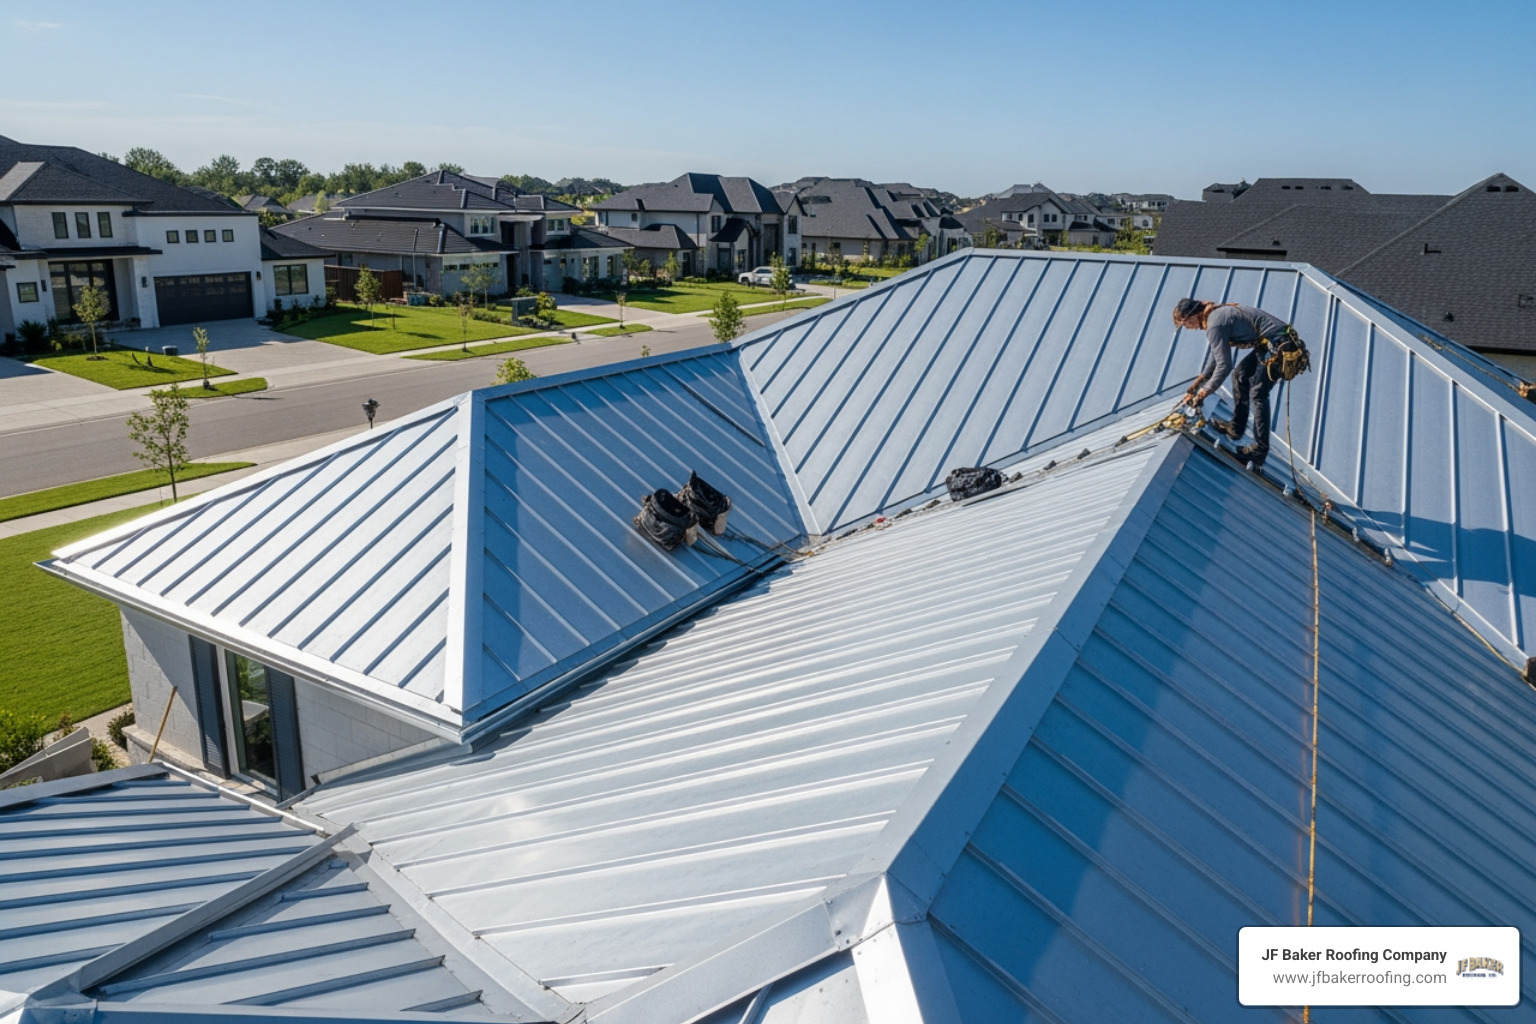
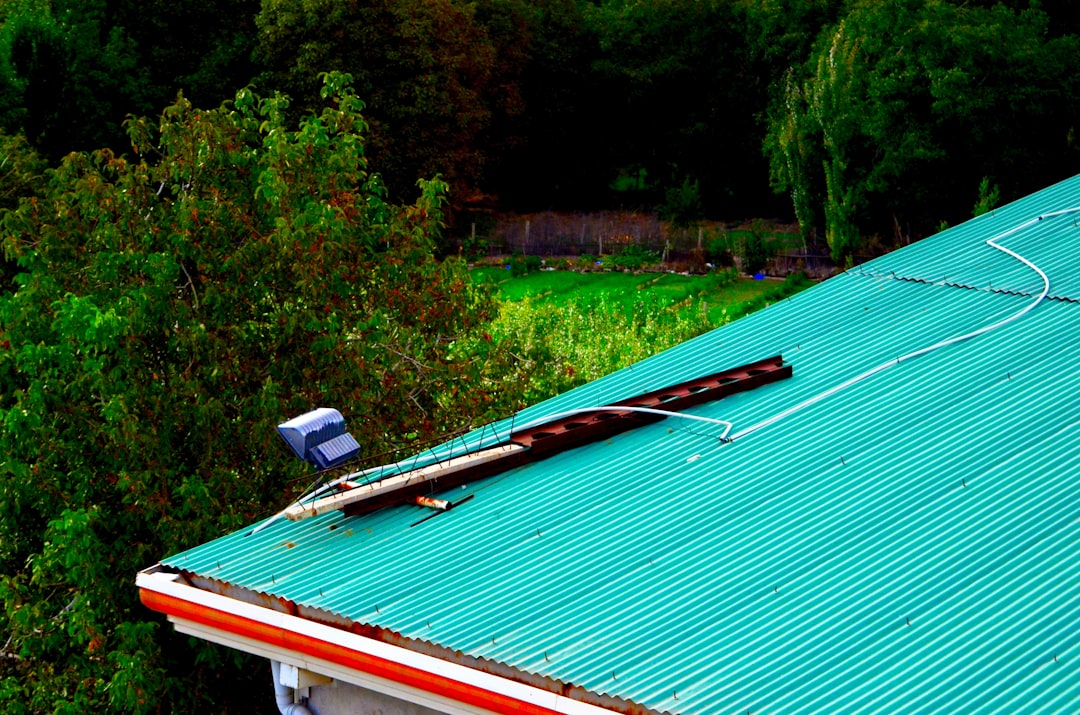
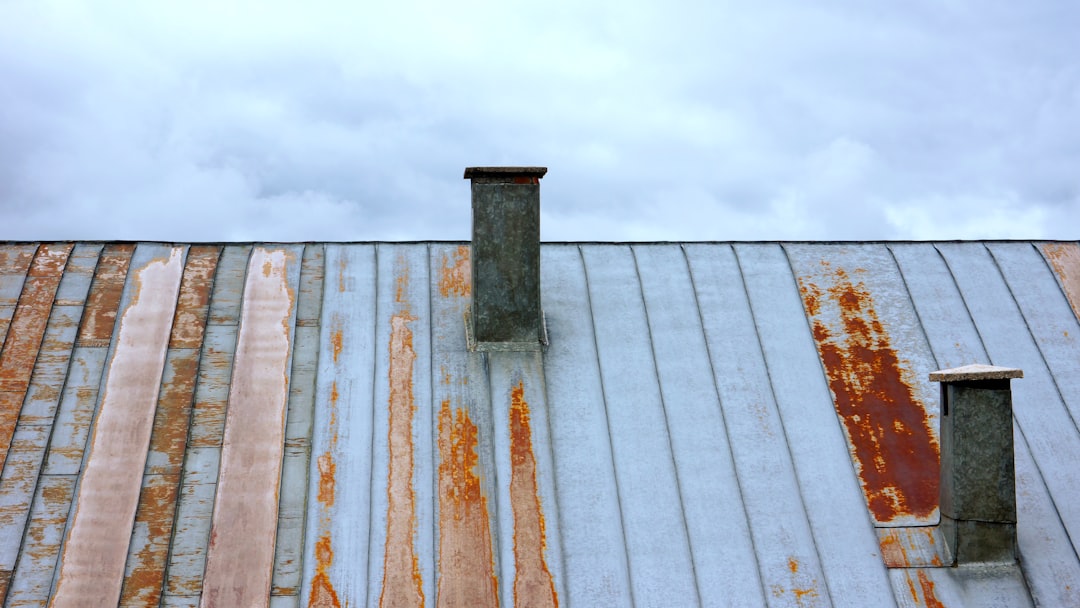
Metal Roofs:Metal roofs are durable but can develop leaks at the seams or around fastener heads. The best way to patch a roof made of metal is to use a wire brush to remove any rust or debris, then apply a metal-specific sealant or a butyl tape patch. For larger holes, a piece of matching metal can be bedded in sealant and screwed down.
Concrete and Cement Sheets:For those with specialized materials, we often recommend a Concrete Roof Leakage Solution that involves high-flexibility masonry sealants. These materials expand and contract differently than wood and shingles, so the patch must be able to move without cracking.
When to Patch vs. Choosing a Full Replacement
A patch is a great way to buy time, but it isn't always the right long-term move. At JF Baker Roofing, we believe in honest assessments. If a repair will fix the problem, we will tell you. But if you are just throwing money away on a roof that has reached the end of its life, you should know that too.
We generally use the "25 percent rule." If more than 25 to 30 percent of your roof is damaged, a patch is no longer cost-effective. At that point, the labor and material costs for multiple patches start to approach the cost of a partial or full replacement.
- Estimated cost: A small DIY patch often runs about $50 to $400, while a full replacement depends on roof size, materials, and complexity.
- Time investment: Minor patching can take 1 to 4 hours. A replacement usually takes 1 to 3 days.
- Durability: A patch may last 1 to 5 years if installed well. A new roof can last 20 to 50 years, depending on the material.
- Warranty: DIY patches usually have little to no warranty. Full replacements often include manufacturer and workmanship coverage.
- Best fit: Choose patching for isolated storm damage. Consider replacement for aging materials, repeated leaks, or widespread roof damage.
Other signs that it is time to move past patching include:
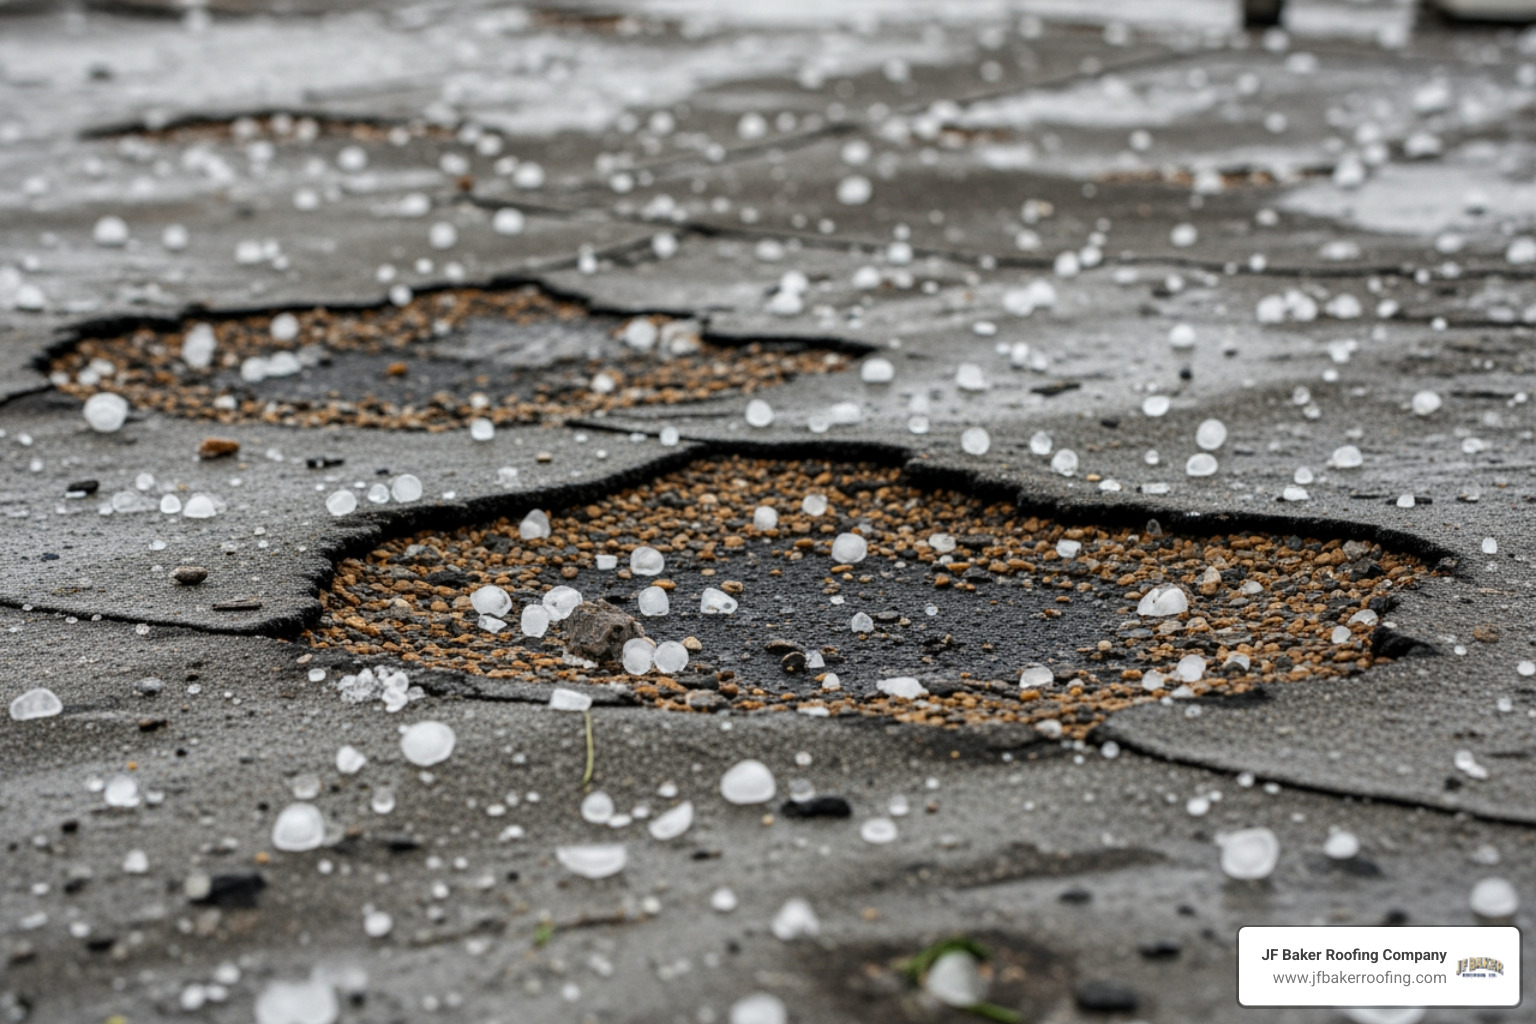
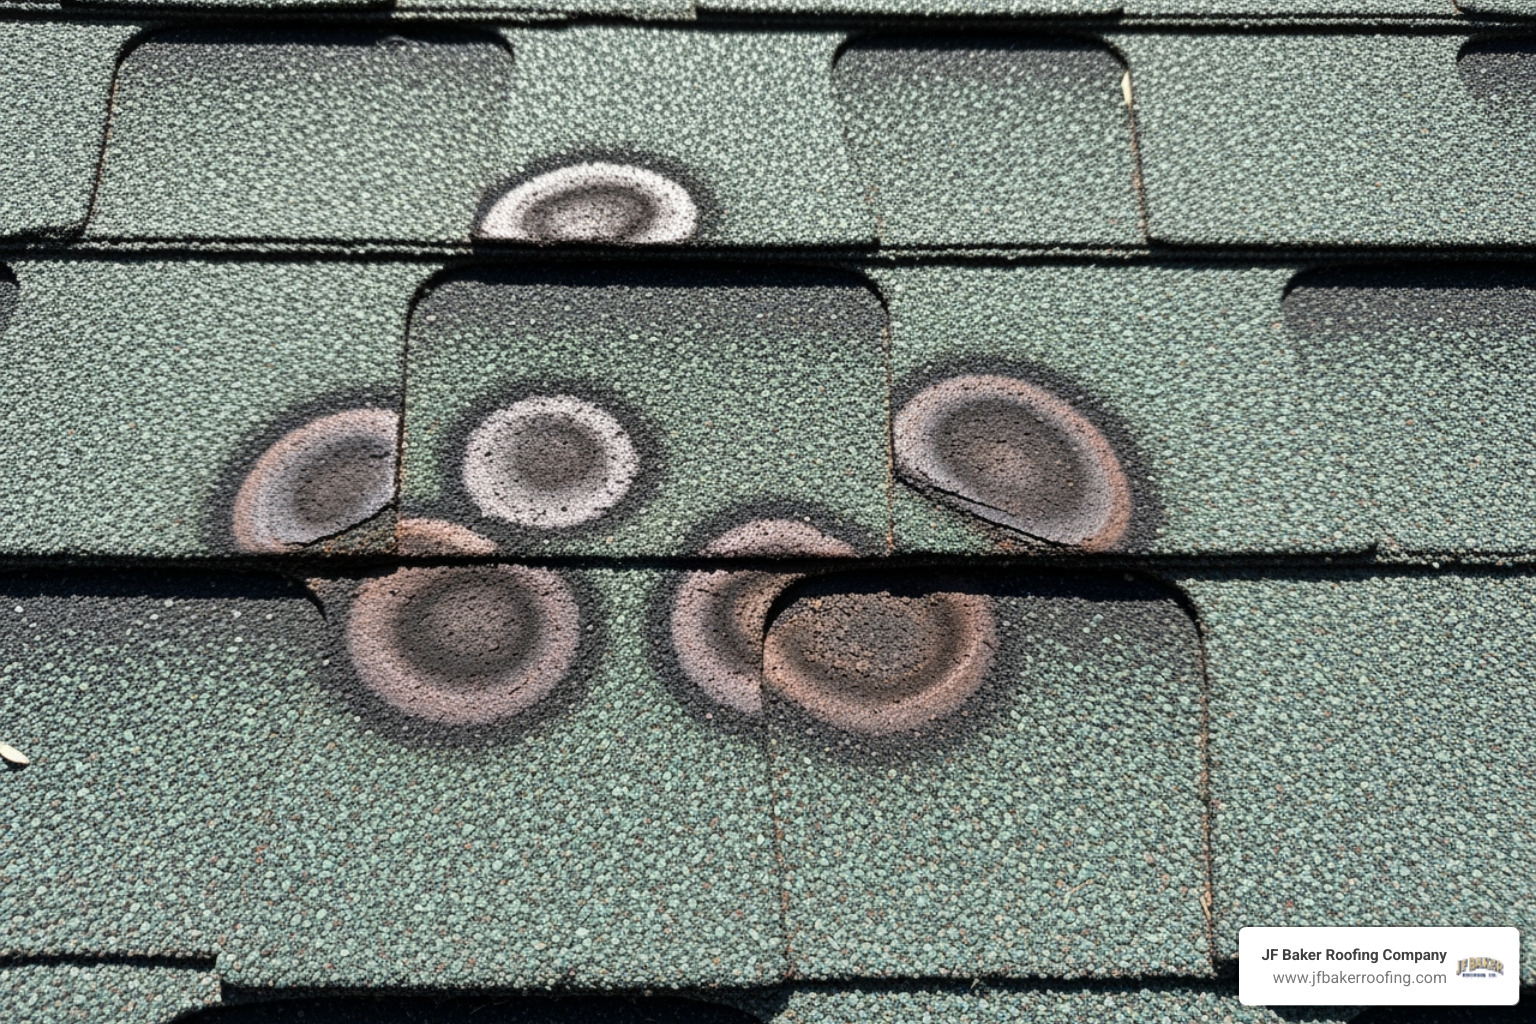
- Granule loss: If your gutters are full of "sand" from your shingles, they no longer have UV protection.
- Sagging: This indicates structural damage to the roof deck or rafters.
- Multiple leaks: If you are playing "whack-a-mole" with leaks in different rooms, your underlayment has likely failed.
- Age: Most asphalt roofs in Ohio last 15 to 25 years. If yours is 20 years old and leaking, a patch is only a temporary band-aid.
How long does a roof patch last?
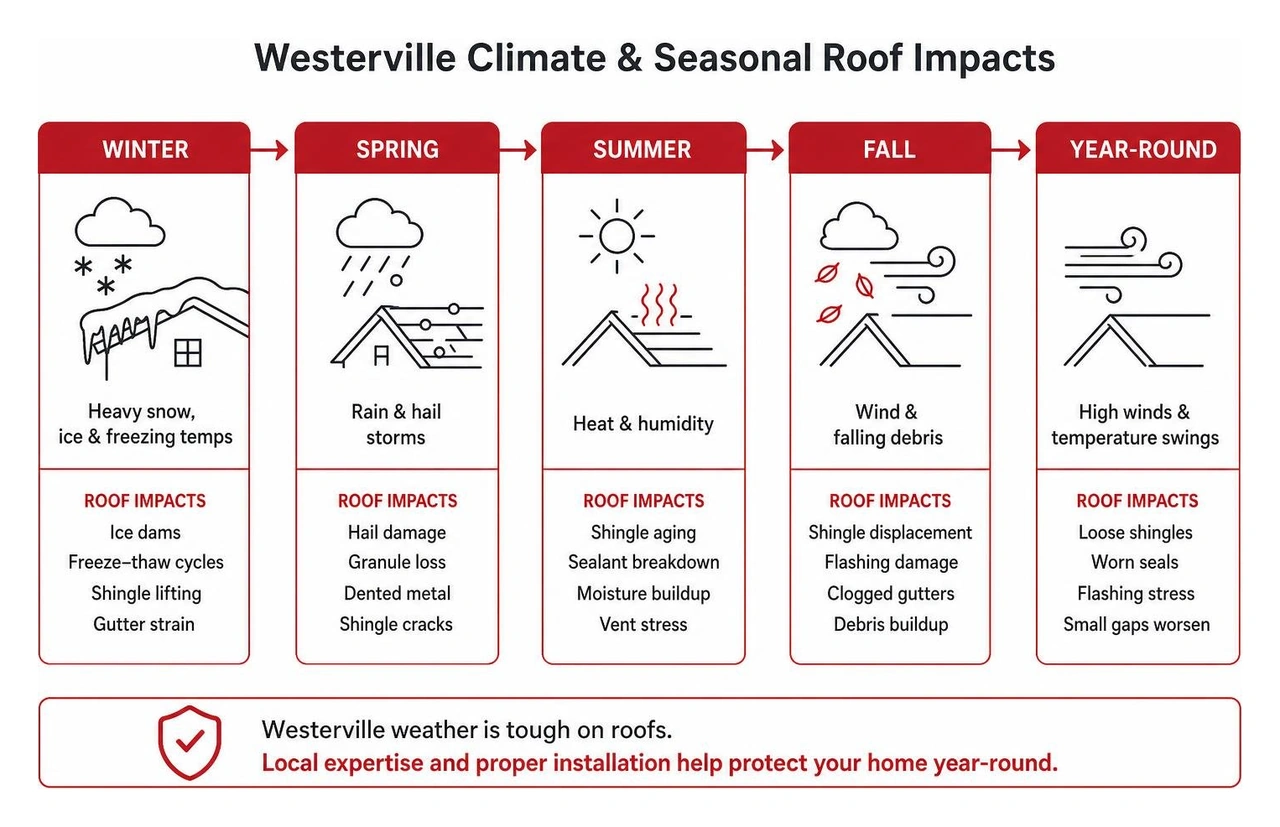
A properly installed patch can last anywhere from one to five years. Its lifespan depends heavily on the quality of the materials used and the weather it has to endure. In Central Ohio, our hot summers and freezing winters put a lot of stress on roofing cement. We recommend inspecting any DIY patch at least once a year to make sure the edges are not lifting and the sealant hasn't cracked.
Can I patch a roof in winter?
Yes, but it is much harder. In an Ohio winter, shingles become brittle like crackers. If you try to lift them to slide a new one underneath, they will likely snap. If you must do a winter repair, use a heat gun to carefully warm the shingles until they are pliable. You also need to ensure your roofing cement is rated for cold weather, as standard sealants may not cure properly below 40 degrees Fahrenheit. In many cases, an emergency tarp is the best way to patch a roof until the weather breaks in the spring.
What are common patching mistakes to avoid?
We have seen a lot of creative DIY fixes over the last 96 years, and some of them cause more harm than good.
- Using silicone caulk: Standard household silicone is not made for roofs. It will pull away from the shingles within a few months. Use only asphalt-based roofing cement.
- Over-applying cement: More is not always better. If you pile on the roofing cement, it can create a "dam" that catches water and forces it under the shingles. Keep your layers thin and feathered.
- Ignoring the deck: Patching over rotted wood is like putting a band-aid on a broken arm. It might look better for a minute, but the underlying problem is still there.
- Mismatched shingles: While it might seem like a cosmetic issue, shingles that don't match in thickness can cause water to flow unevenly, leading to faster wear on the patch.
Conclusion
Finding a leak is never fun, but taking fast action is the best way to patch a roof and prevent a small problem from becoming a total disaster. Whether you choose to handle a small shingle replacement yourself or need a temporary tarp to get through a storm, safety and proper materials are the keys to success.
JF Baker Roofing has been a part of the Central Ohio community since 1929. Now led by third-generation owners Chad and Pat Baker, we continue to provide the same honest assessments and quality craftsmanship that our neighbors have relied on for nearly a century. We serve residential and commercial clients across Columbus, Dublin, Upper Arlington, Westerville, and the surrounding areas.
If you find that your roof damage is more than you can safely handle, or if you want the peace of mind that comes with a professional inspection, we are here to help. We stand behind every roof we install and every repair we make. For reliable Storm Damage Repairs or a simple, honest look at your roof's condition, let our reputation be your security.
Contact us today at our Columbus office to schedule a consultation. We will give you a straight answer on whether a patch will do the job or if it is time to consider a more permanent solution. No pressure, just three generations of roofing expertise at your service.




.jpeg)