How to Get Reliable Flat Roof Repair in 7 Steps
Evaluating Membrane Health and Pinpointing Leaks
Reliable flat roof repair requires accurately locating the leak source, cleaning and drying the substrate, cutting away damaged membrane or blisters, applying chemically compatible primers and patches (such as EPDM seam tape, heat-welded TPO/PVC, or reinforced asphalt mastic), securing perimeter flashings, and protecting the repair with UV-resistant coatings. Addressing punctures and failing seams early prevents water from migrating into underlying insulation boards and structural decking.
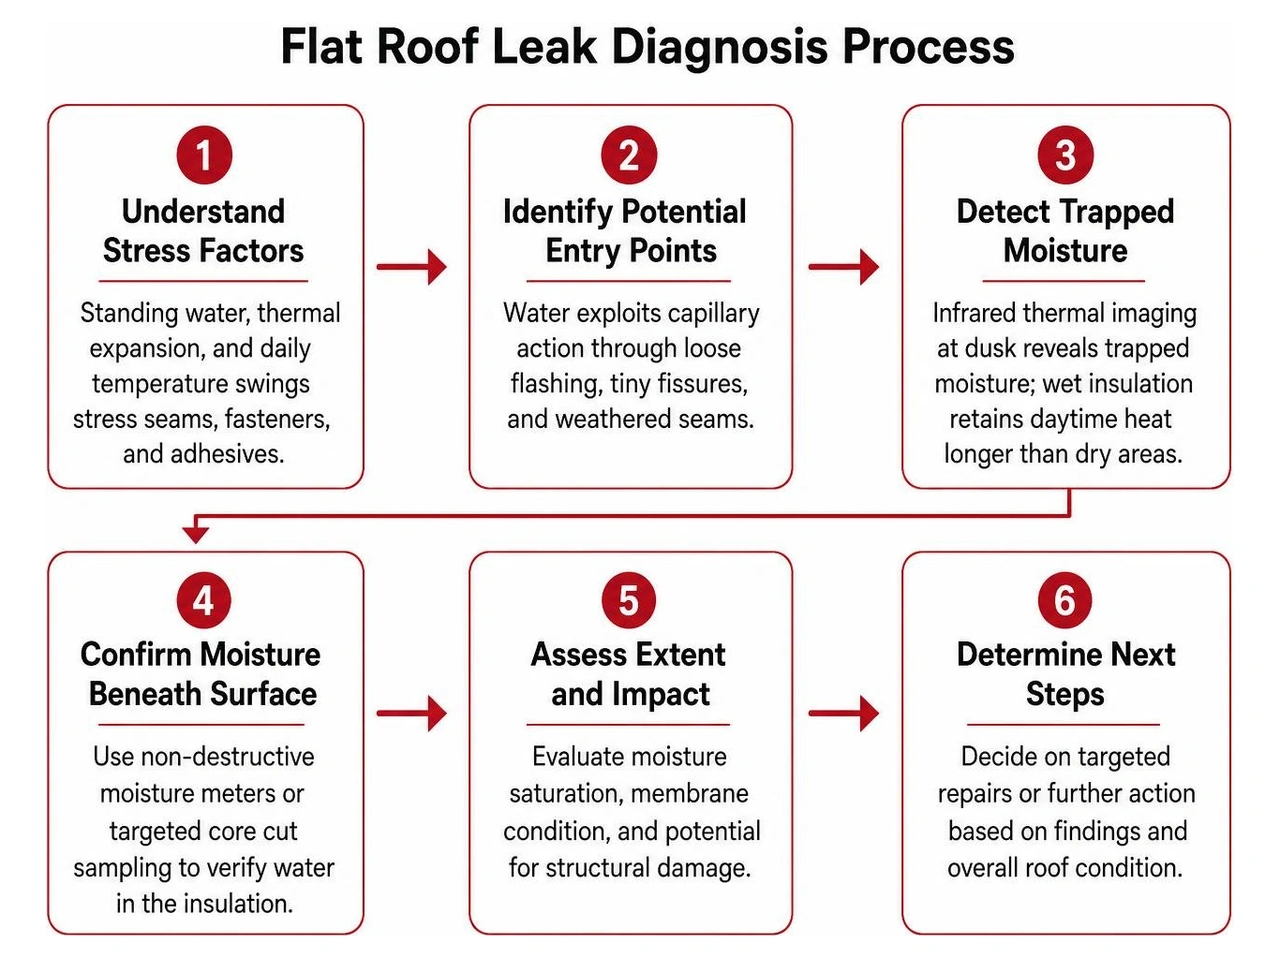
Low-slope roofing systems face environmental stresses that steep-slope roofs never encounter. Because gravity works far more slowly on a flat plane, standing water and thermal expansion place continuous tension on every joint. When a roof membrane reaches high surface temperatures in peak summer and drops rapidly at night, this thermal shock causes microscopic expansion and contraction. Over time, that cycle pulls at mechanical fasteners and seam adhesives.
Water also exploits capillary action, drawing moisture upward behind loose flashing or through tiny fissures in weathered seams. Pinpointing where water breaches the system requires more than a casual glance. Infrared thermal imaging at dusk helps detect trapped moisture because wet insulation retains daytime heat longer than dry substrate. For deeper confirmation, non-destructive moisture meters or targeted core cut sampling allow technicians to verify if water has entered the insulation beneath the surface. For rubber membranes, scheduling a dedicated Rubber Roof Inspection Service helps reveal these hidden issues before structural damage takes hold.
Flat Roof Repair vs. Full Replacement Thresholds
Not every leak calls for a brand-new roof system. However, repeated patch jobs on a failing system can become costly. Knowing when to patch versus when to replace comes down to structural condition, membrane age, and the extent of moisture saturation.
- Membrane Age: Most modern single-ply systems (such as EPDM or TPO) carry an expected service life of 20 to 30 years, while traditional multi-ply felt systems typically last 10 to 20 years. If your membrane is nearing the end of that span and showing widespread brittleness, isolated patches offer diminishing returns.
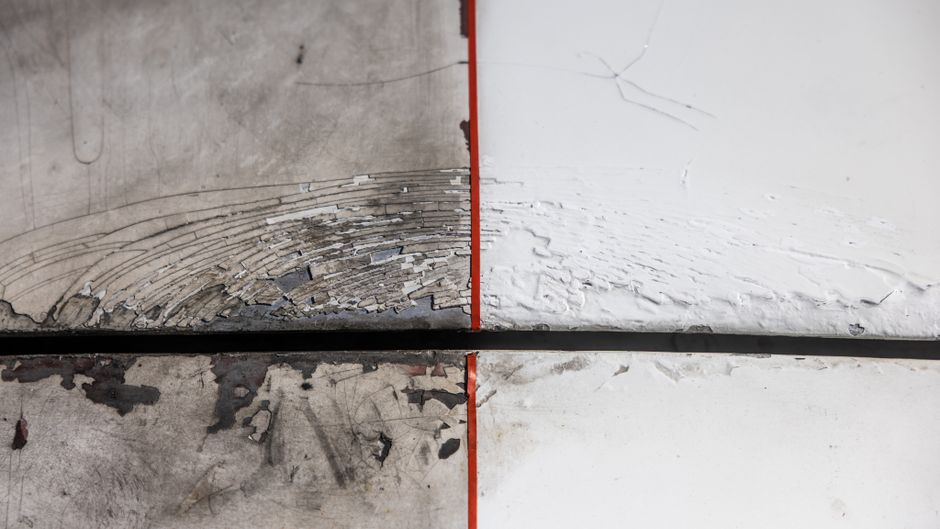
- The 25% Degradation Rule: If more than a quarter of the field membrane exhibits extensive cracking, crazing, alligatoring, or seam failure, spot repairs rarely hold. At that stage, a comprehensive recovery or replacement is far more dependable.
- Insulation Saturation: When leaks are caught early, moisture remains isolated to the surface. If core sampling shows broad sections of wet, squelching insulation, the assembly loses its thermal value, and the trapped water will rot the deck below.
- Structural Deck Integrity: Soft, spongy spots underfoot indicate timber rot or rusted steel decking that requires full tear-off to repair safely.
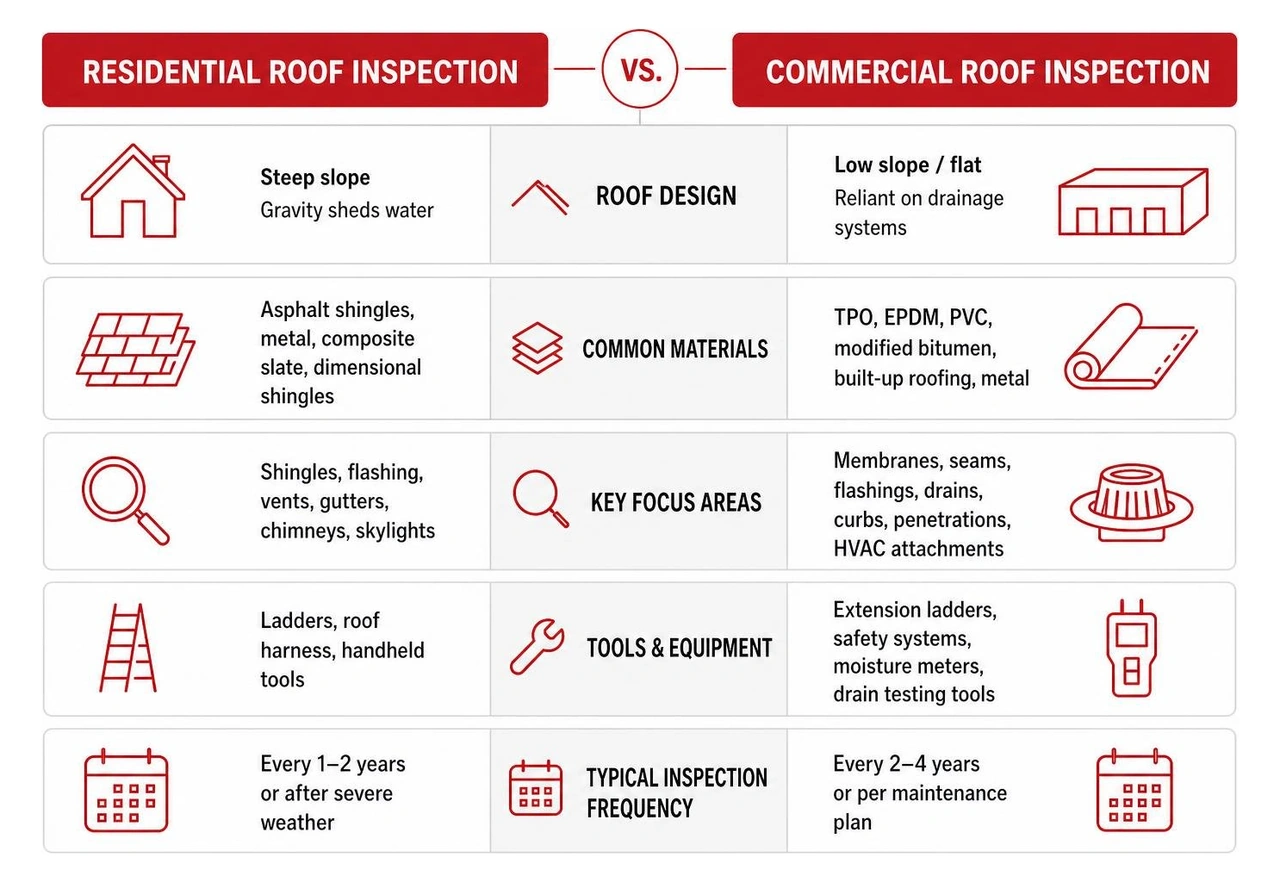
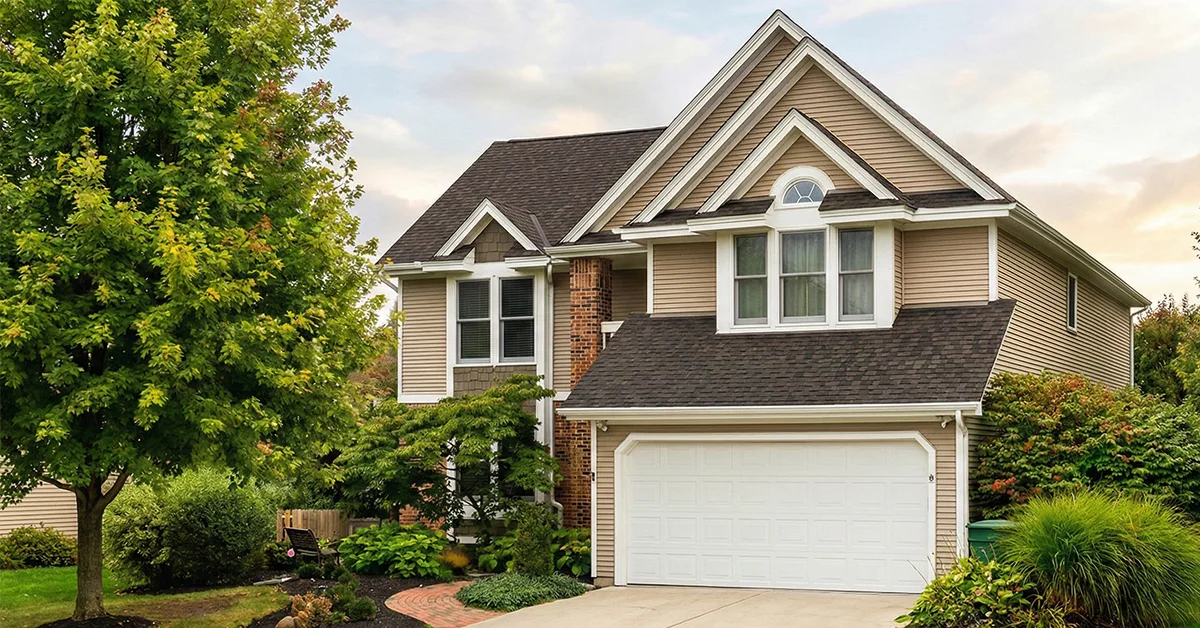
For properties featuring low-slope porch transitions, garage extensions, or modern additions, selecting dedicated Residential Roofing care ensures these critical thresholds are evaluated with precision.
Tracing Hidden Water Migration Routes
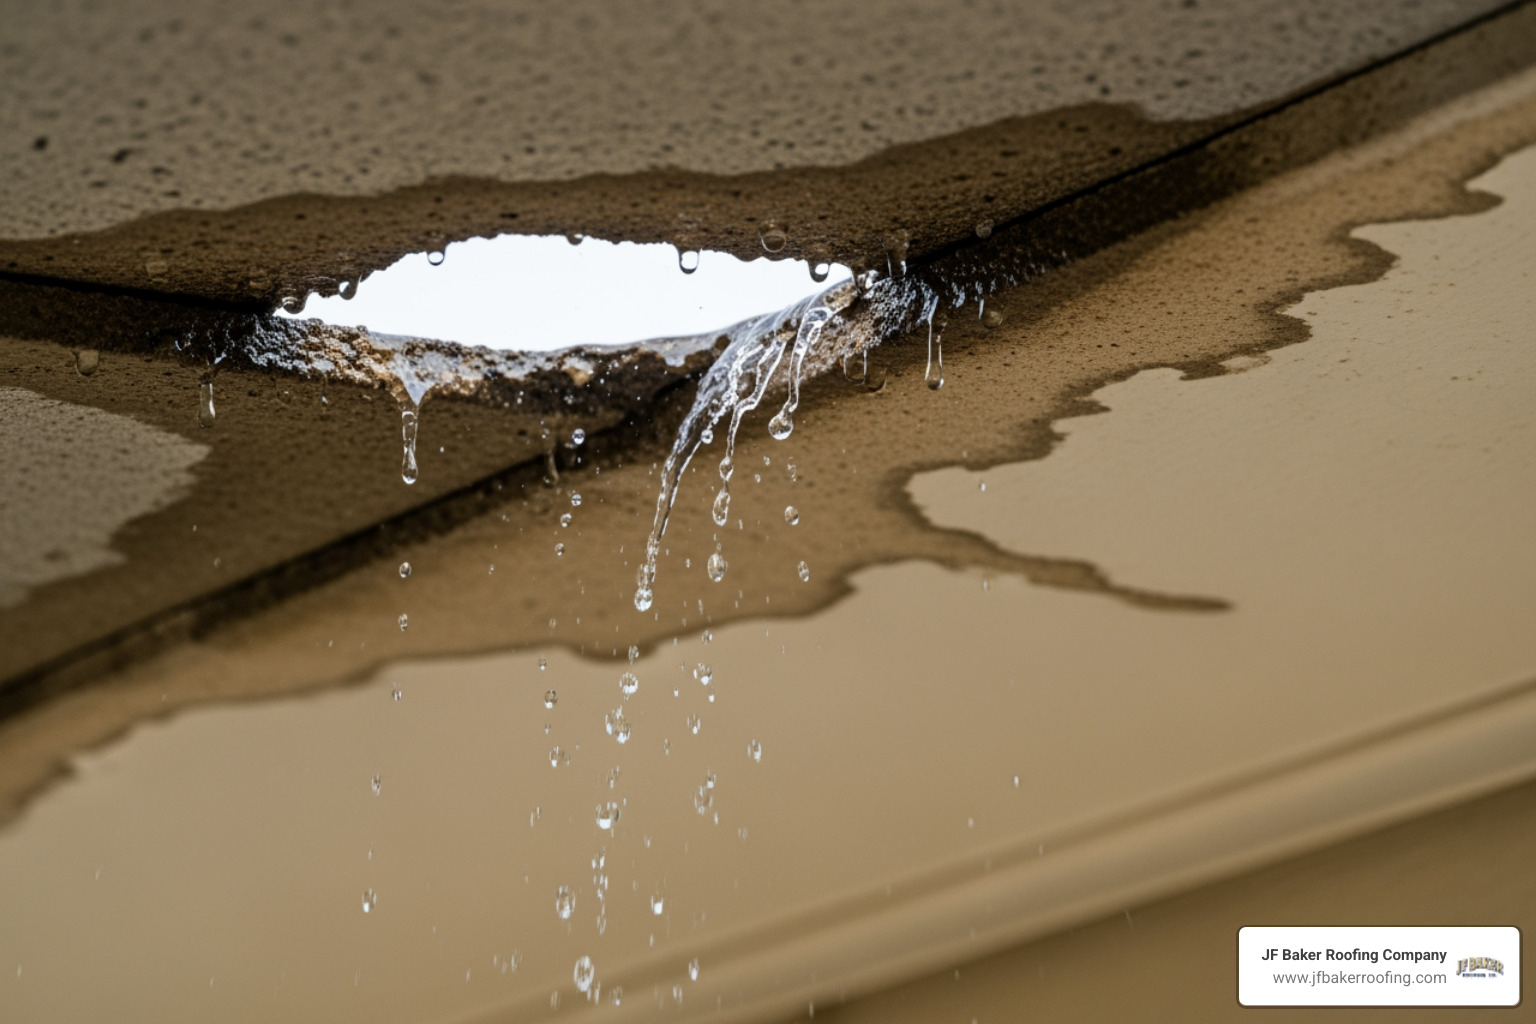
One of the most frustrating aspects of low-slope roof issues is that water rarely drips into the building directly below the exterior hole. Water enters through a loose upstand, an open lap seam, or a hairline tear around a vent pipe, and then tracks along the flutes of metal decking, rolls across vapor barriers, or follows sloped insulation boards for several feet before finding an opening into the ceiling.
To locate the true point of entry, start at the interior water mark and move upward along the roof's slope. Thoroughly inspect HVAC curbs, parapet wall base tie-ins, drain bowls, and perimeter edges. For larger facilities, managing these vulnerabilities through planned Commercial Roofing maintenance stops small migration paths from causing extensive structural damage.
The Complete 7-Step Process for Effective Flat Roof Repair
A lasting repair requires a structured, step-by-step workflow that addresses the root cause of the breach while preserving the surrounding roof system.
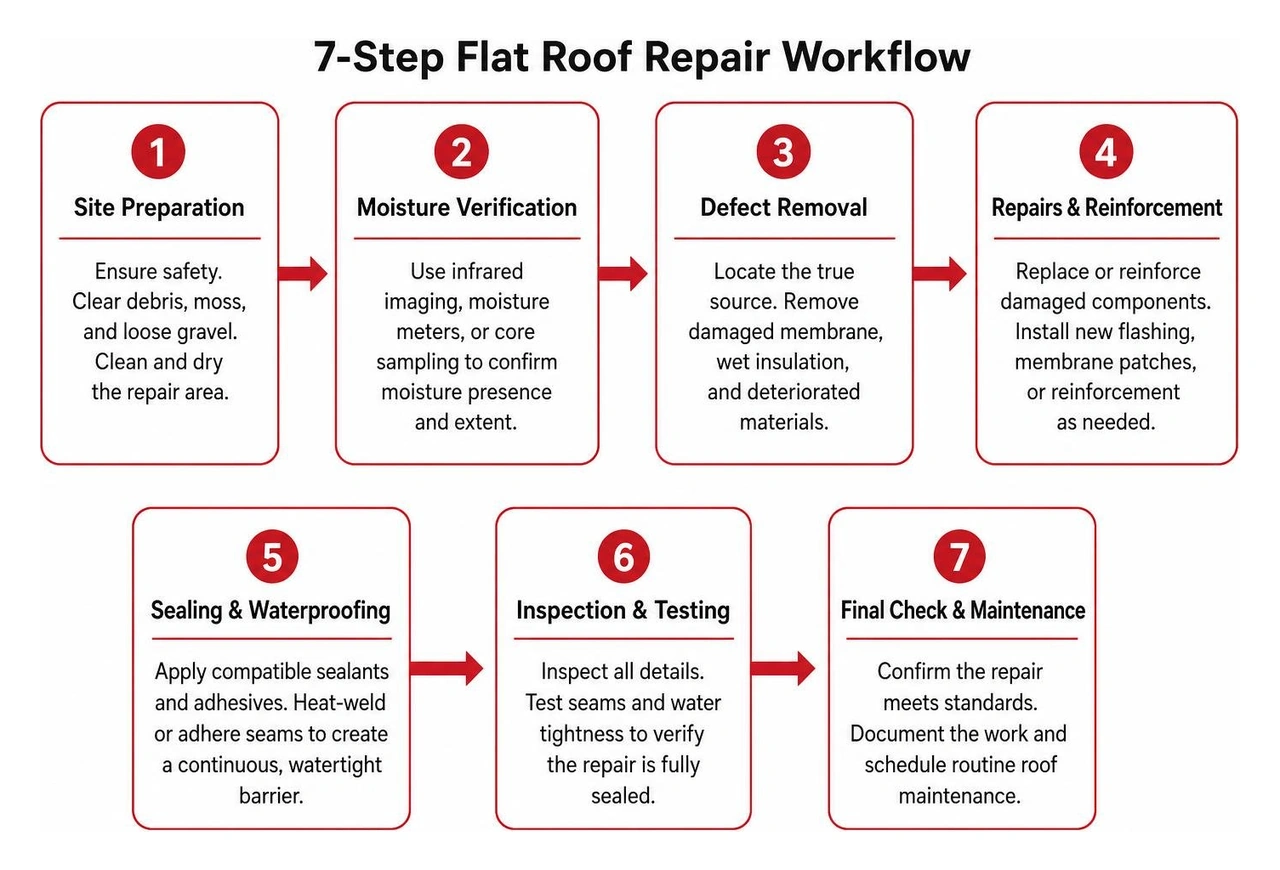
Steps 1–3: Site Preparation, Moisture Verification, and Defect Removal
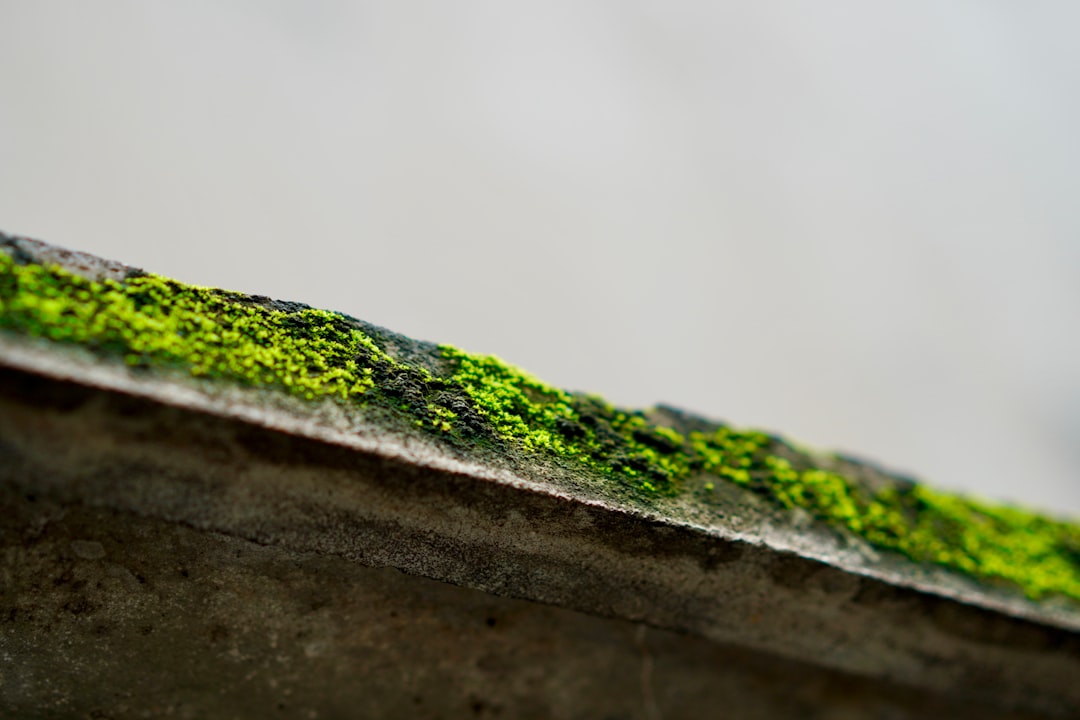
The success of any patch depends heavily on preparation. Applying new material over dirt, moss, loose gravel, or trapped moisture will cause the repair to fail quickly.
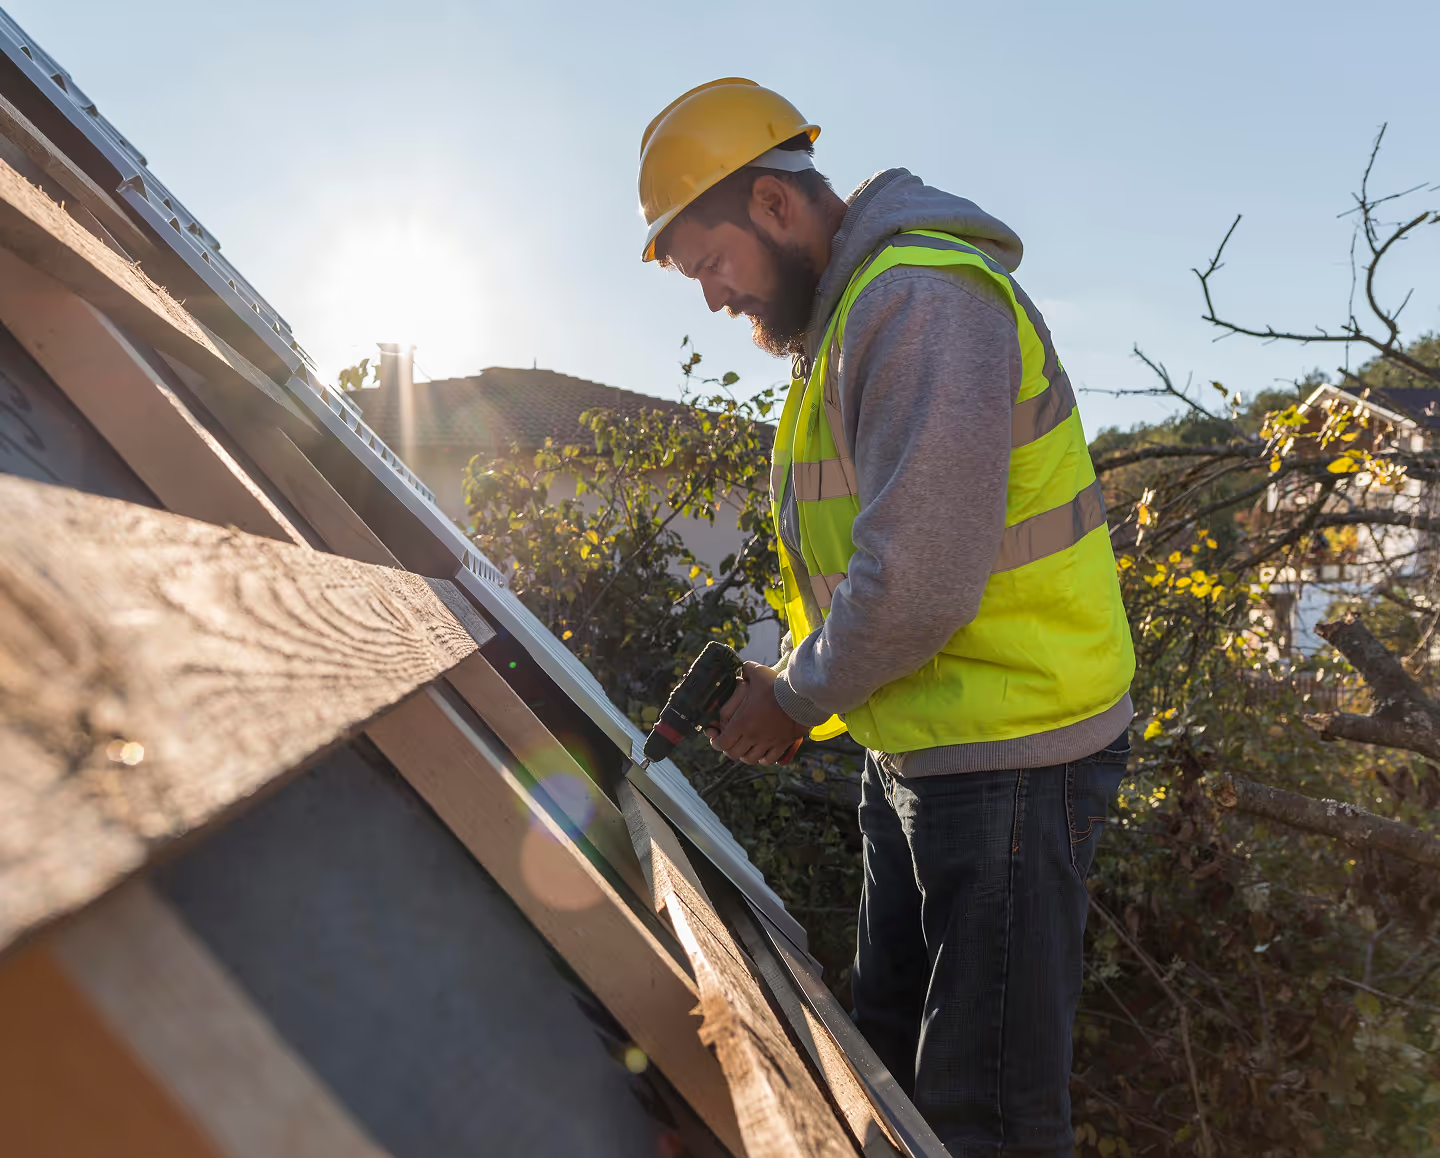
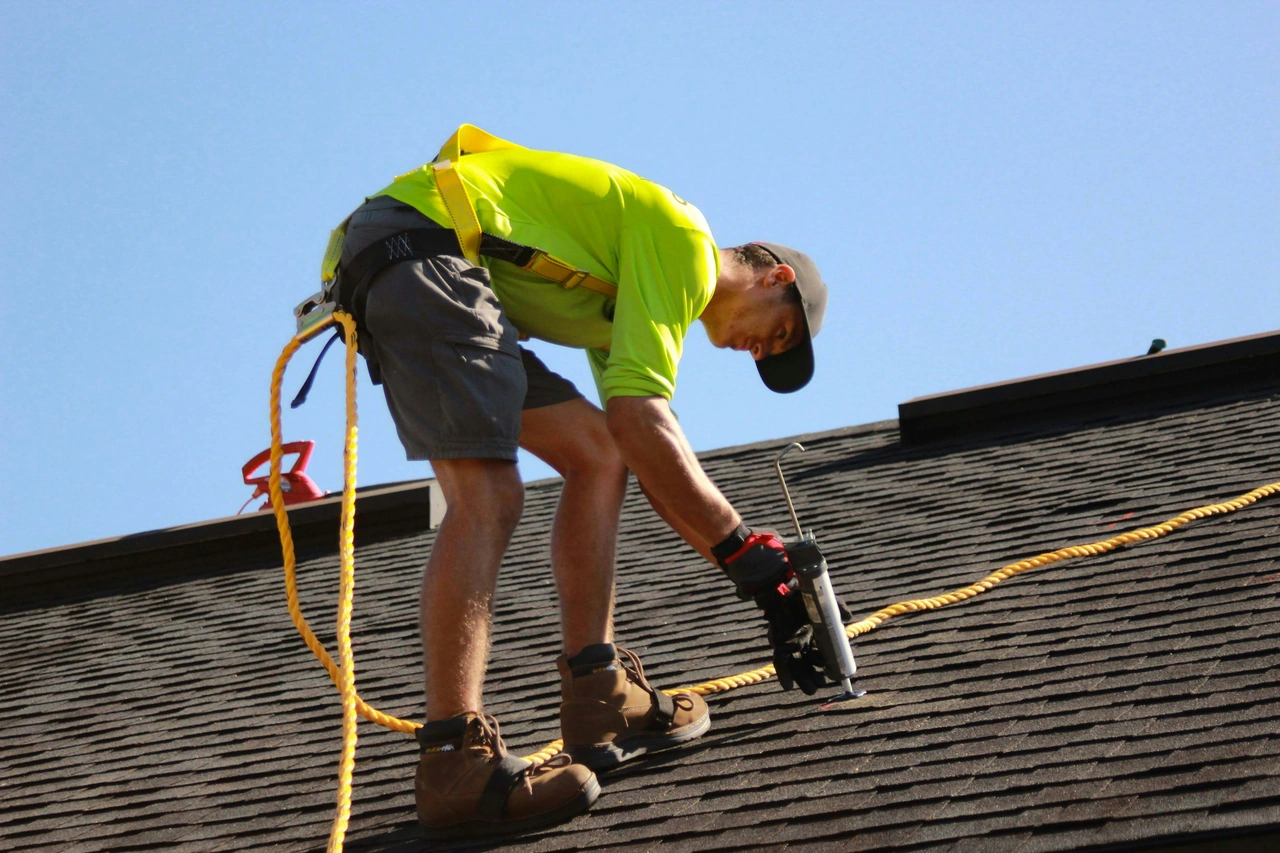
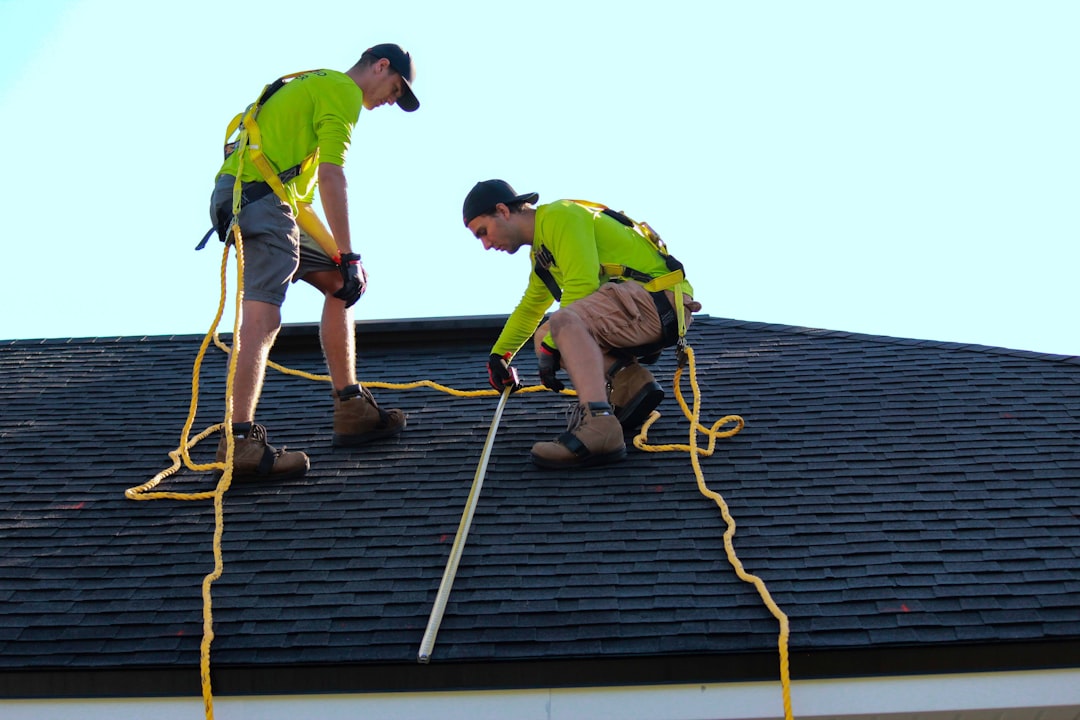
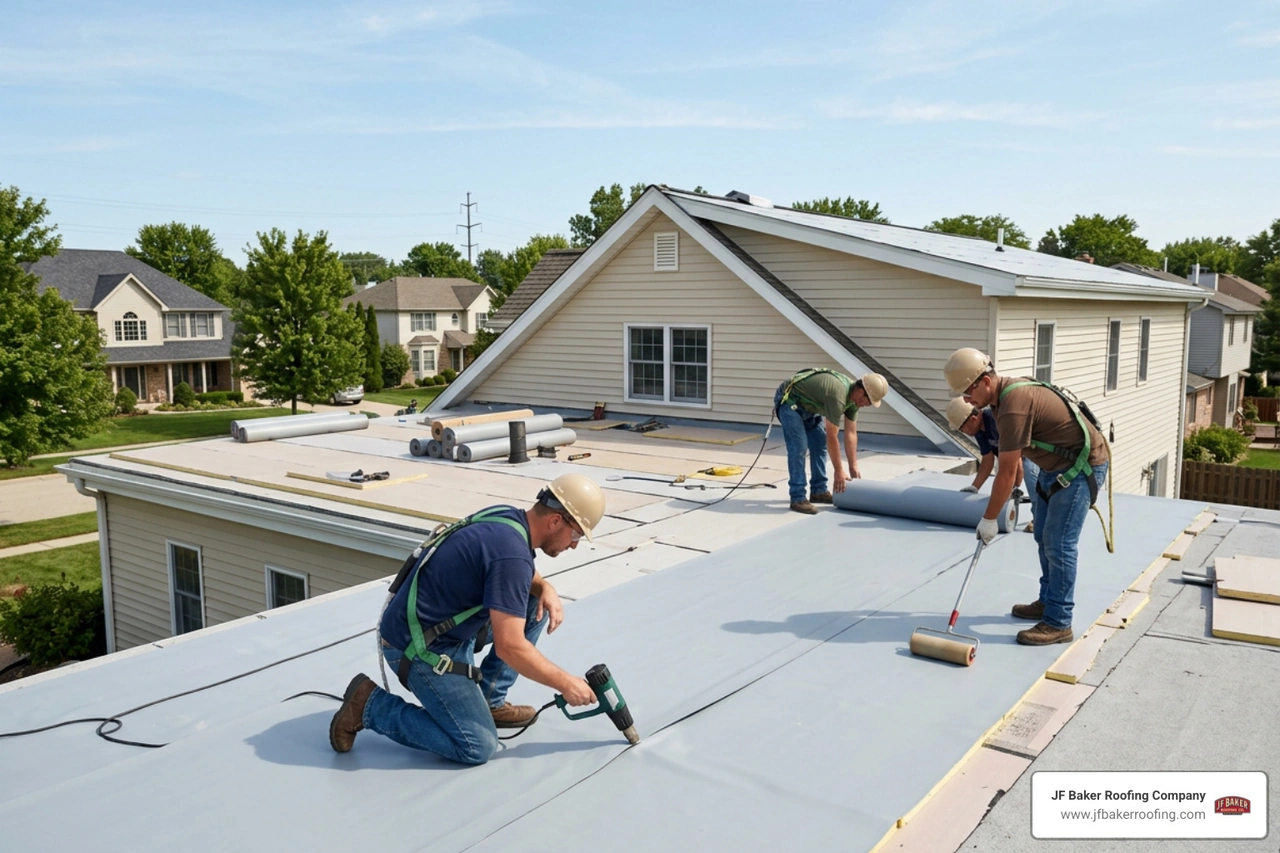
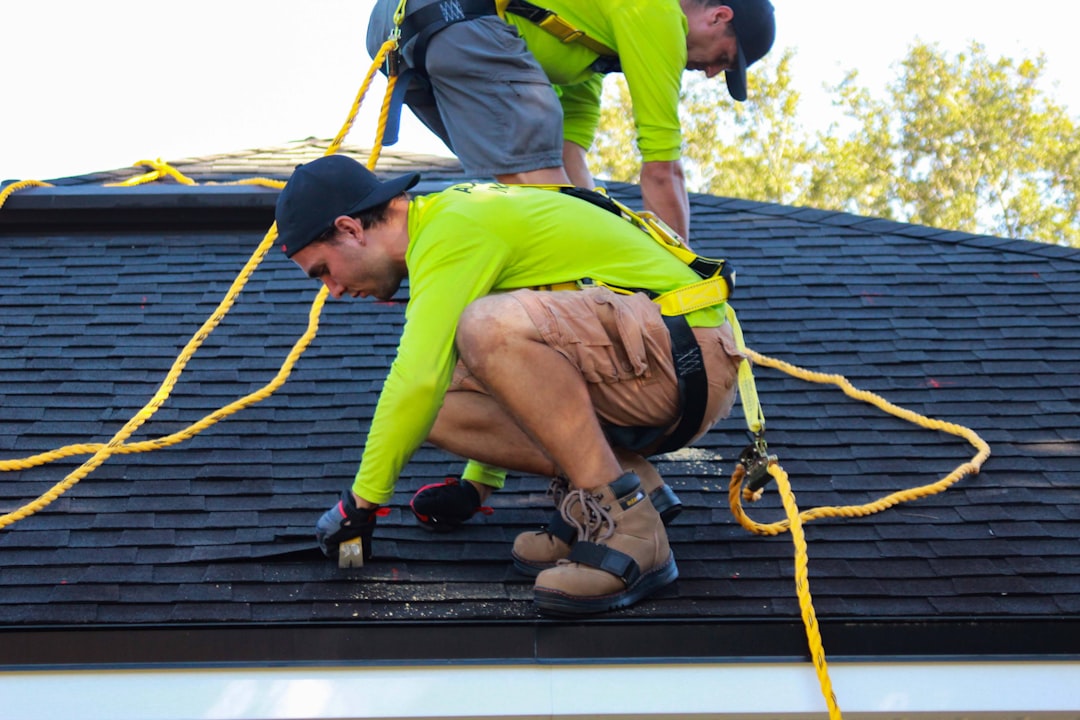
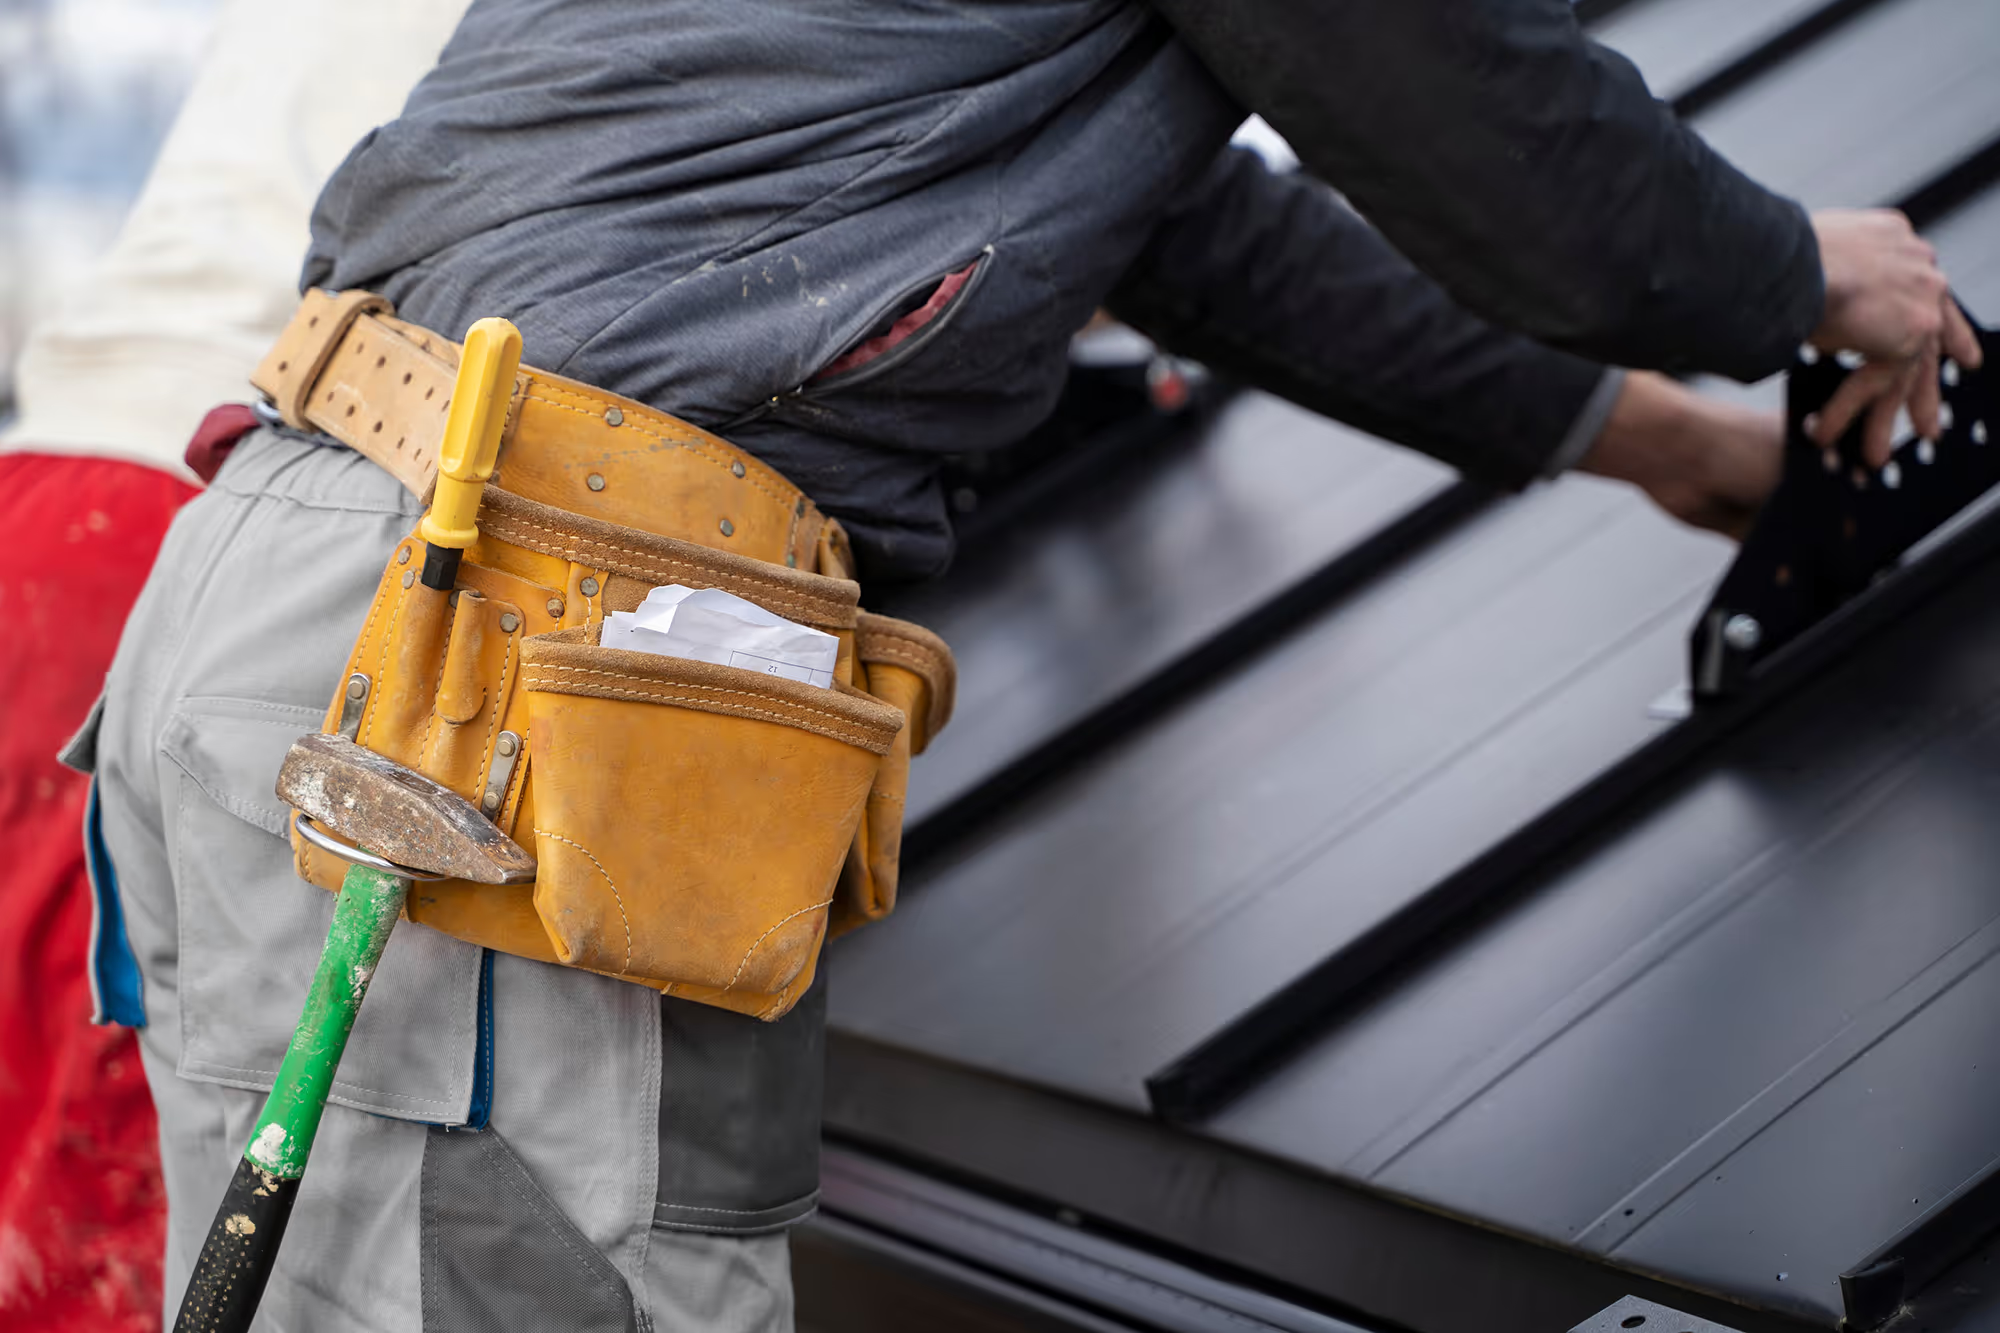
- Essential Safety Gear & Tools: Fall protection harness kits, sturdy non-slip work boots, heavy-duty gloves, stiff-bristle wire brushes, solvent cleaners, utility hook knives, industrial heat guns, and seam rollers.
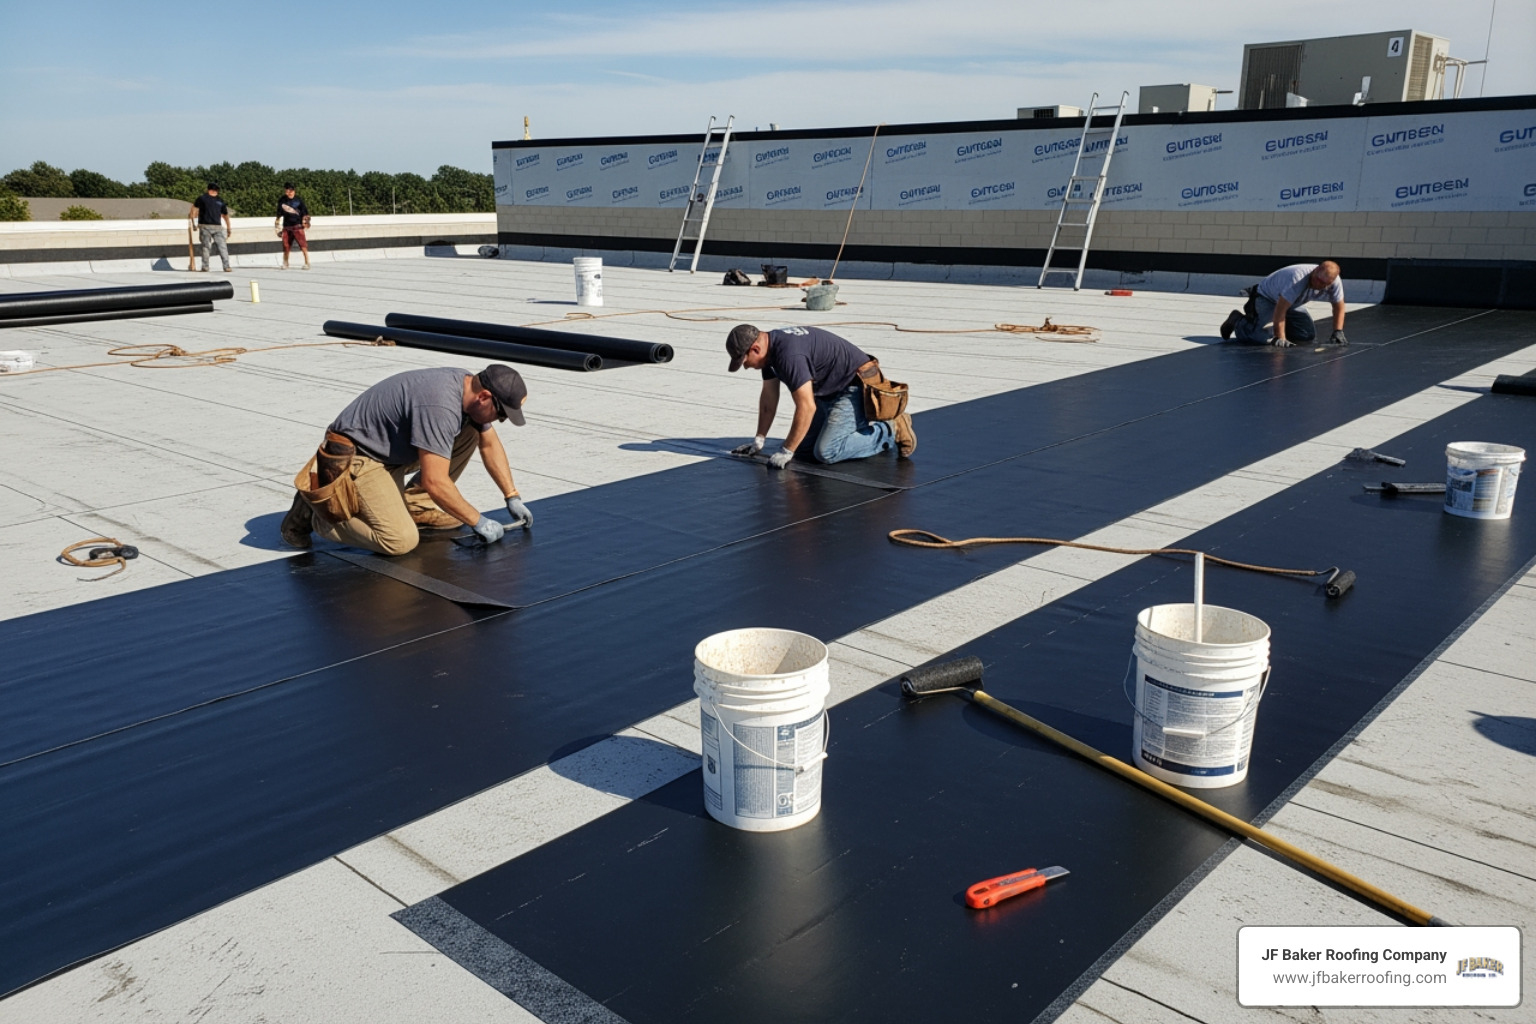
- Step 1: Clean the Substrate: Sweep away loose aggregate, dirt, and organic debris in a wide perimeter around the target area. Scrub the membrane with a stiff wire brush and an approved solvent cleaner to remove oxidized material down to clean, bare substrate.
- Step 2: Dry and Verify Moisture: Ensure the repair area is completely dry. Any lingering moisture will turn to vapor under the sun, creating blisters that force the patch upward. Use an industrial heat gun to thoroughly dry damp surfaces without scorching the membrane.
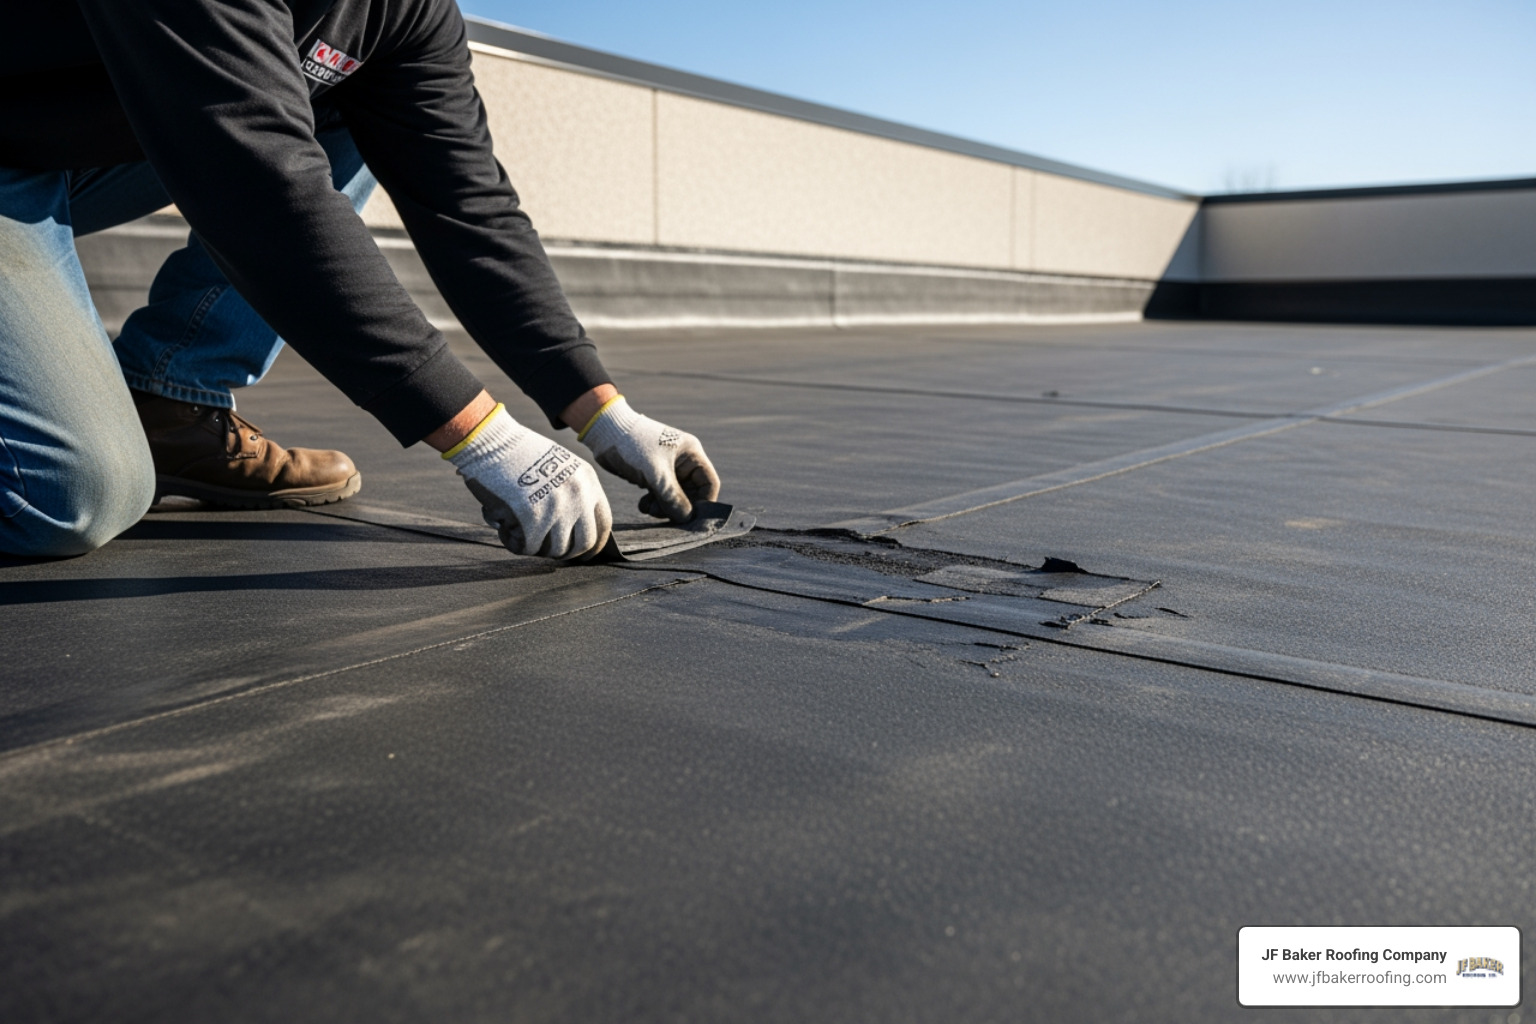
- Step 3: Excise Blisters and Debris: Cut away stretched blisters, cracked fishmouths, or buckled felt using a hook blade utility knife to establish a flat, stable foundation. Following the Best Way to Patch a Roof ensures underlying defects are eliminated rather than covered up.
Steps 4–5: Applying Substrate Primers and Membrane Patches
Once the substrate is clean, dry, and flat, the new waterproofing layer can be bonded into place. Selecting the Best Flat Roof Patch material depends strictly on matching the chemistry of the existing membrane.
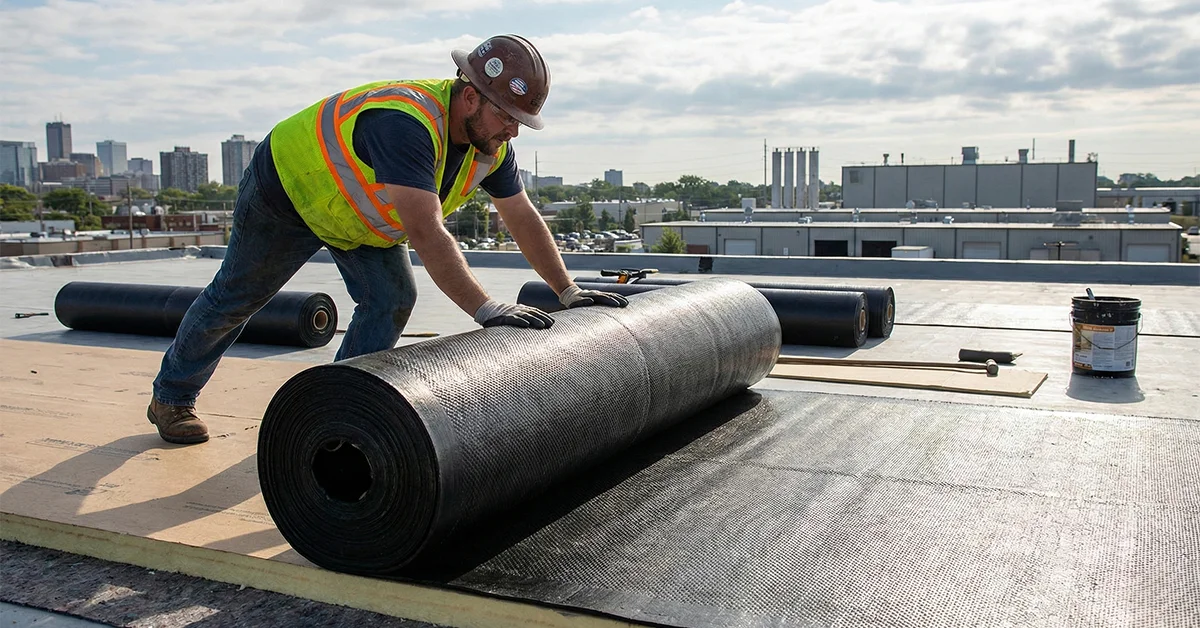
- Step 4: Substrate Priming & Base Mastic: For rubber systems, apply a dedicated low-VOC primer and allow it to dry to a tacky touch. For asphalt systems, trowel down a smooth base layer of ASTM D4586 roofing cement extending at least three inches beyond the damage zone.
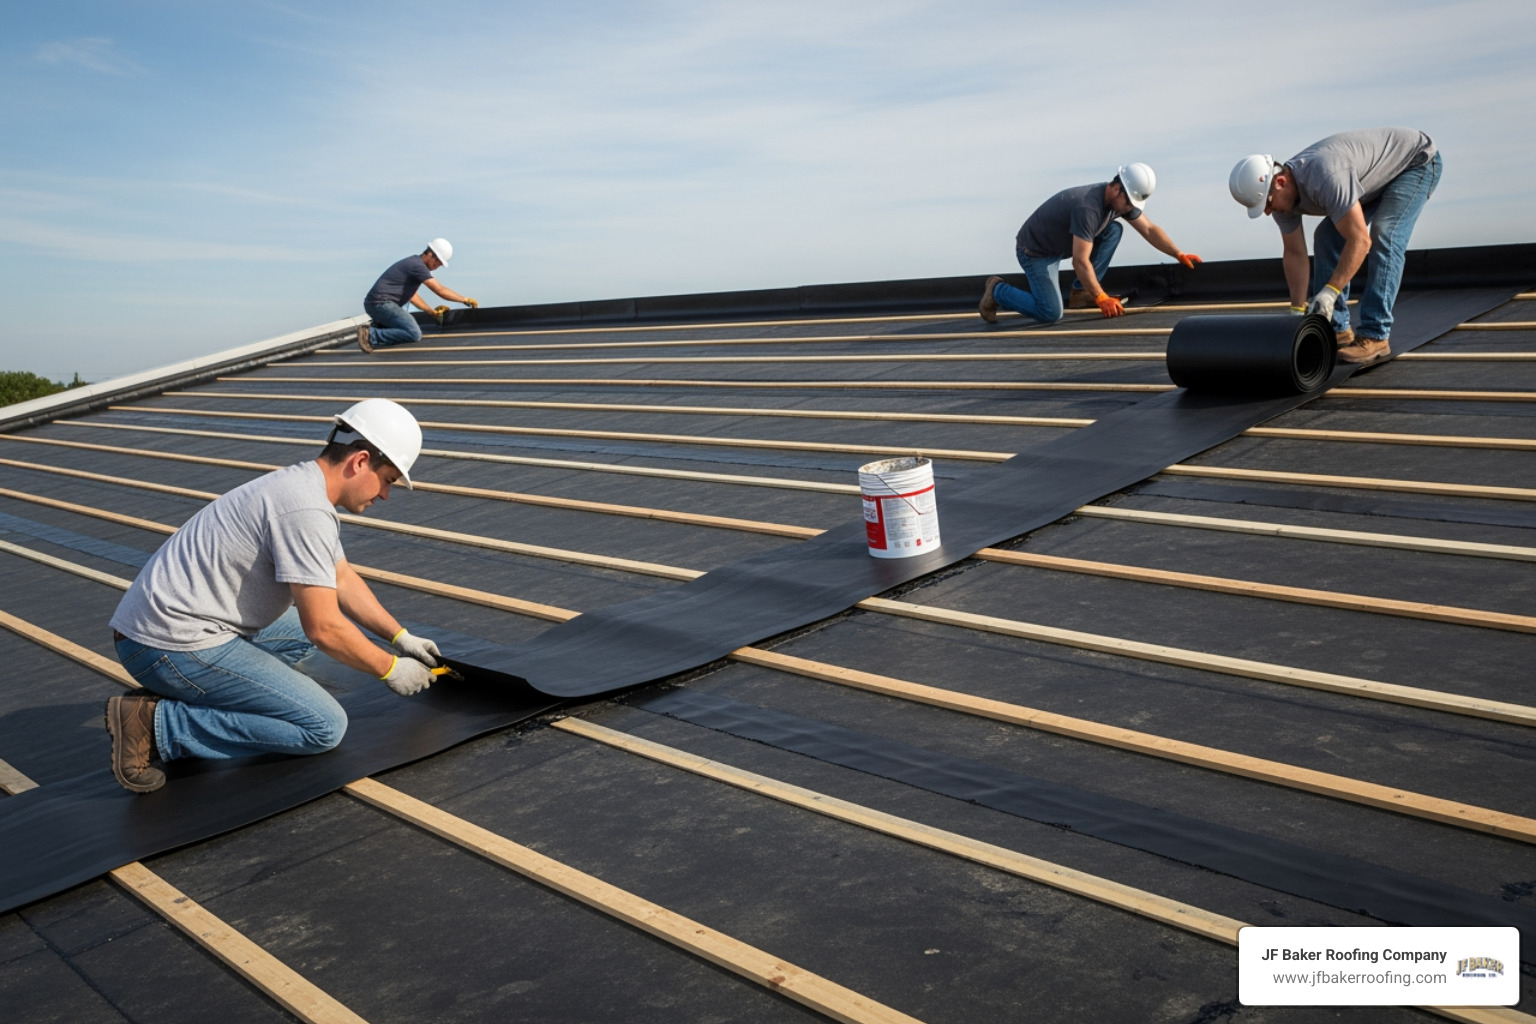
- Step 5: Embedding and Center-Out Smoothing: Cut your patch material with rounded corners so edges do not snag during maintenance traffic. The patch should overlap the damaged area by at least two to three inches in all directions. Position the patch and press firmly from the center outward using a steel hand roller. This center-out motion forces out trapped air bubbles and ensures an airtight bond. On asphalt felt assemblies, embedding heavy-duty reinforcement using the three-course patching technique creates a durable seal against standing water.
Steps 6–7: Flashing Reinforcement, UV Protection, and Final Seal
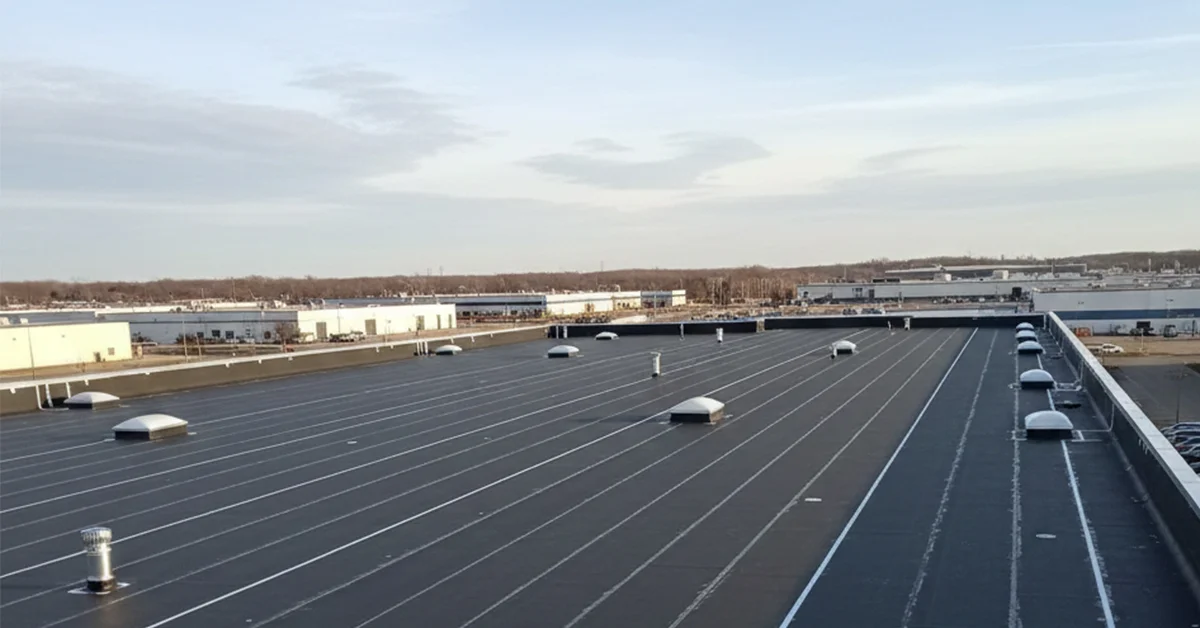
The final steps ensure the patch can withstand sunlight, heavy rains, and temperature swings.
- Step 6: Flashing Reinforcement & Edge Sealing: Inspect nearby penetrations, pipes, and wall terminations. Re-fasten loose termination bars, replace worn rubber pipe collars, and seal all patch perimeters with a continuous bead of compatible lap sealant or feathered mastic.
- Step 7: UV Protective Topcoat & Inspection: Bitumen and rubber compounds degrade under direct ultraviolet rays. After adhesives and sealants cure, apply a silver fibered aluminum solar reflective paint over asphalt repairs, or restore gravel ballast over the repaired zone. Finish with a blunt seam probe to verify that all seams and lap edges are tightly bonded.
Matching Repair Techniques to Your Specific Roofing Material
One of the most critical rules in flat roofing is material compatibility. Using the wrong repair compound can chemically degrade the existing system. For instance, putting petroleum-based asphalt mastic on synthetic EPDM rubber will melt the rubber membrane through molecular swelling. Always adhere to a strict like-with-like approach. For asphalt systems, applying the sandwich patch method for felt roofs using glass fiber scrim and compatible bitumen maintains consistent structural behavior across the roof plane.
Single-Ply Membranes: EPDM, TPO, and PVC
Single-ply membranes fall into two distinct chemical families: thermoset (rubber) and thermoplastic (plastics).
- EPDM (Ethylene Propylene Diene Monomer): EPDM is a synthetic black rubber that cannot be heat-welded. Reliable Rubber Flat Roof Repair relies on specialized surface cleaners, chemical primers, and pressure-sensitive cured rubber seam tapes. When detailing awkward shapes or corners, use unreinforced, moldable flashing tape. For broader system requirements, consult our comprehensive EPDM Rubber Roof Installation Guide.
- TPO & PVC (Thermoplastics): Thermoplastic polyolefin (TPO) and polyvinyl chloride (PVC) sheets are joined by hot-air robotic or hand welders that fuse the overlapping sheets at the molecular level. When repairing older, weathered TPO, the top surface must be scrubbed with specialized solvent cleaners to remove the oxidized layer before new material will weld properly.
Asphalt-Based Systems: Modified Bitumen and Built-Up Roofing (BUR)
Asphalt roofs consist of multiple layers of bitumen alternating with reinforcing fabrics, often topped with mineral granules or gravel ballast.
- Modified Bitumen (Mod-Bit): Mod-bit sheets are modified with SBS (synthetic rubber) or APP (plastic) polymers. Minor tears and punctures can be repaired using cold-applied SBS-modified mastic reinforced with polyester mesh, or by heat-bonding a new target cap sheet over the prepared area.
- Built-Up Roofs (BUR): Traditional tar-and-gravel roofs require clearing away loose stone ballast down to the bare asphalt plies. A traditional three-course repair using ASTM D4586 mastic and heavy-duty #30 organic or fiberglass felt restores waterproofing before gravel is swept back into place.
Cost Factors, Lifespan Expectations, and Critical Mistakes to Avoid
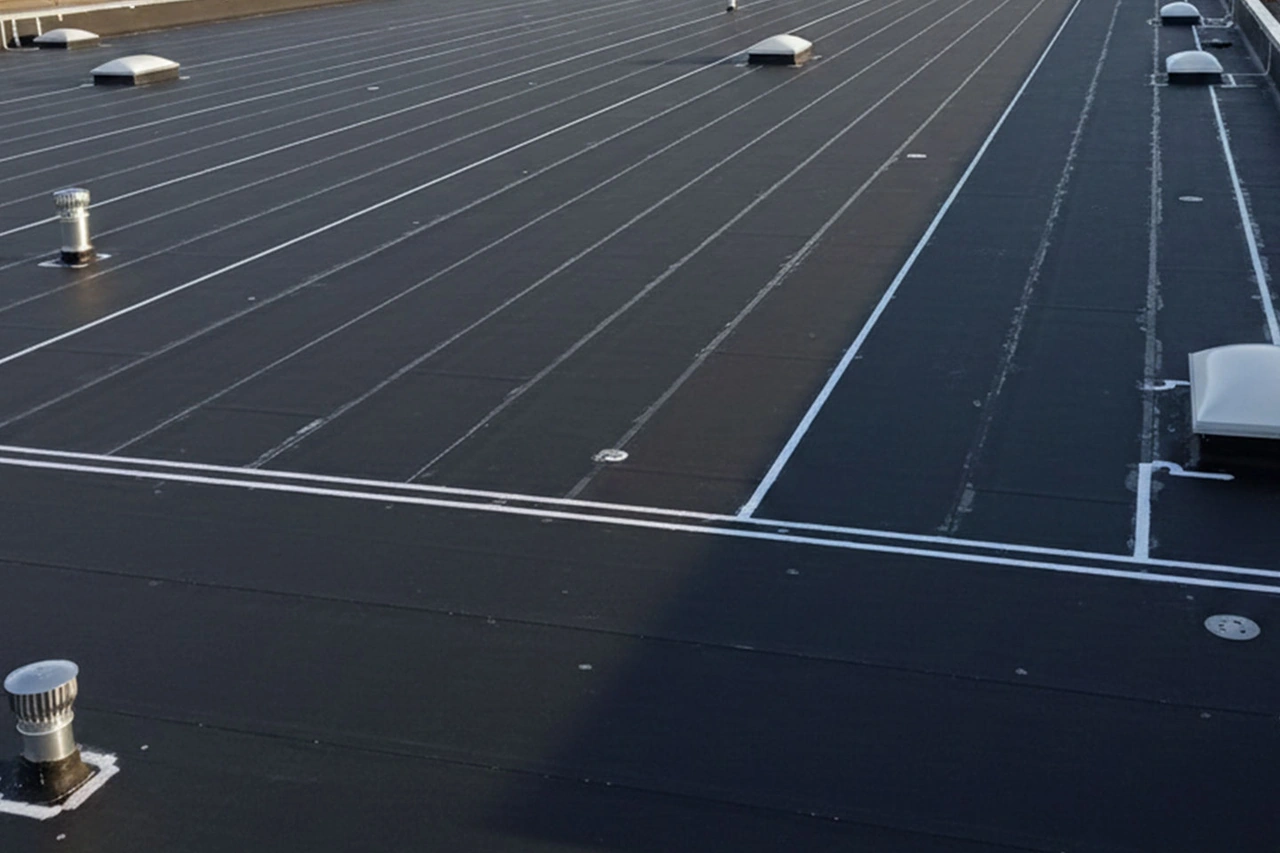
Understanding the performance and financial aspects of low-slope roof repairs helps property owners manage their maintenance budgets effectively.
Estimated Flat Roof Repair Costs and Pricing Factors in 2026
Repair pricing varies depending on the underlying issues discovered during inspection:
- Scope of Damage: A localized patch on an open seam requires fewer labor hours than rebuilding a water-damaged parapet wall or replacing soaked insulation boards.
- Accessibility and Safety: High multi-story buildings, limited ladder access, and complex architectural tie-ins require additional safety rigging and staging.
- Structural Repairs: If water intrusion has reached the timber or metal decking beneath the insulation, carpentry and structural steel restoration will adjust the overall scope.
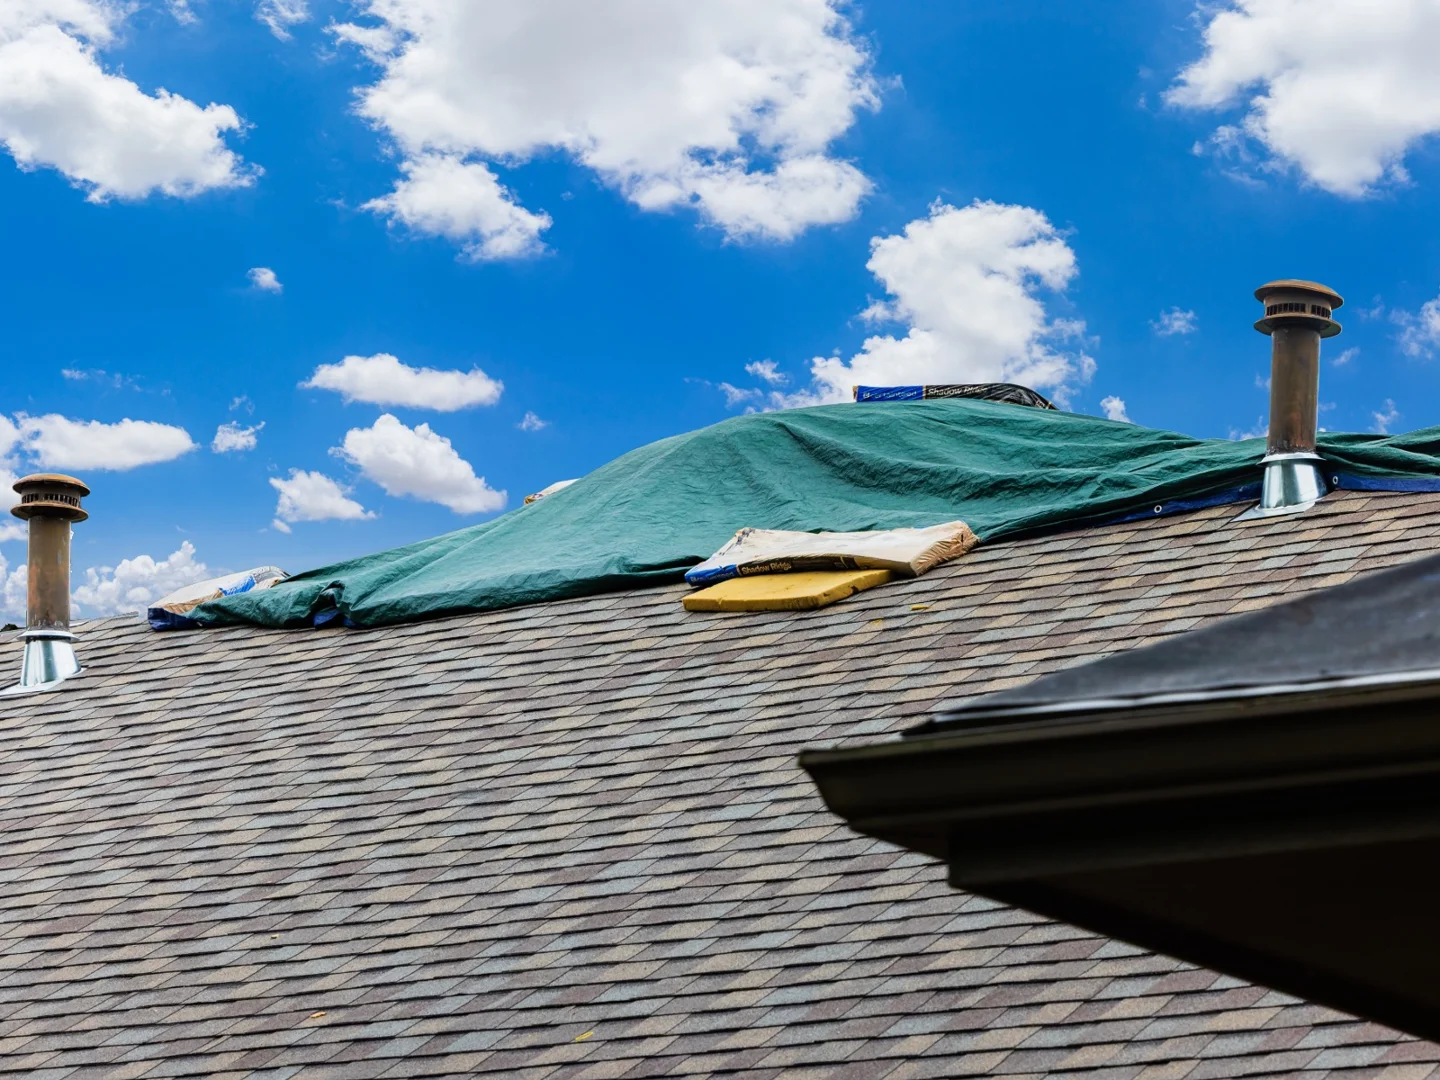
- Emergency Dispatch: Immediate callouts during heavy storms for emergency tarping and active leak mitigation require dedicated crews on short notice. Comparing your needs against 2026 roofing repair cost benchmarks can help you plan long-term property upkeep.
Common Mistakes That Cause Premature Patch Failure
When flat roof repairs fail early, it is almost always traceable to a few avoidable missteps:
- Using Incompatible Chemistry: Applying general-purpose silicone or asphalt mastic to EPDM or TPO membranes without checking chemical compatibility.
- Trapping Moisture Under the Patch: Applying sealants over damp insulation or wet membranes, which creates vapor pressure blisters under warm sunlight.
- Inadequate Surface Cleaning: Placing adhesives over dust, oxidation, algae, or loose mineral granules, preventing a true watertight bond.
- Ignoring Ponding Water: Applying a flat patch in a low area where water sits for more than 48 hours without installing a tapered insulation cricket or clearing the drain sump.
- Failing to Reinforce Seams: Spreading caulk over a pulling lap seam instead of securing the separation with reinforced cover tape.
Frequently Asked Questions About Flat Roof Maintenance
Can I repair a leaking flat roof myself or should I hire a contractor?
While small surface patches on low single-story residential outbuildings can be completed by handy property owners, commercial and complex residential flat roofs carry significant safety risks. Working near roof edges requires proper fall protection and OSHA-compliant equipment. Additionally, improper DIY techniques—such as applying open flames to dried felt or using incompatible sealants—can void manufacturer warranties and accelerate membrane failure. Professional contractors provide diagnostic moisture scans, structural safety protocols, and workmanship warranties that protect the building's value over time.
How long does a typical flat roof repair last?
A well-executed repair should perform reliably for years:
- Reinforced Asphalt Sandwich Patches: Typically last 3 to 7 years, especially when coated with UV-reflective aluminum paint.
- Single-Ply Heat-Welded or Taped Patches: Can last 10 to 20 years on sound EPDM or TPO membranes, often matching the remaining lifespan of the overall roof.
- Solar Reflective Coatings: Applying cool roof topcoats every 3 to 5 years reflects over 70% of solar radiation, reducing surface temperatures by up to 60°F and extending the life of the underlying membrane.
When should an active flat roof leak be treated as an emergency?
An active flat roof leak requires immediate response when:
- Water is entering electrical conduits, panels, or light fixtures.
- Interior ceiling drywall, plaster, or suspended tiles begin bowing downward under trapped water weight.
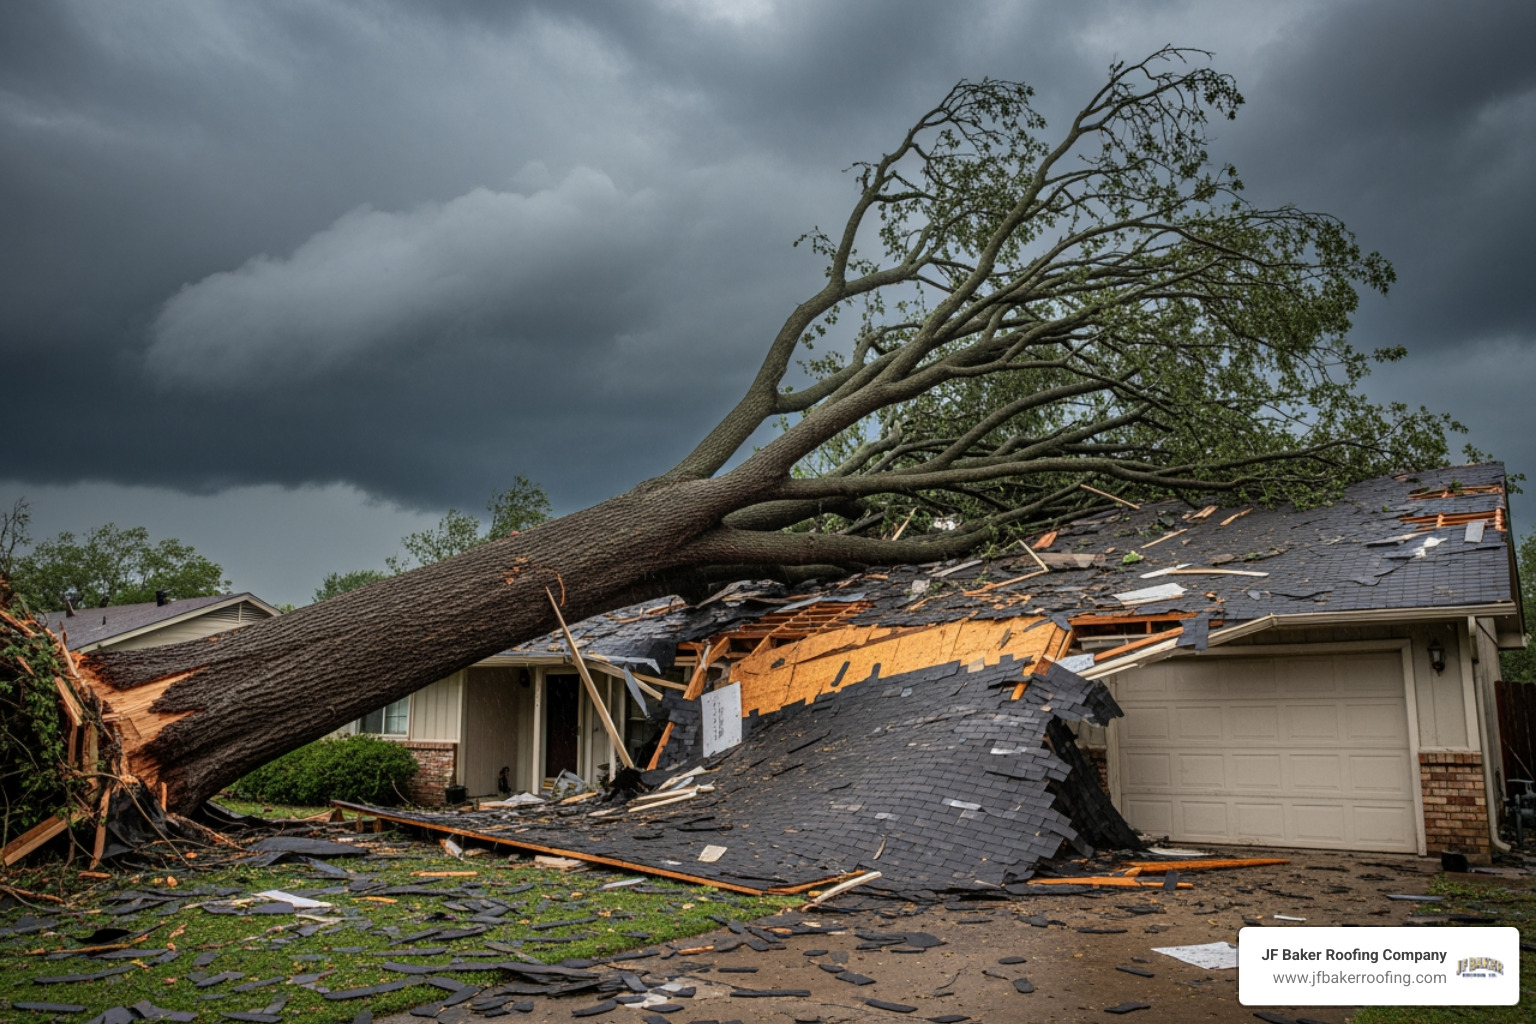
- Severe storms have torn open membrane seams or ripped flashing from perimeter edges, leaving the substrate open to wind-driven rain.
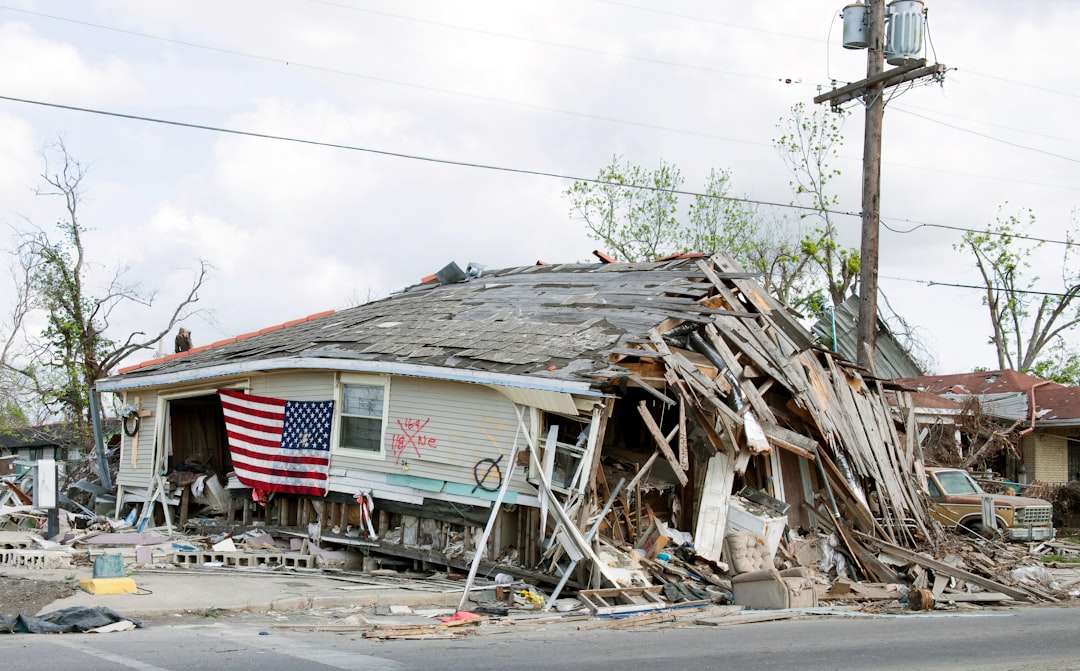
- Water threatens valuable machinery, inventory, or living spaces. In these cases, immediate dispatch for watertight tarping and water extraction prevents extensive interior loss.
Conclusion
Protecting your property from water damage starts with regular maintenance, accurate leak detection, and durable repairs designed for your specific roof membrane. Taking time to diagnose underlying moisture issues and choosing compatible materials ensures your roof continues to protect what matters most beneath it.
Built on integrity. Proven by performance. JF Baker Roofing has provided honest assessments, transparent pricing, clean job sites, clear communication, and no high-pressure sales tactics across Central Ohio since 1929. Led by third-generation owners Chad and Pat Baker, our team serves Columbus, Dublin, Upper Arlington, Hilliard, Grandview Heights, Worthington, and Westerville. We are an NRCA member, a CertainTeed ShingleMaster Preferred Contractor, and a BBB Accredited Business with an A+ rating.
Whether you need residential roofing, commercial roofing, storm damage repairs, gutter work, custom sheet metal, or professional flat roof repair, we recommend repairs when possible and replacement only when genuinely needed. Let our reputation be your security—reach out to our family-owned team today to schedule an inspection.






.jpeg)