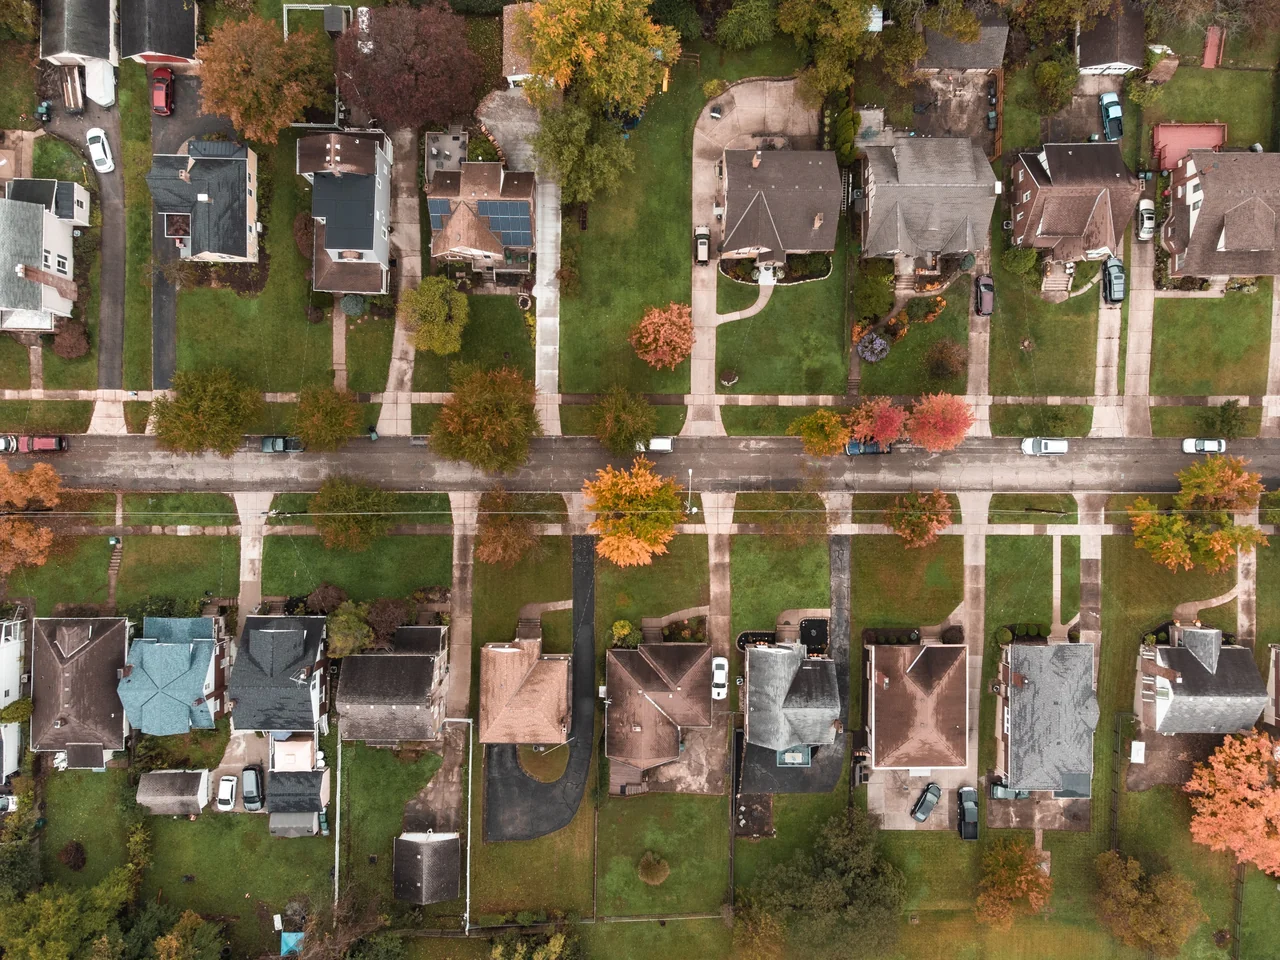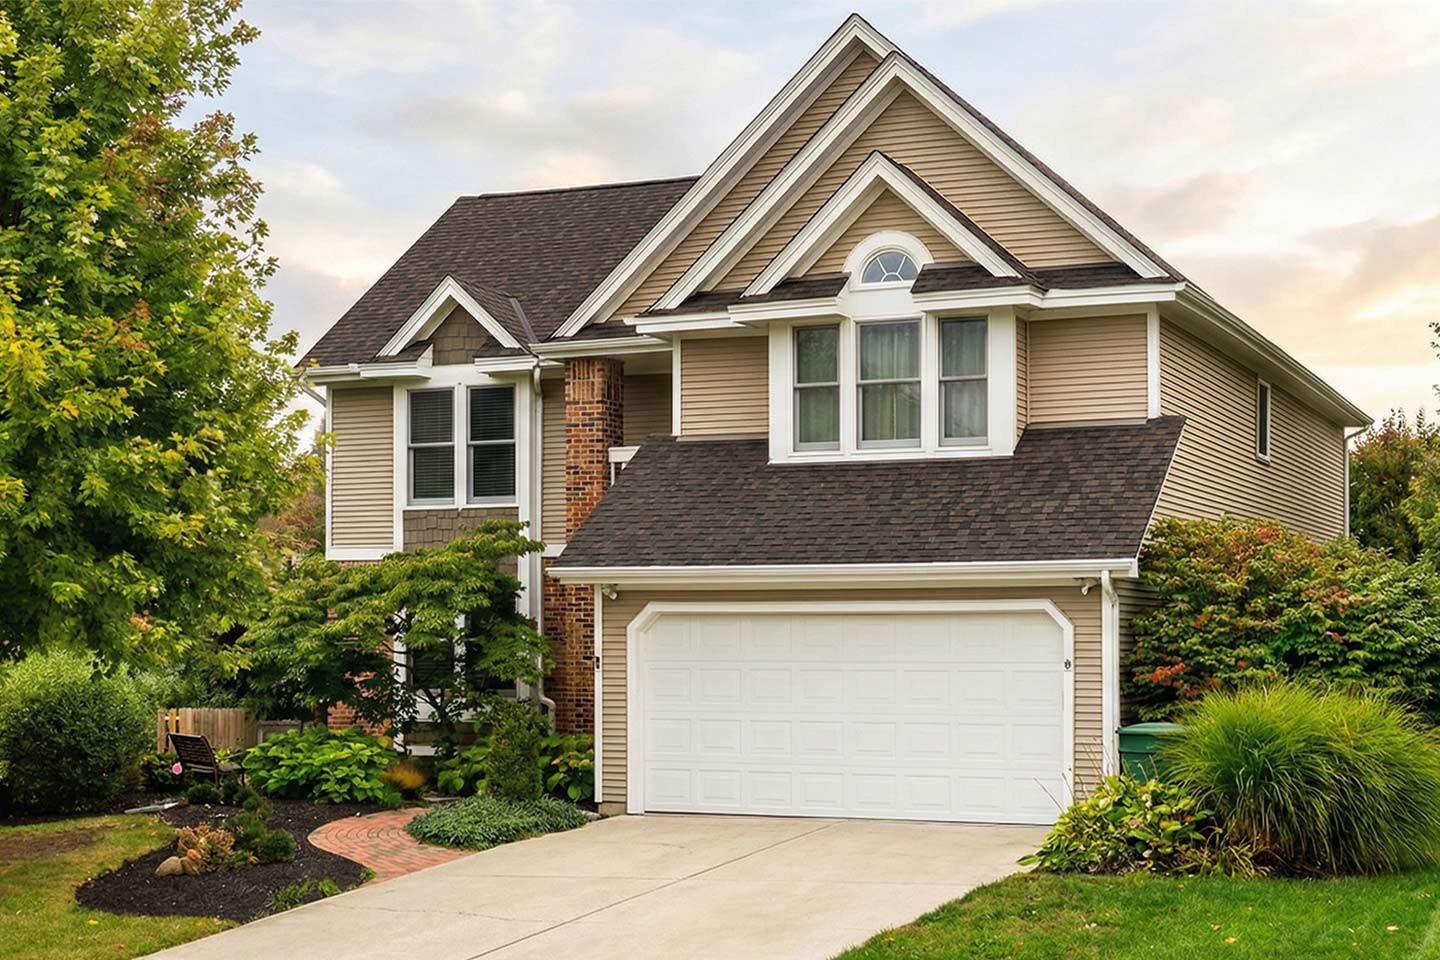
The Best Residential Roof Inspection Checklist for Beginners
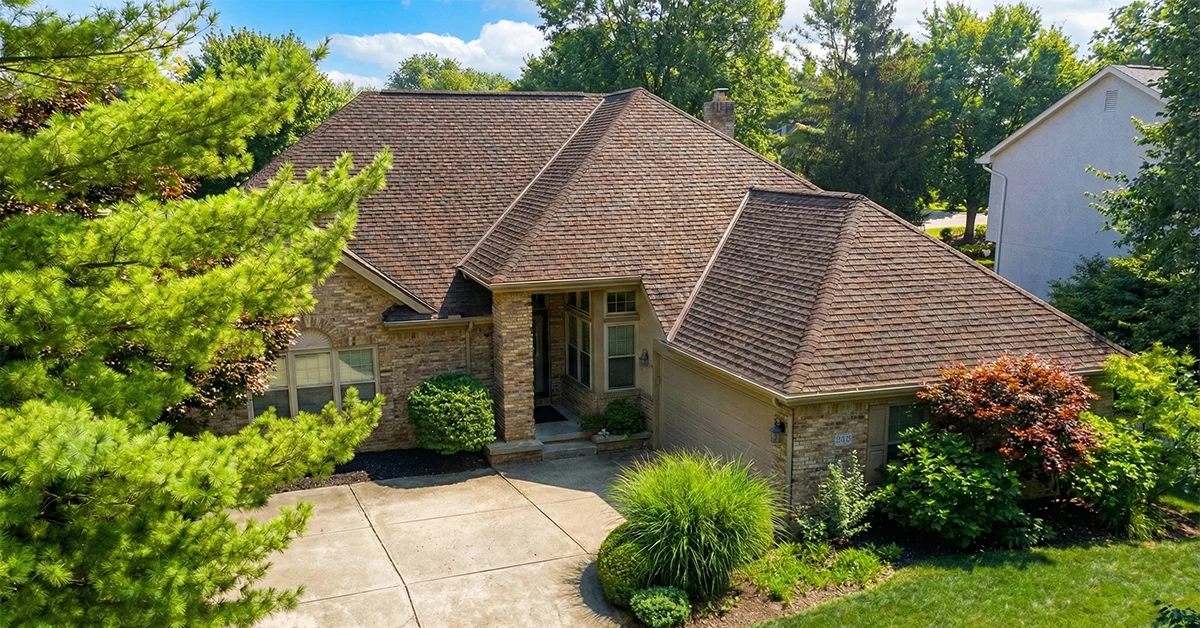
Why Every Central Ohio Homeowner Needs a Residential Roof Inspection Checklist
A residential roof inspection checklist is a structured list of items to examine on and inside your home to catch roof problems early, before they turn into expensive repairs. Here is a quick summary of what a complete inspection covers:
- Exterior: Shingles, flashing, gutters, downspouts, chimney, vents, and drip edge
- Interior: Attic ventilation, insulation, water stains, mold, daylight penetration, and rafter condition
- Frequency: Twice a year (spring and fall), plus within 48 hours of any major storm
- When to call a pro: Steep pitches, hidden damage, insurance claims, or roofs over 10 years old
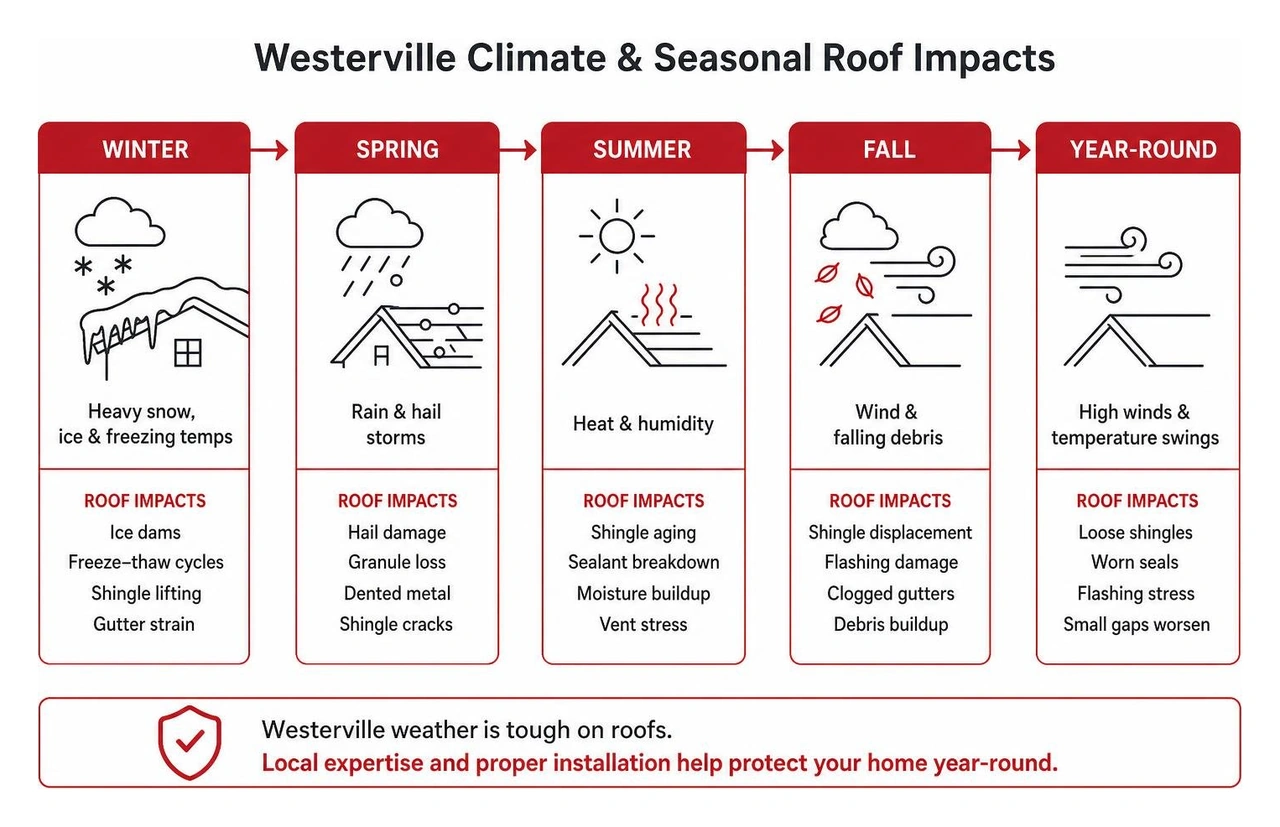
Your roof takes a beating in Central Ohio. Harsh winters, freeze-thaw cycles, spring hailstorms, and summer heat all work against your shingles year after year.
The problem is that most roof damage is invisible from the ground. A roof can look perfectly fine from the street while quietly failing at the flashing, in the attic, or along the edges where water likes to sneak in.
That is where a checklist saves you. According to industry data, for every dollar spent on preventive roof maintenance, homeowners avoid roughly four dollars in future repair costs. Roof issues are also the single most common deficiency found during home inspections, showing up in nearly one in five inspections nationwide.
Catching a cracked pipe boot or a failing flashing seal early might cost a few hundred dollars to fix. Ignoring it can mean thousands in water damage, rotted decking, and ruined insulation.
I am Chad M. Baker, third-generation co-owner of JF Baker Roofing Company, and we have been helping Central Ohio homeowners protect their roofs since 1929, so let me walk you through exactly what to look for and when to call in a professional.
Why You Need a Residential Roof Inspection Checklist
Winging a roof inspection simply does not cut it. Without a systematic approach, it is incredibly easy to miss the early warning signs of a leak. A structured residential roof inspection checklist acts as your financial shield, helping you document the health of your home step by step.

When you are buying or selling a home, a documented roof history is worth its weight in gold. Industry statistics from 2026 show that 86% of home inspections reveal issues requiring attention. Buyers who use detailed inspection findings negotiate an average of $14,000 off the purchase price. Because roof issues make up 19.7% of all deficiencies found in home inspections, having a clean, professionally verified roof history protects your property value and keeps real estate transactions on track. You can read more about how roofing fits into overall property evaluations in this home inspection checklist for different Areas for 2026.
Beyond real estate, regular inspections are essential for maintaining your homeowner's insurance coverage. Many insurance carriers in 2026 require documented roof inspections for policy renewals, especially on roofs that are over 12 years old. If a major storm hits Columbus or Delaware, Ohio, having a record of your roof's pre-storm condition makes the insurance claims process significantly smoother.
Understanding The Main Components of a Residential Roof in Columbus Ohio and tracking them with a checklist ensures your roof reaches its full design lifespan. It is the ultimate tool for proactive homeownership, turning potential $5,000 emergency repairs into simple, low-cost maintenance tasks.
How Often Should You Inspect Your Roof?
As a general rule, you should run through your residential roof inspection checklist at least twice a year: once in the spring and once in the fall.
In Central Ohio, our weather dictates this schedule:
- Spring Inspections: Winter weather is tough on shingles. Freezing temperatures, heavy snow loads, and rapid freeze-thaw cycles can crack sealants, loosen flashing, and back up water under the shingles. A spring inspection helps you assess and repair any winter damage before the heavy spring rains arrive.
- Fall Preparation: Before the first snow falls, you want to ensure your roof is ready for the cold. This means cleaning out gutters, checking for loose shingles, and ensuring your attic ventilation is clear to prevent ice dams.
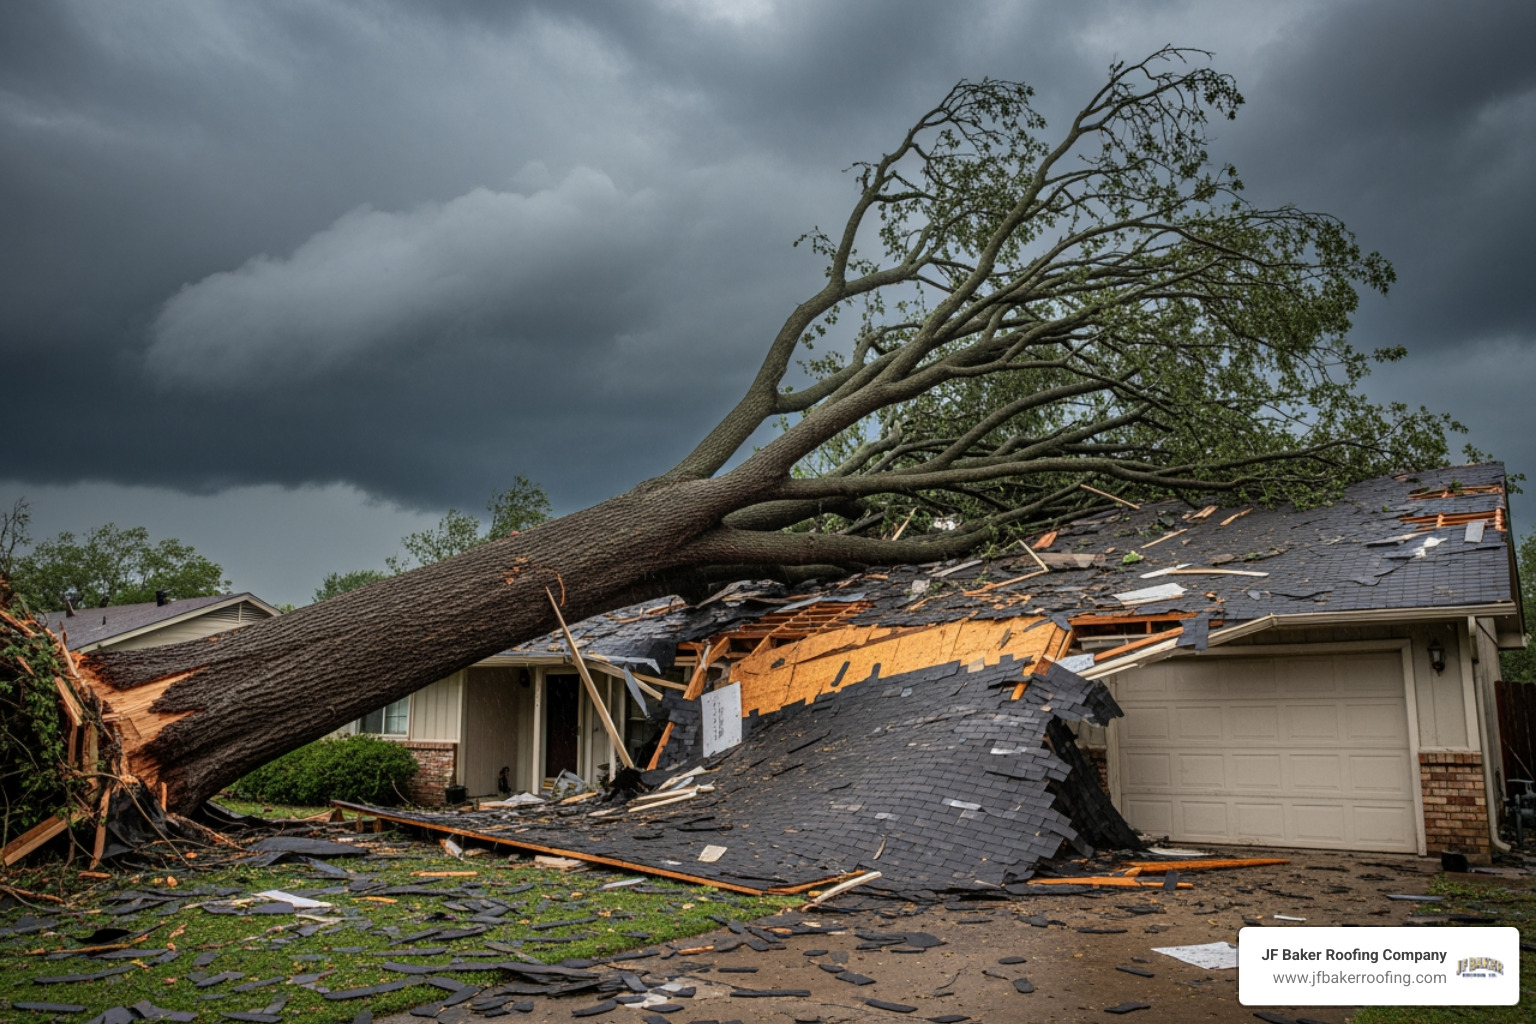
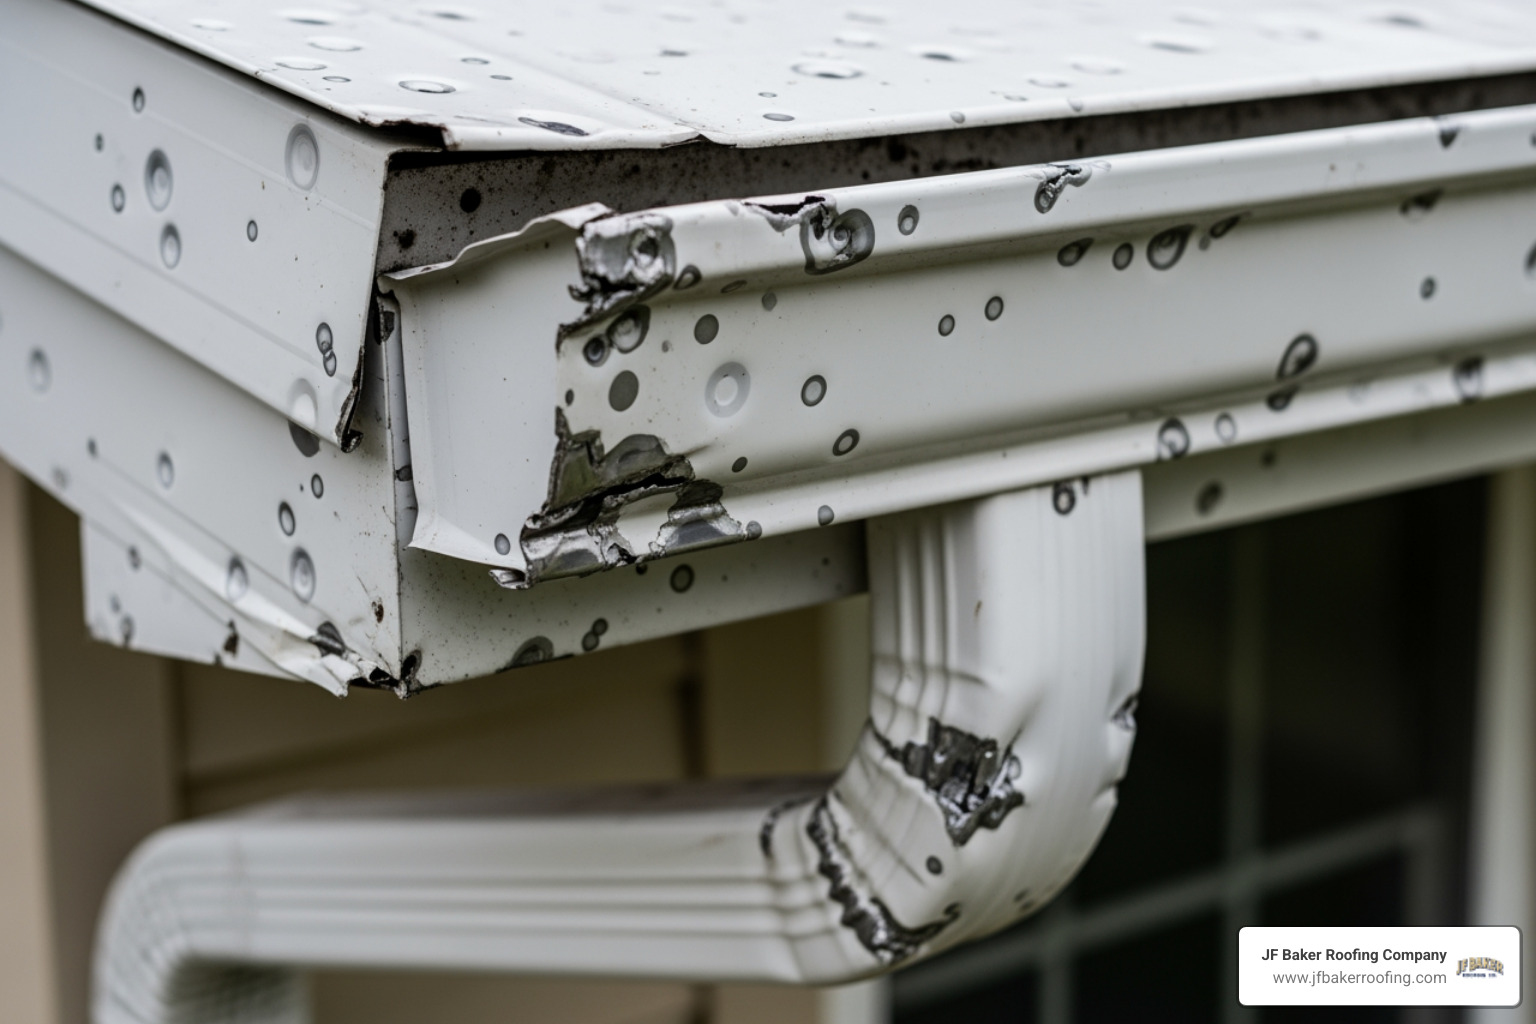
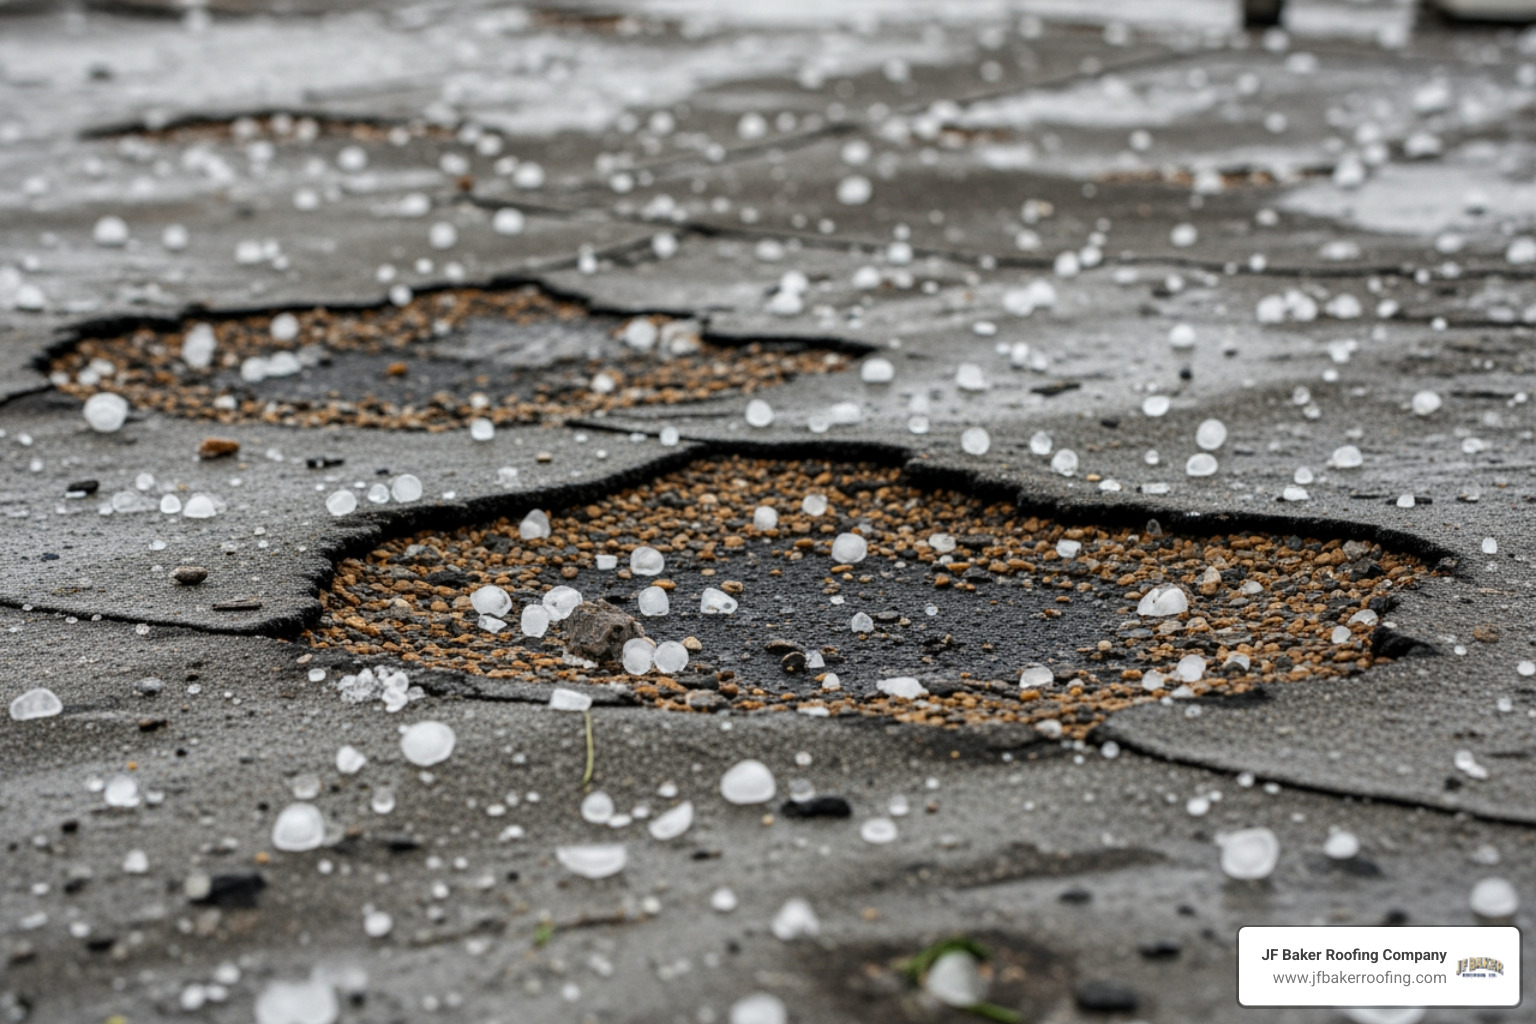
- Post-Storm Assessments: You should also perform a visual check within 48 hours of any severe weather event, such as high winds, hail, or heavy snow. Catching wind-lifted shingles or hail impact marks early prevents water from quietly rotting your roof deck over the summer. You can find a complete guide on what to do after severe weather in our article on Roof Inspection After Storm.
Your roof's age also plays a major role in how often it needs to be checked. If your roof is under 10 years old, a thorough DIY check twice a year is usually plenty. However, if your roof is over 12 to 15 years old, the materials naturally become more brittle and vulnerable. At this stage, we recommend scheduling an annual professional inspection alongside your seasonal DIY checks. For more details on budgeting and inspection intervals, check out this Free Roof Inspection Checklist + Cost Guide (2026) | RoofScour.
The DIY Ground-Level and Attic Inspection Guide
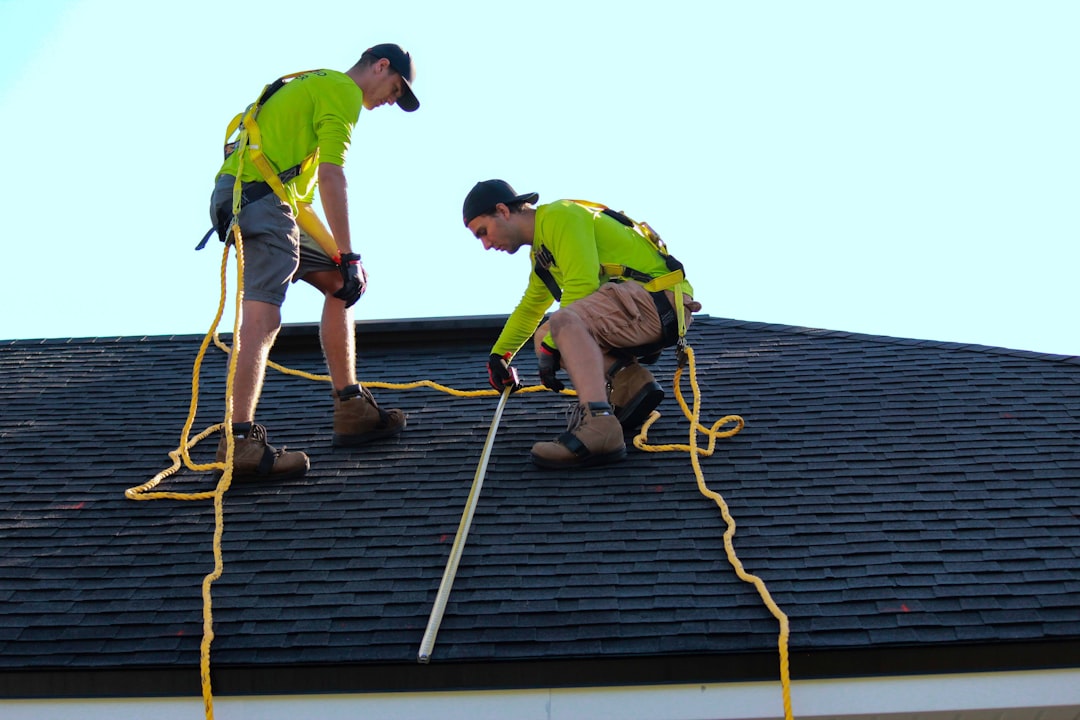
Before we dive into the checklist, we need to talk about safety. Roofers are currently ranked as having the fifth most dangerous job in America. Climbing onto a roof is inherently risky, especially if you do not have professional fall-protection gear, specialized soft-soled footwear, and experience handling steep pitches.
The good news is that you do not need to climb a ladder to perform a highly effective inspection. In fact, about 85% of all roof problems can be identified safely from the ground using a good pair of binoculars, paired with a thorough look inside your attic.
We always recommend starting your inspection in the attic. The attic tells the truest story of your roof's performance because it reveals historical moisture patterns, structural strain, and ventilation issues that are completely invisible from the outside.
To perform a safe and thorough DIY inspection, gather these essential tools before you begin:
- A pair of 10x binoculars for ground-level viewing
- A high-powered flashlight for the attic
- A smartphone or camera to document your findings with date-stamped photos
- A notepad or a digital PDF copy of your checklist
- A tape measure to check insulation depth
Step-by-Step Exterior Residential Roof Inspection Checklist
Grab your binoculars, step out into your yard, and walk completely around your home. Inspect the roof from multiple angles and distances, paying close attention to these key areas:
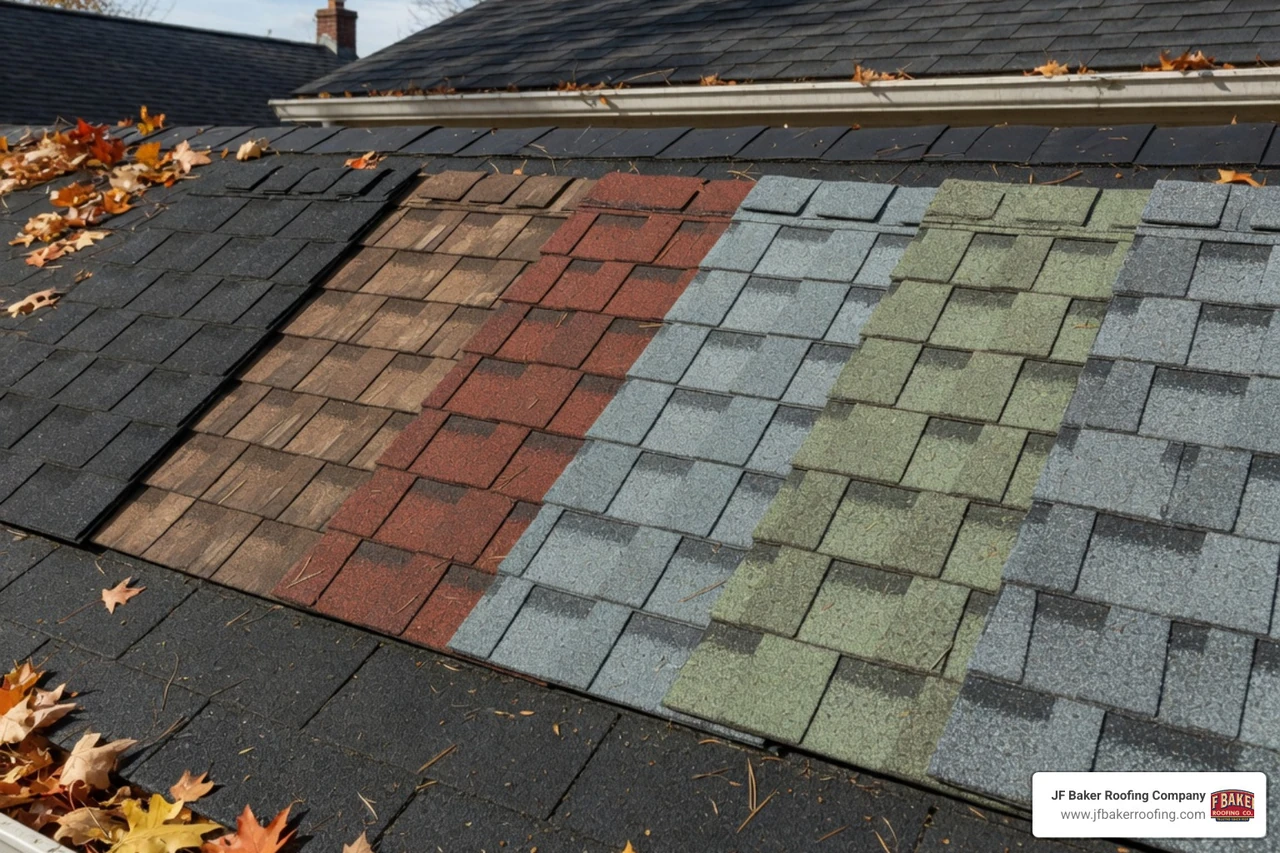
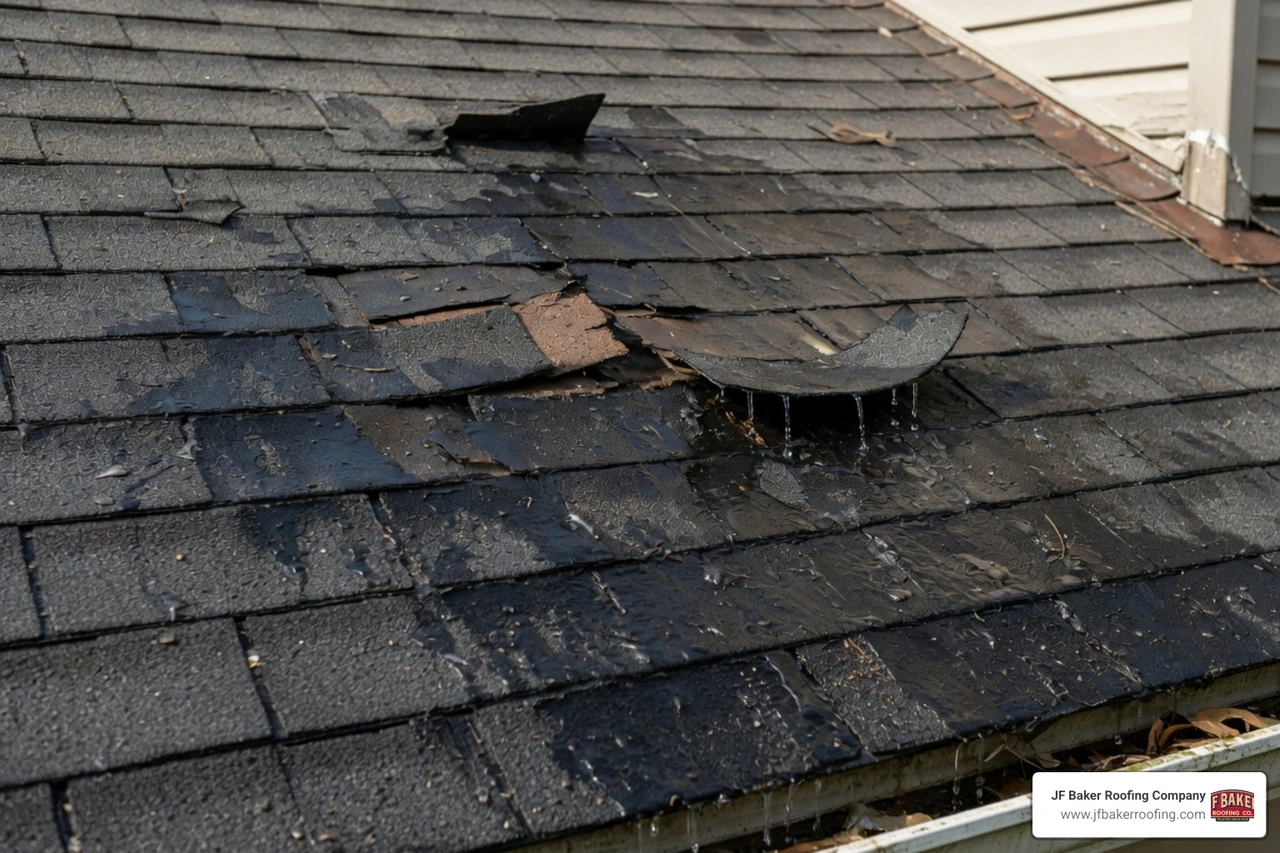
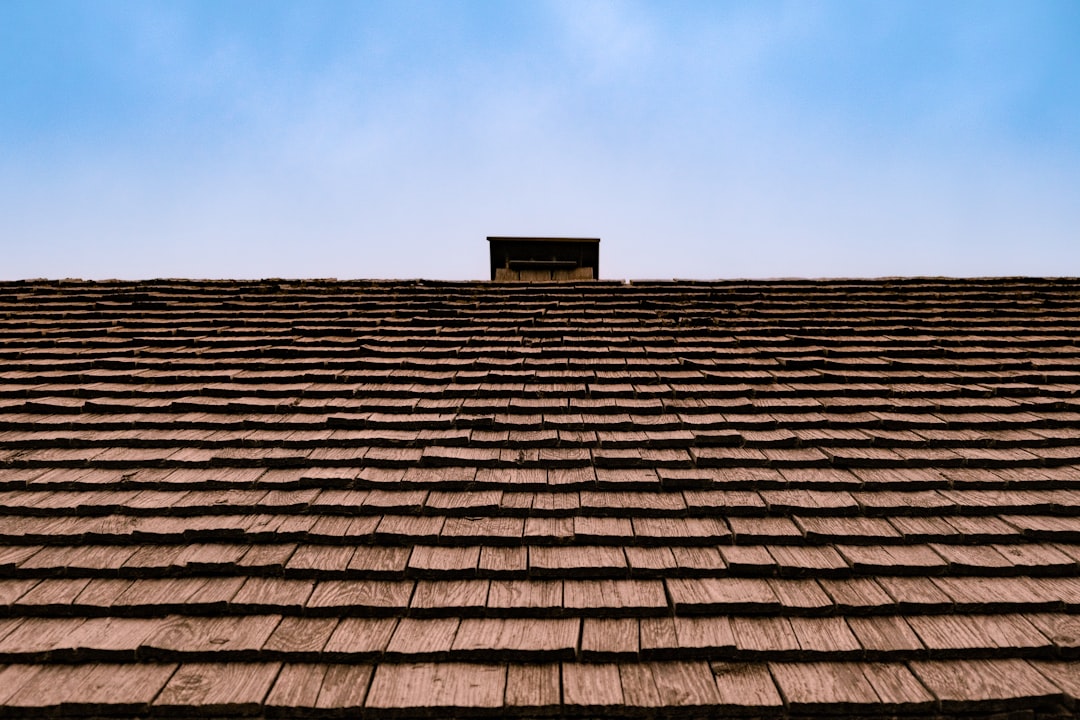
- Shingle Condition: Look closely for any missing, cracked, or curling shingles. If you notice shingles that are cupping (edges curving upward) or clawing (centers bulging upward), your roof is likely reaching the end of its lifespan. For detailed local advice on shingle wear, refer to the Residential Shingle Roofing Ohio Guide 2026.
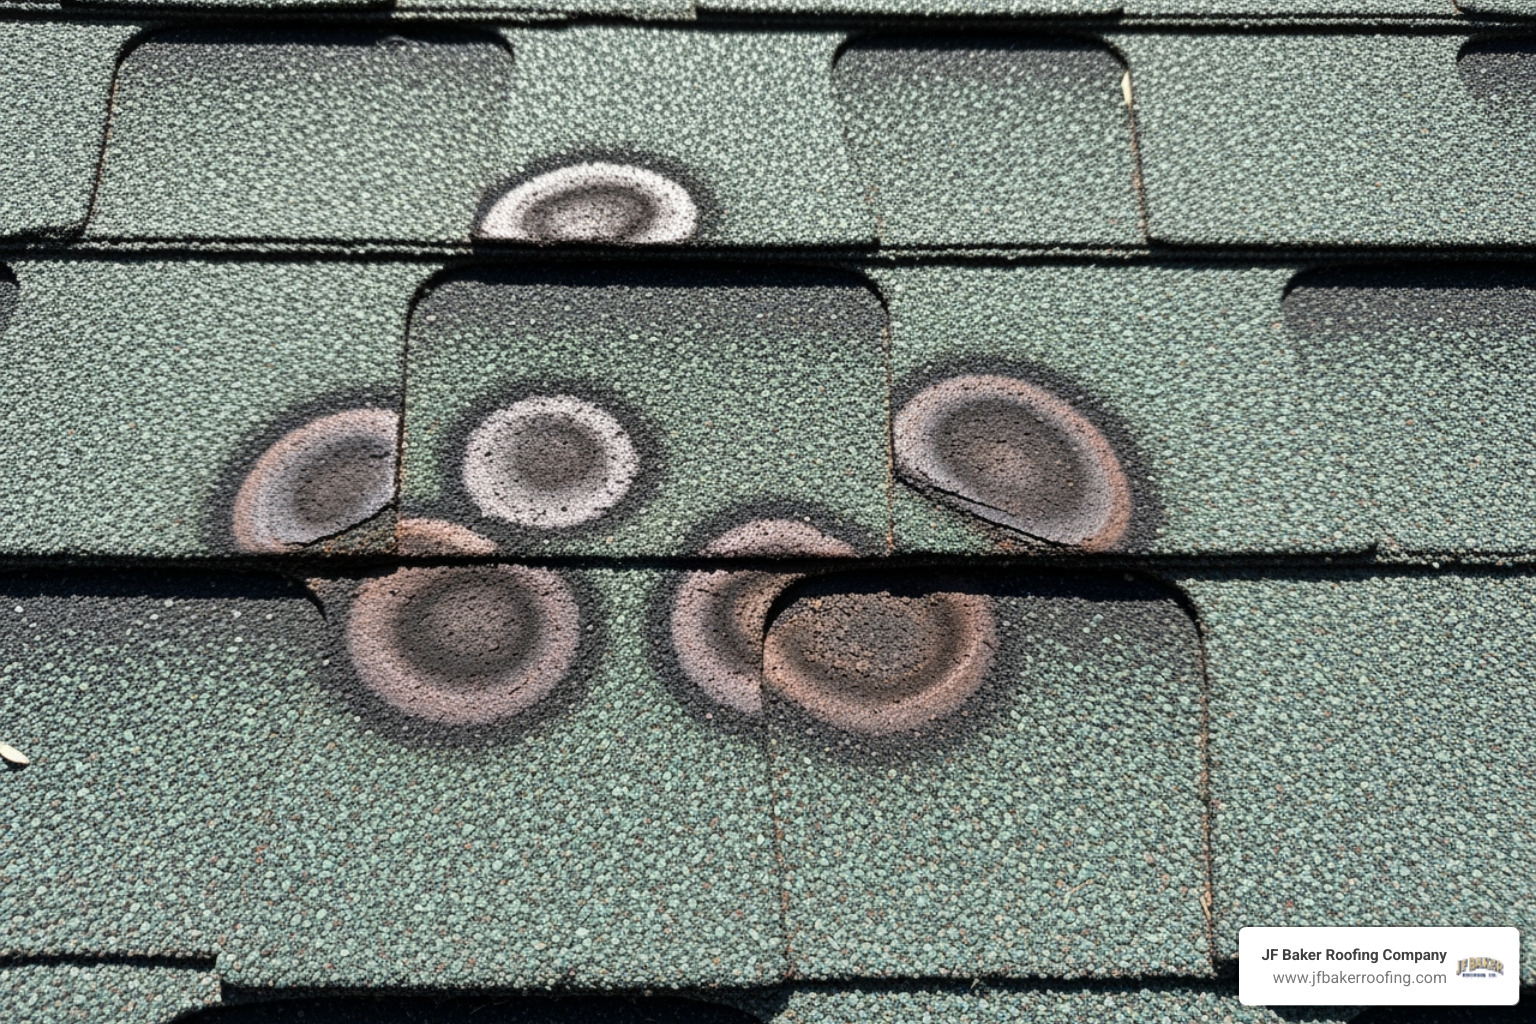
- Granule Loss: Look for dark patches on your shingles where the protective mineral granules have worn away, exposing the black asphalt mat underneath. You should also check the inside of your gutters and the splash blocks beneath your downspouts for accumulated shingle granules, which look like coarse black sand.
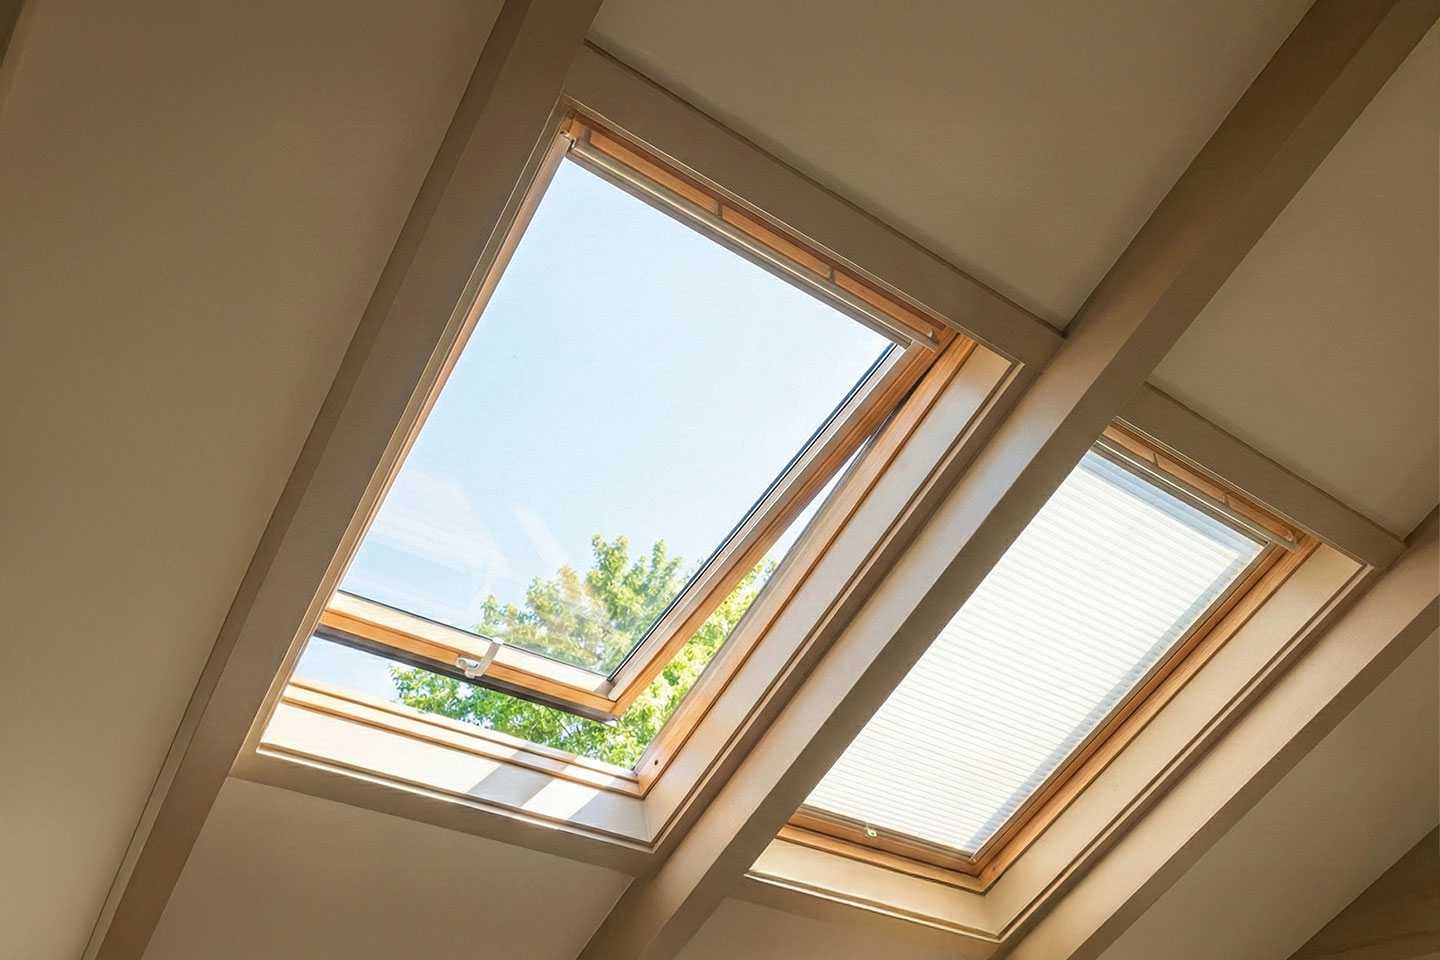
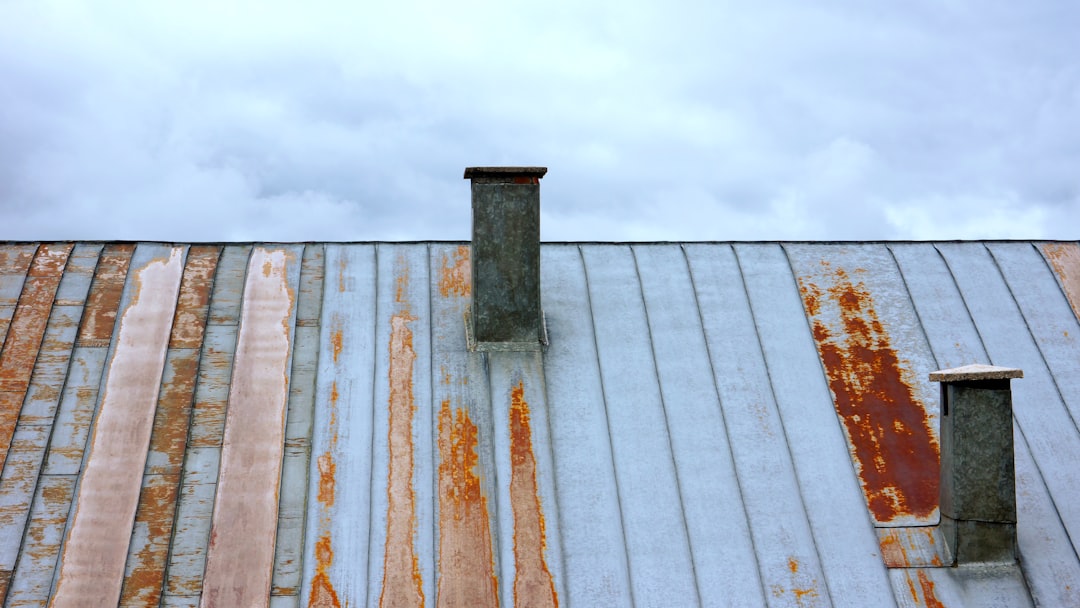
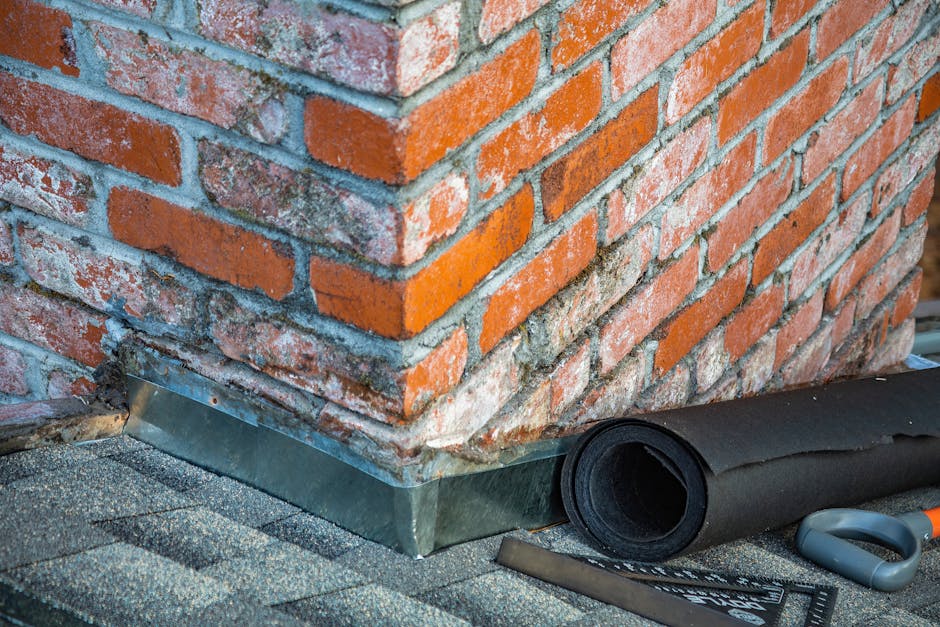
- Flashing and Seals: Flashing is the thin metal installed where the roof meets vertical surfaces like chimneys, skylights, dormers, and valleys. Check to see if any flashing is rusted, bent, or pulling away from the walls. Chimney flashing failures are the single most common source of roof leaks in the country.
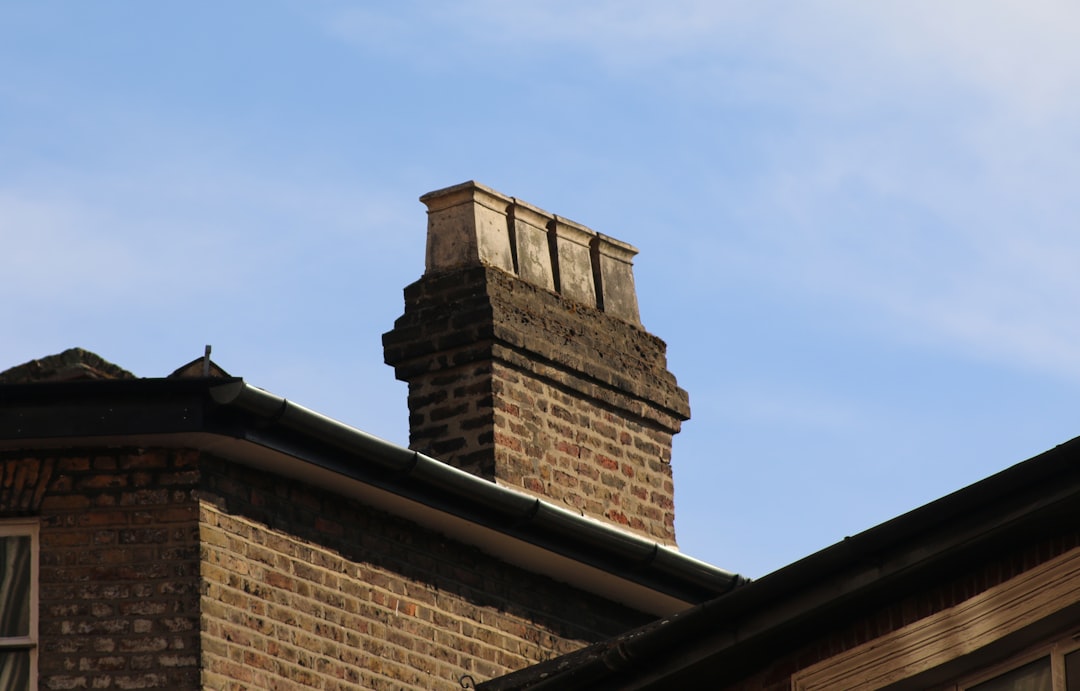
- Chimney Masonry: Use your binoculars to check the chimney cap and the mortar joints between the bricks. Cracked mortar or loose bricks can allow water to seep behind the flashing and into your home.
- Gutters and Downspouts: Ensure your gutters are securely attached to the fascia board and are not sagging or pulling away. Look for standing water, which indicates a poor slope, and verify that downspout extensions terminate at least five feet away from your foundation to protect your basement.
- Drip Edge: The drip edge is a metal flashing installed along the eaves and rakes to direct water away from the fascia and into the gutters. Ensure it is securely in place and has not been damaged by ice or ladders. To understand how these components work together under building safety codes, you can review the NSPIRE Standard - Roof Assembly.
Step-by-Step Interior Residential Roof Inspection Checklist
Once you have completed your outdoor walk-around, head inside, grab your flashlight, and safely access your attic space. If possible, perform this inspection during a bright, sunny day.
- Daylight Penetration: Turn off your flashlight and all attic lights. Look up at the roof deck. If you see any pinpoints of daylight peeking through the wood boards, you have an active gap that water will eventually find.
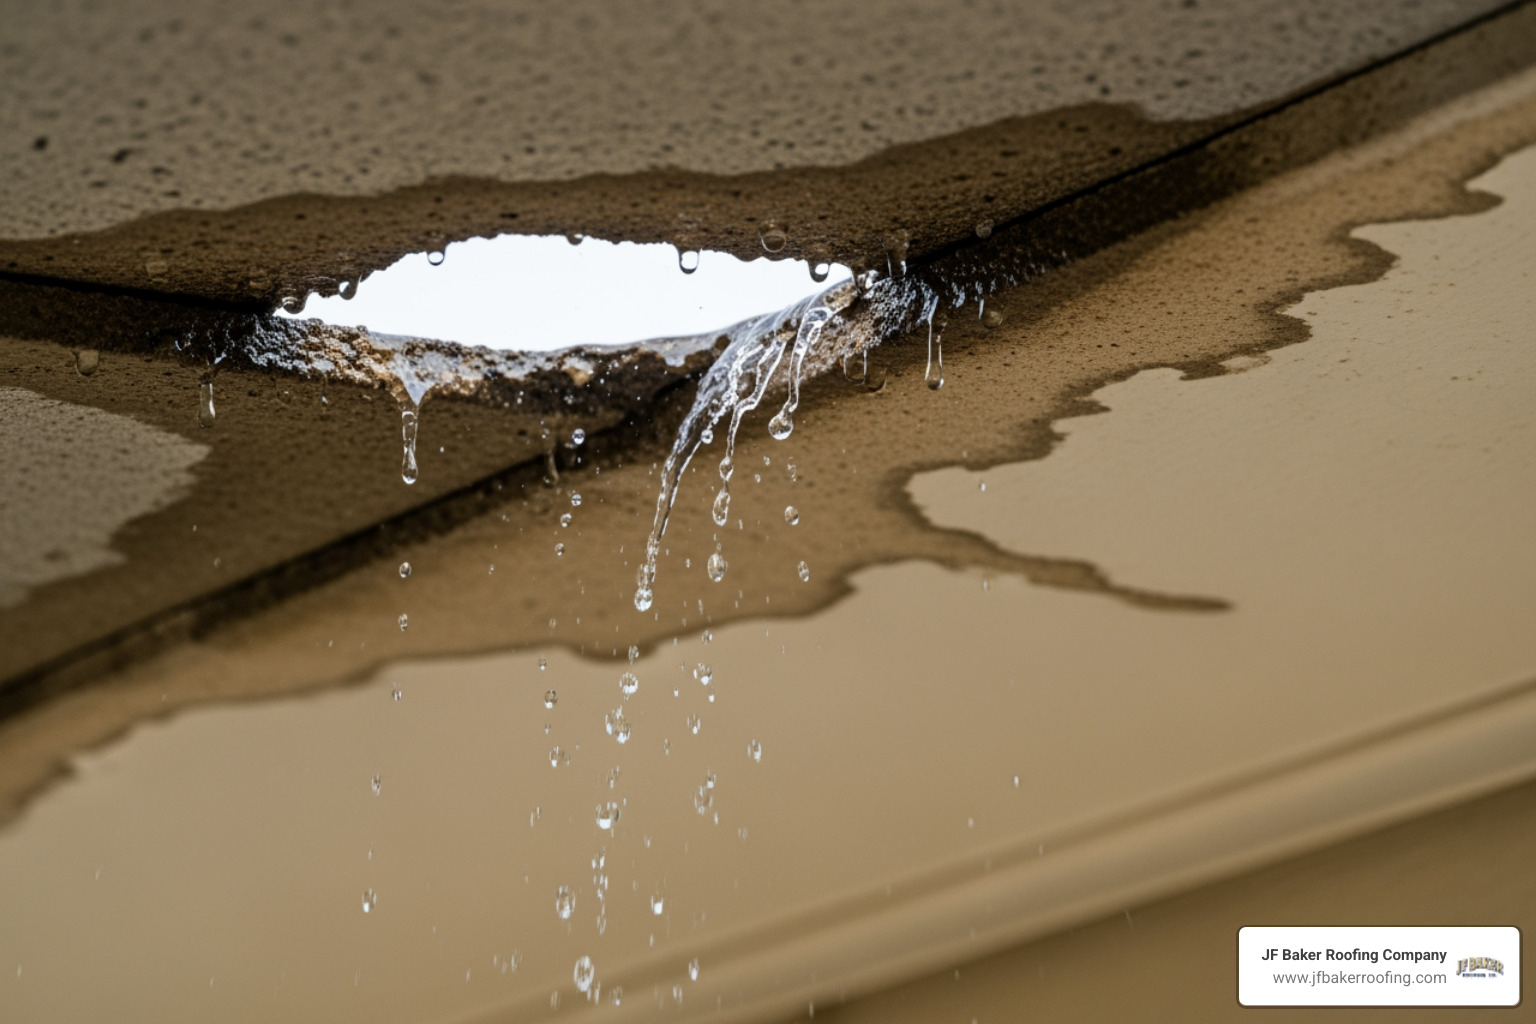
- Water Stains and Moisture: Turn your flashlight back on and carefully examine the underside of the roof sheathing. Look for dark water stains, active dampness, or white, powdery mineral deposits (efflorescence). Pay close attention to the areas around chimneys, vents, and valleys.
- Rusted Nails: Look at the tips of the nails protruding through the roof deck. If they are rusted, it is a clear sign of high humidity or a slow, active leak.
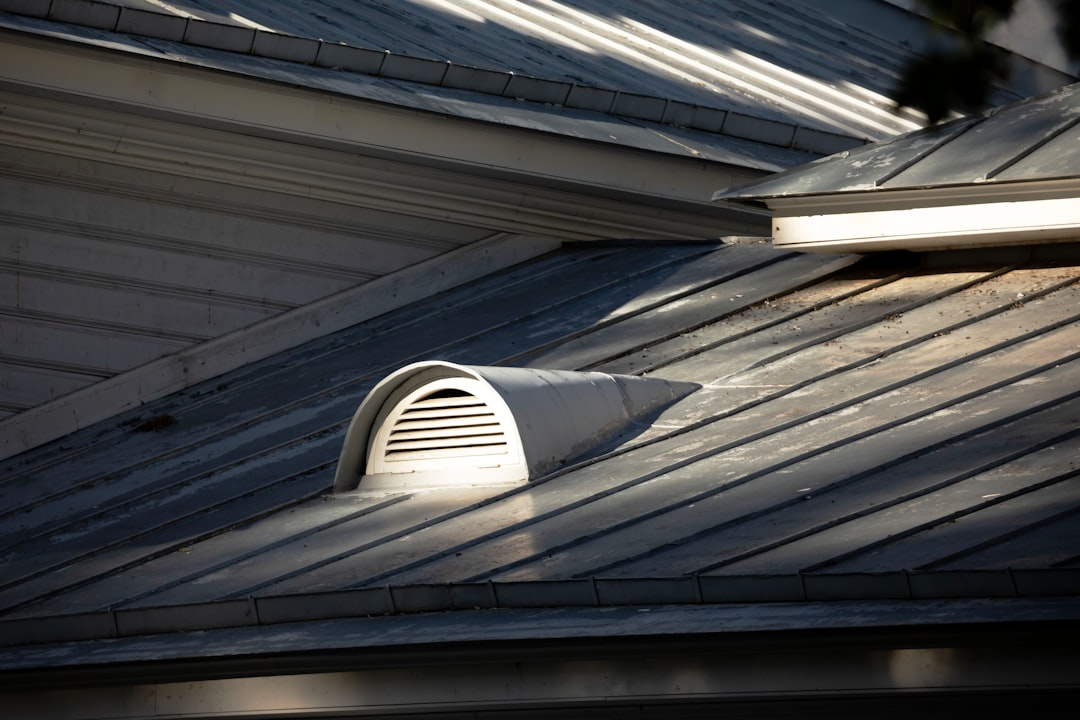
- Attic Ventilation: Check your soffit vents to ensure they are not blocked by attic insulation. Proper cross-ventilation, flowing from the soffit intake vents up to the ridge exhaust vents, can extend your shingle life by up to 25% and prevent ice dams.
- Insulation Depth and Condition: Measure your attic insulation. In Central Ohio, we generally target an insulation value of R-49 to R-60, which is roughly 16 to 20 inches of loose-fill fiberglass or cellulose. Ensure the insulation is dry and uncompacted. Wet insulation completely loses its R-value and indicates an active roof leak.
- Structural Rafters: Inspect the wood rafters and trusses for any signs of cracking, sagging, or structural distress.
- Exhaust Fans: Verify that all bathroom and kitchen exhaust fans vent directly to the outside of your home, not into the attic space. Venting warm, moist air directly into an attic is a primary cause of mold and wood rot.
For a complete breakdown of how attic health impacts the life of your roof, you can consult our guide on Asphalt Roof Lifespan Ohio or download a comprehensive 30-Point Roof Inspection Checklist (Free PDF) | TRB.
When to Call a Professional Roof Inspector
While a DIY inspection is a fantastic way to stay on top of regular maintenance, there are times when you need to call in a professional.
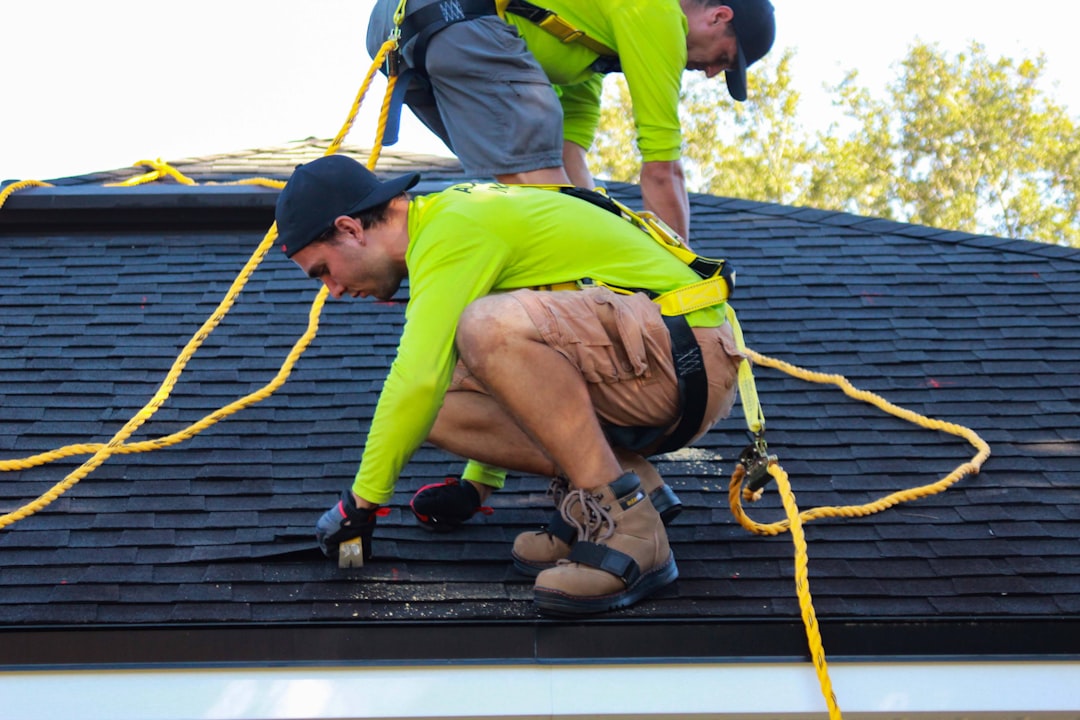
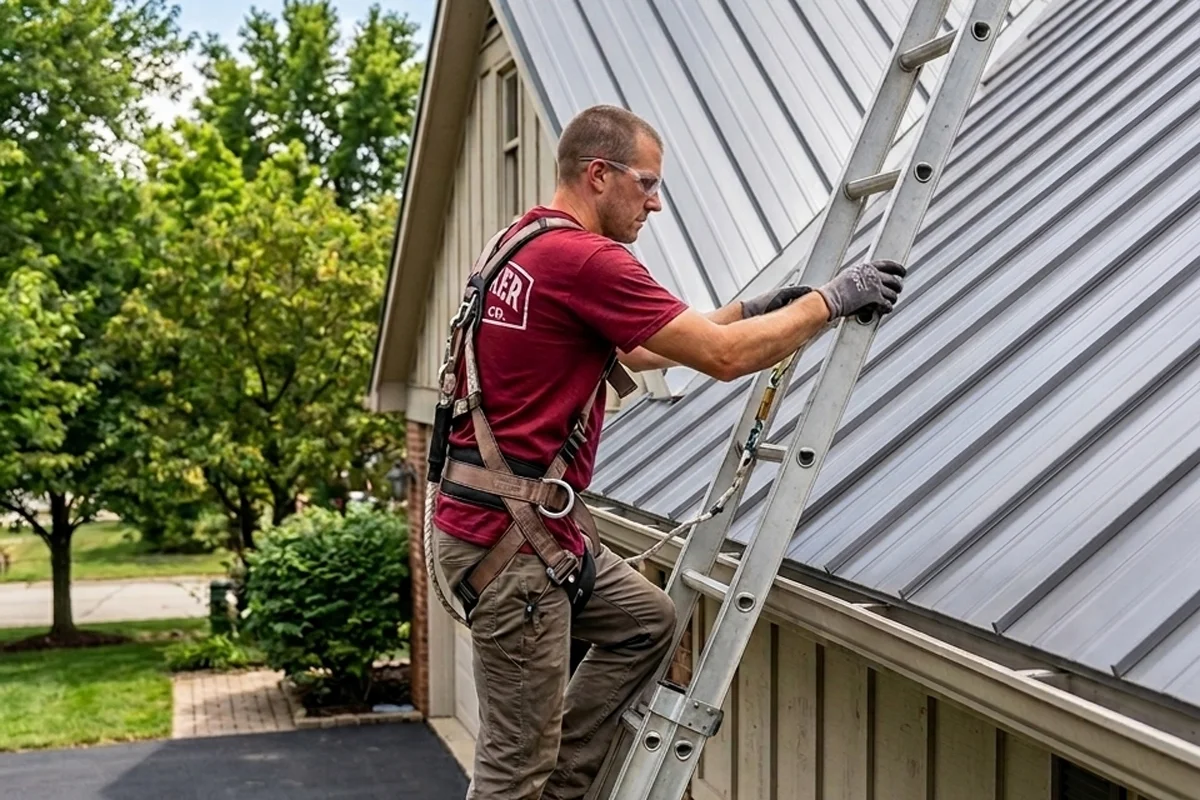
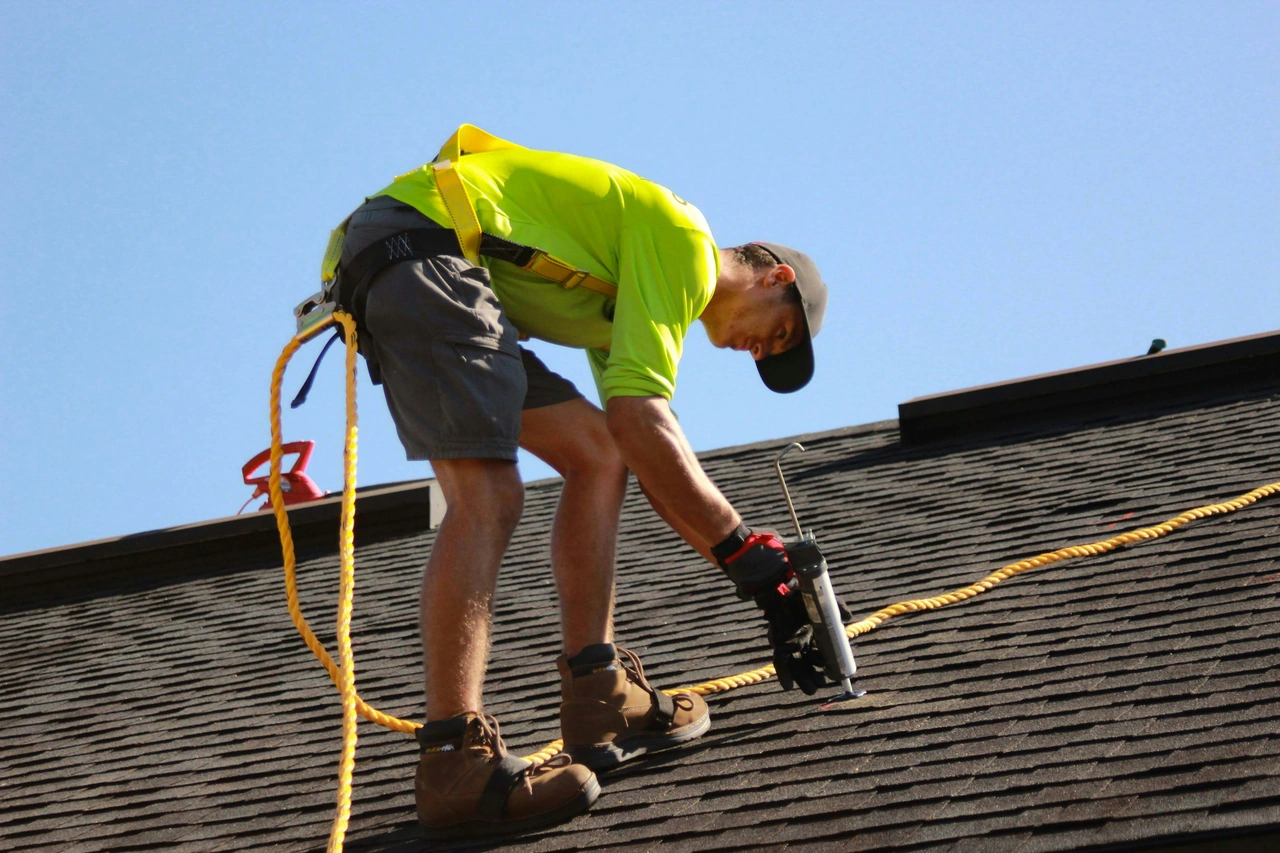
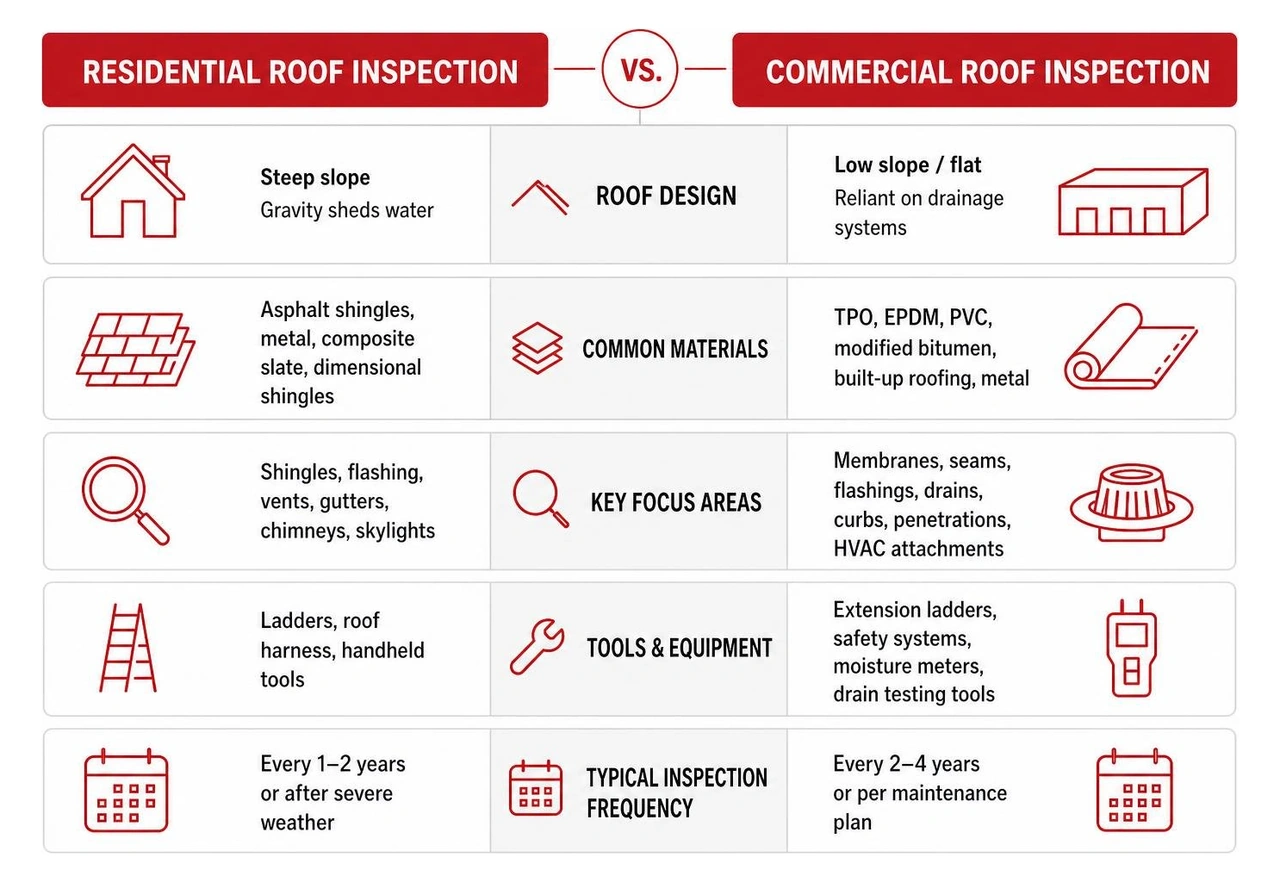
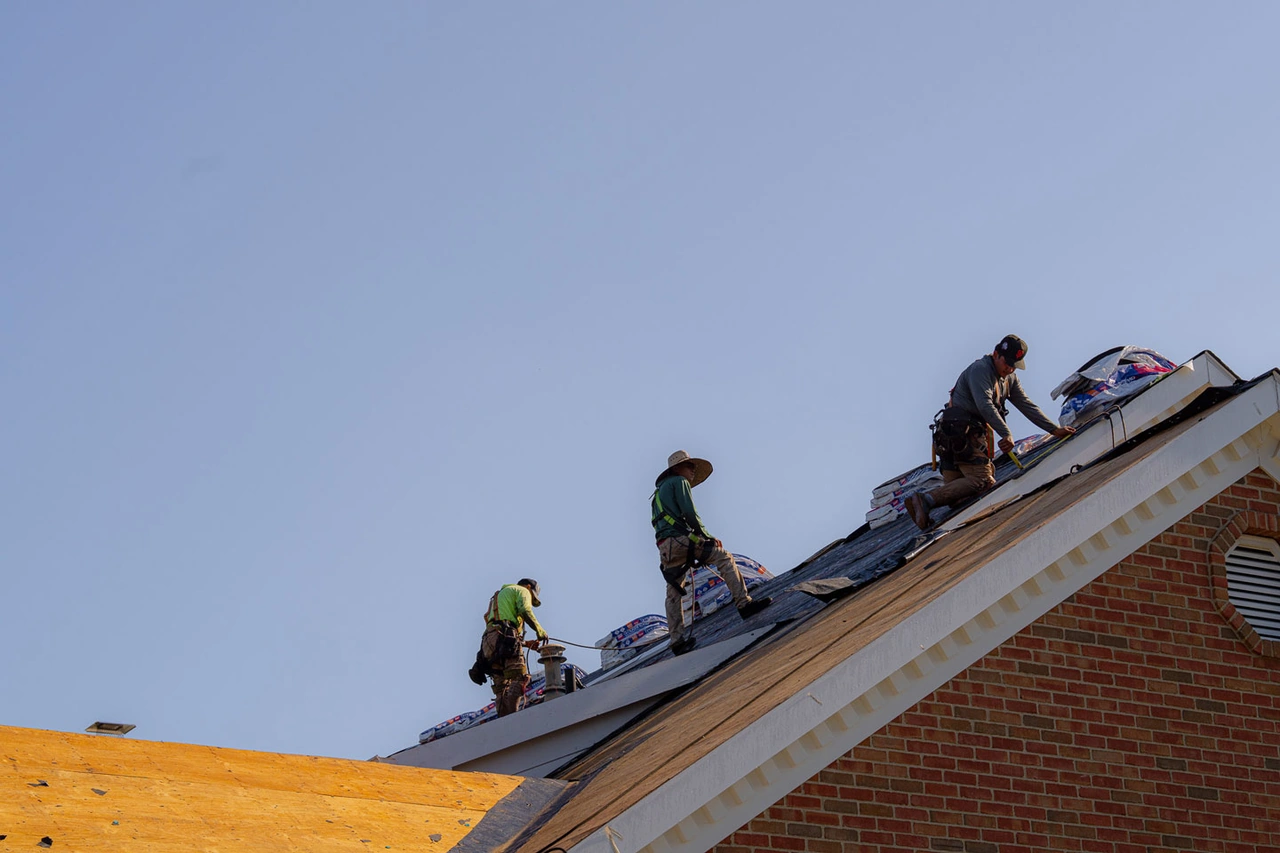
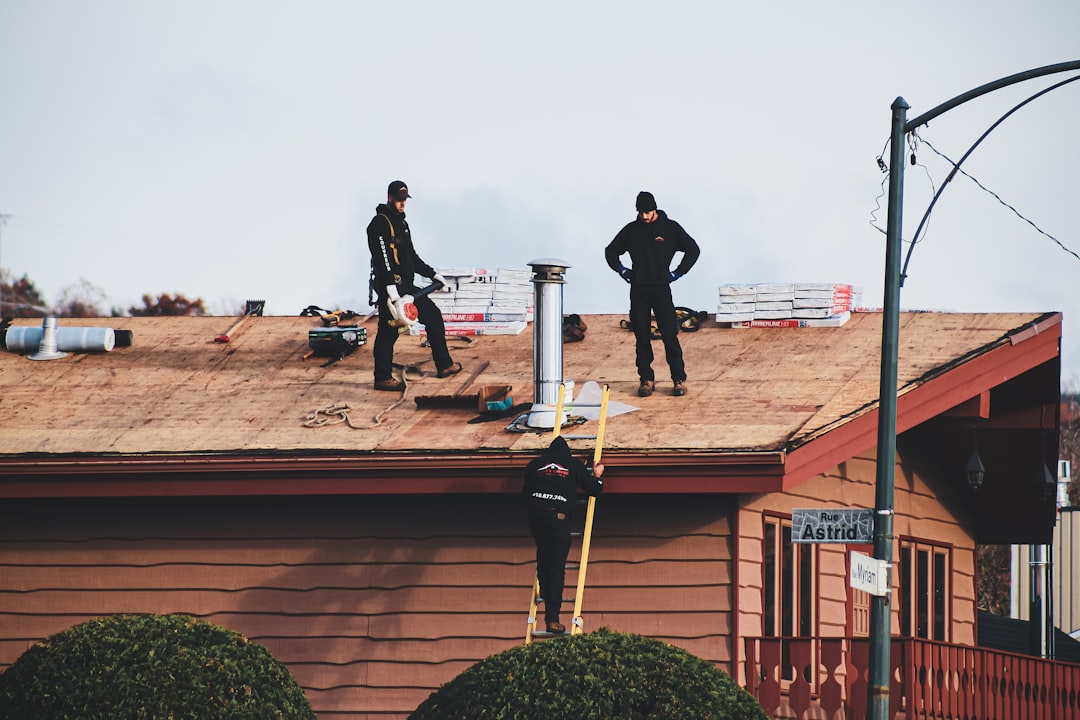
Safety is always the first reason to call an expert. If your home has a steep roof pitch (generally anything over a 6:12 slope), multiple stories, or complex architectural features, you should never attempt to climb it yourself. A professional roofing contractor has the safety harnesses, ladders, and training required to navigate these roofs safely.
You should also call a professional if your DIY inspection reveals any of the following red flags:
- Active interior water leaks or ceiling stains
- Significant, widespread shingle damage or heavy granule loss
- Loose, damaged, or missing flashing around chimneys and valleys
- Soft, spongy spots on the roof deck when viewed from the attic
- Mold growth or wood rot on rafters and sheathing
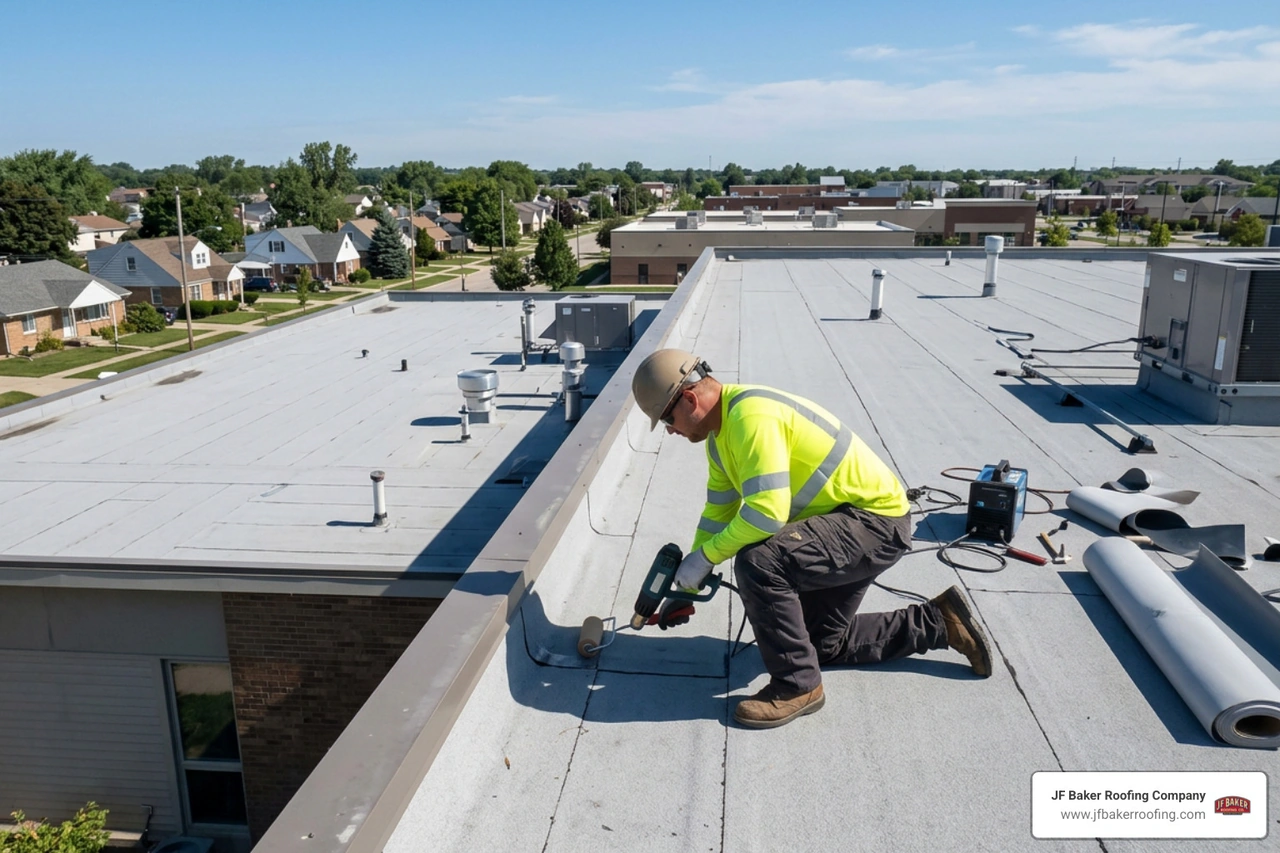
Professional inspectors also have access to specialized tools that homeowners do not. For example, we use moisture meters and infrared cameras to detect hidden moisture trapped behind drywall or under shingles before it causes visible staining. While some companies rely solely on drone photography, drone-only inspections miss critical points like nail pops, sealant strip adhesion, and structural soft spots, which is why we always combine modern technology with a physical, hands-on assessment.
If you live in Delaware, Ohio, or the surrounding areas, you can learn more about scheduling a professional assessment through our Professional Roof Inspection Delaware page. When choosing a contractor, always look for local, family-owned companies with deep roots in the community. Our guide on How to Choose the Right Roofing Contractor in Columbus Ohio offers practical advice on finding a trustworthy partner who will give you an honest assessment without high-pressure sales tactics.
Frequently Asked Questions
Can I perform a roof inspection myself?
Yes, you can safely perform the vast majority of a roof inspection yourself. By using 10x binoculars from the safety of the ground and conducting a thorough flashlight inspection inside your attic, you can identify approximately 85% of common roofing issues. You should never climb onto your roof if the pitch is steep, if the shingles are wet or icy, or if you lack professional fall-protection equipment. For a technical breakdown of how professional home inspectors evaluate roofs, you can read the official guide on HOW TO PERFORM ROOF INSPECTIONS.
How much does a professional roof inspection cost in 2026?
In 2026, a professional residential roof inspection in Central Ohio typically costs between $150 and $650. A standard single-story walk-on inspection generally ranges from $150 to $300, while two-story homes, steep pitches, or complex roof designs with multiple valleys and dormers can range from $300 to $550. While this is an out-of-pocket expense, catching a minor flashing or pipe boot issue early can save you thousands of dollars in structural wood rot and drywall repairs.
What are the most common signs of roof damage?
The most common signs of roof damage that you can spot from the ground or attic include:
- Missing, cracked, or curling shingles
- Excessive black granules accumulating in your gutters
- Water stains, dark spots, or mold growth on your attic rafters or ceilings
- Rusted or loose metal flashing around chimneys, vents, and valleys
- Sagging gutters or water pooling along the fascia board
Conclusion
Taking a proactive approach to your roof's health is one of the smartest decisions you can make as a homeowner. By using a residential roof inspection checklist twice a year, you protect your home's structural integrity, preserve your property value, and ensure your roofing system reaches its full design lifespan.
At JF Baker Roofing Company, we have been serving our Central Ohio neighbors since 1929. Led by third-generation owners Chad and Pat Baker, we built our reputation on quality craftsmanship, transparent pricing, and honest assessments. We recommend repairs when repairs will do the job, and we only recommend a replacement when it is genuinely needed.
If your seasonal DIY inspection has turned up some warning signs, or if you simply want the peace of mind that comes with a professional evaluation, we are here to help. Whether you need a minor repair, a storm damage assessment, or a full roof replacement, we stand behind every roof we install.
To learn more about our services or to schedule an honest, no-pressure assessment for your home in Columbus, Dublin, Westerville, or the surrounding communities, visit our Residential Roofing page. Let our reputation be your security.










.jpeg)