Grab an EPDM Roof Repair Kit and Seal Punctures Before Water Spreads
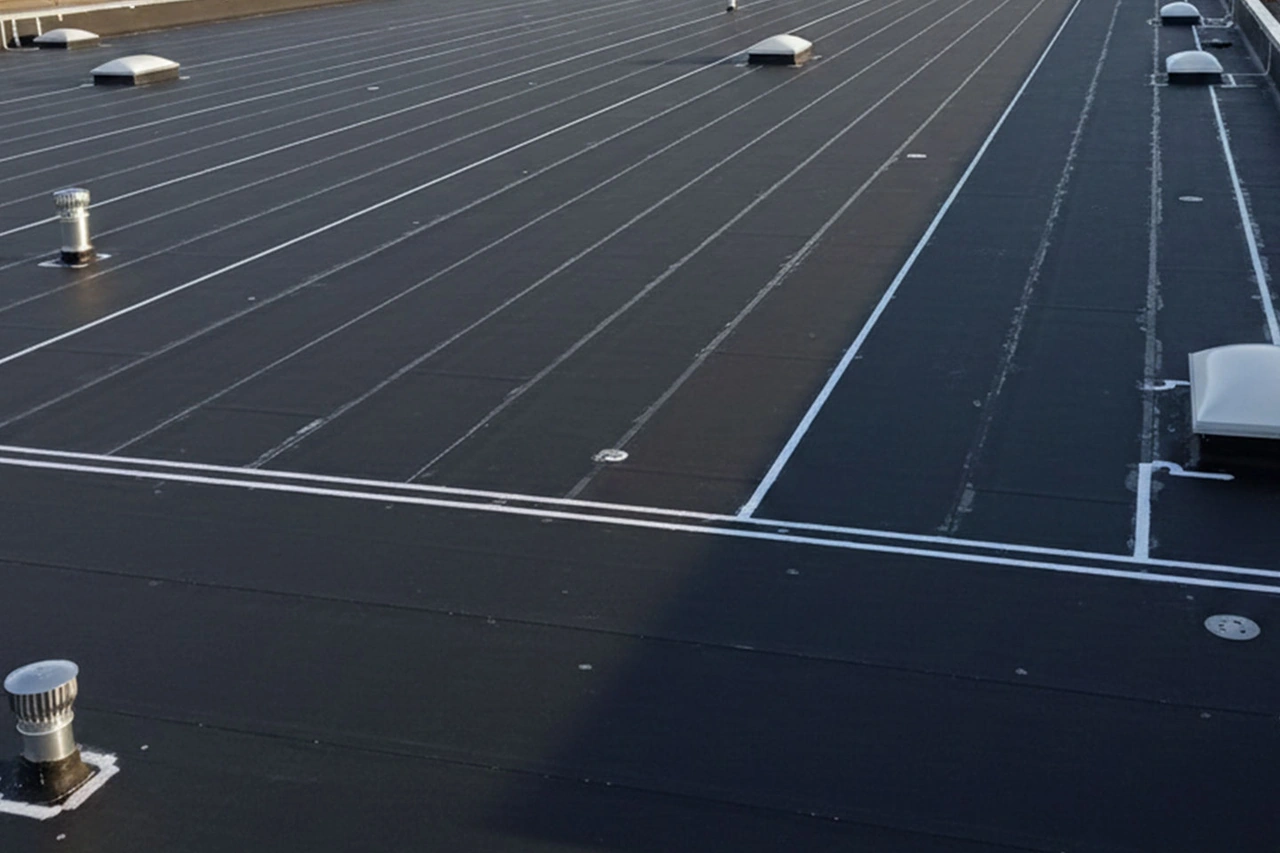
Match the EPDM Roof Repair Kit to the Leak
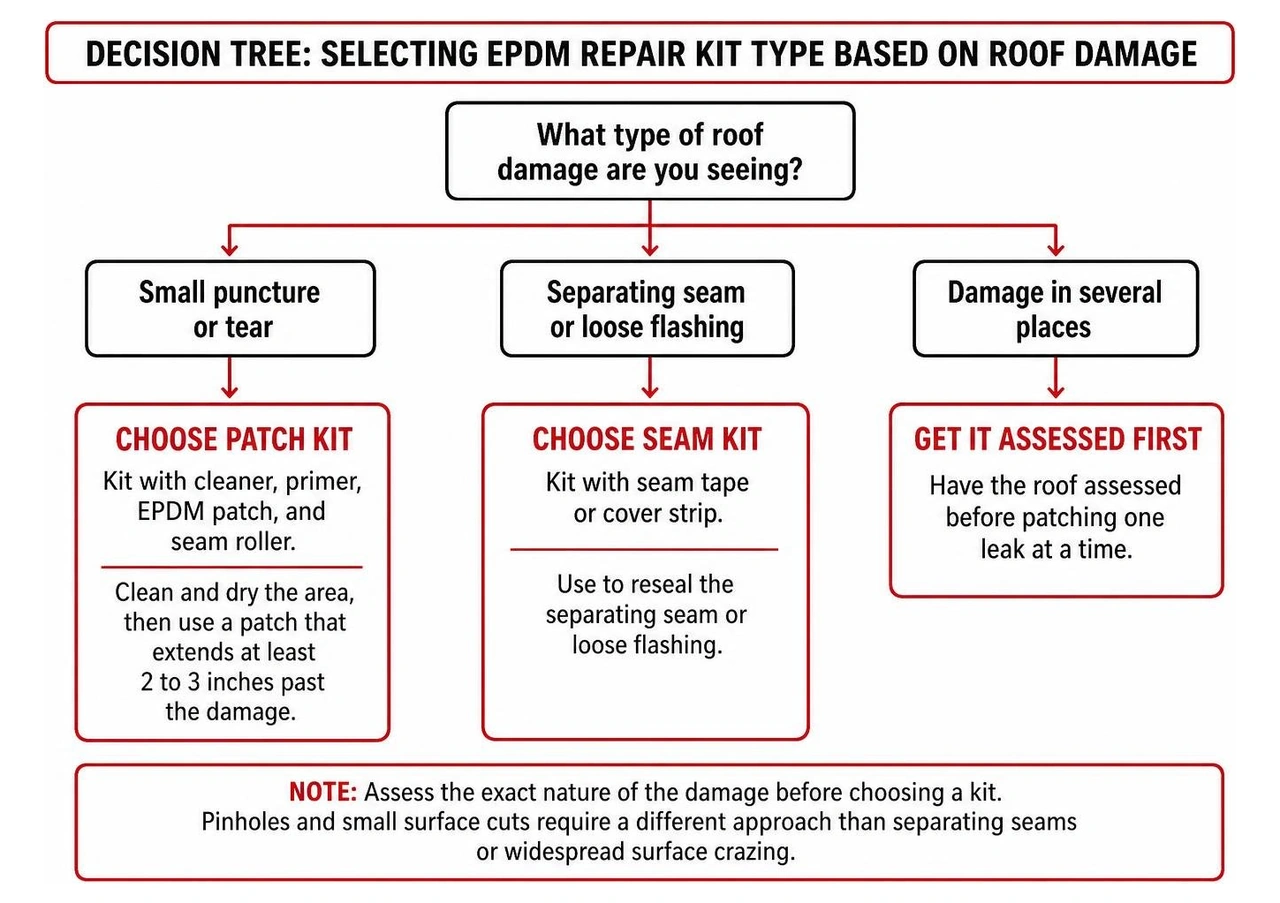
For a small puncture or tear, choose an epdm roof repair kit with cleaner, primer, an EPDM patch, and a seam roller. Clean and dry the area, then use a patch that extends at least 2 to 3 inches past the damage. A separating seam or loose flashing needs a kit with seam tape or cover strip instead. If the membrane is damaged in several places, have the roof assessed before patching one leak at a time.
Fall is a good time for Columbus property owners to catch leaks before winter. JF Baker Roofing has served Central Ohio since 1929. Led by third-generation owners Chad and Pat Baker, we provide residential and commercial roofing, roof repair and replacement, storm damage roofing, gutter installation and repair, and sheet metal work. We serve Columbus, Dublin, Upper Arlington, Hilliard, Grandview Heights, Worthington, and Westerville with honest assessments, transparent pricing, and no high-pressure sales tactics. We are a CertainTeed ShingleMaster Preferred Contractor, an NRCA member, and a BBB Accredited Business with an A+ rating.
I'm Chad M. Baker, and I'll walk you through which repair kit fits the damage you find.
Essential epdm roof repair kit terms:
Choosing the Right EPDM Roof Repair Kit for Your Flat Roof
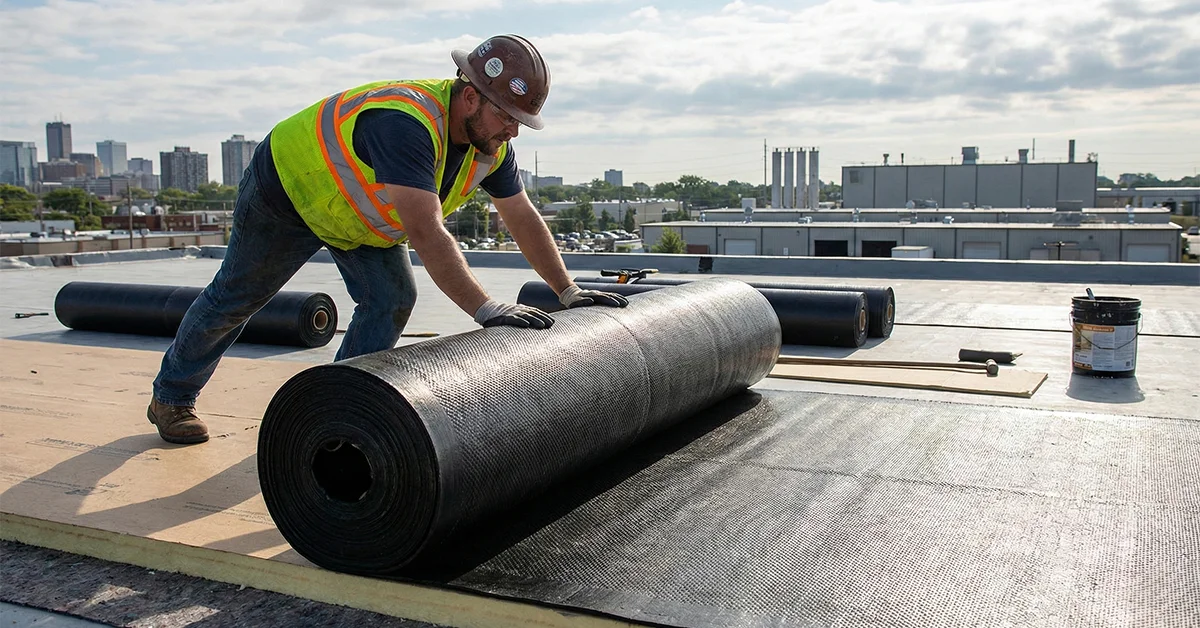
EPDM (ethylene propylene diene monomer) has been trusted for over 45 years across commercial buildings, residential flat porches, and RVs. With more than 25 billion square feet installed across the country, it accounts for over 1 billion square feet of new roof coverings annually. In fact, white EPDM roofing membrane is standard on 3 out of every 4 new RVs. It is flexible, tough, and resilient, but physical punctures from fallen branches, heavy foot traffic, or aging seams can eventually let moisture inside.
Before purchasing an EPDM Roof Repair Kit | Shop Today!, you need to assess the exact nature of the damage. Pinholes and small surface cuts require a different approach than separating field seams, pulling flashings, or widespread surface crazing. Reviewing our flat roof repair guide 2026 will help you categorize whether your roof issue is an isolated defect or part of a broader structural issue.
Essential Components Inside a Quality EPDM Roof Repair Kit
A complete patch kit should provide everything you need to execute a reliable, airtight seal. If you open a box and it only contains a piece of rubber and some general construction glue, that repair will fail quickly. EPDM requires specialized, chemically matched components to create a vulcanized bond. Understanding the broader EPDM rubber roofing system helps clarify why each component is critical:
- Specialized Membrane Cleaner: Standard household soaps leave thin films that ruin adhesion. Professional cleaners break down accumulated field grime and factory oils.
- Abrasive Scrub Pads: These scuff the smooth rubber, creating micro-grooves for the adhesive to grab.
- Butyl-Based Primer: EPDM rubber will not stick to self-adhesive patches without primer. The primer chemically activates the membrane surface.
- Cured EPDM Patches or Semi-Cured Cover Strips: Pre-cut round patches (often 6 to 8.5 inches in diameter) or 6-inch wide roll flashing with pre-applied butyl adhesive backing.
- Heavy-Duty Seam Roller: Essential for driving out microscopic air pockets and applying uniform mechanical pressure.
- Lap Sealant: A thick, weatherproof exterior sealant used to bead around patch edges, preventing moisture from getting underneath.
- Molded T-Joint Covers: Specialized circular patches designed to bridge the stepped transitions where two roof sheets overlap across a seam.
Patch Kits vs. Liquid Systems: Which EPDM Roof Repair Kit Fits Your Damage?
Repair kits fall into three primary categories, and matching the kit type to your roof scenario saves time and money:
- Self-Adhesive Peel-and-Stick Patch Kits: Best for small, clean punctures, localized tears under 4 inches, or hail impacts. Kits like the Seal Trust EPDM Rubber Roofing Patch Kit provide round 68-mil patches that bond tightly when paired with primer. Finding the best flat roof patch comes down to using genuine EPDM rubber backed with thick butyl tape rather than generic asphalt mastic.
- Liquid Coating and Reinforcement Systems: Ideal for complex penetrations, recurring leaks at parapet wall transitions, or aged roofs with surface micro-fissures. Bundles like the BEEST RV Ultimate Roof Repair Kit | Total Leak Repair System – BEESTUSA provide multi-surface primers, seam tape, and liquid rubber coatings. These systems coat up to 250 square feet with two coats, conforming around odd angles where flat patches cannot lay flat.
- Complete Re-Roof and Overlay Kits: When an older roof deck has multiple leaks or failing insulation, spot repairs are temporary stopgaps. Systems like the FlexiProof EPDM Rubber Roof Membrane Complete Kits - 1.52mm Thick - Ashbrook Roofing Supplies LTD offer a one-piece 1.52mm membrane designed for a 50-year life expectancy without field seams. For larger sections, an EPDM rubber roof kit provides the full sheet goods and adhesives necessary for a complete section replacement.
If you are dealing with minor repairs across the pond or looking for modular DIY supplies, Flat Roof Repairs | EPDM Roofing Supplies | PermaRoof UK provides an example of how emergency liquids and patch systems are categorized for different defect types.
Step-by-Step Guide to Patching Punctures and Failing Seams
Executing a clean repair requires patience and careful sequencing. Most EPDM patch failures happen because someone rushed the cleaning stage or skipped the primer.
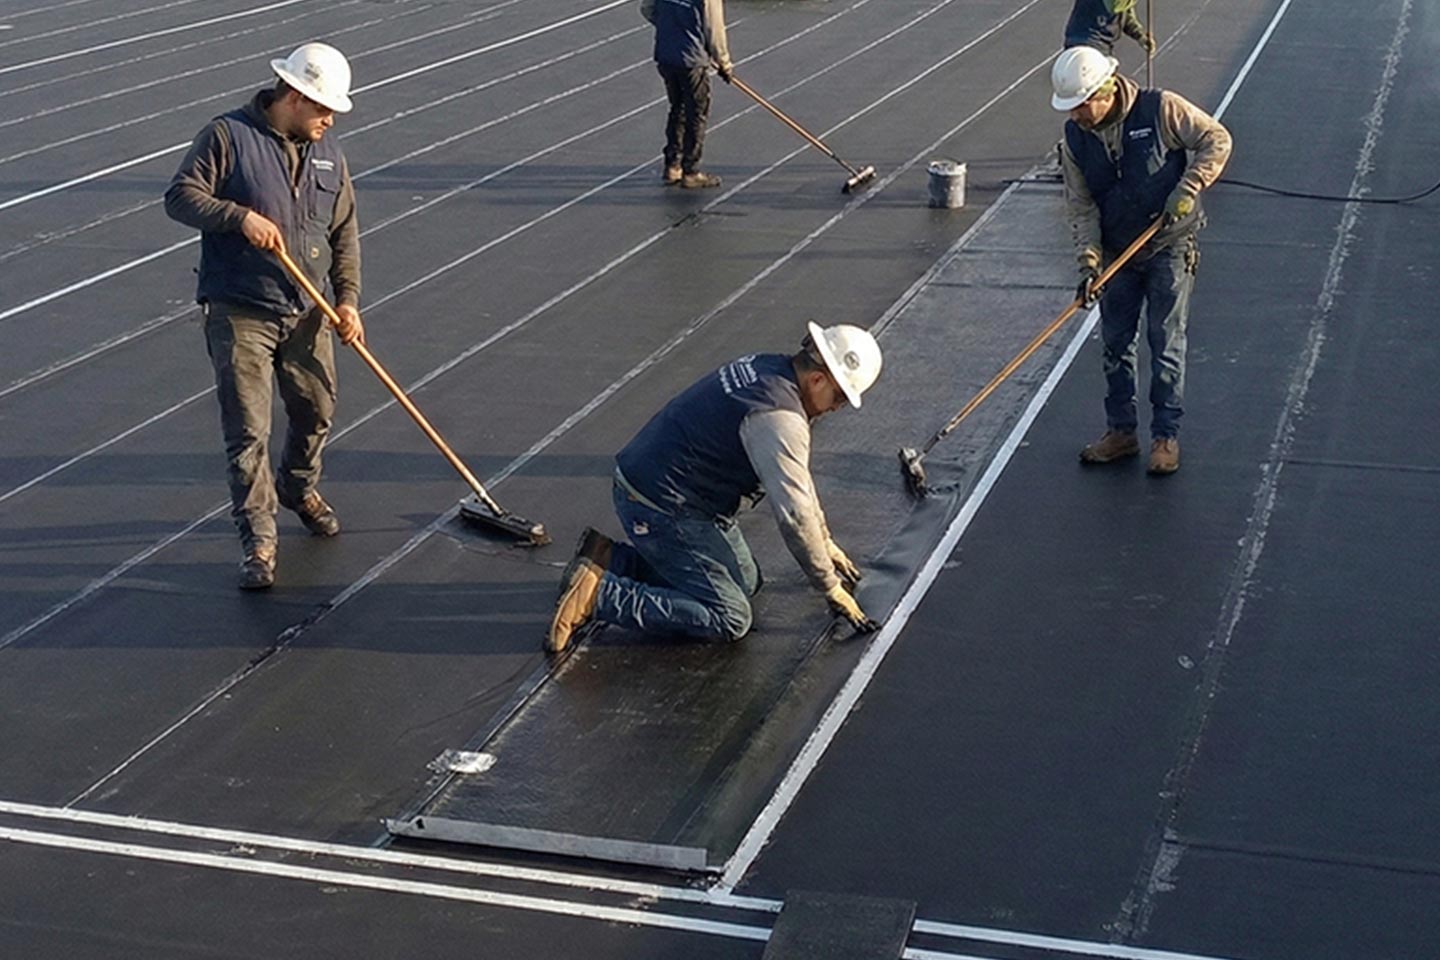
To see the mechanical process in action before climbing your ladder, you can watch this step-by-step video guide to repairing a damaged EPDM rubber roof.
Surface Cleaning and Priming for Maximum Adhesion
- Clear the Work Area: Sweep away loose gravel, leaves, and standing water. The roof must be dry.
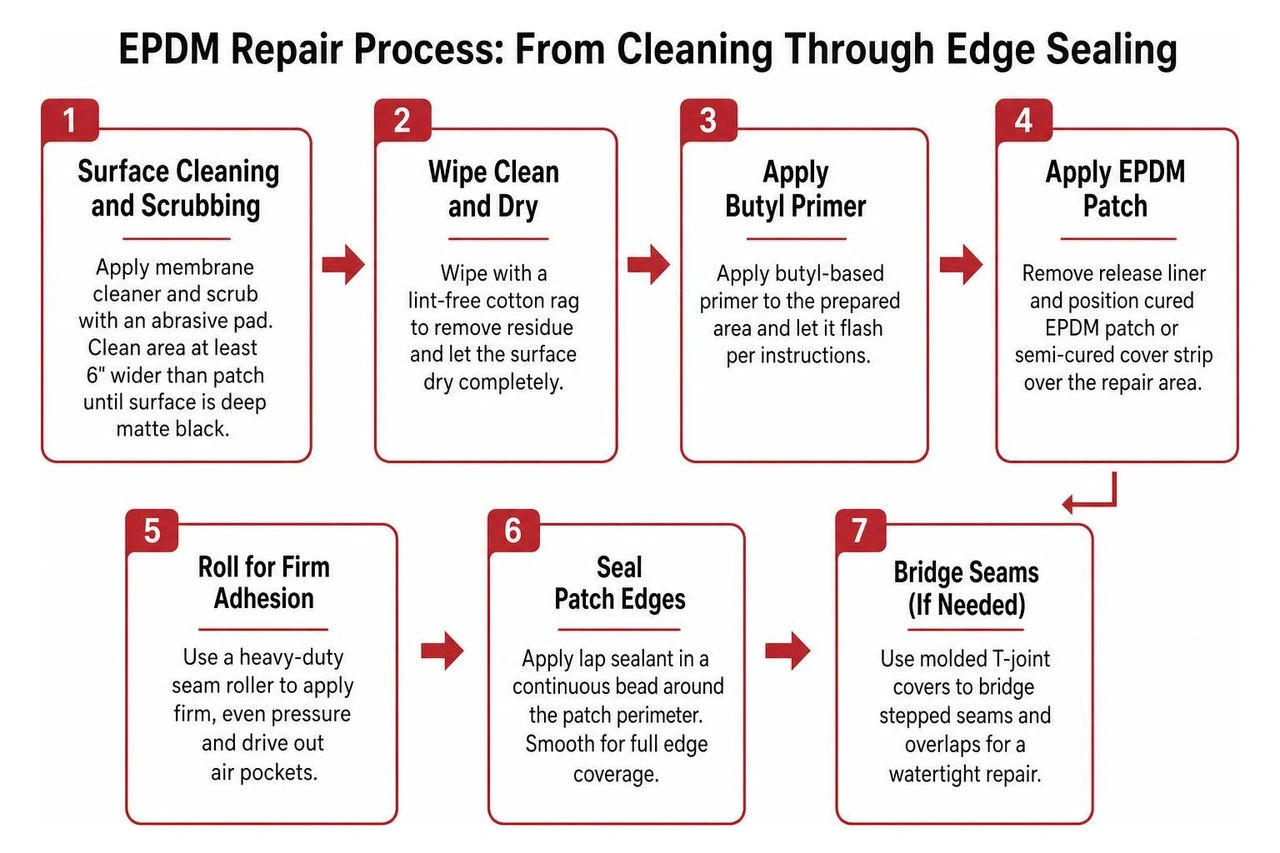
- Scrub the Membrane: Apply your membrane cleaner and scrub vigorously with an abrasive pad. Clean an area at least 6 inches wider in all directions than the planned patch. Continue scrubbing until the surface turns from oxidized gray to deep matte black, free of all chalking.
- Wipe Clean: Use a lint-free cotton rag to remove dissolved oils and residue. Let it dry completely.
- Apply Primer: Brush or wipe a uniform layer of butyl primer over the cleaned zone. Do not allow the primer to puddle.
- Check Tackiness: Allow the primer to flash off (typically 10 to 15 minutes, depending on humidity). Touch it with a clean knuckle. If it feels tacky without transferring wet liquid to your skin, it is ready for the patch. Application surfaces must remain above 40 degrees Fahrenheit for proper long-term curing.
Applying Patches and Rolling Out Air Bubbles
- Size the Patch Correctly: The patch must extend at least 2 to 3 inches beyond the damage in every direction. If you are cutting your own patch from roll flashing, always round the corners with scissors. Square corners catch wind and peel upward over time.
- Peel the Release Liner: Carefully peel back half of the paper release liner without touching the exposed butyl adhesive with your fingers.
- Position and Lay: Align the patch over the center of the puncture. Carefully press down from the center outward to avoid trapping air bubbles. Peel the remaining liner and press the rest of the patch flat.
- Roll Thoroughly: Take your steel or silicone seam roller and apply firm downward pressure. Roll from the center of the patch toward the outer edges in multiple directions. This mechanical pressure activates the pressure-sensitive adhesive and locks out air.
Proper alignment and rolling methods match the core procedures described in our EPDM rubber roof installation guide.
Sealing Seams, T-Joints, and Vertical Terminations
Failing seams and transitions require special attention because they experience continuous thermal movement.
- Separating Field Seams: Clean inside the split seam as deeply as possible, apply primer, insert double-sided seam tape, roll it firmly, and cap the entire exposed exterior seam edge with a 6-inch wide cover strip. Complete kits like the QuestMark EPDM Roof Patch and Repair Kit - Includes Professional Grade 6" Wide Flashing, Cover Strip, Seam Tape, T Joint Covers, Membrane Cleaner, Tools, and Instructions include cover strips and seam tapes designed specifically for these structural joint failures.
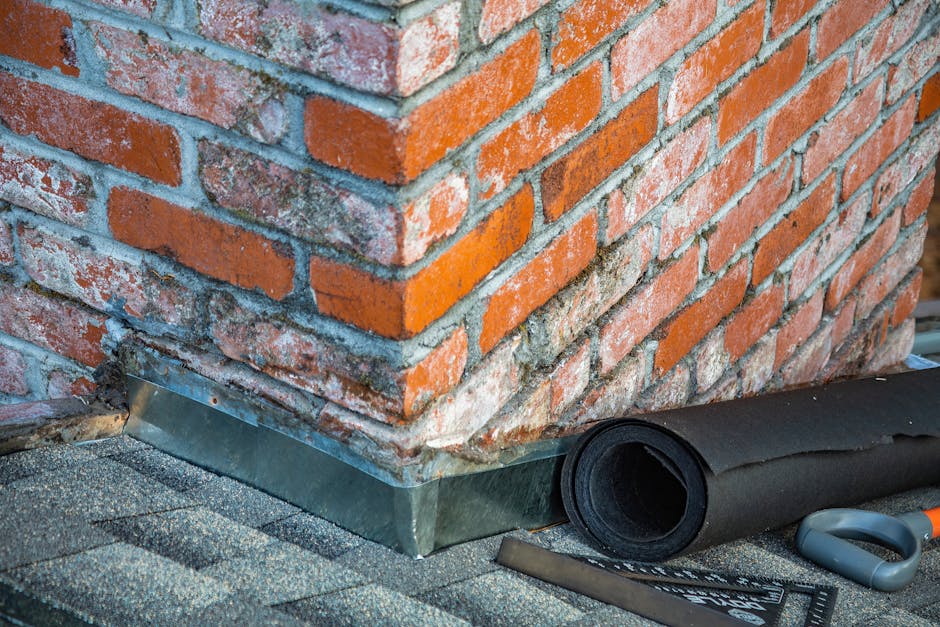
- T-Joint Intersections: Where two overlapping membrane sheets cross perpendicular to a third sheet, a small step occurs. Water easily channels into this junction. Always center a molded, semi-cured EPDM T-joint cover over this intersection after priming.
- Edge Sealing with Lap Sealant: After rolling down your patch, cover strip, or T-joint cover, wait at least 30 minutes, then apply a continuous bead of lap sealant around all outer edges. Feather the sealant edge using a putty knife so standing water flows smoothly over the patch rather than damming against its edge.
Factors Influencing Repair Longevity and Performance
A correctly installed EPDM patch using contractor-grade materials is not just a quick fix; it can easily last 10 to 15 years, matching the remaining lifespan of the underlying membrane. However, several environmental factors influence how well your repair holds up over the seasons:
- Ponding Water: While EPDM handles water well, sitting pools magnify solar radiation and place constant hydrostatic pressure on patch seams. Ensure drains and gutters are flowing freely.
- Thermal Expansion and Contraction: In Central Ohio, roofs swing from sub-zero winter chills to 150-degree summer surface temperatures. Using patch materials with a matching thickness (such as 60-mil or 68-mil) ensures the patch stretches and contracts at the exact same rate as the roof.
- UV and Ozone Degradation: High-grade cured EPDM is naturally resistant to UV light and ozone. However, exposed adhesives and seam tapes without a protective rubber top-layer degrade under direct sunlight. Always use cured cover strips or UV-rated liquid topcoats.
- Petroleum Contamination: Rubber membranes swell and dissolve when exposed to petroleum, motor oil, grease, or asphalt-based roof cements. Never use asphalt roofing tar on an EPDM roof.
Staying ahead of problems requires routine inspections. Homeowners should schedule seasonal house rubber roof maintenance, while commercial property managers should follow an active commercial flat roof maintenance routine to catch loose flashings before leaks reach interior ceilings.
Frequently Asked Questions About EPDM Roof Repairs
How long does an EPDM patch repair typically last?
When the surface is properly cleaned, scuffed, primed, and rolled, an EPDM butyl-backed patch creates a permanent vulcanized bond. You can expect the repair to last 10 to 20 years. The shelf life of unused kits is typically about 1 year when stored between 60 and 80 degrees Fahrenheit, so always verify your primer and tapes are fresh before starting a project.
What is the difference between self-leveling and non-leveling sealants?
Self-leveling sealants are formulated with a lower viscosity so they slowly flow and settle flat under gravity. They are designed for flat, horizontal surfaces, screw heads, and roof-level seams where they fill microscopic gaps and create a smooth profile.
Non-leveling (or gun-grade) sealants are thick and sag-resistant. They are engineered for vertical parapet walls, pipe boots, chimney terminations, and angled flashings where a self-leveling sealant would run down the wall before curing.
Can EPDM repair products be used on TPO or metal surfaces?
Standard EPDM primers are formulated specifically for synthetic rubber. However, multipurpose primers, such as those included in comprehensive liquid repair systems, provide up to 10 times standard adhesion across EPDM, TPO, fiberglass, aluminum, metal, wood, and concrete. If you are tying an EPDM patch into a metal drip edge or a neighboring TPO membrane, ensure your primer explicitly lists multi-substrate compatibility on the label.
Conclusion
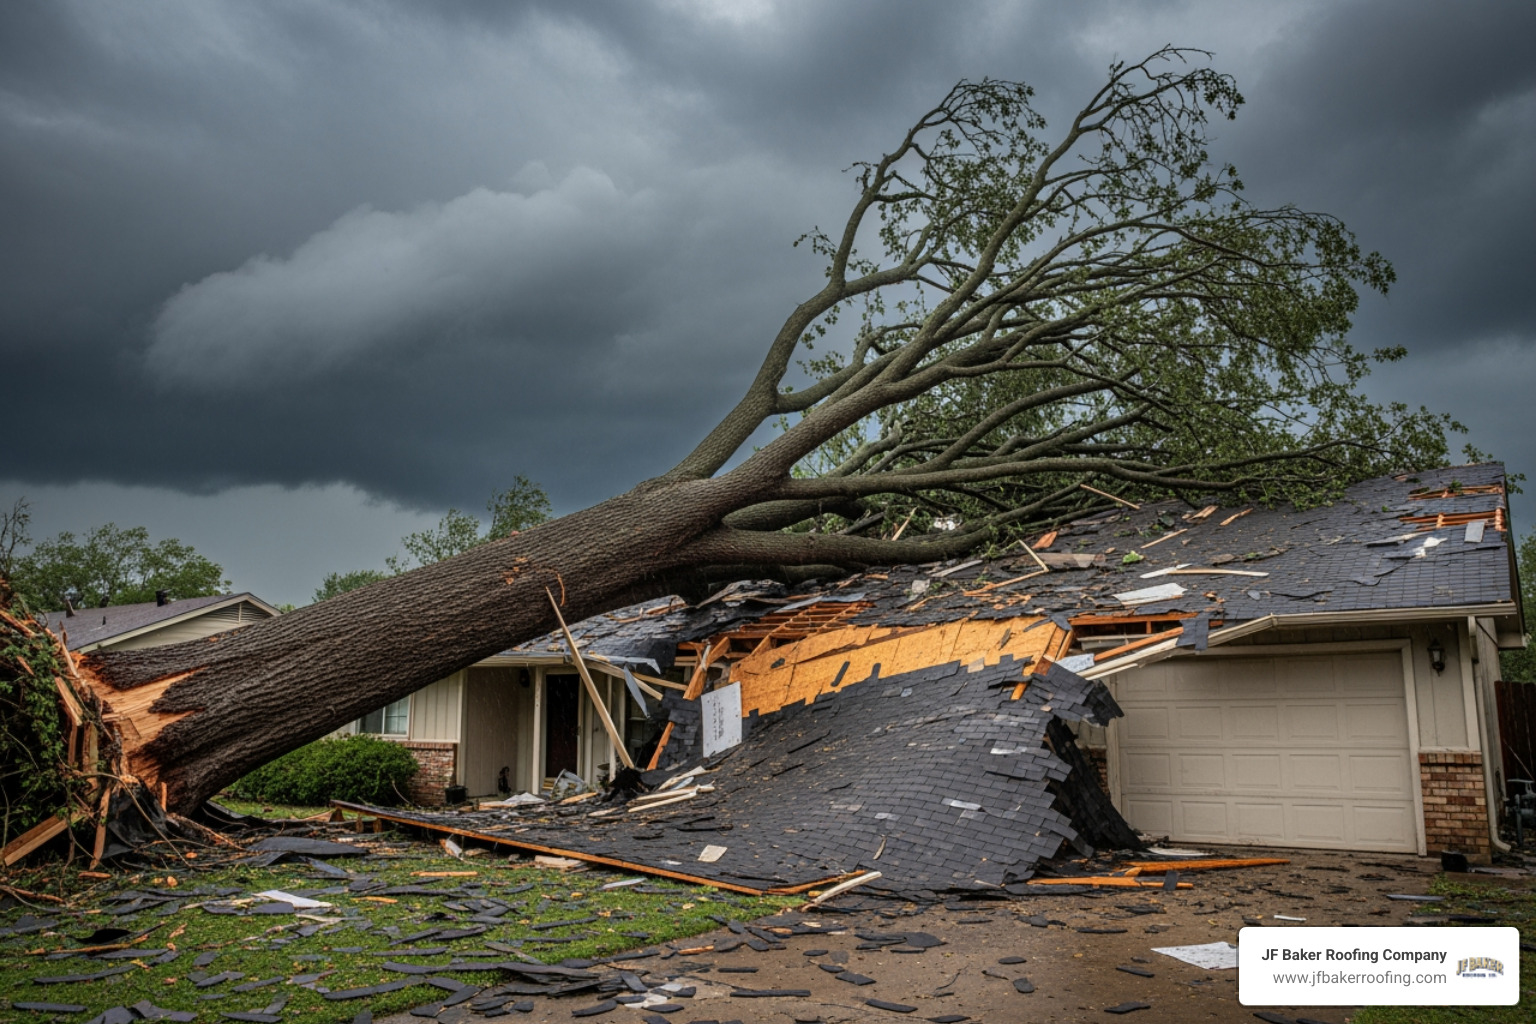
Catching roof punctures early protects your insulation, decking, and interior from widespread moisture damage. Keeping a small repair kit on hand gives you the ability to secure emergency punctures quickly. But when you are facing extensive seam separation, multiple active leaks, or storm-related damage, having experienced professionals evaluate the roof brings lasting peace of mind.
JF Baker Roofing has been serving Central Ohio since 1929. Led by third-generation owners Chad and Pat Baker, our family-owned company provides residential roofing, commercial roofing, roof repair, roof replacement, storm damage roofing, gutter installation and repair, and sheet metal work. As a CertainTeed ShingleMaster Preferred Contractor, NRCA member, and BBB Accredited Business with an A+ rating, we are built on integrity and proven by performance. We take pride in clean job sites, professional crews, transparent pricing, and honest assessments with no high-pressure sales tactics. If a simple repair will solve your problem, that is exactly what we will recommend.
Whether you need a routine inspection, storm damage repairs, or rubber flat roof repair across Columbus, Upper Arlington, Dublin, Hilliard, Grandview Heights, Worthington, or Westerville, we are here to help. Reach out to our team at JF Baker Roofing today to discuss your roof and get clear, straightforward answers.